
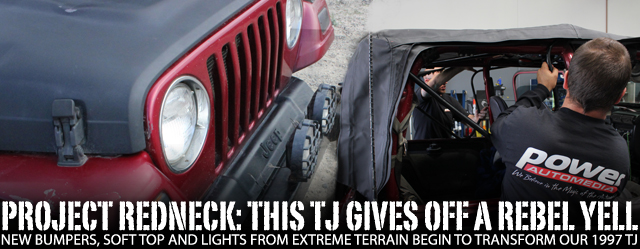
 Now here’s a quandary: How do you begin to take an inline-four Wrangler and make it more off-road ready? Now before you get to jibber-jabbering about engine swaps, lift kits, et cetera, keep in mind this is just for starters, something that has to be done first to give the little 4×4 some attitude.
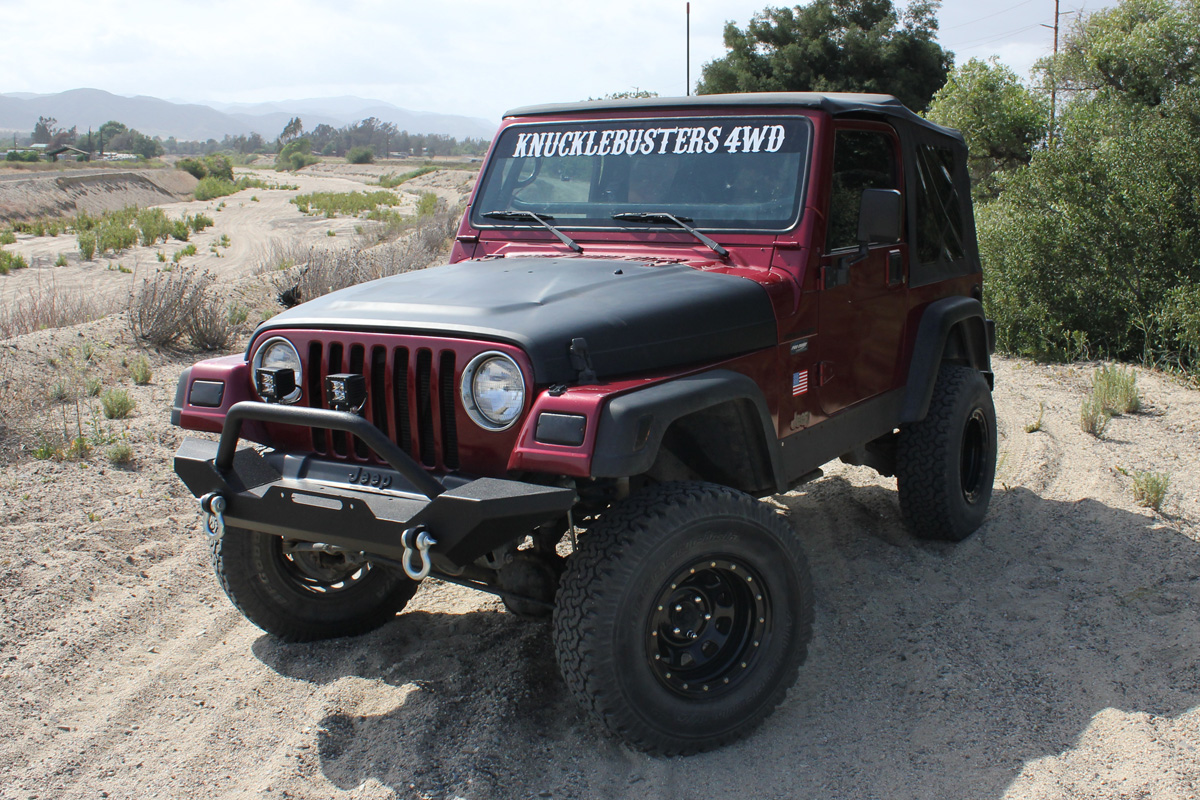
 Here at Off Road Xtreme, one look at this ’97 TJ was all it took for us to snap our fingers and cry “Eureka!” We left Dean, owner of the Jeep and resident jack-of-all-trades shop guy, dazed and confused as we ran off to order his ruddy rig some sweet parts from Extreme Terrain.
We browsed the Extreme Terrain online catalog and found the Barricade line, a group of products designed with the true off-road enthusiast in mind and built with rugged dependability and quality. It seemed like a match made in heaven to us, so we ordered the following parts to bring some attitude to Redneck. These included: the Black Diamond Soft Top with Tinted Windows (p/n J100494), Trail Force HD Front Bumper (p/n J20851), Classic Rear Bumper w/ Tire Carrier (p/n J20852), as well as two Raxiom 3-inch Square LED Lights (p/n J100991).
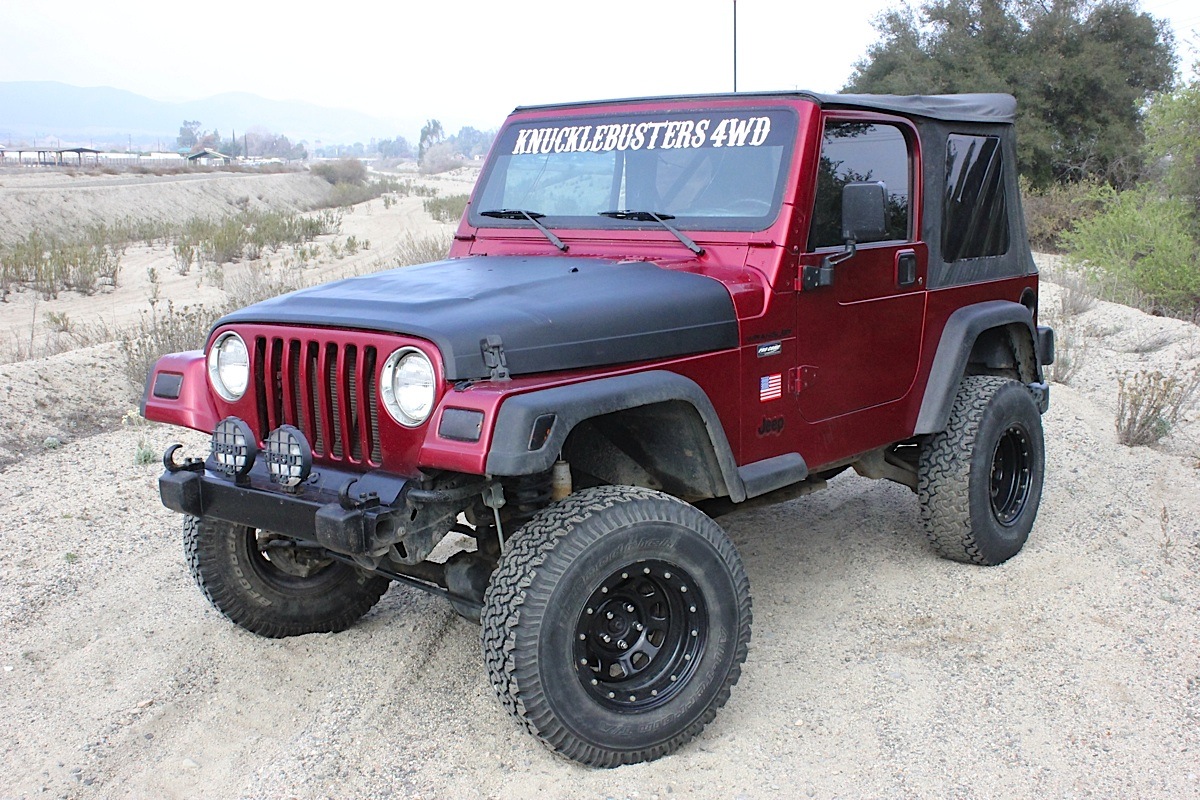
Bone Stock To Ready To Rock
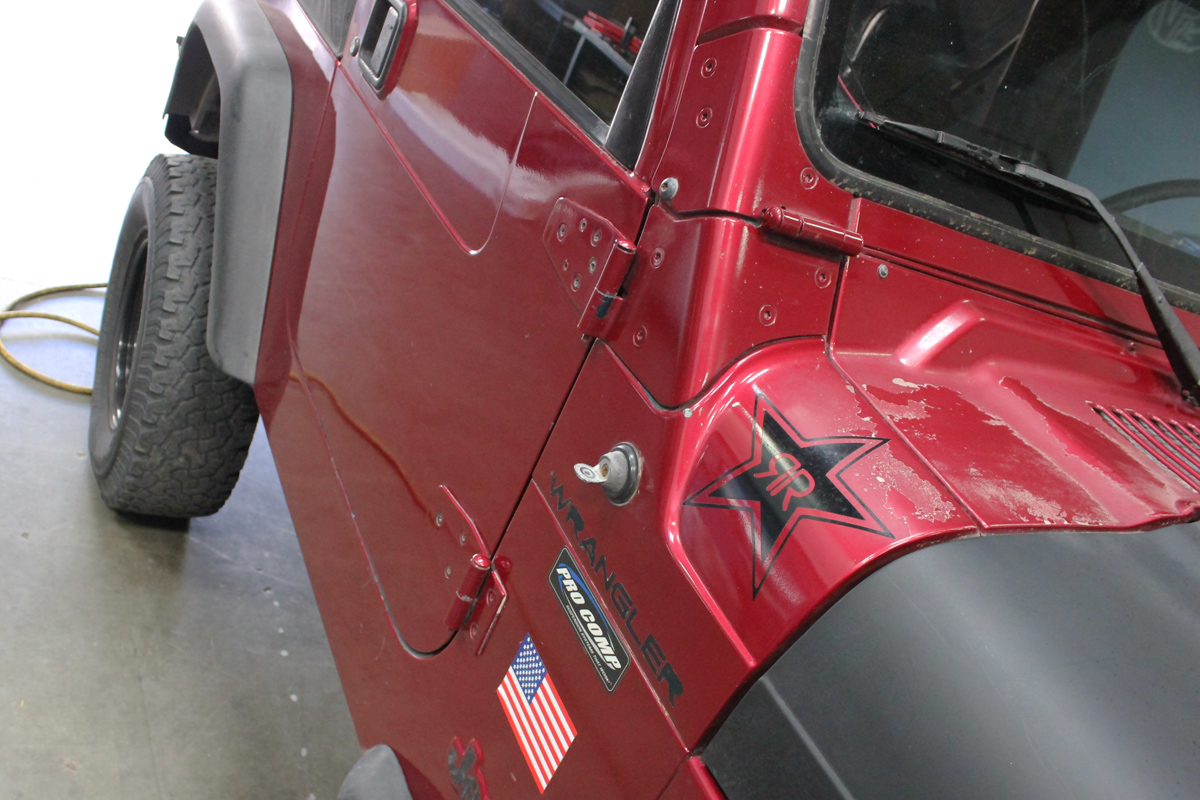
The Jeep rocked a four-banger, two seats, two doors, and one heck of a drinking (oil) problem. Nonetheless, we’re committed to turning this little 4×4 into the TJ that could.
 To get there, one of the first things we did was get some rock-ready supplies in order. We talked to Ryan Huck from Extreme Terrain to figure out what parts to start with in order to get Project Redneck looking fresh and ready to hit the trails, and we reached the decision to slap on some new bumpers, a soft top and a pair of front lights.


These parts would get the Jeep prepared to deal with the unexpected, be it standing in the sun for a while or negotiating a risky landscape. “Just as any Jeep is expected to handle difficult elements, so goes our thought process when it comes to developing parts for these vehicles,” said Huck.”You have to strike a good balance between durability and ease of use when evaluating, and our soft tops and bumpers are the solution to that tricky problem.”

“The windows are constructed from a sturdy yet flexible 30-millimeter thick vinyl, so they can stand up to repeated folding as well as any stray branches from nearby trees along the trail.”
Meanwhile, the bumpers we received were a solid steel design, able to deal with Mother Nature on her own terms. “We have installed and tested these bumpers both on and off-road to ensure that they are up to any challenge you can throw at them,” stated Huck.
“They come winch-ready and with shackle mounts and D-rings included for all of your recovery needs,” Huck continued. “The bumper also provides additional protection in the form or a bumper hoop. The strong construction and tough finish combined with the included features make this an off-road adventurer’s bumper.”
For the rear bumper, we had to give Project Redneck a proper kit for the job, and the Barricade rear bumper with the tire carrier was the optimal choice. “We made the bumper from 3/16-inch steel, 2×0.120-inch tubing for the tire carrier, and billet aluminum for the handle,” stated Huck.


Clockwise from top left: the Barricade front bumper; one of the Raxiom lights; and the Barricade rear bumper with tire carrier.
“The bumper and tire carrier are a safe and secure unit that can accommodate tires up to 37 inches in size, all while staying as close as possible to the tub to minimize rattling and possible damage,” said Huck. “The bumper itself maintains the excellent standard of departure angle expected from Jeeps, but is better suited to the outdoors thanks to that solid steel design.”
Business up Front…
There are two T50 Torx bolts on the underside of the bumper and four on the topside that need to be removed to make way for uninstallation. We went the extra mile after removing the bolts to take care and uninstall the sway bar cover as well, since it would give us more room to work; in any case, it’s just a duo of 10mm bolts holding the cover in place, so it wasn’t too much trouble to take it off.


Six T50 bolts-two under, four on top-held the bumper in place. Within minutes, we had the front bumper removed.
With that finished, we took the new bumper and fit it into place with the frame mounts. We reattached the bottom and top torx bolts to a loose fitting, checked to make sure the bumper was centered, and then reinstalled the sway bar cover before tightening everything up. Presto chango, the TJ had a new front bumper.
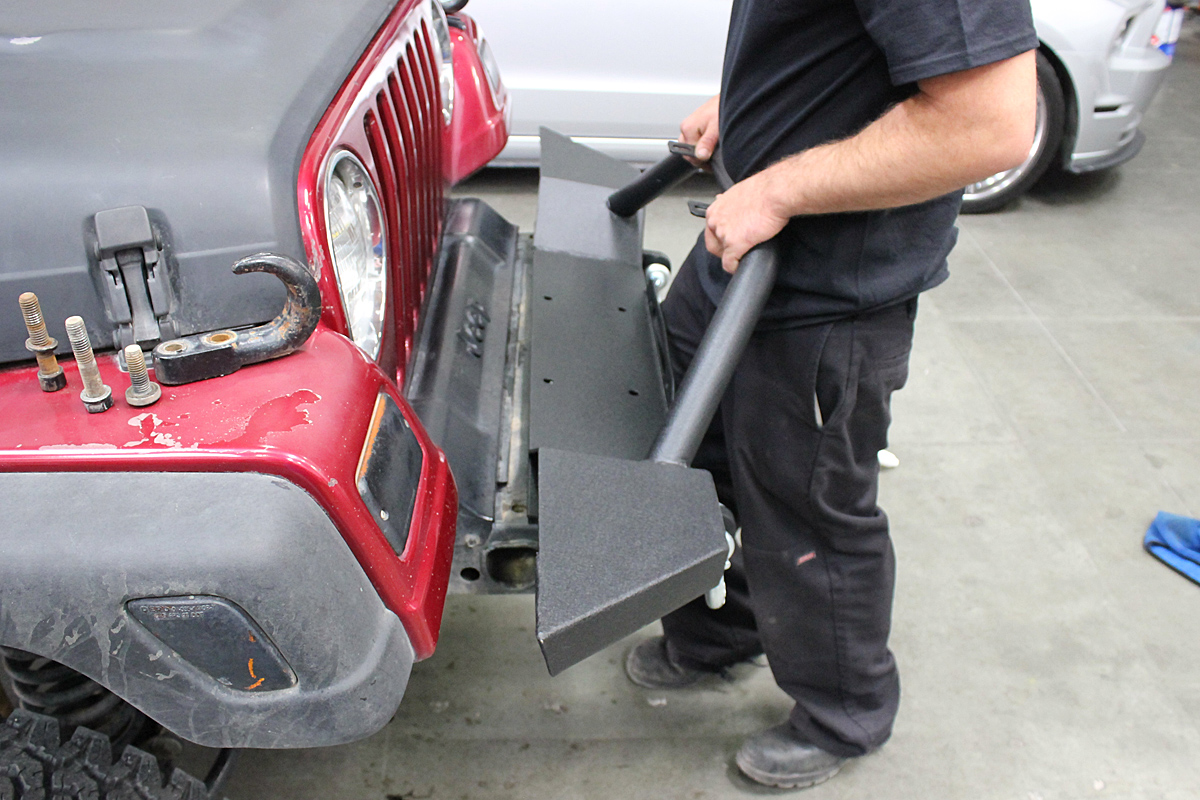
Dean maneuvers the new bumper into place before reattaching all the nuts and bolts.
And what better time to add the lights than when the bumper is stable and centered? A previous set of running lights that had been used on the old setup gave us easy access to wiring up the new Raxiom lights, so it made sense to just proceed with the installation then and there. In a matter of minutes, we would have installed a new duo of tough lights emitting some serious illumination.
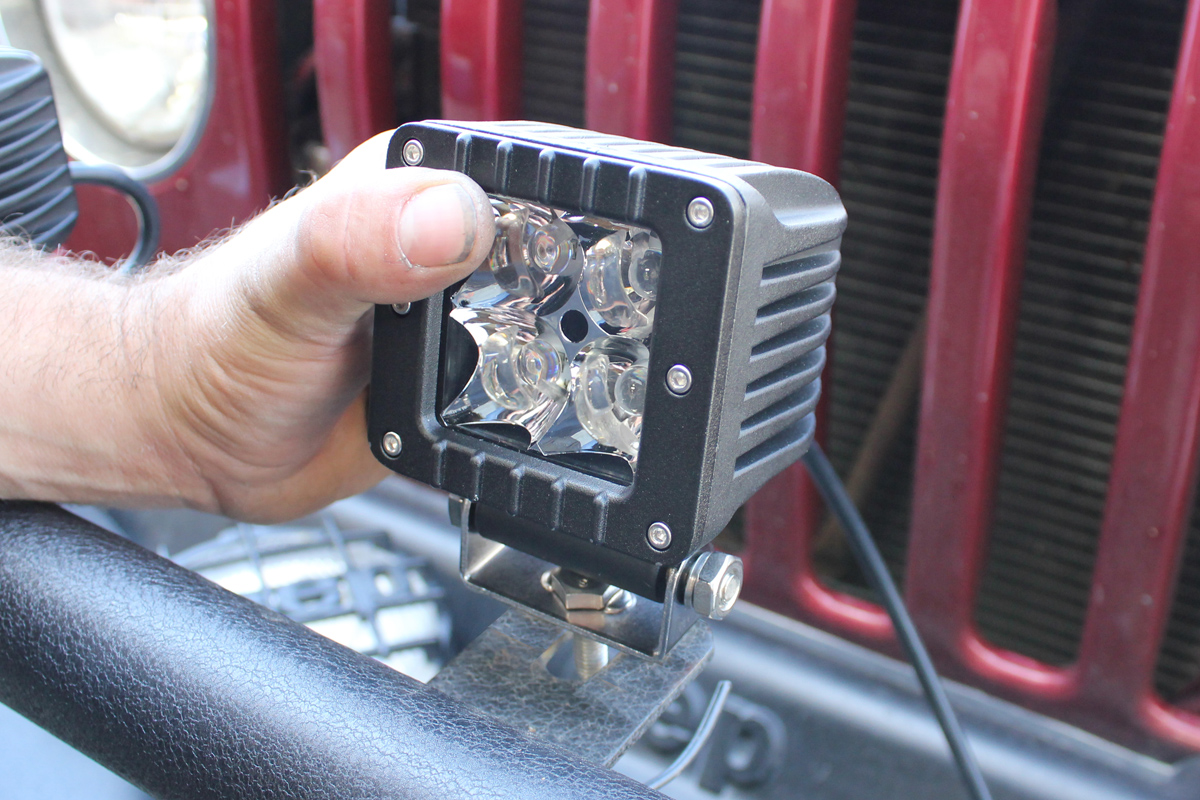
We tested the seating of the lights to see where and how we liked them positioned.
As Huck explained, “Compact yet durable, these Raxiom lights are able to produce 12,543 lumens [per lamp] while only drawing 1.62 amps each. With these lights, those late night recovery efforts won’t be hampered by worrying about draining the battery. You can carry on the operation and keep going–that’s what off-roading is all about.”
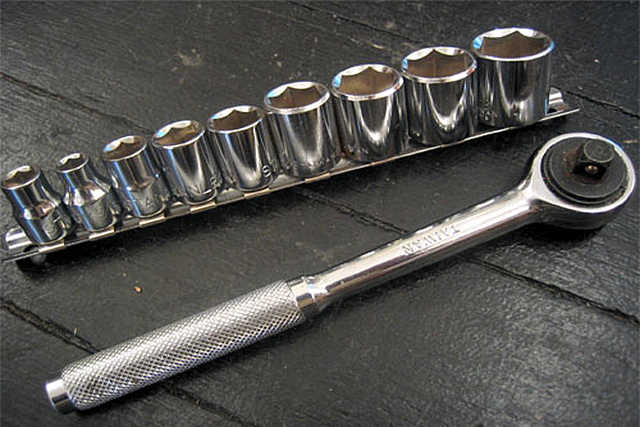
First, we had to gather all the necessary supplies. We utilized a sanding disc, a drill with a 1/4-inch bit, a 10-foot length of 12-gauge wire, two butt connectors, two eyelet terminals, and an in-line relay which would run to the switchboard already installed inside the Jeep.
We used the sanding disc to strip away the powdercoat on the light mounts and expose some bare metal. Those bare metal patches will act as the grounds. The lights were installed the lights onto the mounts, using the eyelet terminals, washers, and the supplied nuts and bolts to secure everything in place.

We drilled the holes neatly under the bracket to make way for the wiring.
Holes were drilled into the brushguard of the bumper with a 1/4-inch bit. The power wires were carefully fed into the tube and retrieved with a pair of long needle nose pliers. A section of the plastic coating was then stripped off the two wires so they could be spliced into butt connectors.
The power wires were fed up to a single in-line relay connected through a single switch, ground wire, and battery. Project Redneck was now ready for the darkness, while its new powdercoated heavy duty steel bumper was capable of much more than its factory predecessor.
…and Party in the Back
With our work finished up front, we directed our attention to the back of the Jeep, where we had yet to get started on the soft top and bumper with tire carrier. We began by removing the spare tire from its stock mount.


Dean removes the tire, and then uses a 13mm socket to remove the stock carrier.
The carrier was removed using a 13mm socket, leaving us with the dirty bare tailgate. On either side of the bumper sat the end caps, that we removed by unscrewing the Torx screws that held them in place. Four 18mm bolts securing the bumper to the frame were removed as well, and with a little jiggling, the bumper loosened up and came off.


Clockwise from top left: Dean inserts the driver-side bracket, then the passenger-side; the bumper is mounted to the brackets; measurements are taken to ensure the bumper is centered.
For the next step, we took the supplied brackets and inserted them onto the factory mounting holes, holding them in place with the supplied 18mm hardware. Following that, we hoisted the Barricade bumper and slid it into position, making sure to line up the four holes on the bumper with the corresponding four holes on the mounting brackets.
Afterwards, we measured the distance from the brackets’ outside edges to the edge of the Jeep’s body to make sure the bumper was sitting squarely where it needed to be. We tightened everything down and moved on to the final stage of the installation.

Dean tests the fit of the latch on the tire swing arm.
We coated the swing arm and its post with a couple of good dollops of lubricant. Once we felt the door was opening and closing well enough, we attached the cap and tightened it down.
We neared the end of the install as the latch assembly made its way onto the swing arm, held tightly together with tightened 17mm nuts and bolts. The carrier was mounted to the swing arm with four 18mm bolts just before the tire was put back on and secured.
With a boost to functionality and durability, the bumper and tire carrier lent not only some much-needed aesthetic elements to the Jeep, but also made it able to haul a big ole tire around without fear of damaging something or falling off completely. In fact, when we get some new tires for Redneck, we’ll have a good amount of freedom to choose, as this carrier can handle tires up to 37 inches in diameter.

Next stop: soft top removal and installation.
Onward and upward we went: the soft top was next on our list. We kicked things off by removing the windows on all sides. That done, we removed the supports for the soft top and peeled the soft top off of the Jeep.
The soft top had to be secured to the factory supports, which we did using the supplied washers and screws. We double-checked all the corners to smooth out any wrinkles or ripples that might put stress on the top. Satisfied all was in good shape, we proceeded to place the soft top onto the roll bars and windshield channel.


Dean and Cody fastened the soft top to the factory supports, and then propped up the soft top to the Jeep to make sure everything fit together.
Once we had an idea of how the soft top was going to fit, we reinstalled the supports and began buttoning the flaps up around the top frame. The tailgate bar was inserted into the sleeve of the new top so the weatherstripping would mesh with the tailgate when closed and minimize interior noise.


The soft top buttoned around the roof supports, and the windows zipped up nicely.
With everything tucked and tightened, we did a final inspection of our new additions to the Jeep and found everything fit neatly and perfectly. For a good day’s work, we were able to get several sweet parts installed on this four-banger Wrangler, and the dividends will pay off enormously whenever we take it for a spin into the outback.
Project Redneck Recap
 A soft top that will stand up to the sun and tree branches, bumpers that offer excellent entry and departure angles as well as support lights and accessories such as a winch, a tire carrier that can put up with abuse and stay still, and a duo of lights to stave off the night; Project Redneck is definitely prepped for adventure now. Time for a vacation, anyone?


If you’re in the market for YJ, TJ, or JK parts, Extreme Terrain has more than enough to get you started or help you finish your latest Jeep project, no matter the size or scope. Check out the company’s extensive online catalog or find them on Facebook to stay updated with photos, promotions, and more. In the meantime, we’ll be out on the trails with Project Redneck until the next batch of parts for the rig arrive at the shop. Keep your eyes on Off Road Xtreme and our Facebook page for daily off-road news, tech, features, events and racing, as well as the next installment of Project Redneck!


