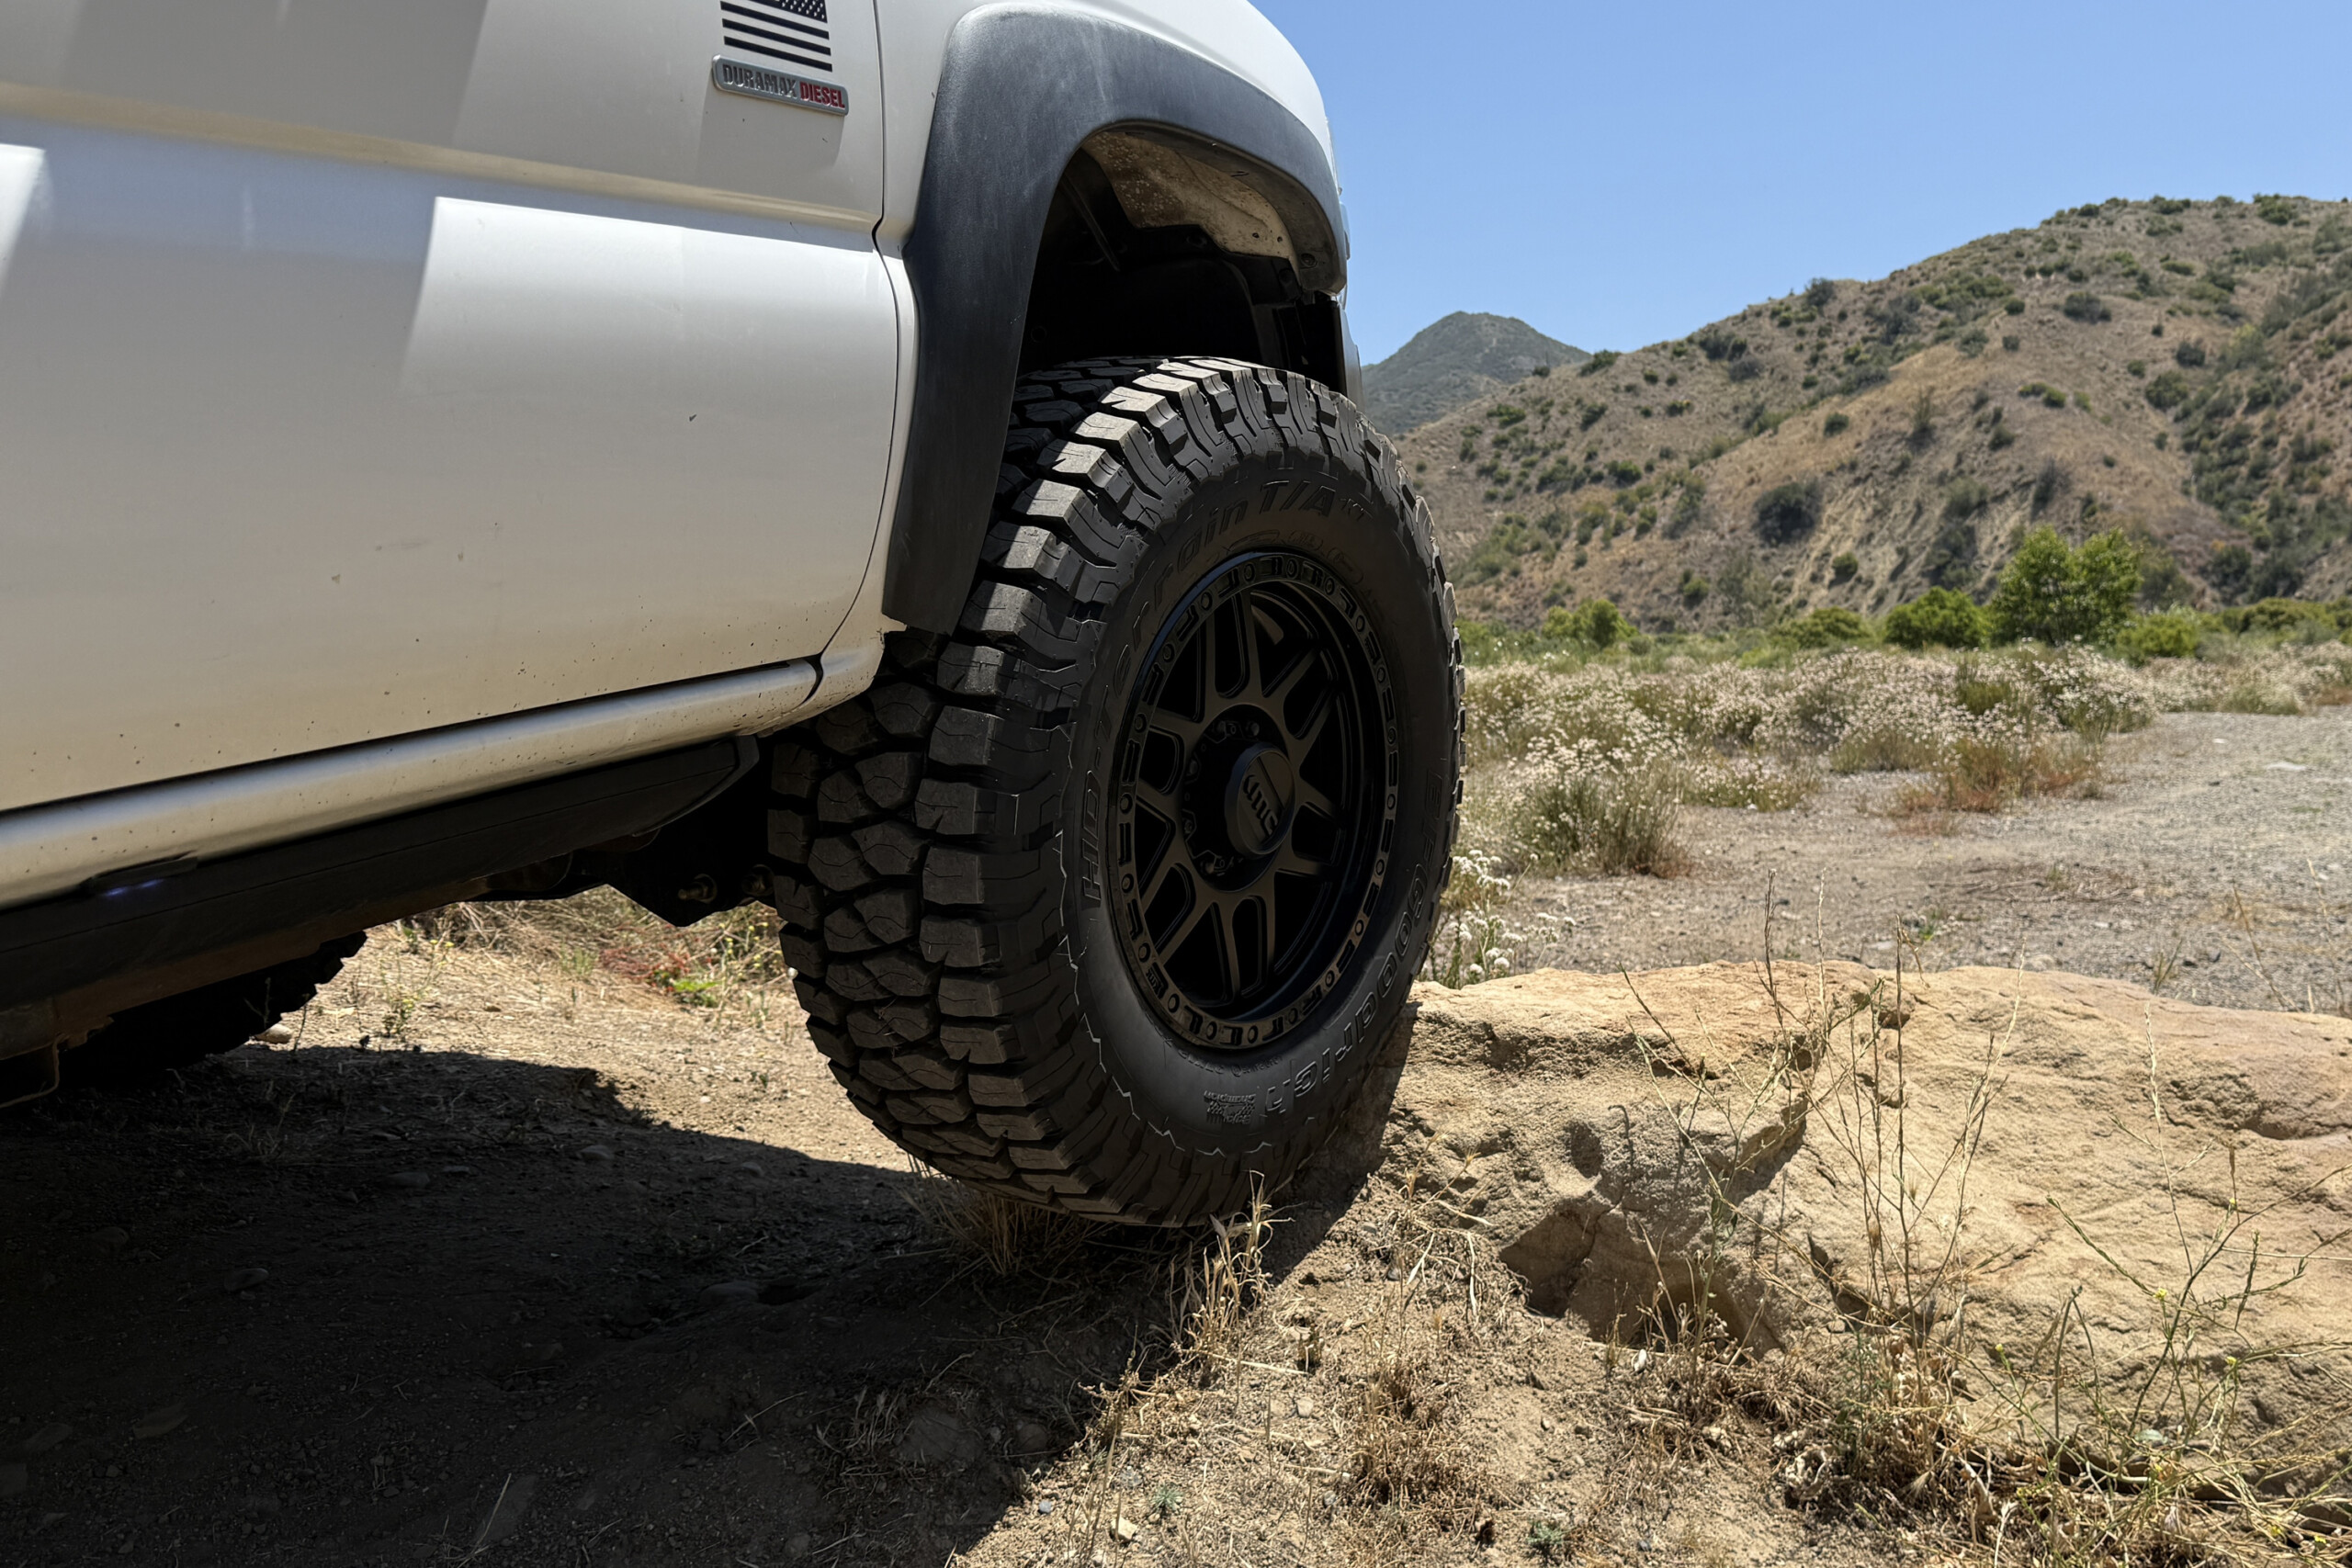
Offroad tires aren’t cheap. The bigger you go, the more expensive they get. Roads and trails are a veritable minefield of things that want to destroy your tires, much like just about everything on the beautiful continent of Australia wants to kill you. Most of us carry spare tires on/in our Jeeps because of this, but swapping to the spare isn’t always necessary. A nail or screw through the tread is not a death sentence (usually) for a good tire and can be easily remedied with a plug kit you should already have in your off-road rig.
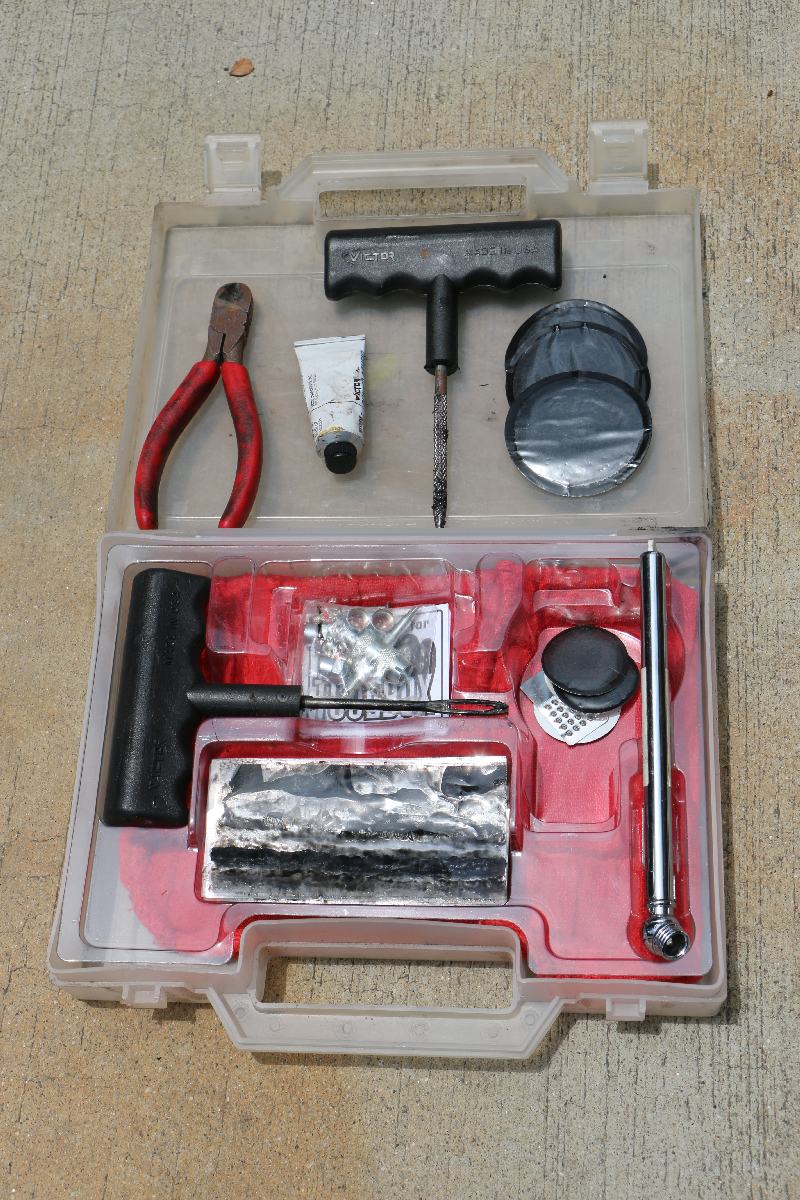
There are lots of tire plug kits on the market. A self-contained kit that fits into a nice spot in your Jeep can save a lot of trouble when the need arises. This kit fits great in the rear storage cubby in a JK.
Tire Plug kits come in a multitude of configurations. Some are designed for general automotive needs and others are specifically geared towards the off-road community. Each of them will have the same basic tools and supplies as a base they may build from.
The kit shown here is a Made In USA kit by Victor with a couple items we added. The kit came with a reamer and plug insertion tools, both with durable plastic handles. The self-contained kit also includes a few packages of self-vulcanizing plugs, a few patches, valve cores with valve core tool, extra valve stem caps, rubber cement, and a pencil type air gauge.
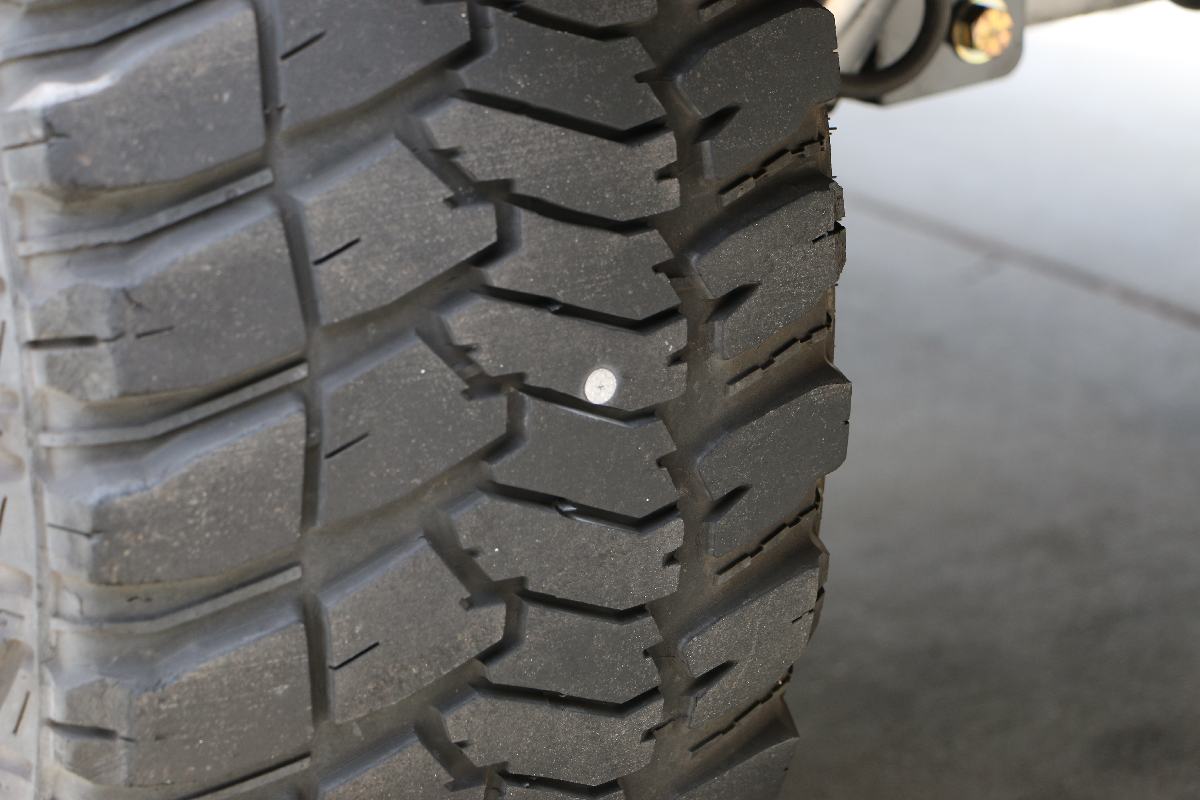
Through a lug in the center of the tread is best case scenario for a plug. The extra rubber around the wound helps to make sure the plug seals properly.
Added to the kit is a small pair of diagonal cutters and an extra rag. With the tool bag kept in the Jeep, there are duplicates, but this ensures that the needed tools are always close at hand for the task, especially helpful for roadside repairs or a trail run that has your rig packed to the brim.
These days, roadside assistance comes from a lot of different sources. Not only does your insurance company likely provide it, often times tire manufacturers and other institutions offer it as well. There won’t always be a definitive need to repair the tire yourself, but 10 minutes plugging the tire yourself could save you the 45 minute plus wait for assistance to arrive.
The process is relatively simple. Many of you probably already know how to do this but it is worth explaining for those that are new, need a refresher or just want to see how other people do it. Check out the pictures and captions for a step-by-step process.
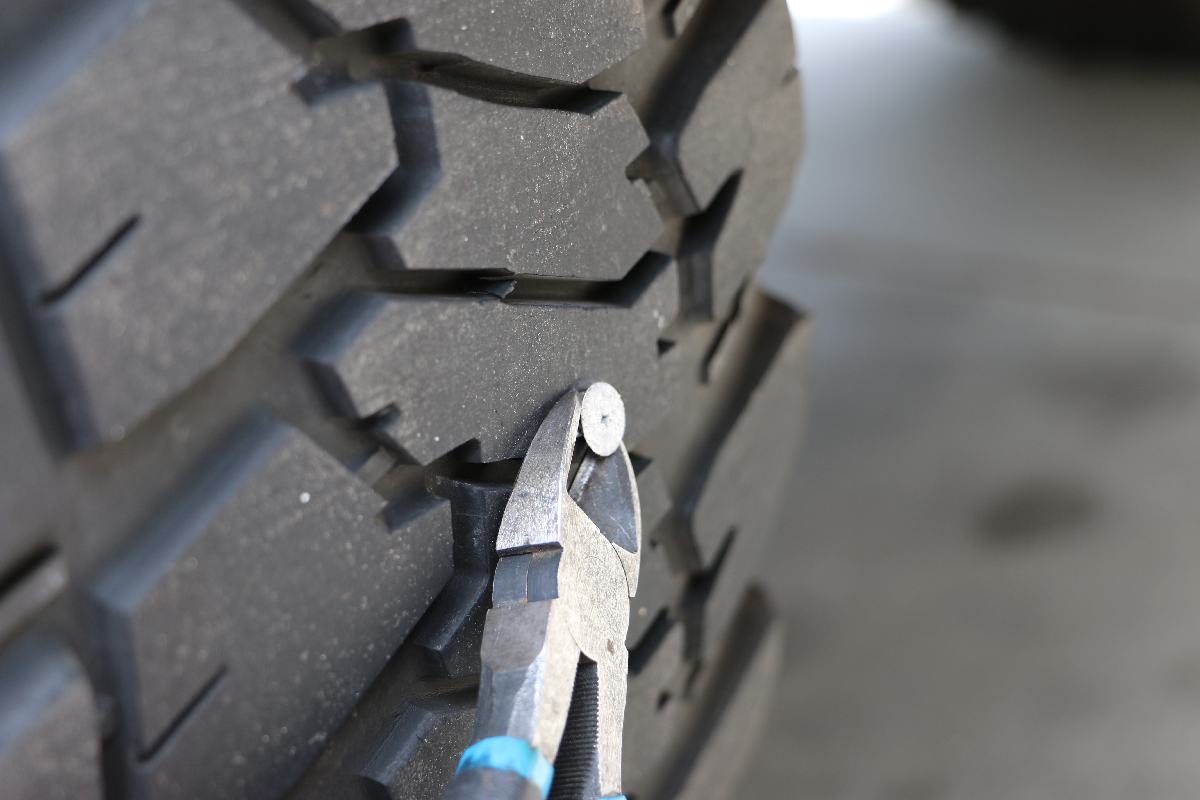
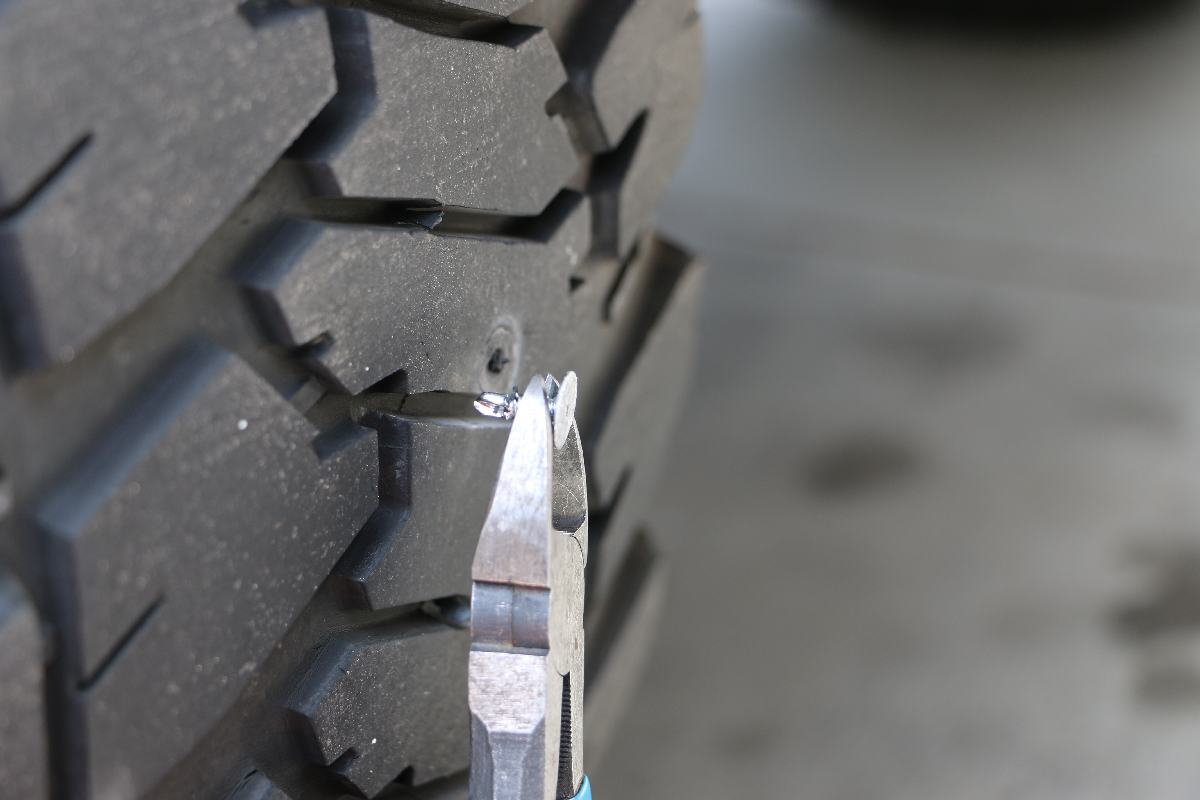
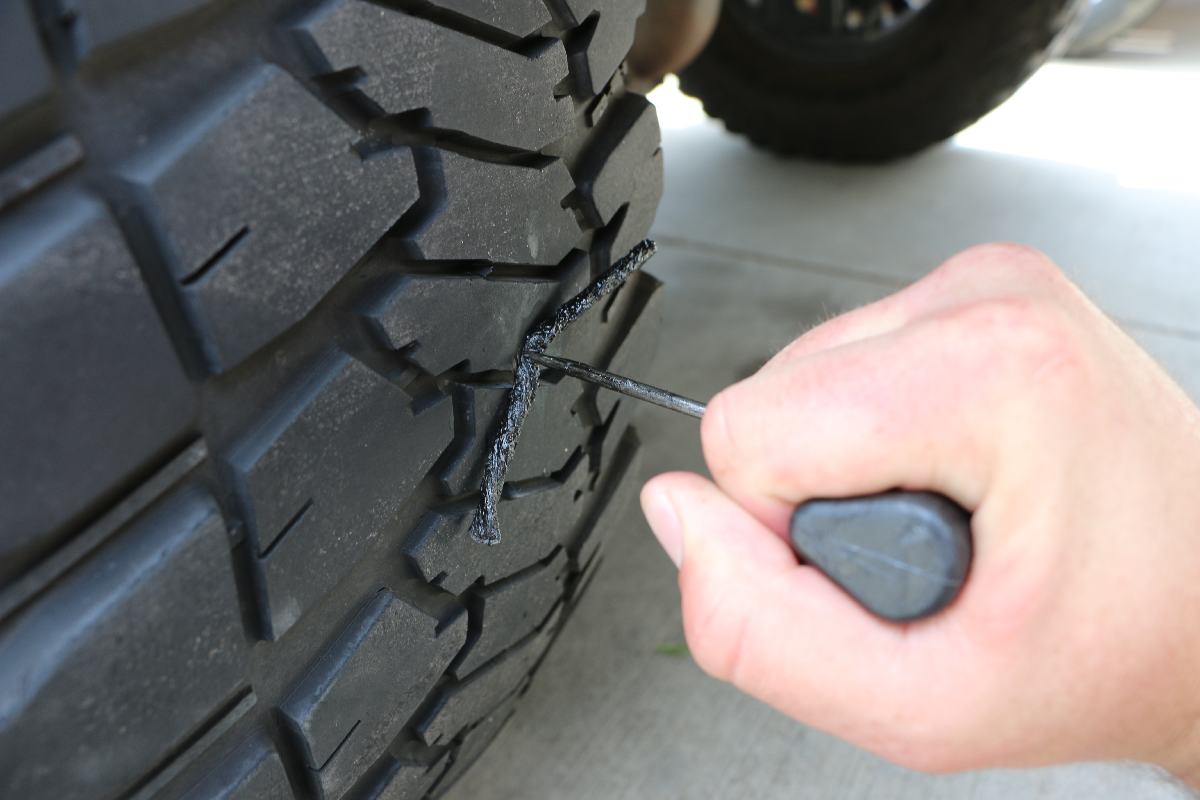
Every nail or screw is going to be different. A set of diagonal cutters often times is able to get up under the head of the screw and bite into the shank.
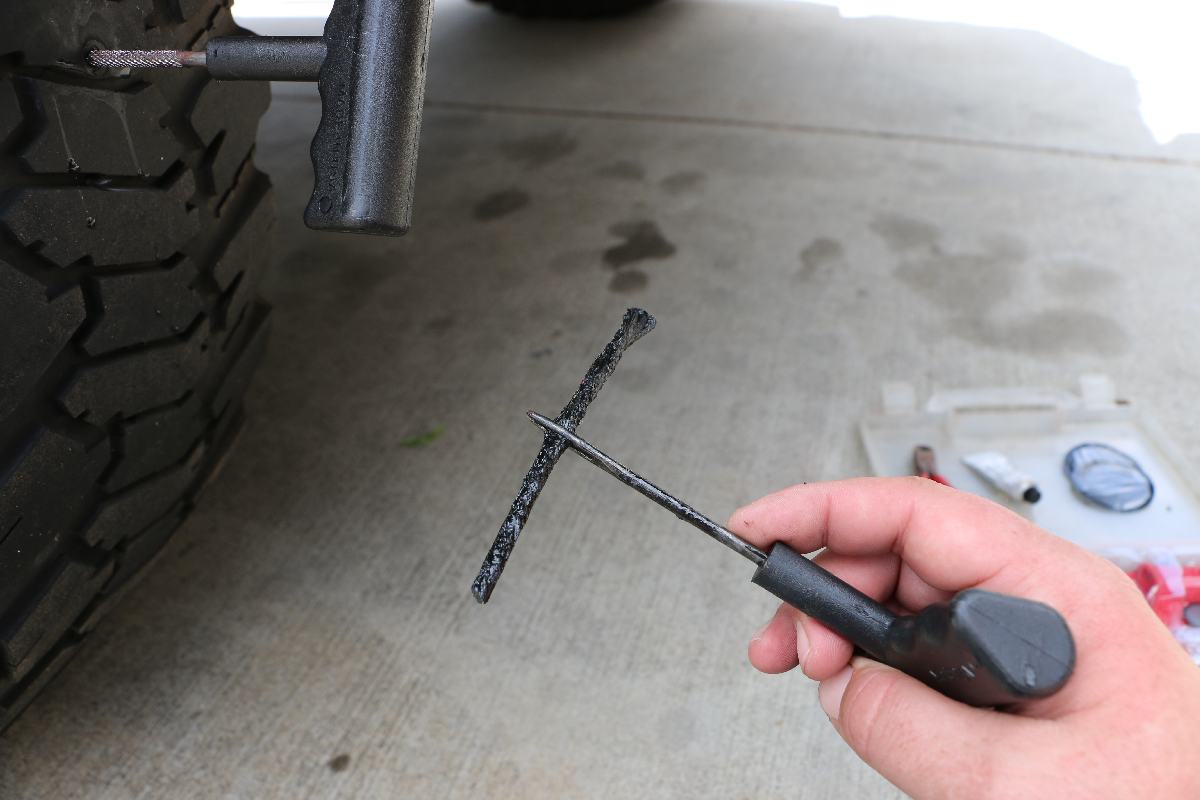
This screw ended up a stubby. On a tire without so many miles on it, this would not have punctured all the way through.
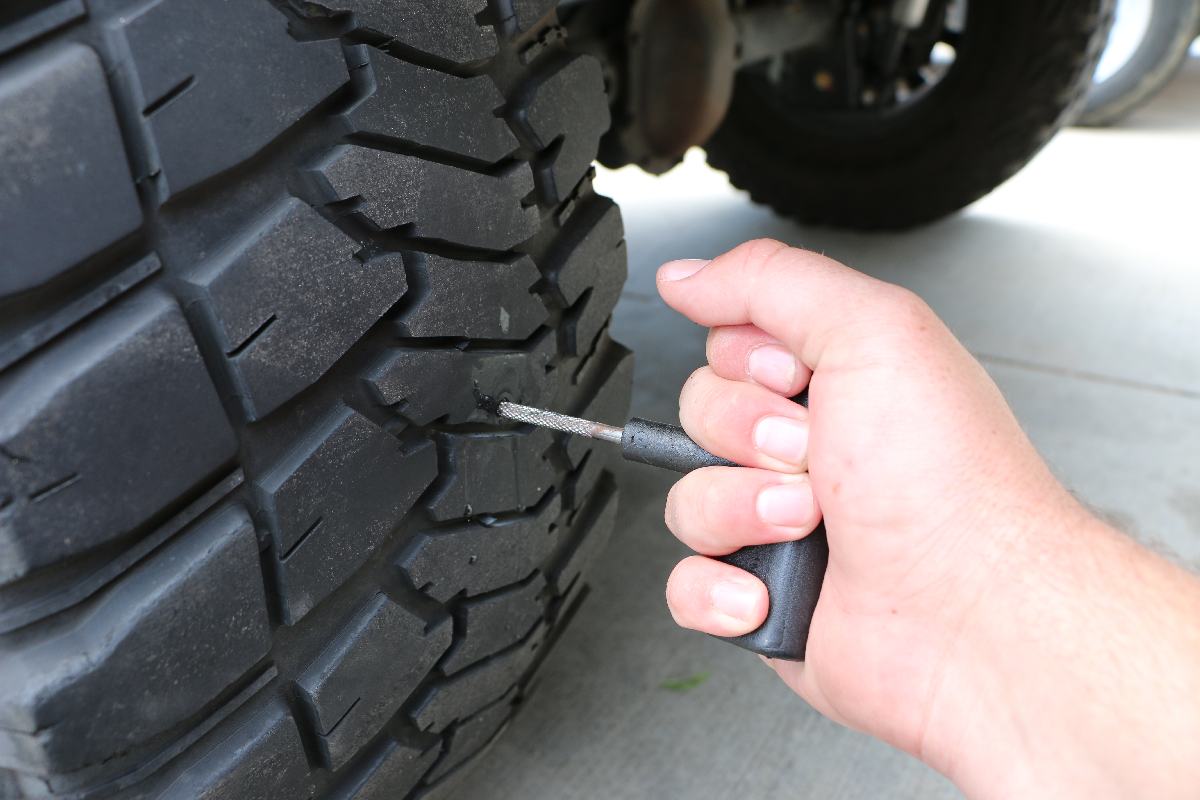
Using the reamer opens up the hole so the insertion tool can get the plug all the way through. Seems counter intuitive to open up the wound bigger but it has to be done, especially on radial tires. The steel belt may have been opened up enough to let air through but not the insertion tool and plug.
Tire plugs are sticky and will leave residue on your hands, gloves are optional but on the side of the road on the way to your hot date, they may not be a bad idea. When setting up the insertion tool, I leave the reamer in the tire for minimal air loss. Smush the end of the plug and put it through the opening of the tool like you are threading a needle.
Dab a bit of rubber cement on the end and push the tool through the hole in the tire. This usually takes a fair amount of force but be careful not to push all the way through. Ask me how I know.
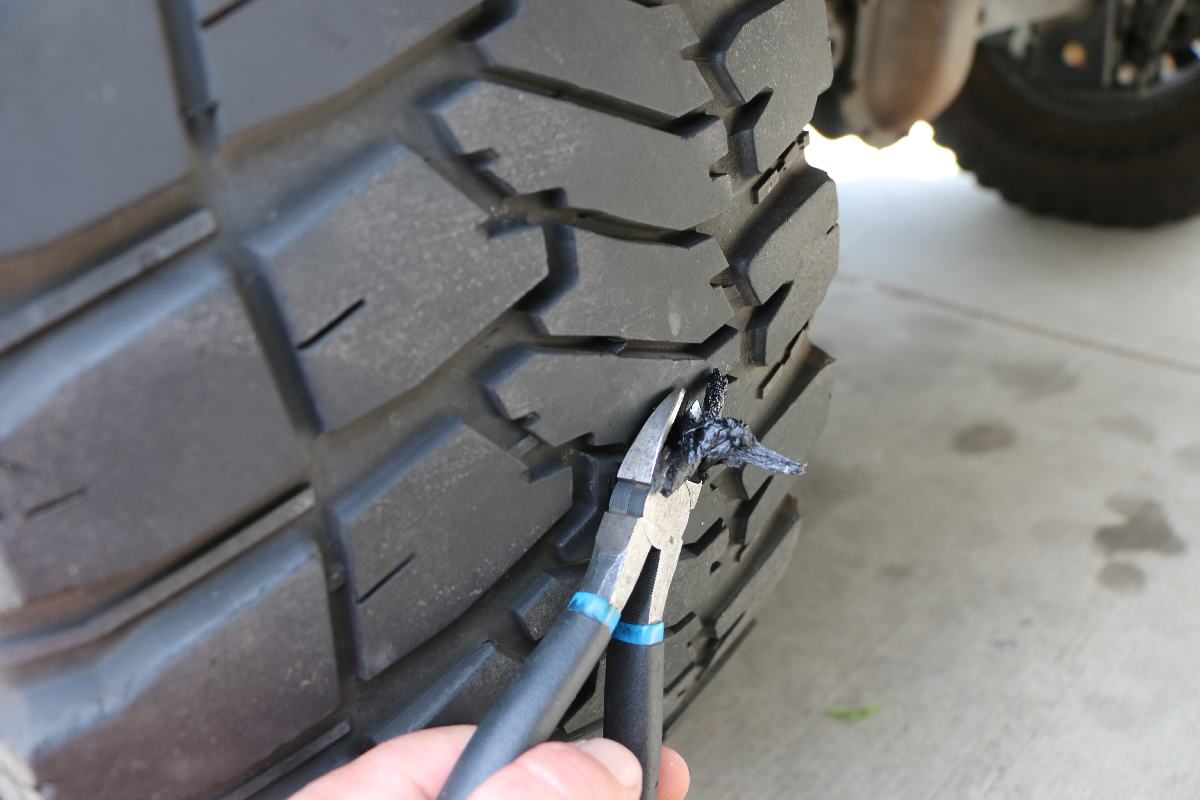
Cut the excess plug tails off with the diagonal cutters. Depending on the location of the plug, a flush cut is not always possible or desirable.
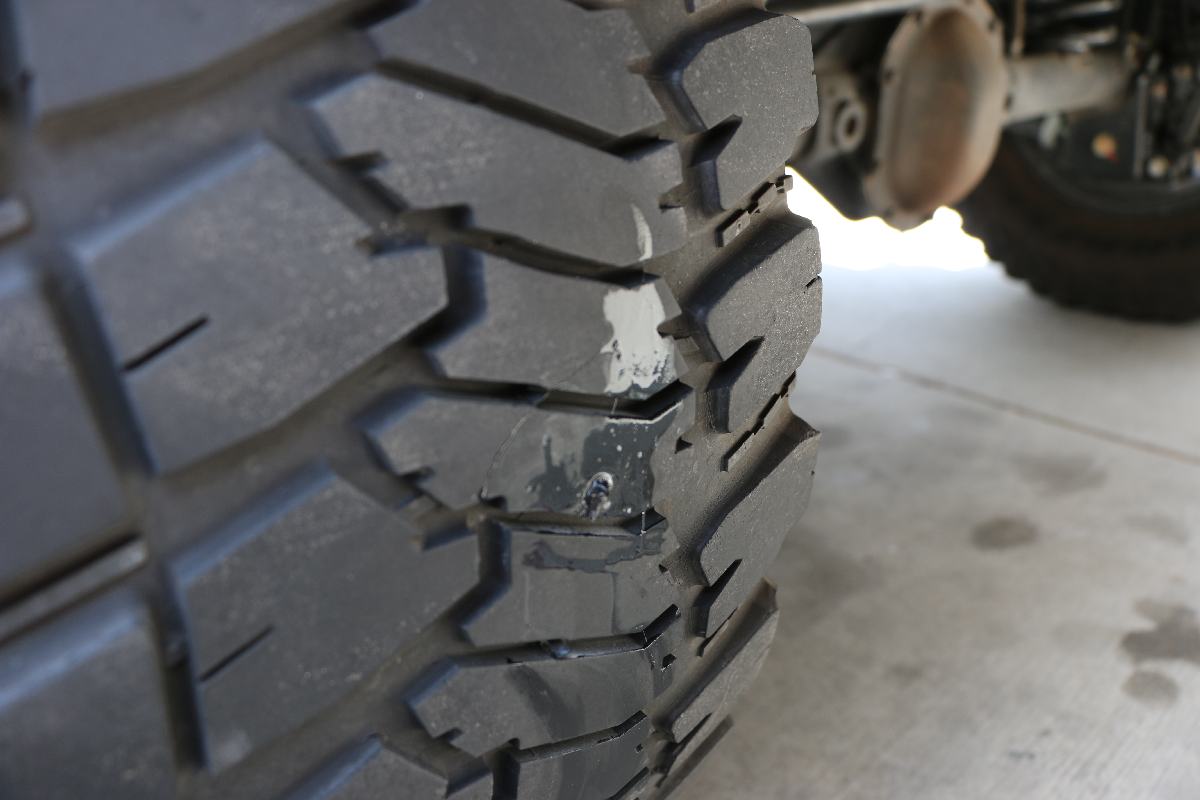
It may be a bit gross but a dab of spit is an easy way to see if the plug has done its job. If it hasn’t, grab the reamer and start over. Make sure to check your air pressure after you are done, fill as needed.