What matters most on a 4×4? Some will say it’s the gearing, because that’s what you want prepped for the purpose of rockcrawling. Others will say it’s the lockers; as a last resort, they’re hard to beat when the going gets rough. Still others will say it’s having the right off-road axles, since they’re the ones holding everything together and taking hits. We say it’s all three, and Currie Enterprises agrees.
Currie has been in the business of making high-grade, peerless axle housings since the 1960s. More than just off-road axles, however, the company has applications in drag racing, road racing, and other forms of motorsport. It’s safe to say they set the bar when it comes to axle builds, and for good reason – Currie makes a point of explaining to every customer that when it comes to axle assembly, the customer must let Currie handle it.

The reason for this is clear; Currie wants the quality control that direct assembly provides. And having visited their shop and seen how it’s done, we can show you how seriously Currie takes this process. Our opportunity came when we requested two fully built Dana 44 axles from Currie. We were invited to join them to witness the build from start to finish.
It Starts At Square One

Building custom axles is definitely an involved process, as we saw. We arrived at Currie HQ early on a Wednesday and laid out all of our accompanying parts – brake calipers, steering knuckles, and more – on a pallet. Currie cataloged the parts and explained what else we would need as we made our way to the assembly area.
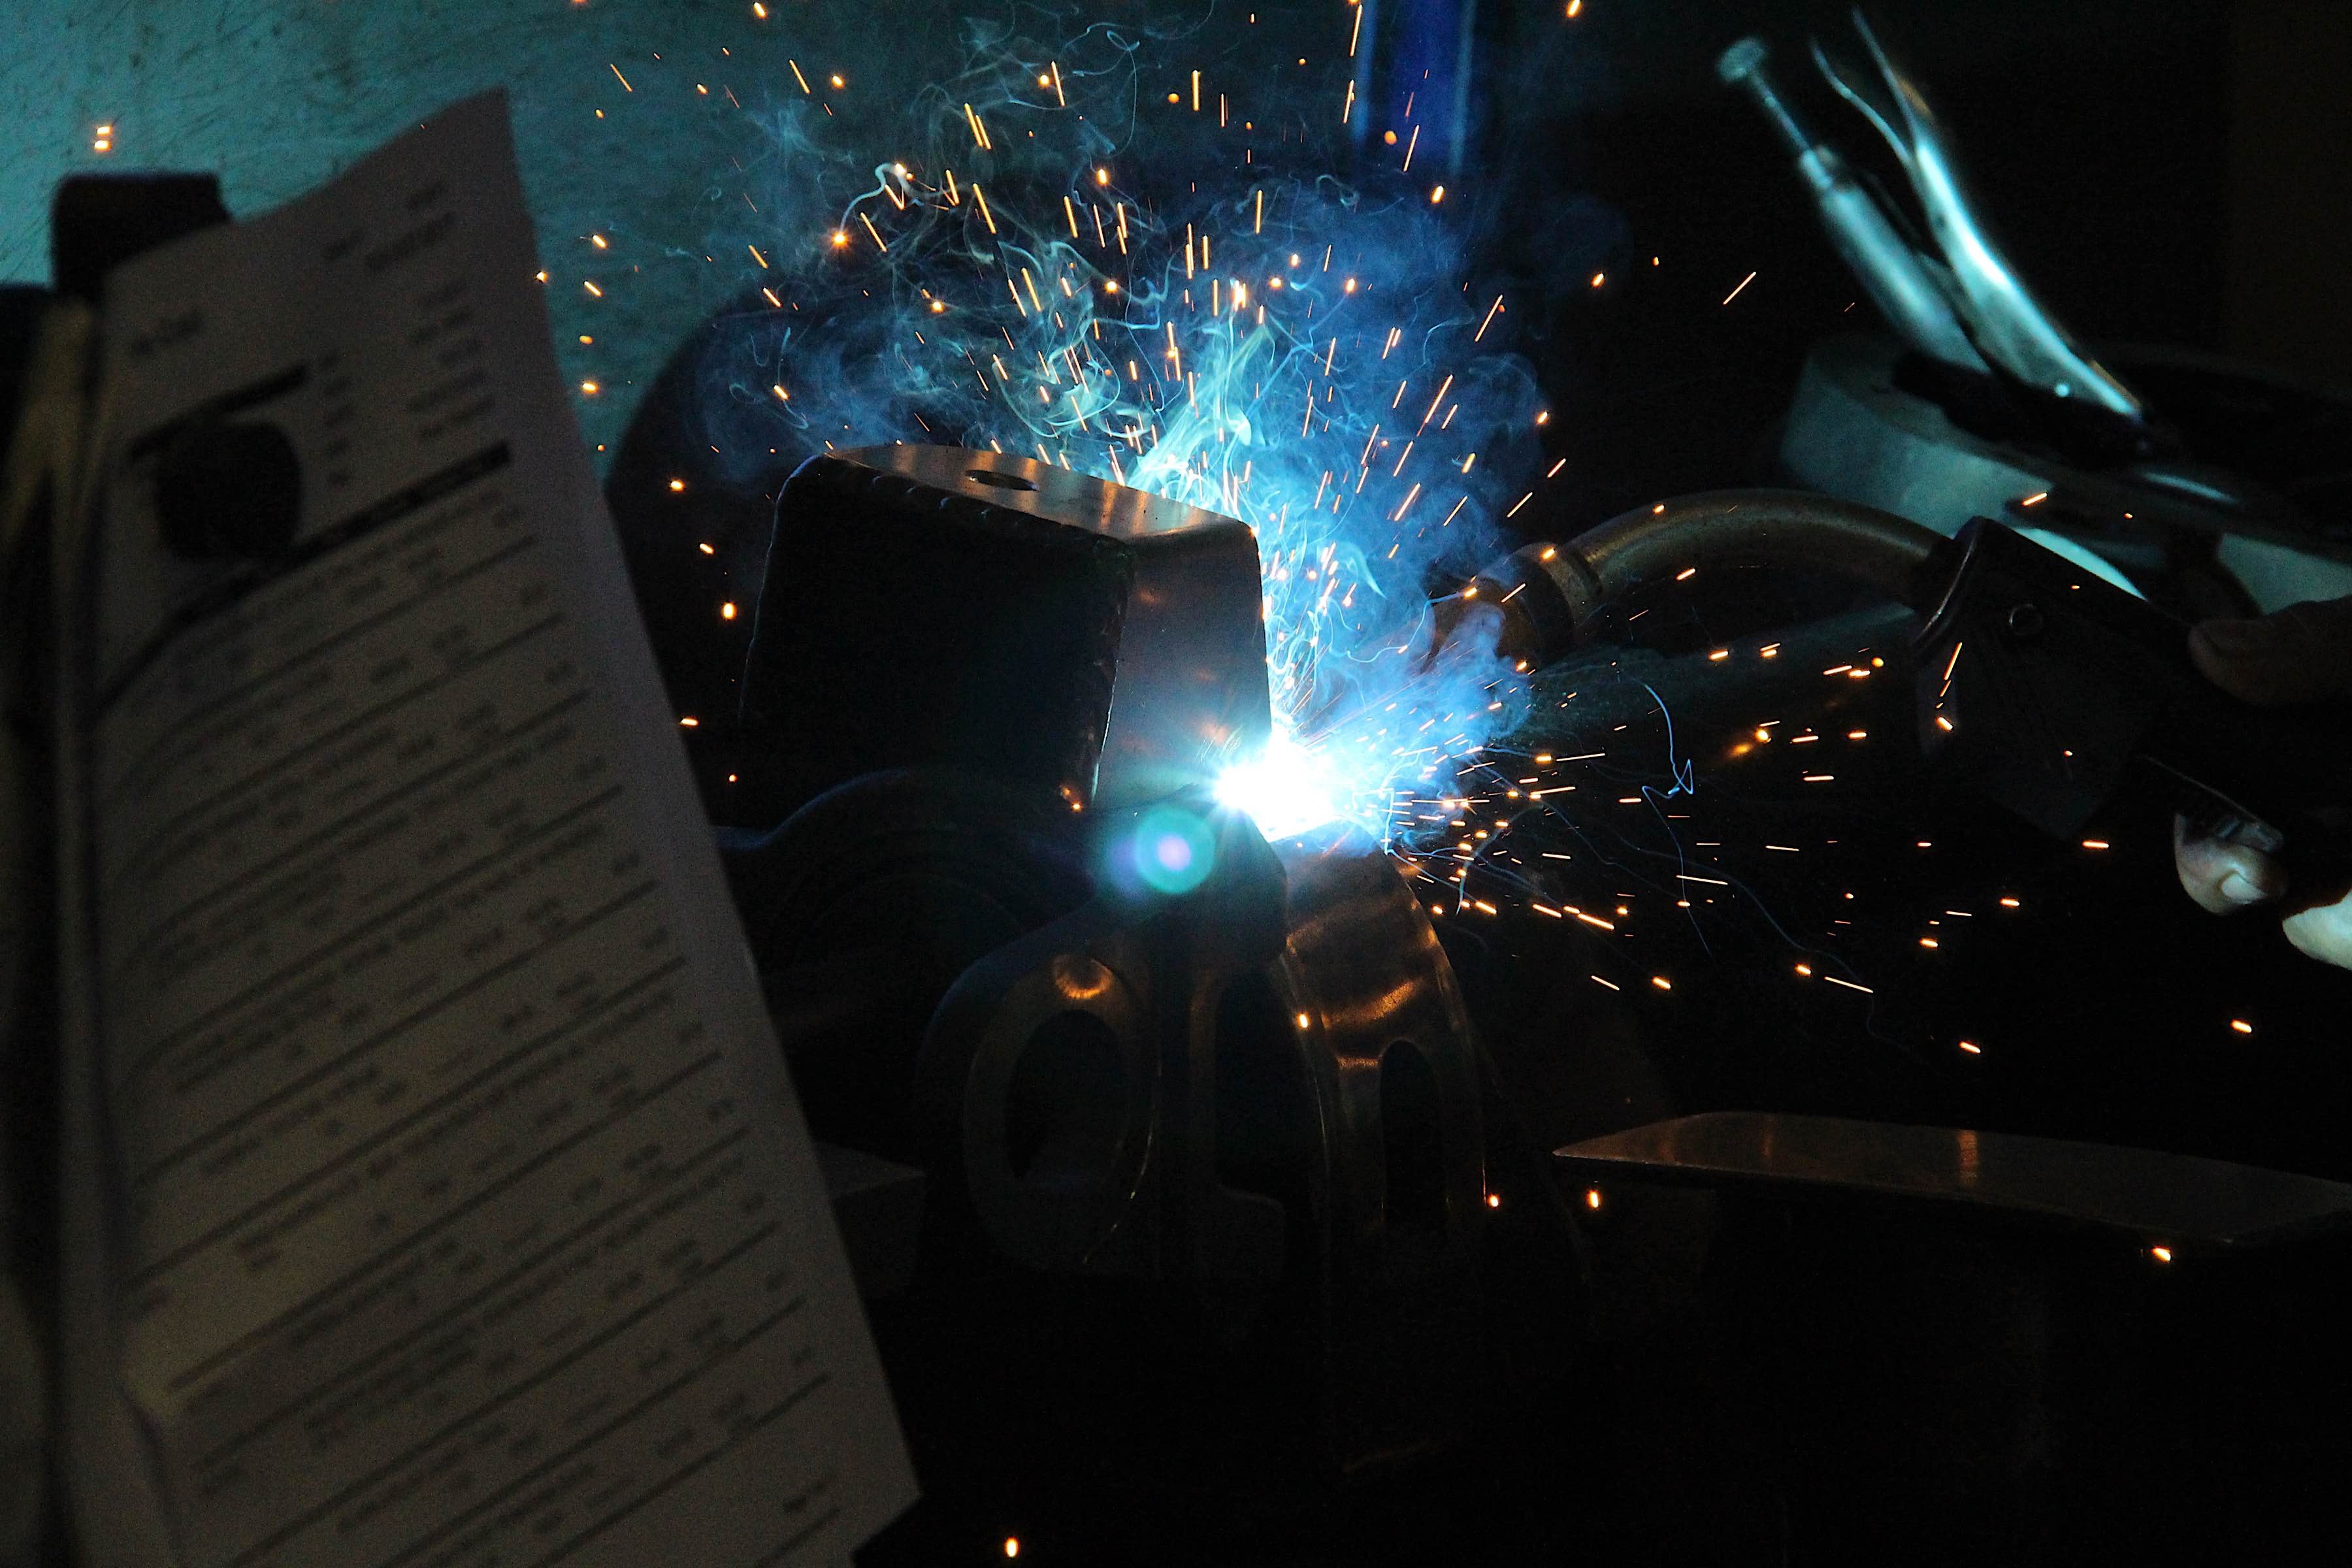
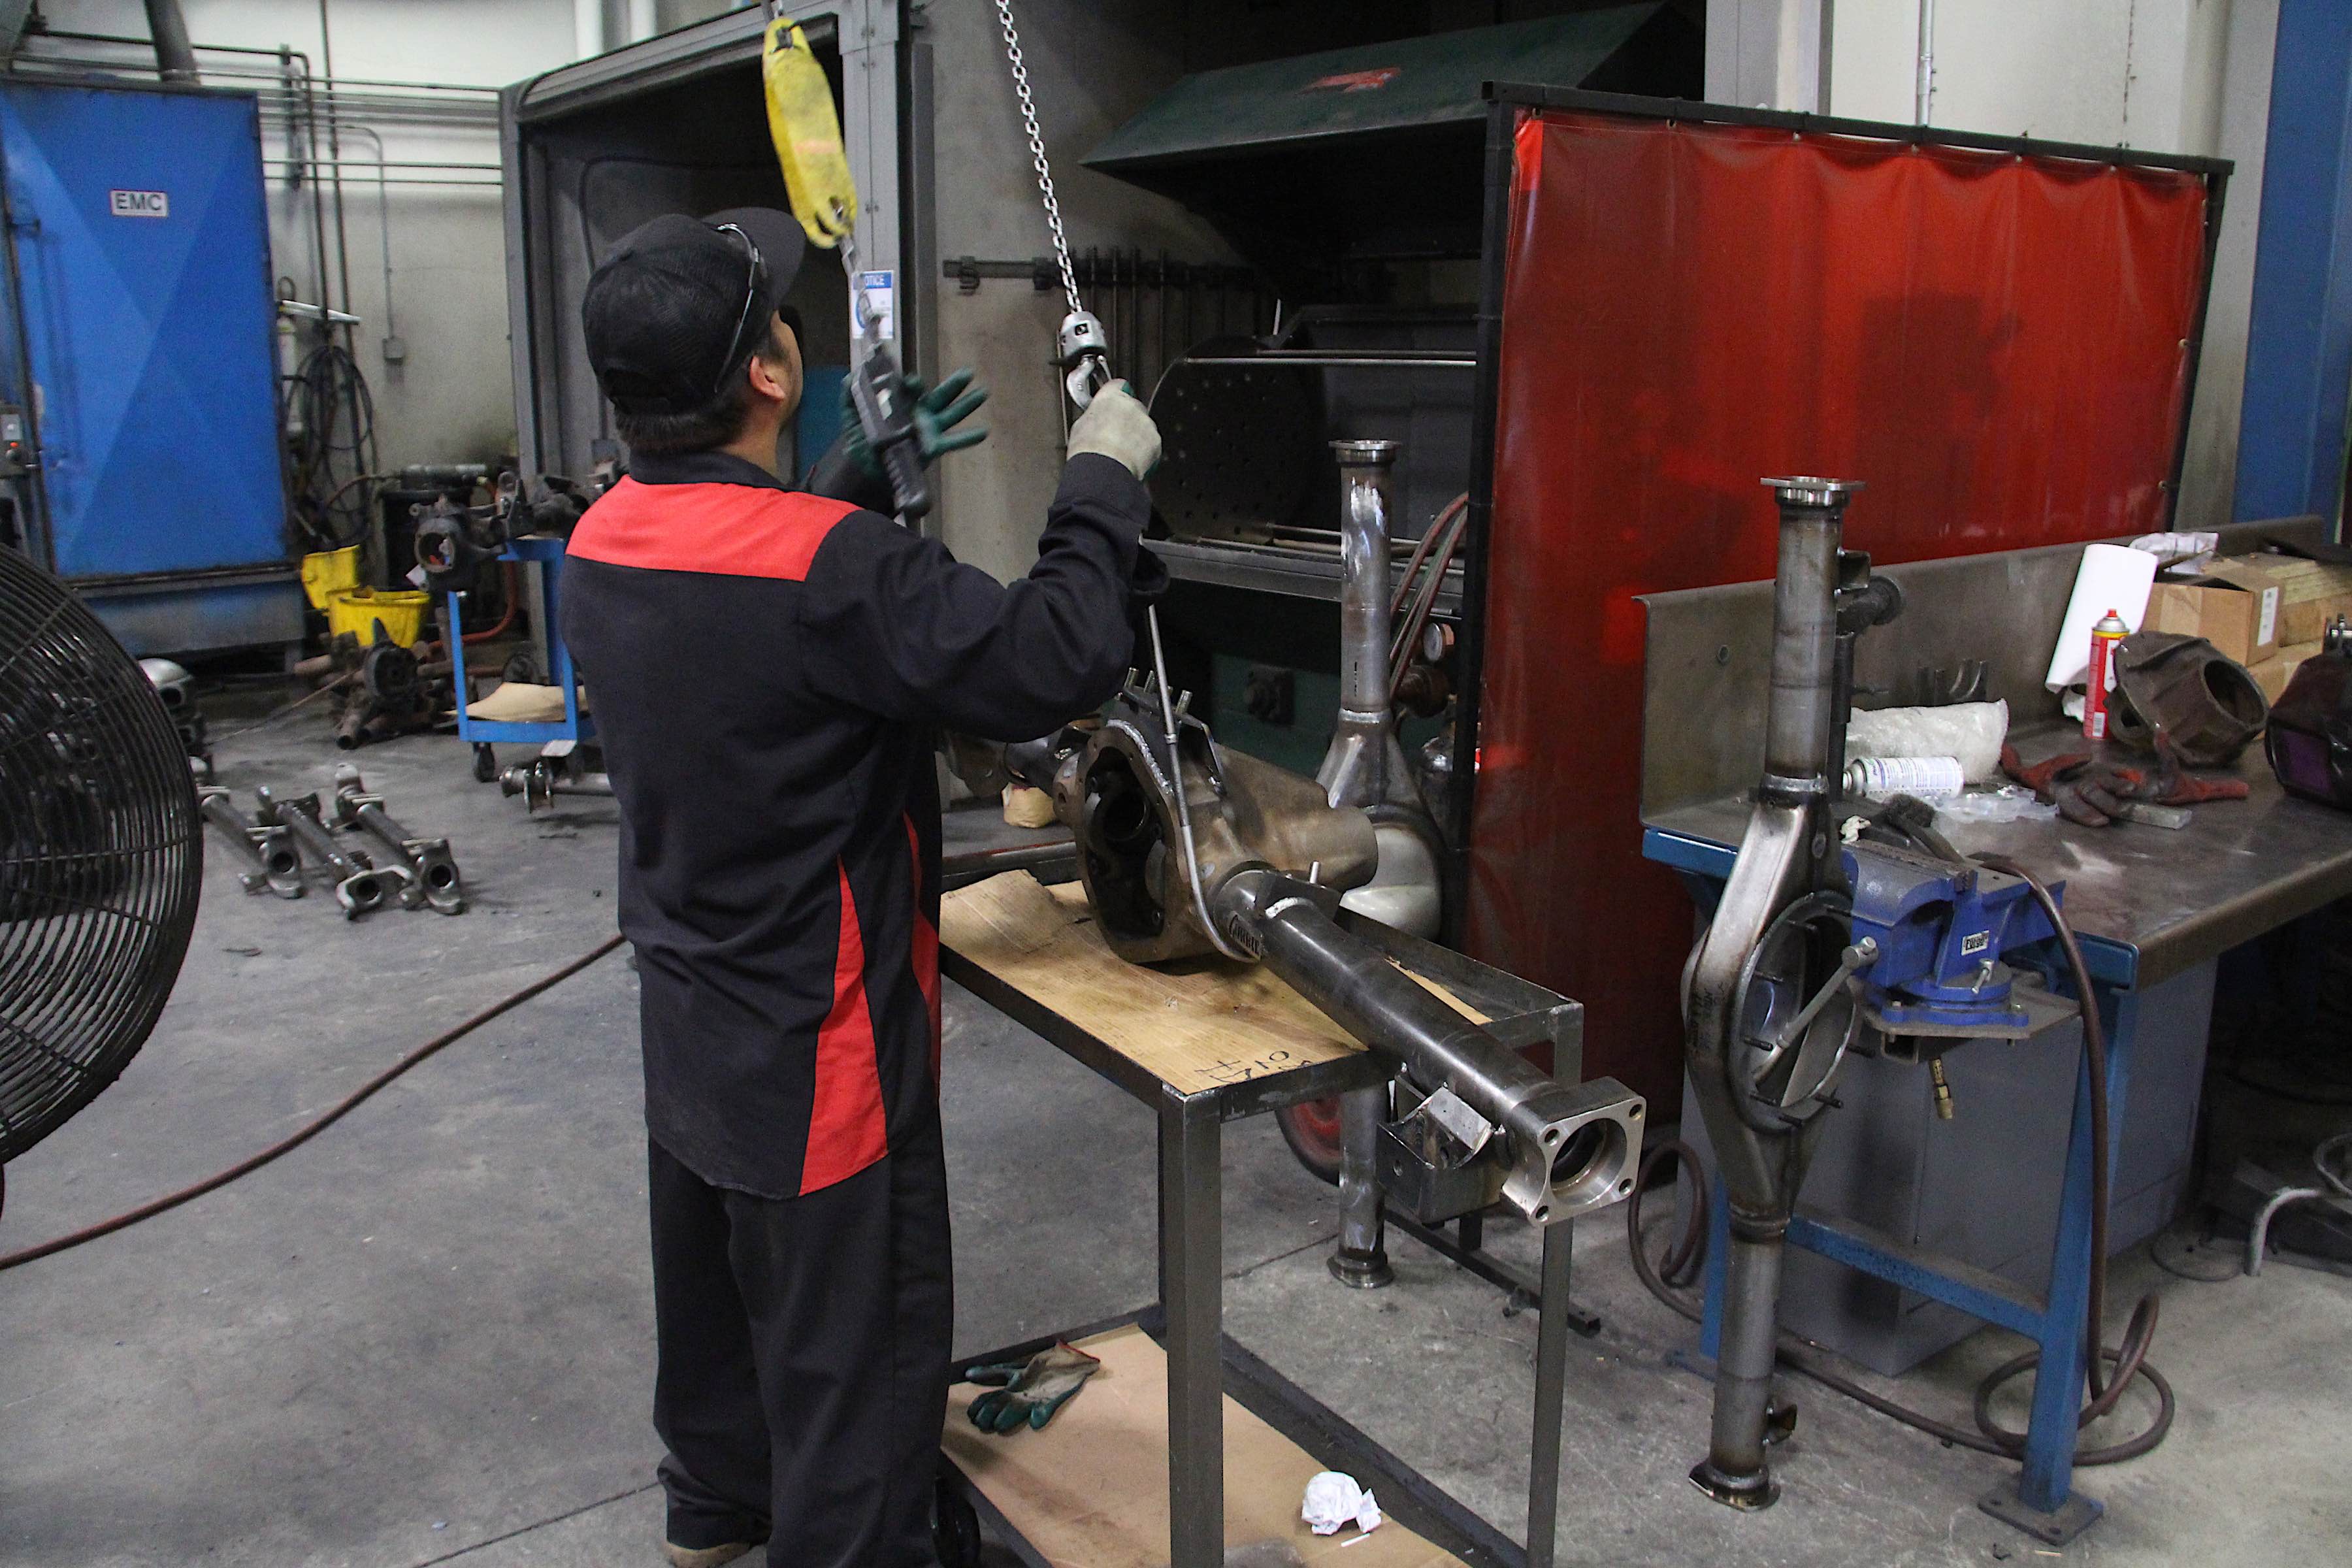
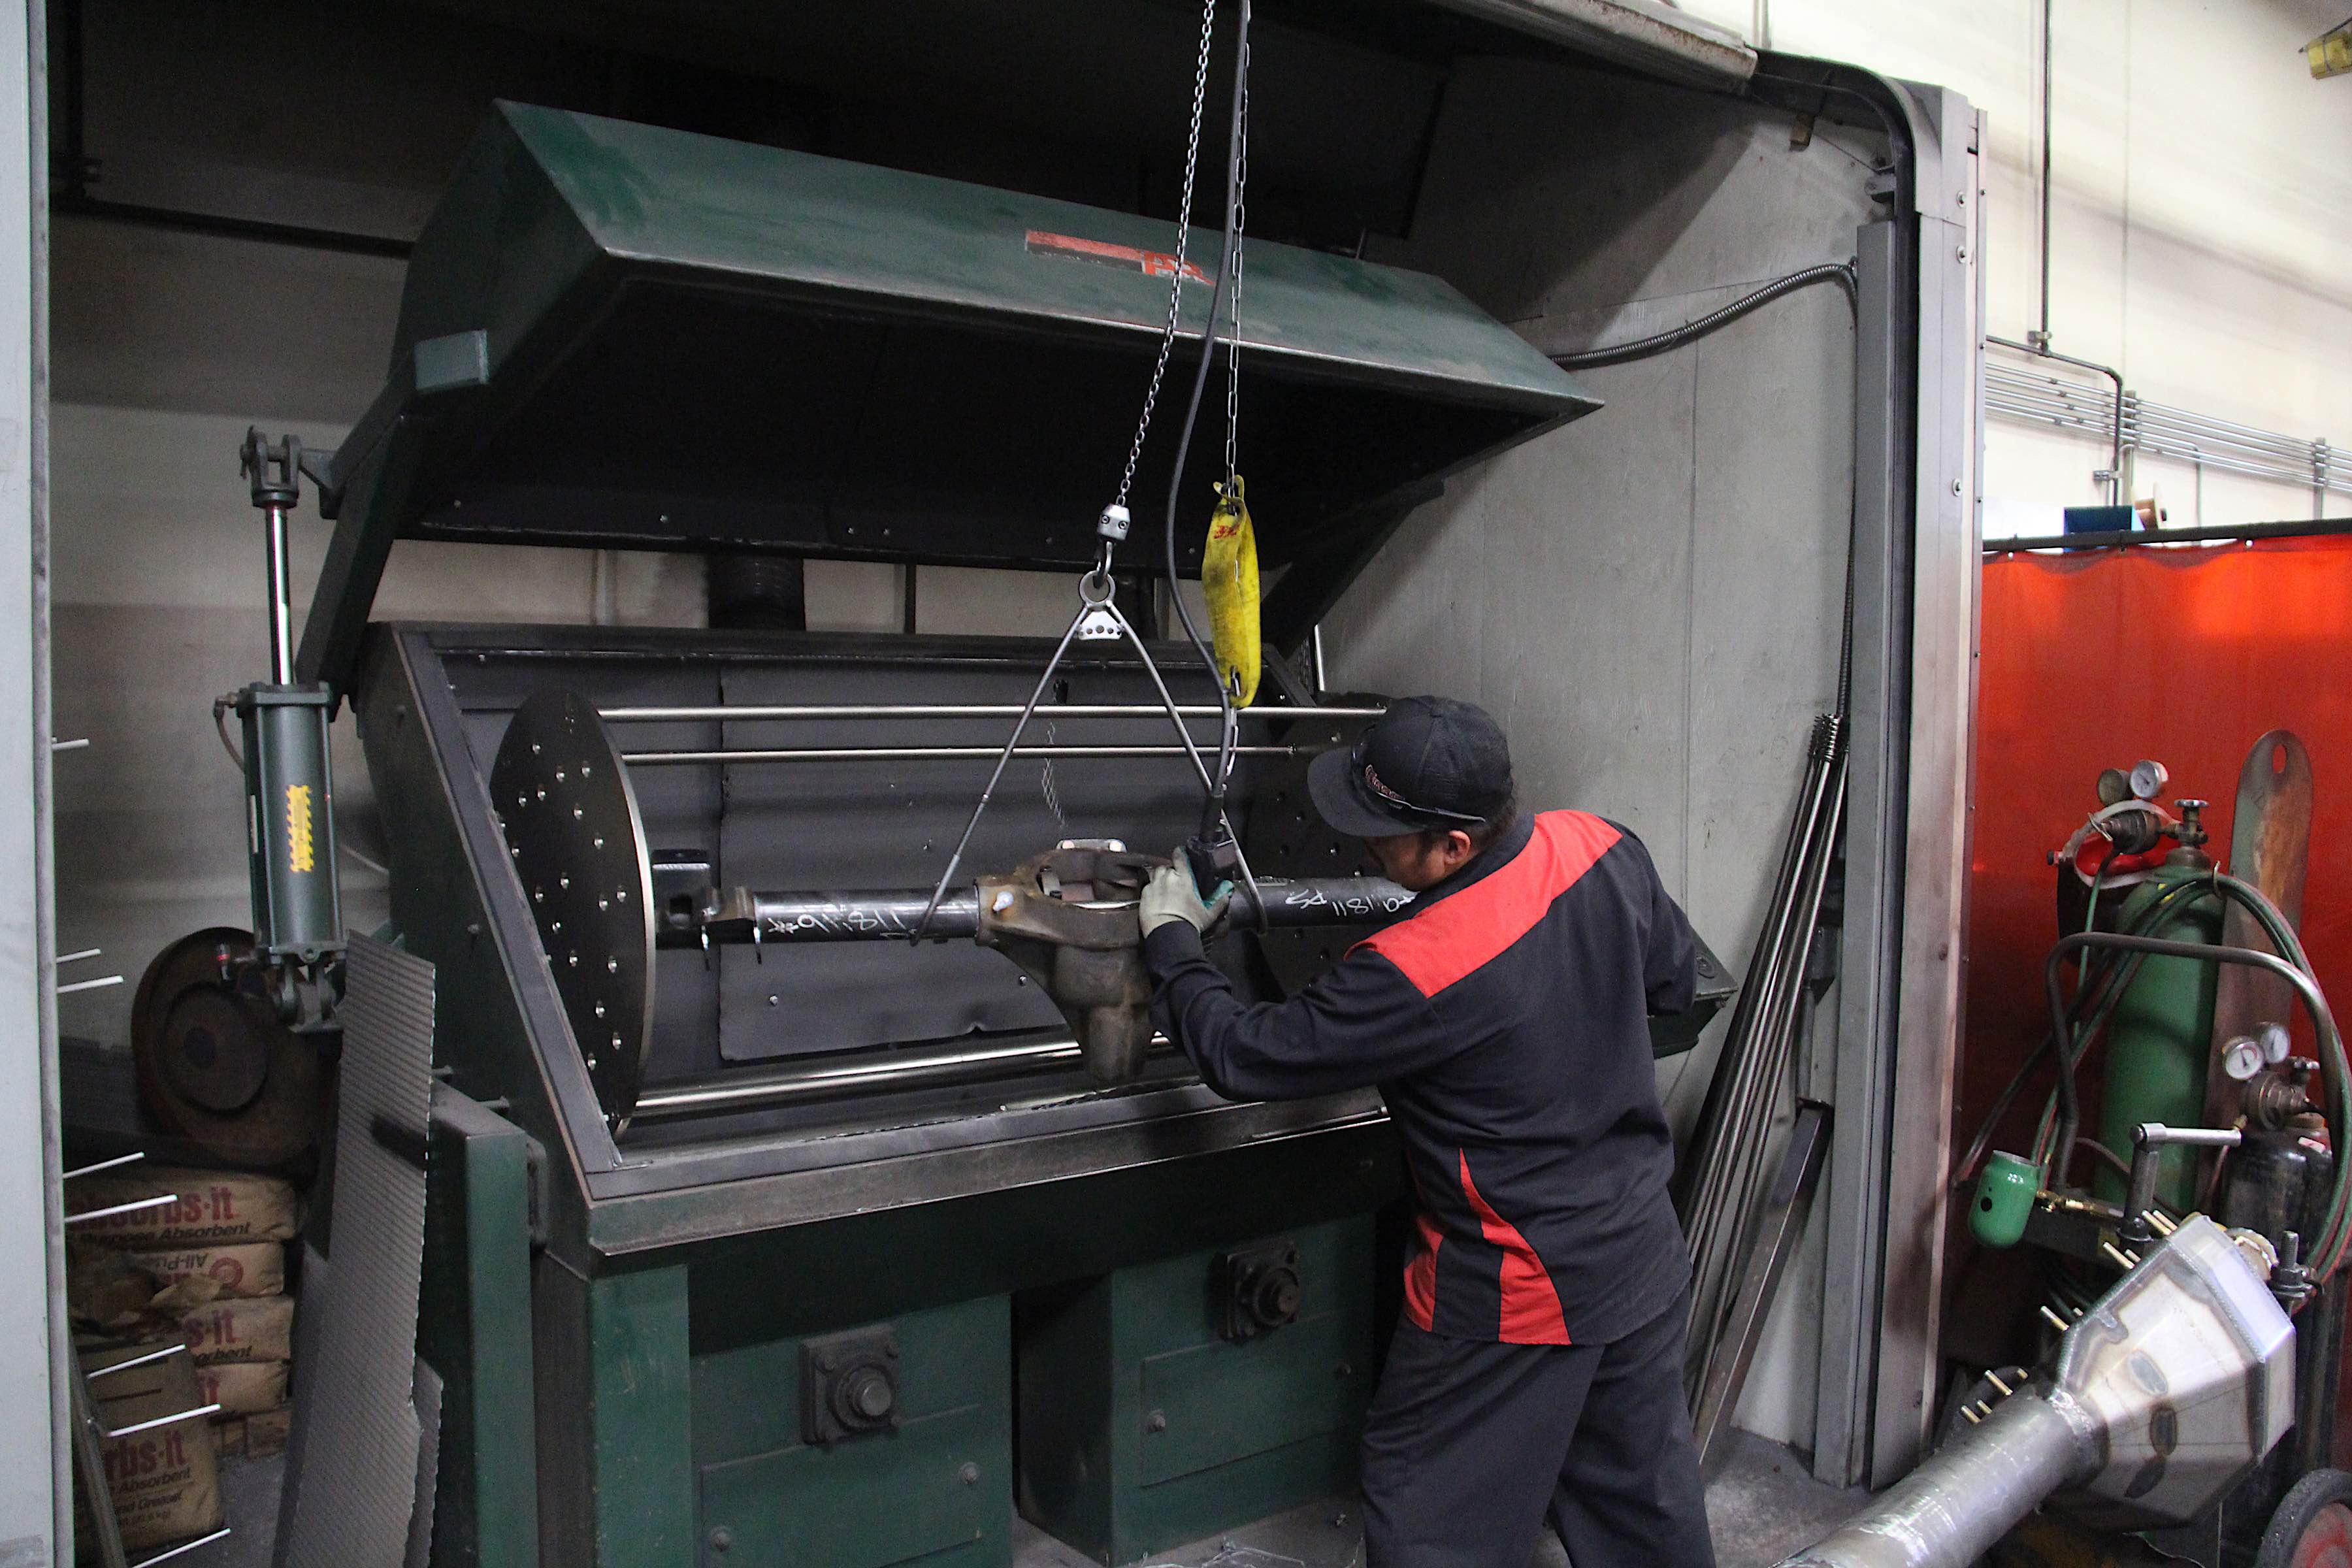
Here, welders did their thing, ensuring that each axle was precisely fabricated with careful attention to detail. It started with hoisting the rear housing over to a workstation, where a welder inspected the housing and inserted bushings, using a metal rod that kept the bushings straight, while also holding on through friction. The rod was then mounted to a rotisserie, which the welder rotated using a foot pedal, and welded the housing all the way around 360 degrees.

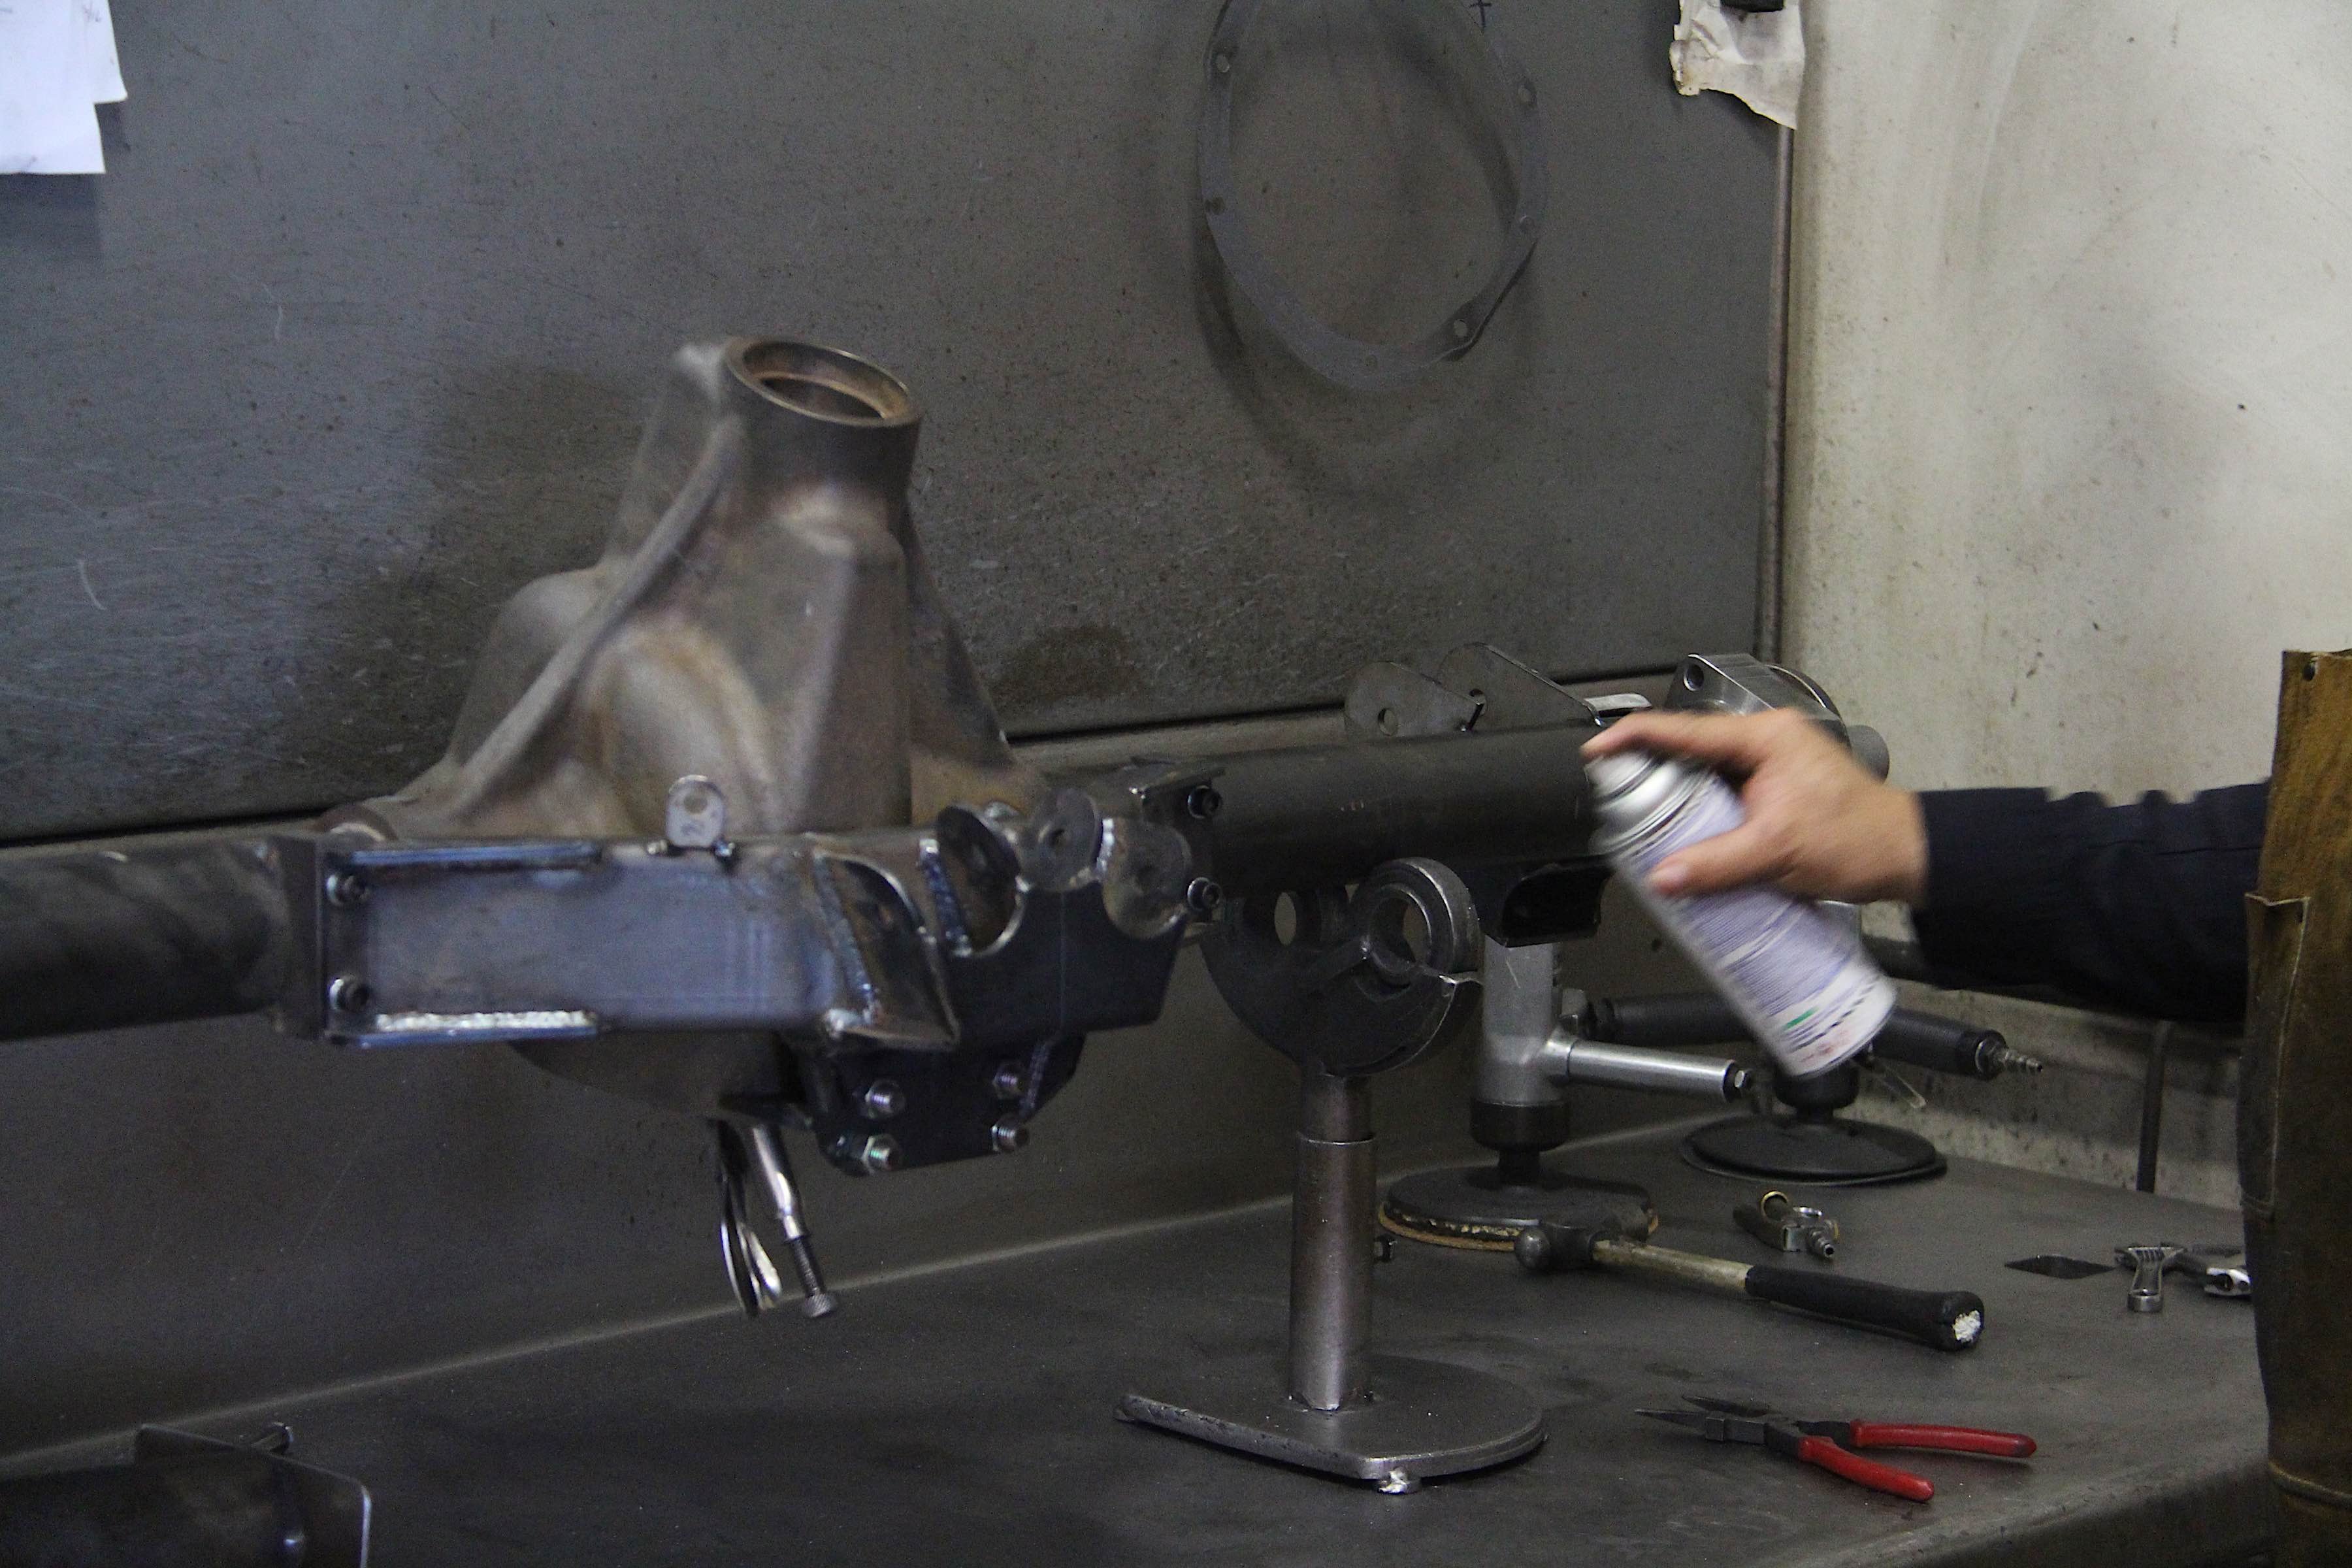
On the rear axle, we opted to go for a truss that would bolster the structural integrity of the housing. We also see the welder using anti-spatter spray, which cuts down on the mess of welding.
Satisfied that the welding was the highest quality, the welder went over the housing with a wire brush, as well as a hammer and chisel, to get rid of spatter that melted onto the steel. Next came the truss mounting points, and being that they had different bonding properties than the iron center, a torch was required on the center to get it warmed up for welding. The axle started to look a bit more complete than before.
The front housing received much the same treatment as the rear. The differences were that it had steering knuckles, which get welded onto the ends, as well as mounts for control arms. There was also no truss to support this one, as it would add too much rigidity to the housing.
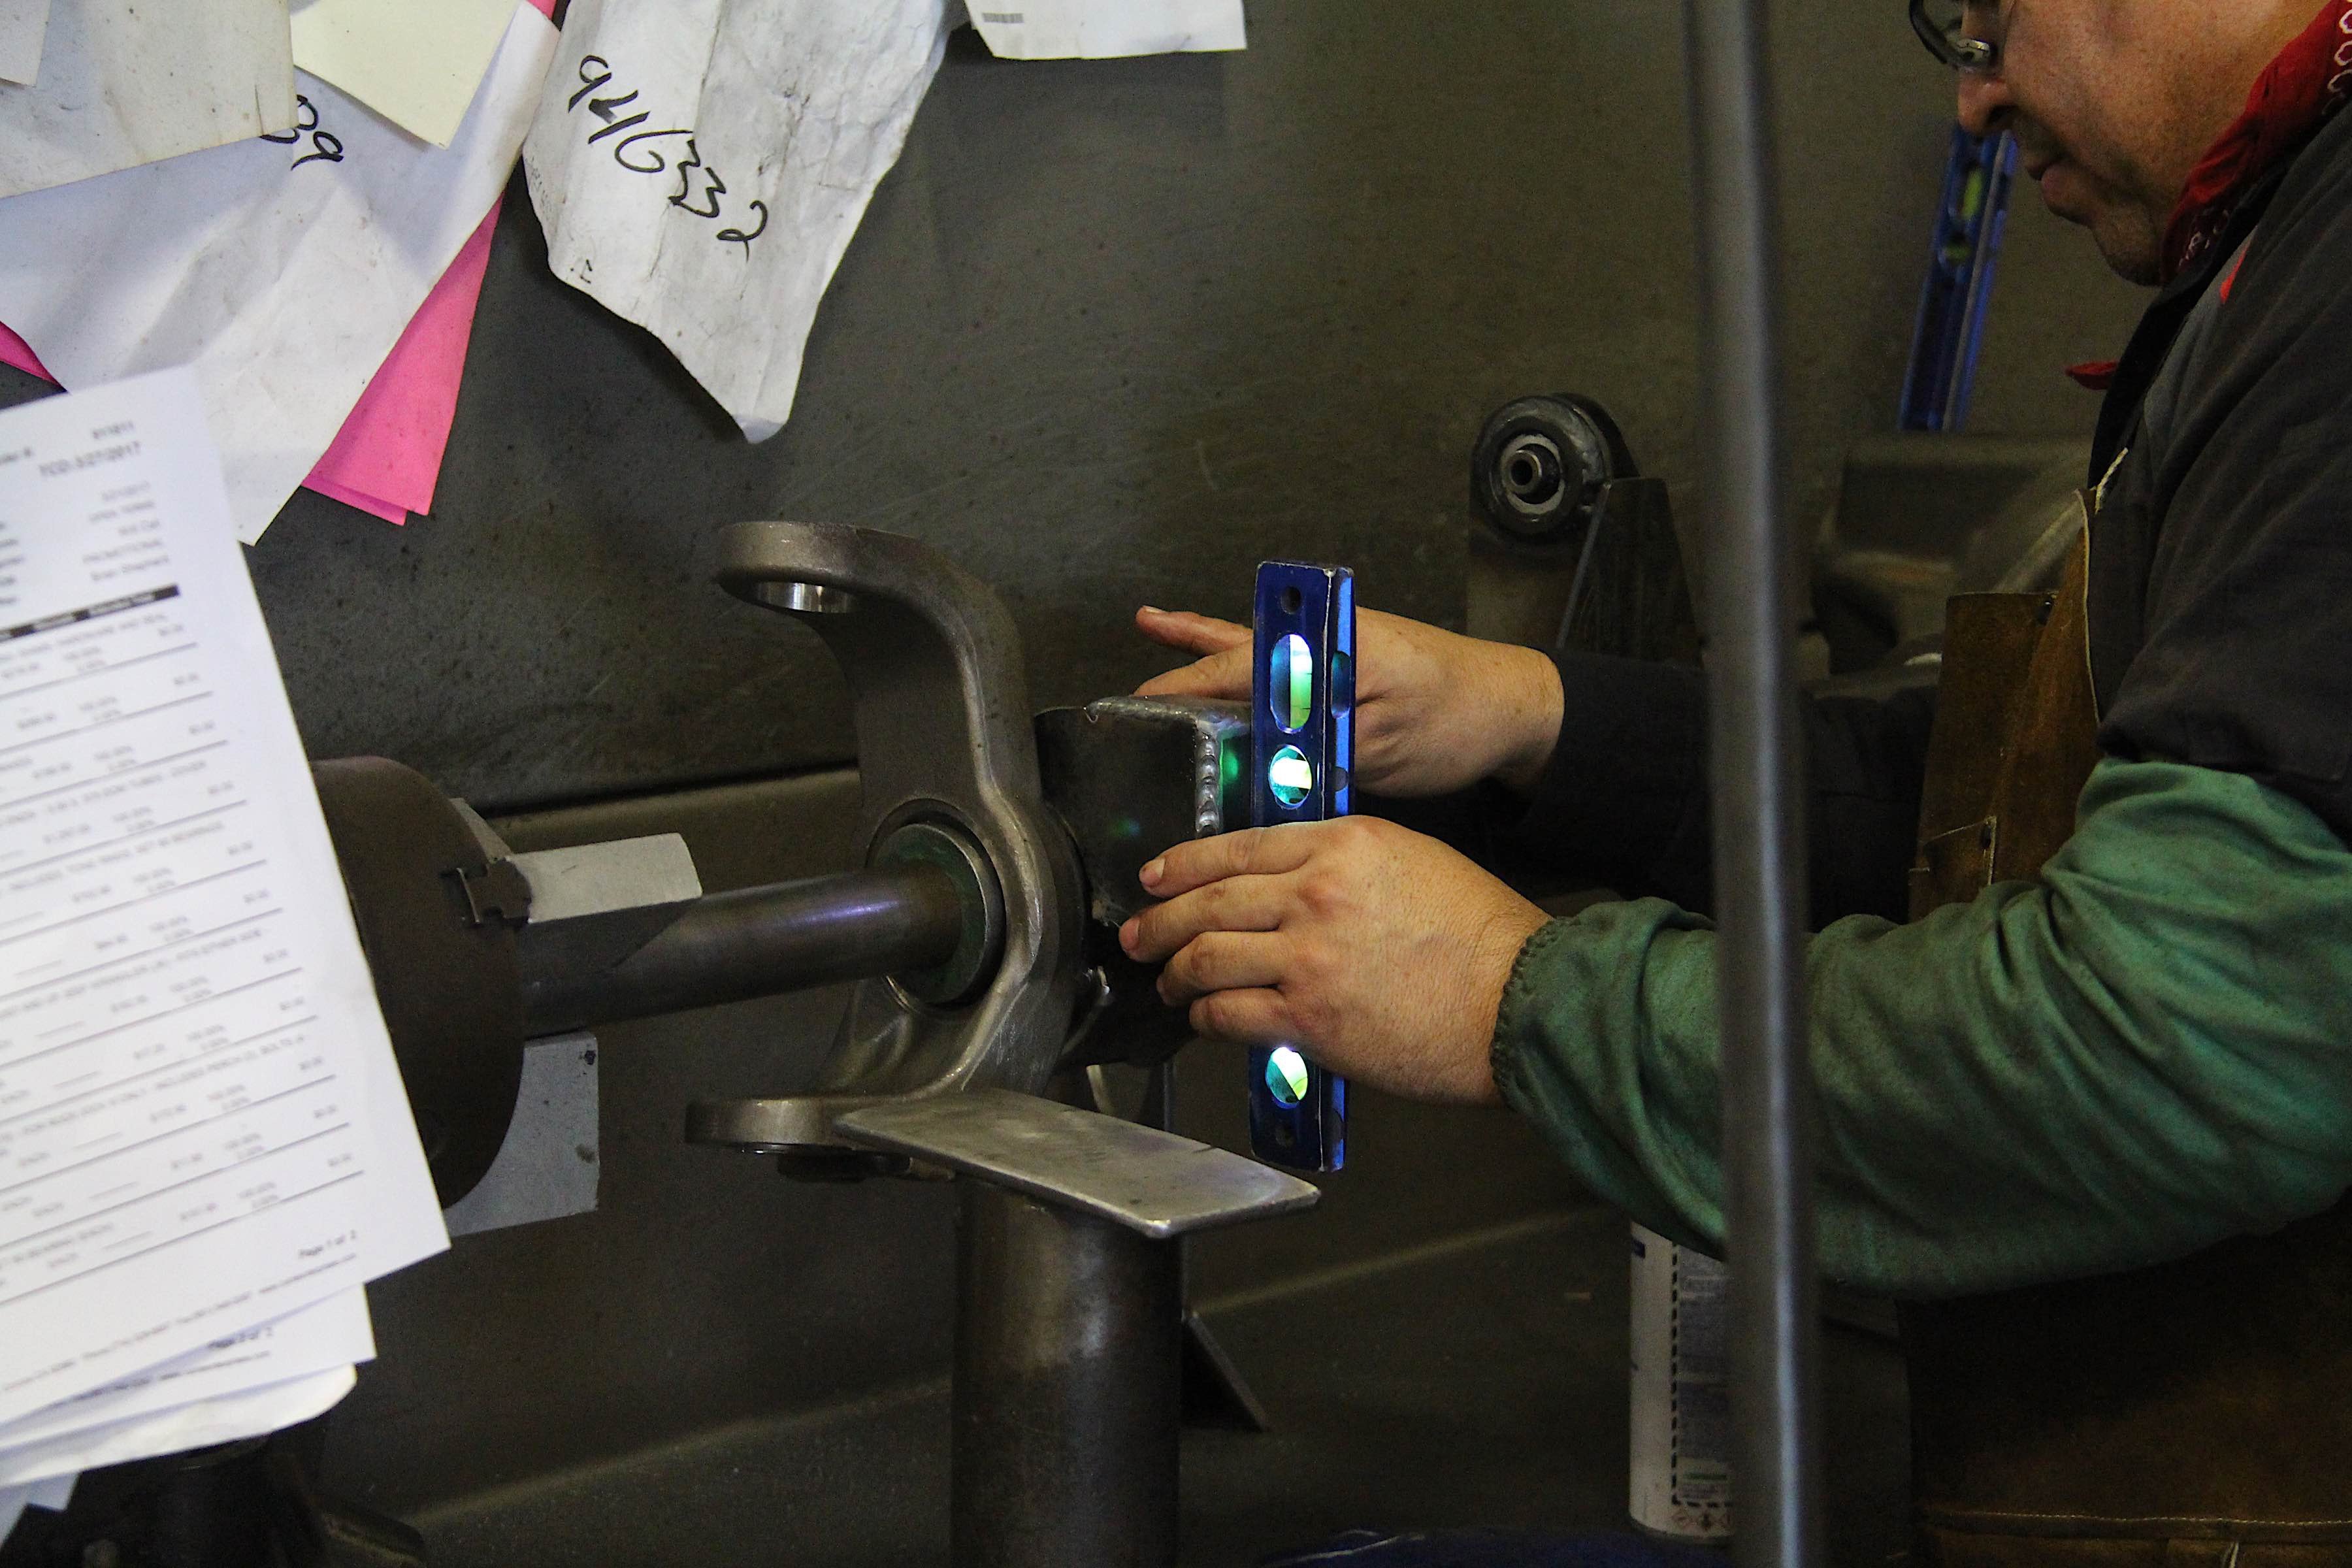
The front housing got much the same treatment as the rear housing. Here, the technician made sure the spring perches were positioned correctly before welding them on.
What was remarkable about these welders was how quickly yet precisely they worked. They knew the process well, since many of them had been working at Currie for a long time. “Many of our welders have 15-plus years of experience,” said Currie’s Brian Shepard. “They have fabrications skills, naturally, but they can also look ahead at a project and modify things as needed – brackets, knuckles, etc. – and make it all happen.”
Clean-Cut Axles!
With the welding done, the housings moved onto the cleaning area. Here, gigantic washing-machine-like units stood, constantly billowing water vapor as they cleaned and prepared the housings for final assembly.
A technician took both of the housings and inserted them into two different machines. After setting the timer, the process was fairly automatic and didn’t need any further input until they were done. Brian explained the process, saying, “They’re called steel abraders. They use a really fine steel material, so they clean steel with steel, basically. By the time they’re done, everything inside and outside of the housings will be clean.”
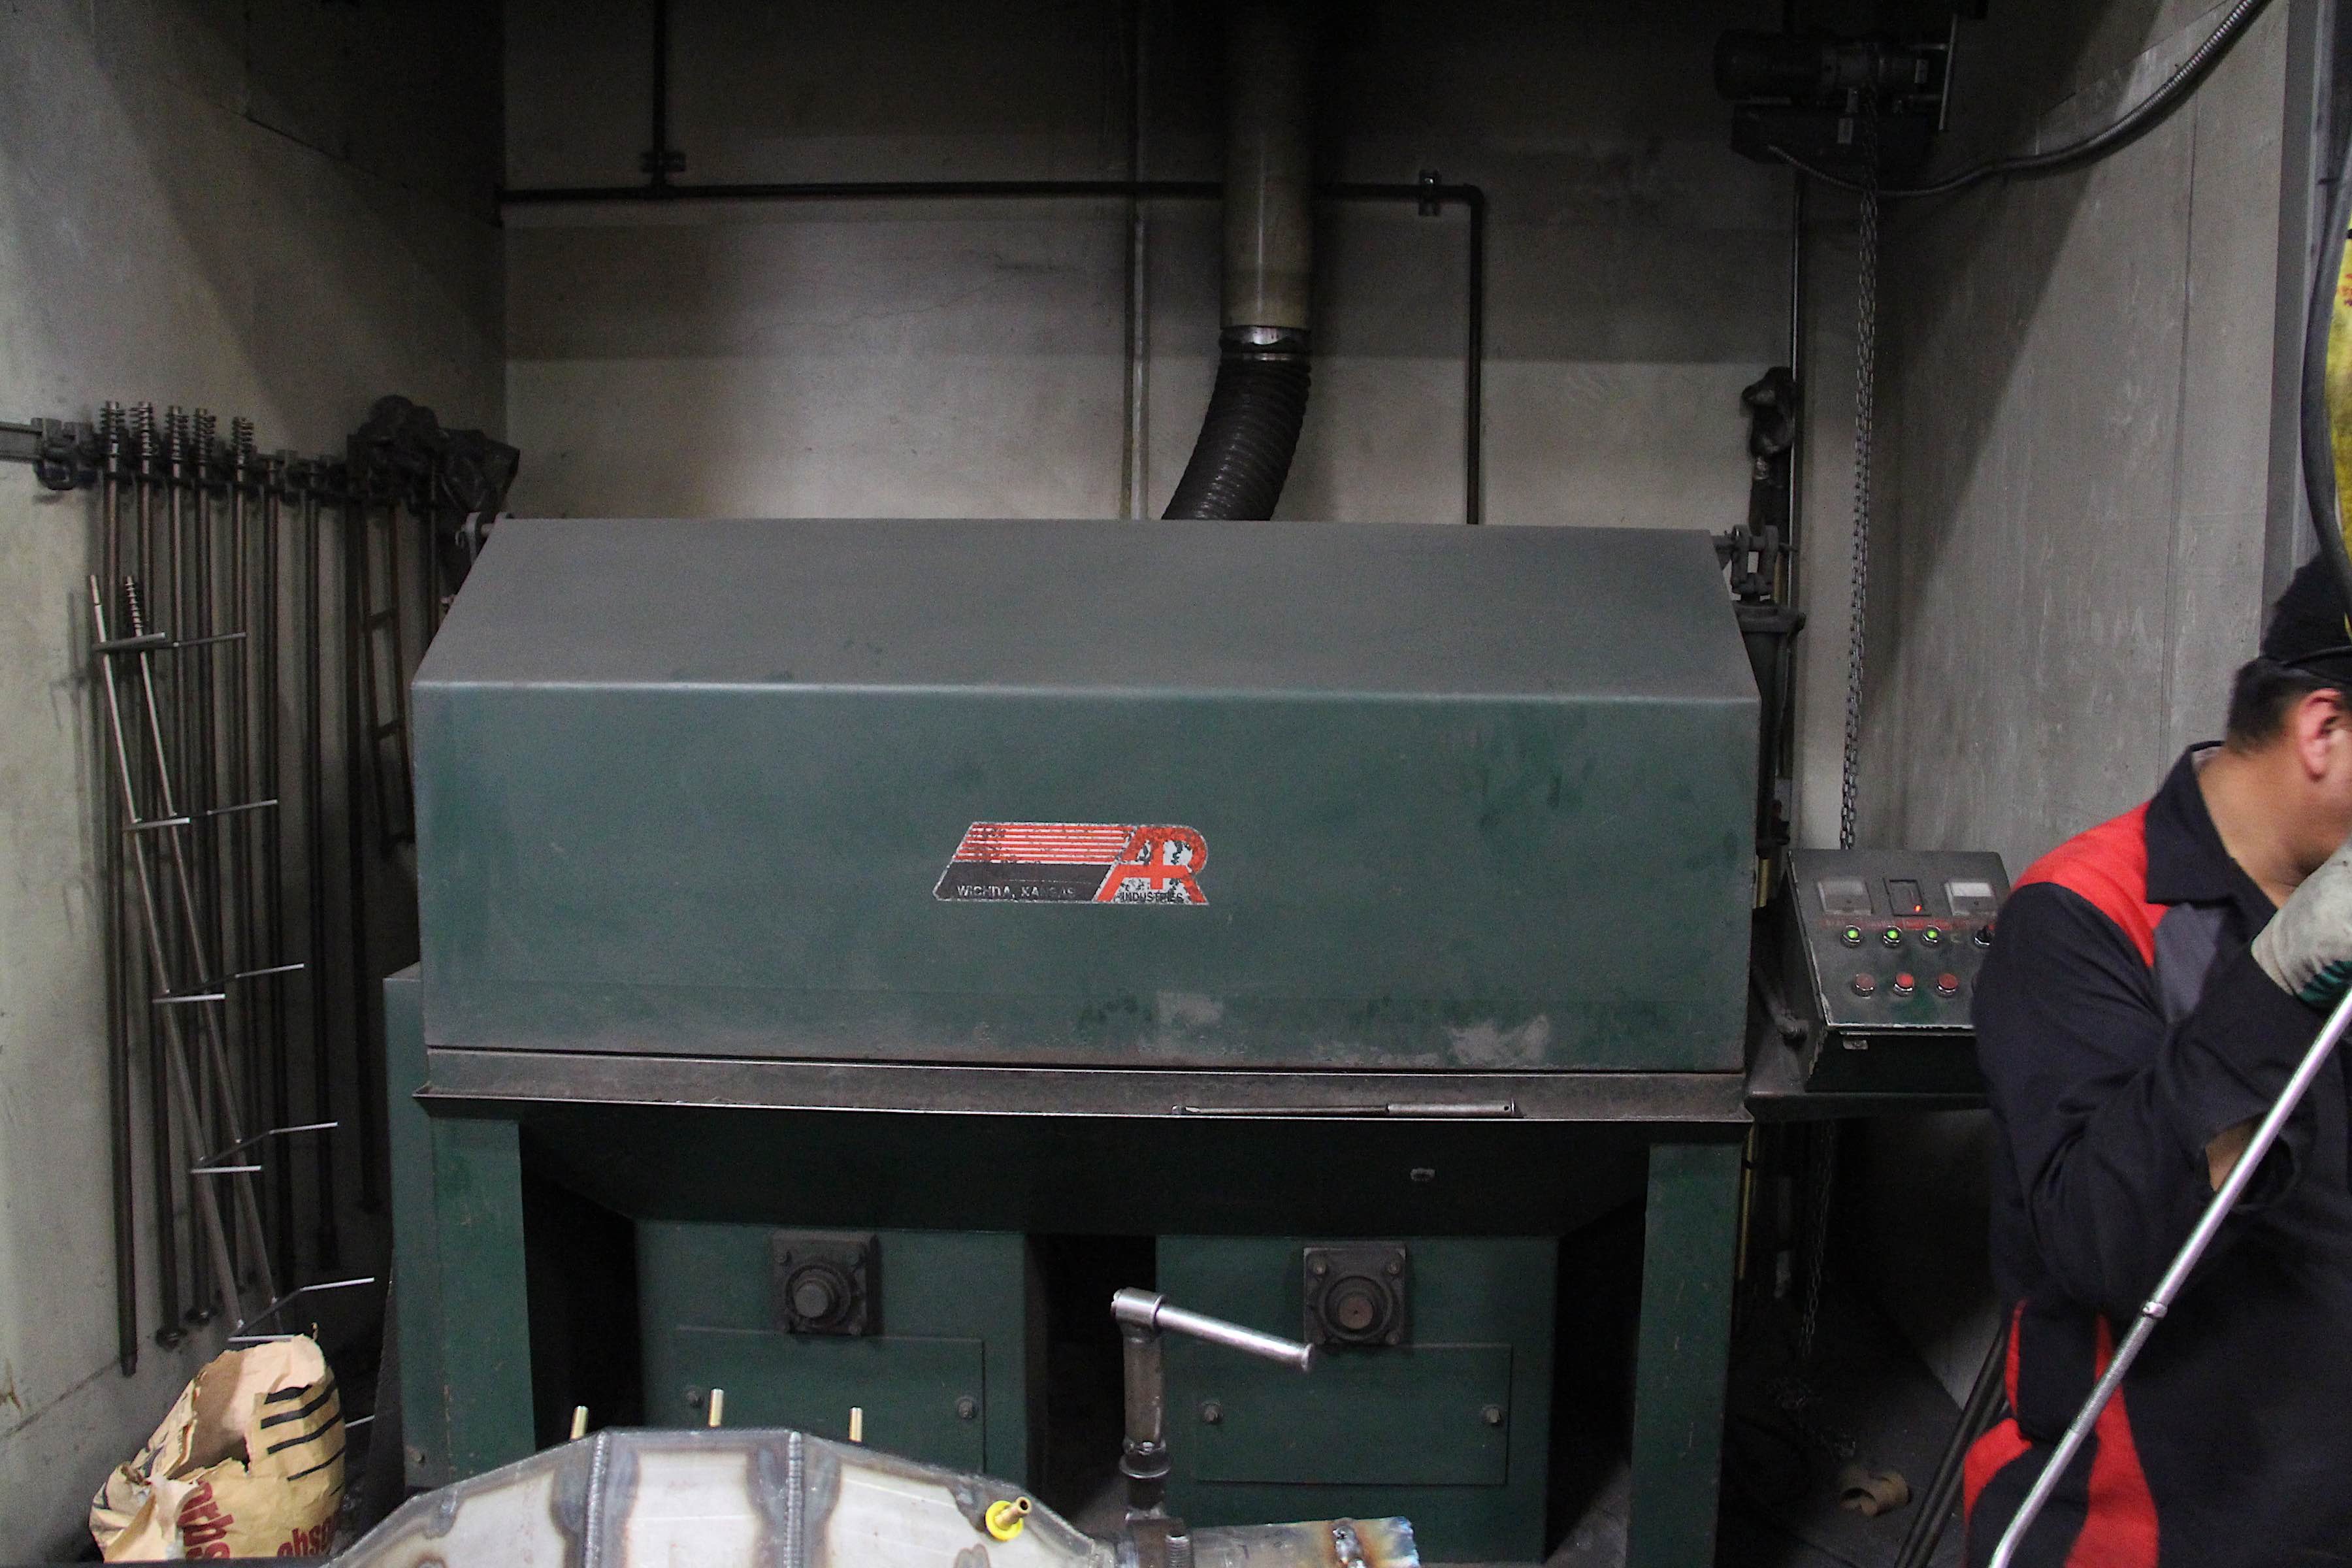
Using air pressure and steel media, the housings got blasted for about 10 minutes inside the machines. The rotating platforms on the machines made sure no area was left untouched while washing.
When the housings finally came out of the machine, they looked incredible. Gone was the dull sheen and instead was a glorious silver color. We moved on to the final phase of the housing construction – assembly.
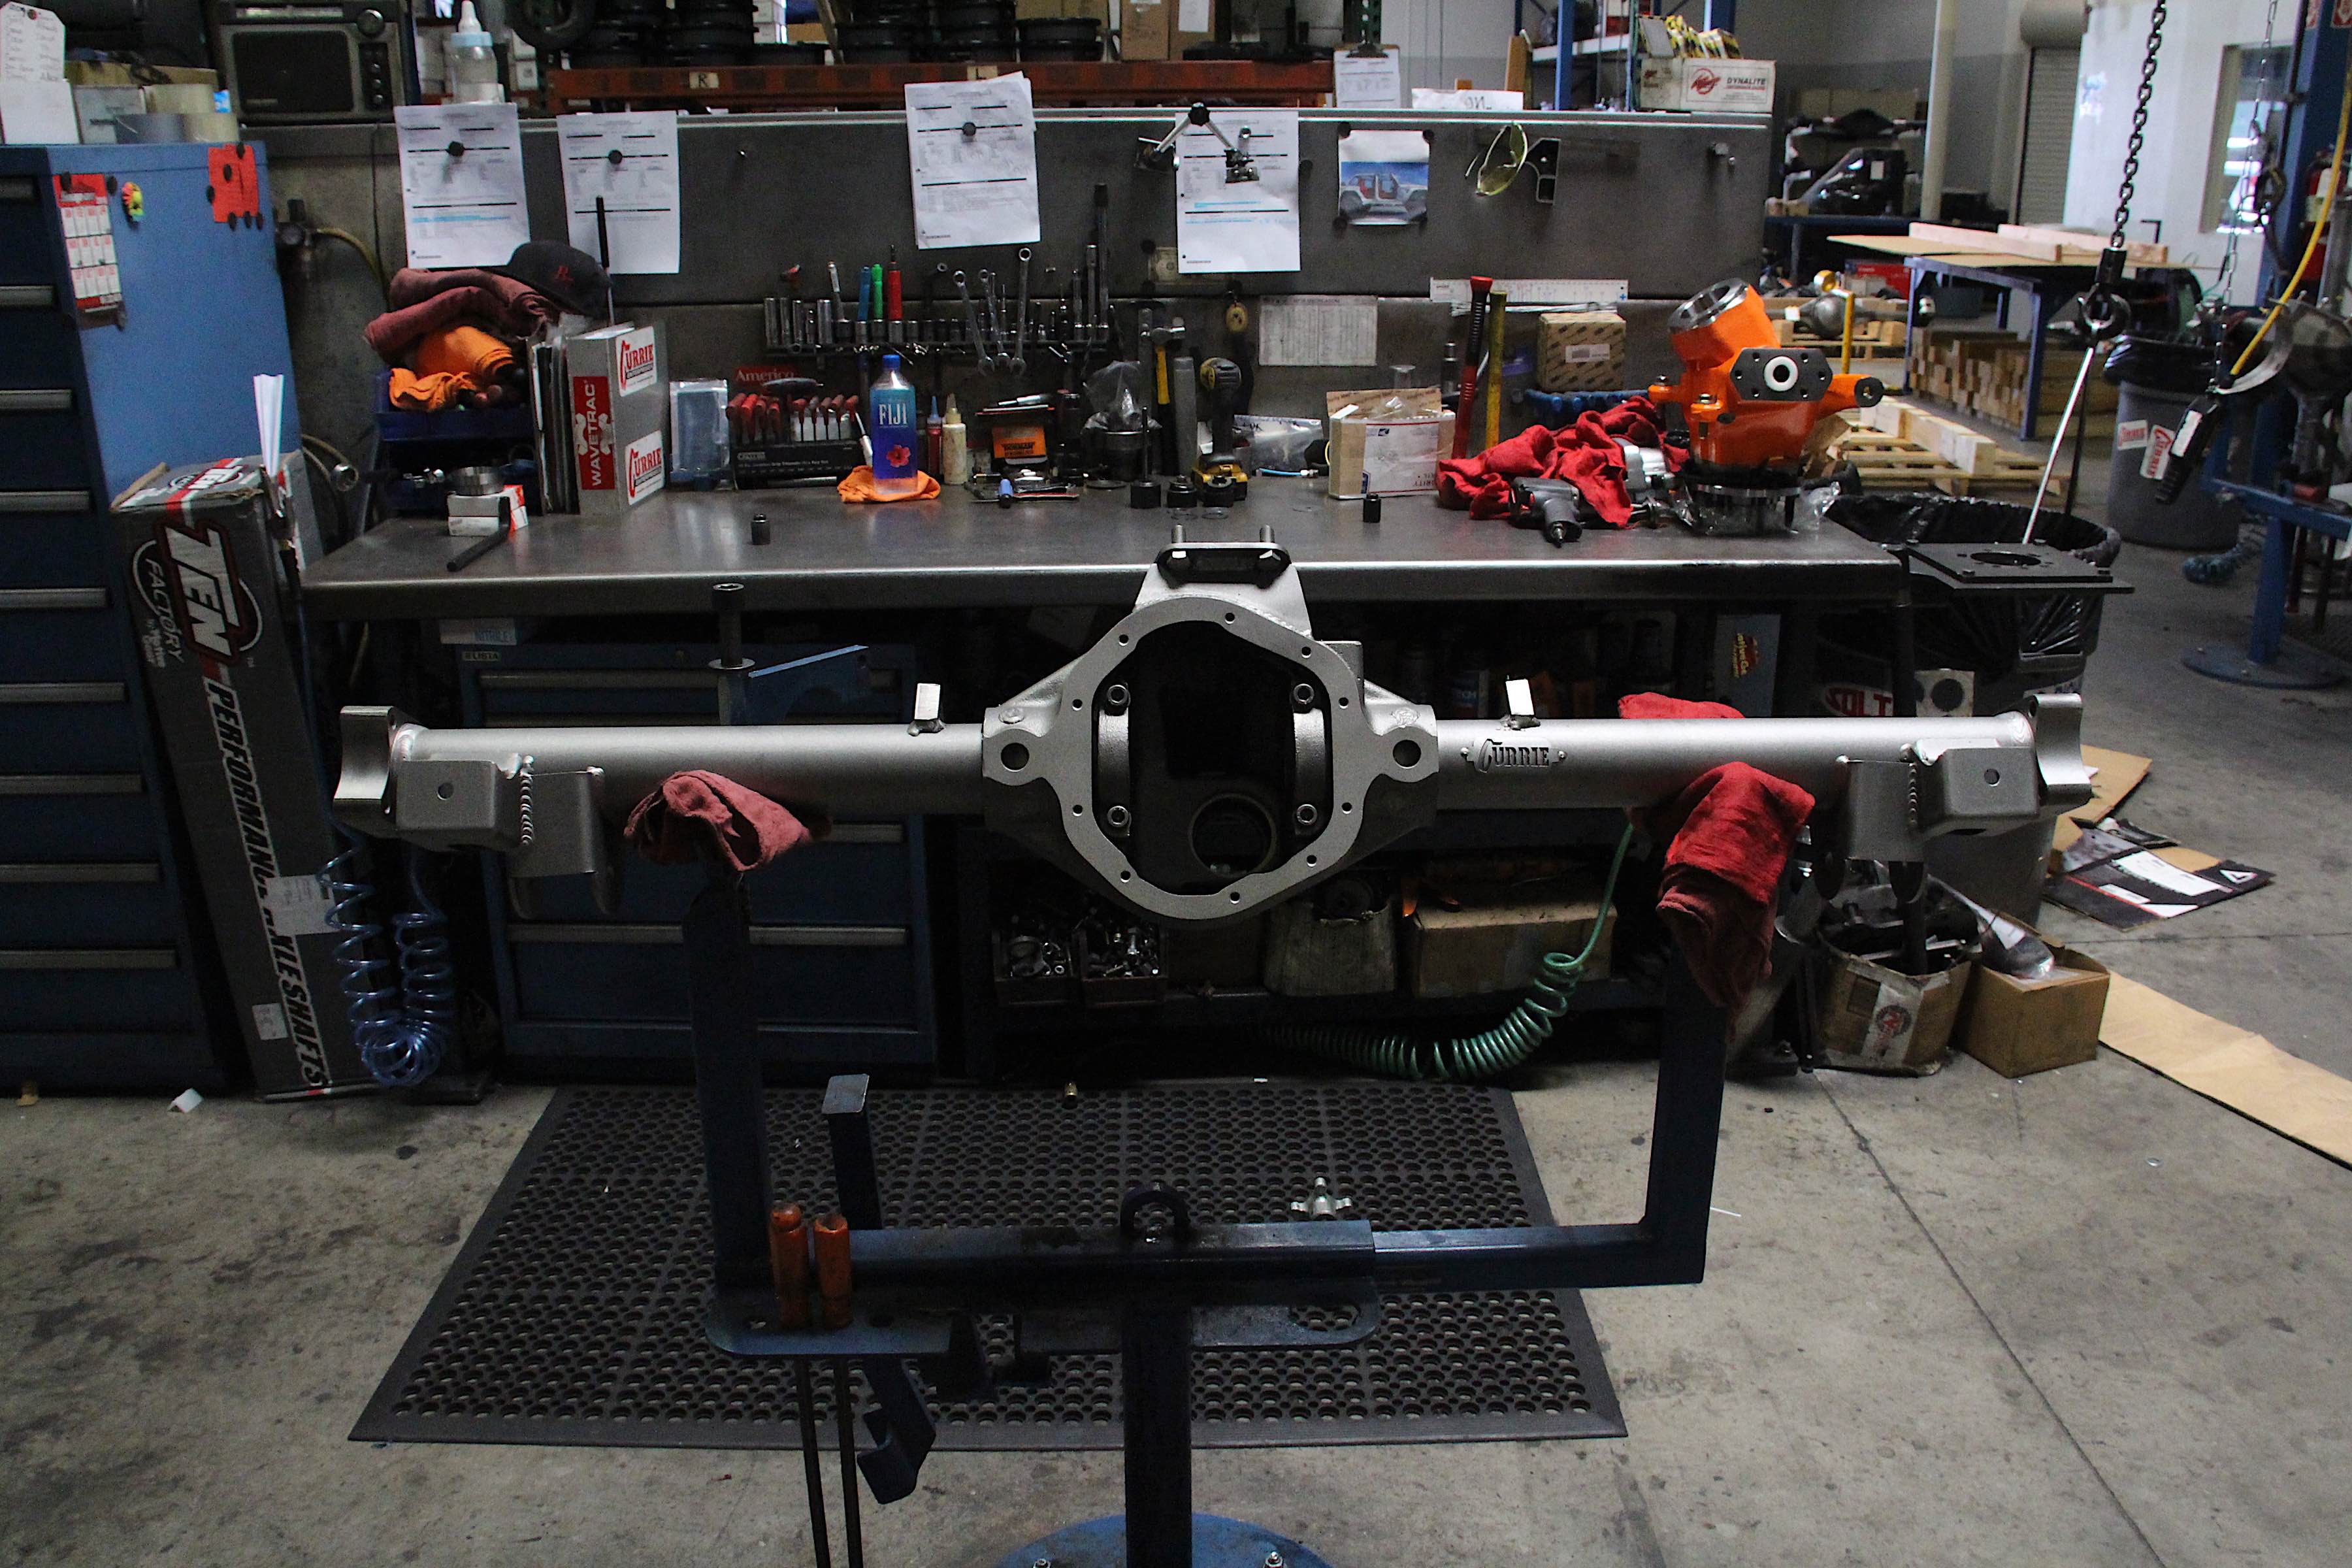
After the washing process, the housing looks incredible.
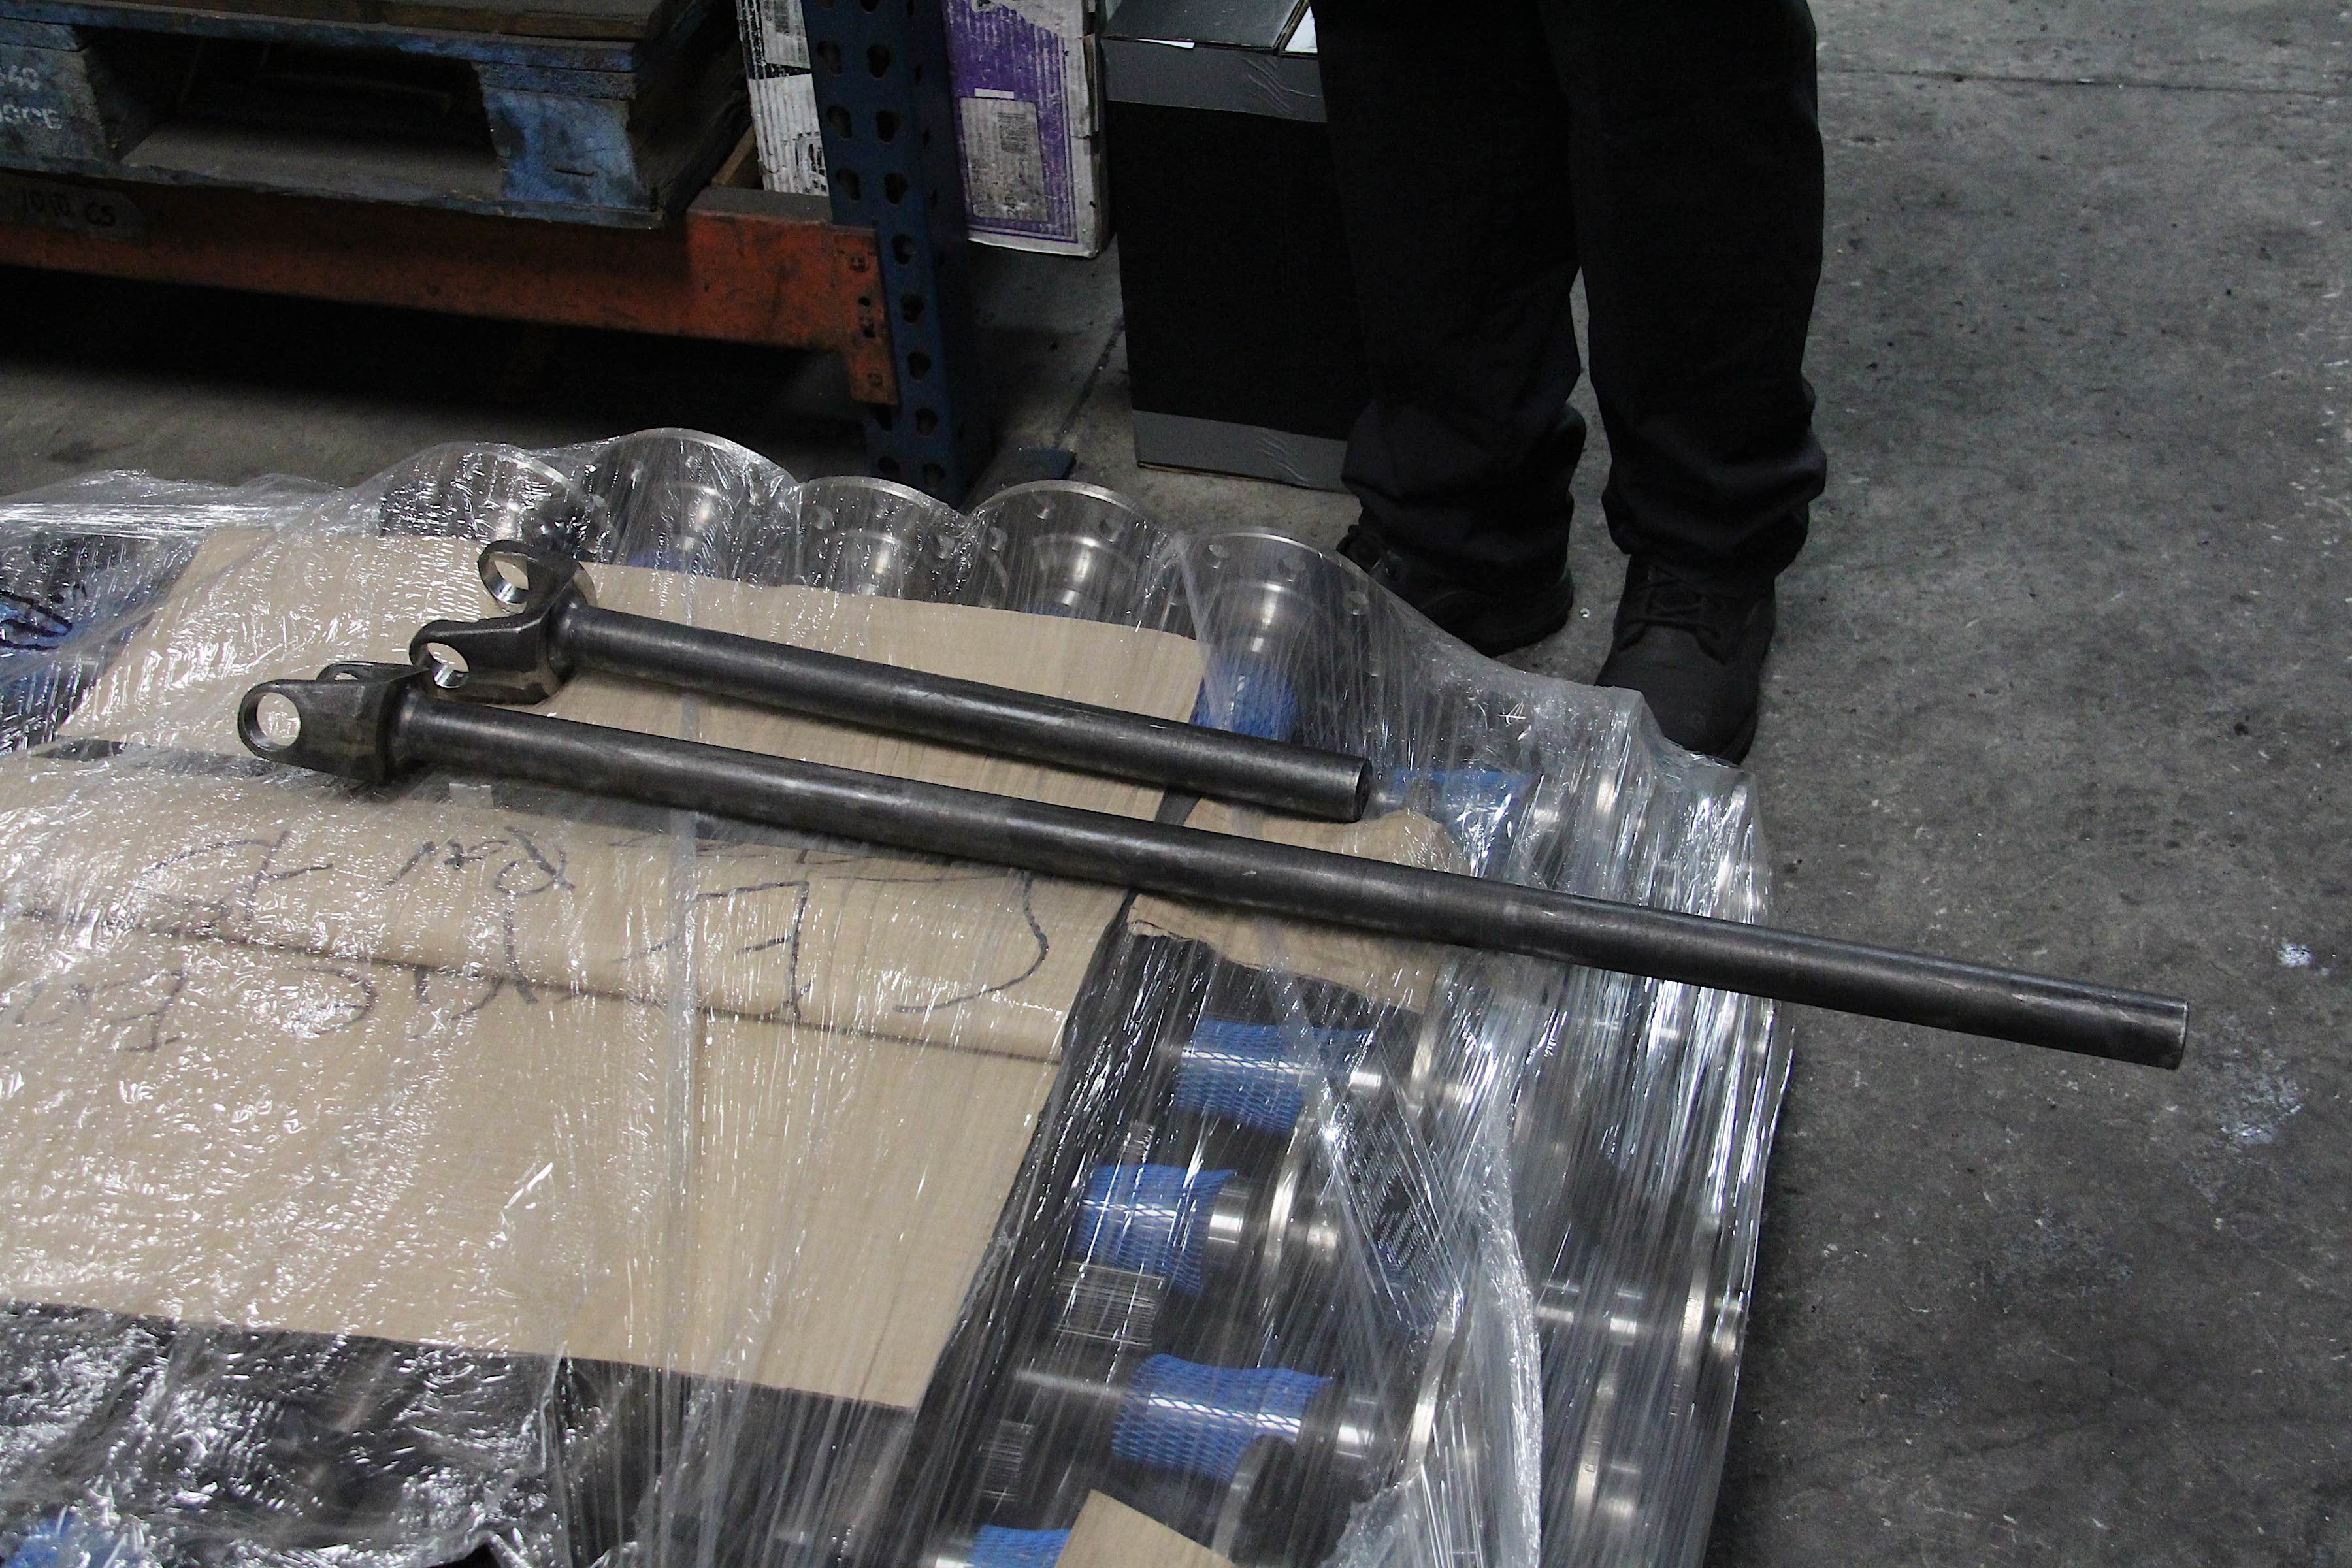
The front axle shaft “cores” prior to getting cut, chamfered, and splined.
But what about the axle shafts? Don’t worry, Currie took care of that too. Our application went for 30-spline units that would match the lockers going into both housings.
The process began with taking the “cores” (uncut axle shafts) and measuring their proper length. The technician then took the cores to a cutter, cut the proper length, and then moved them to a lathe. Here, the axles were chamfered on the inside end, and given a dimple in the middle to prep them for the splining machine.
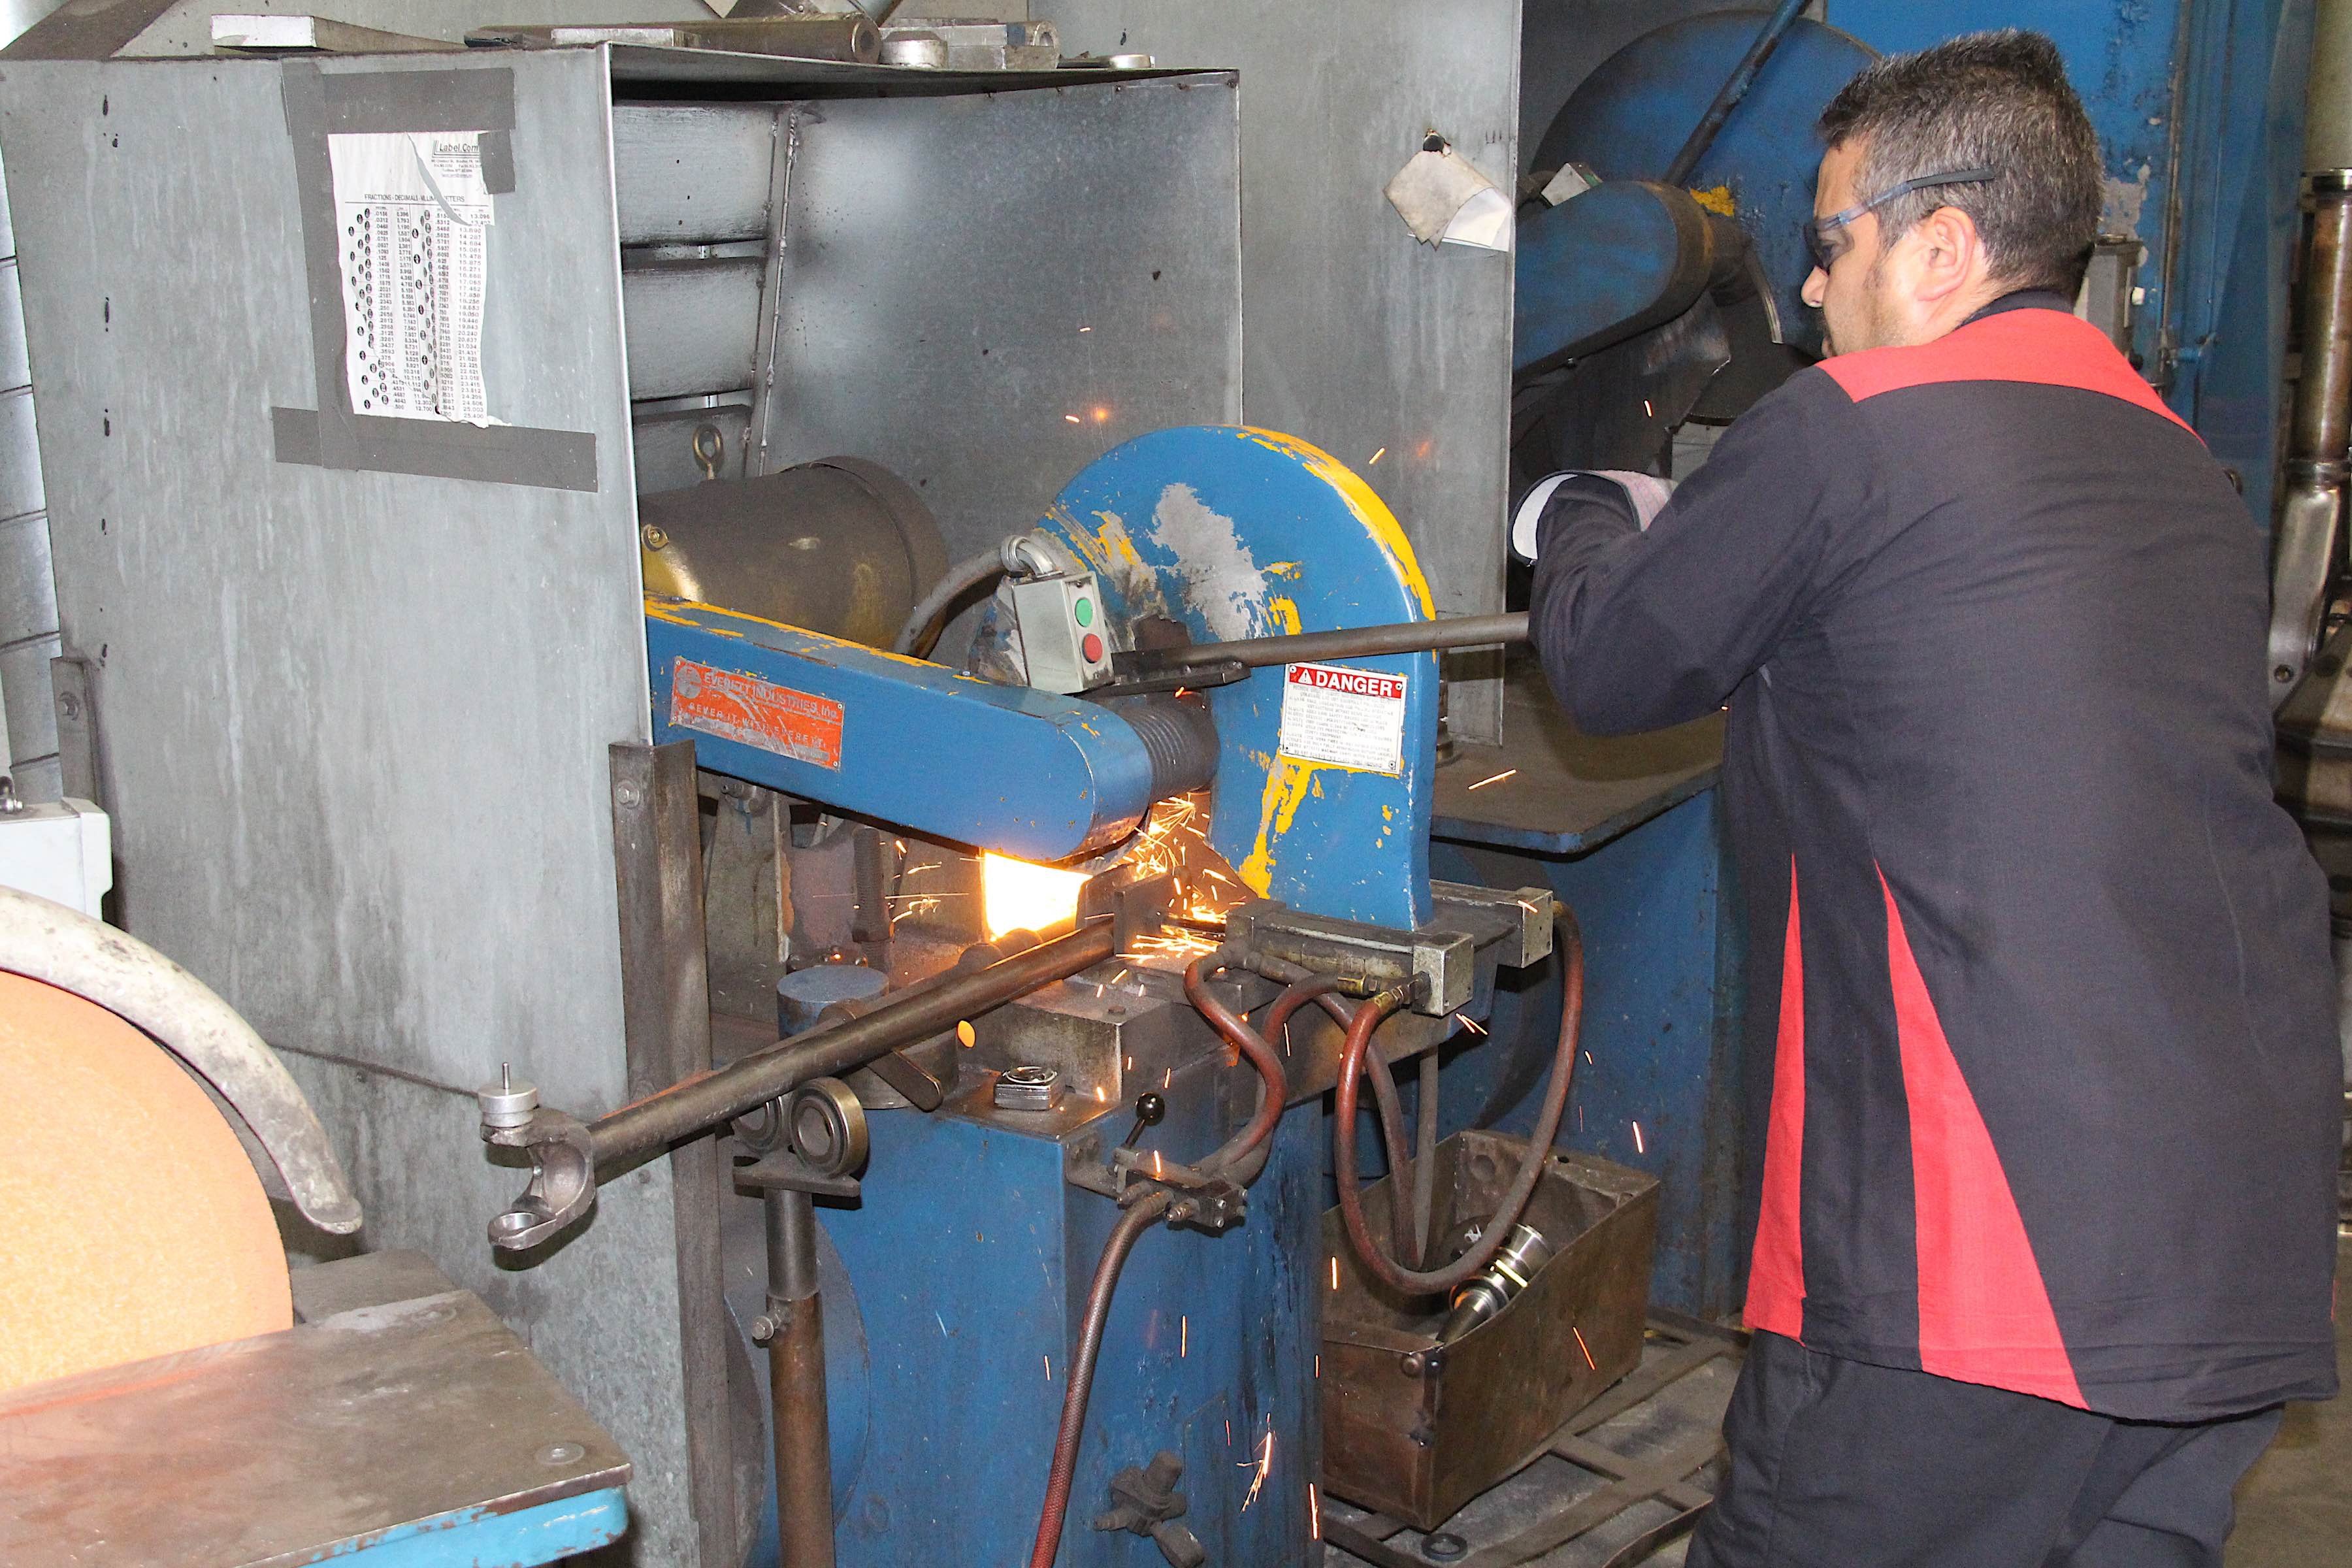

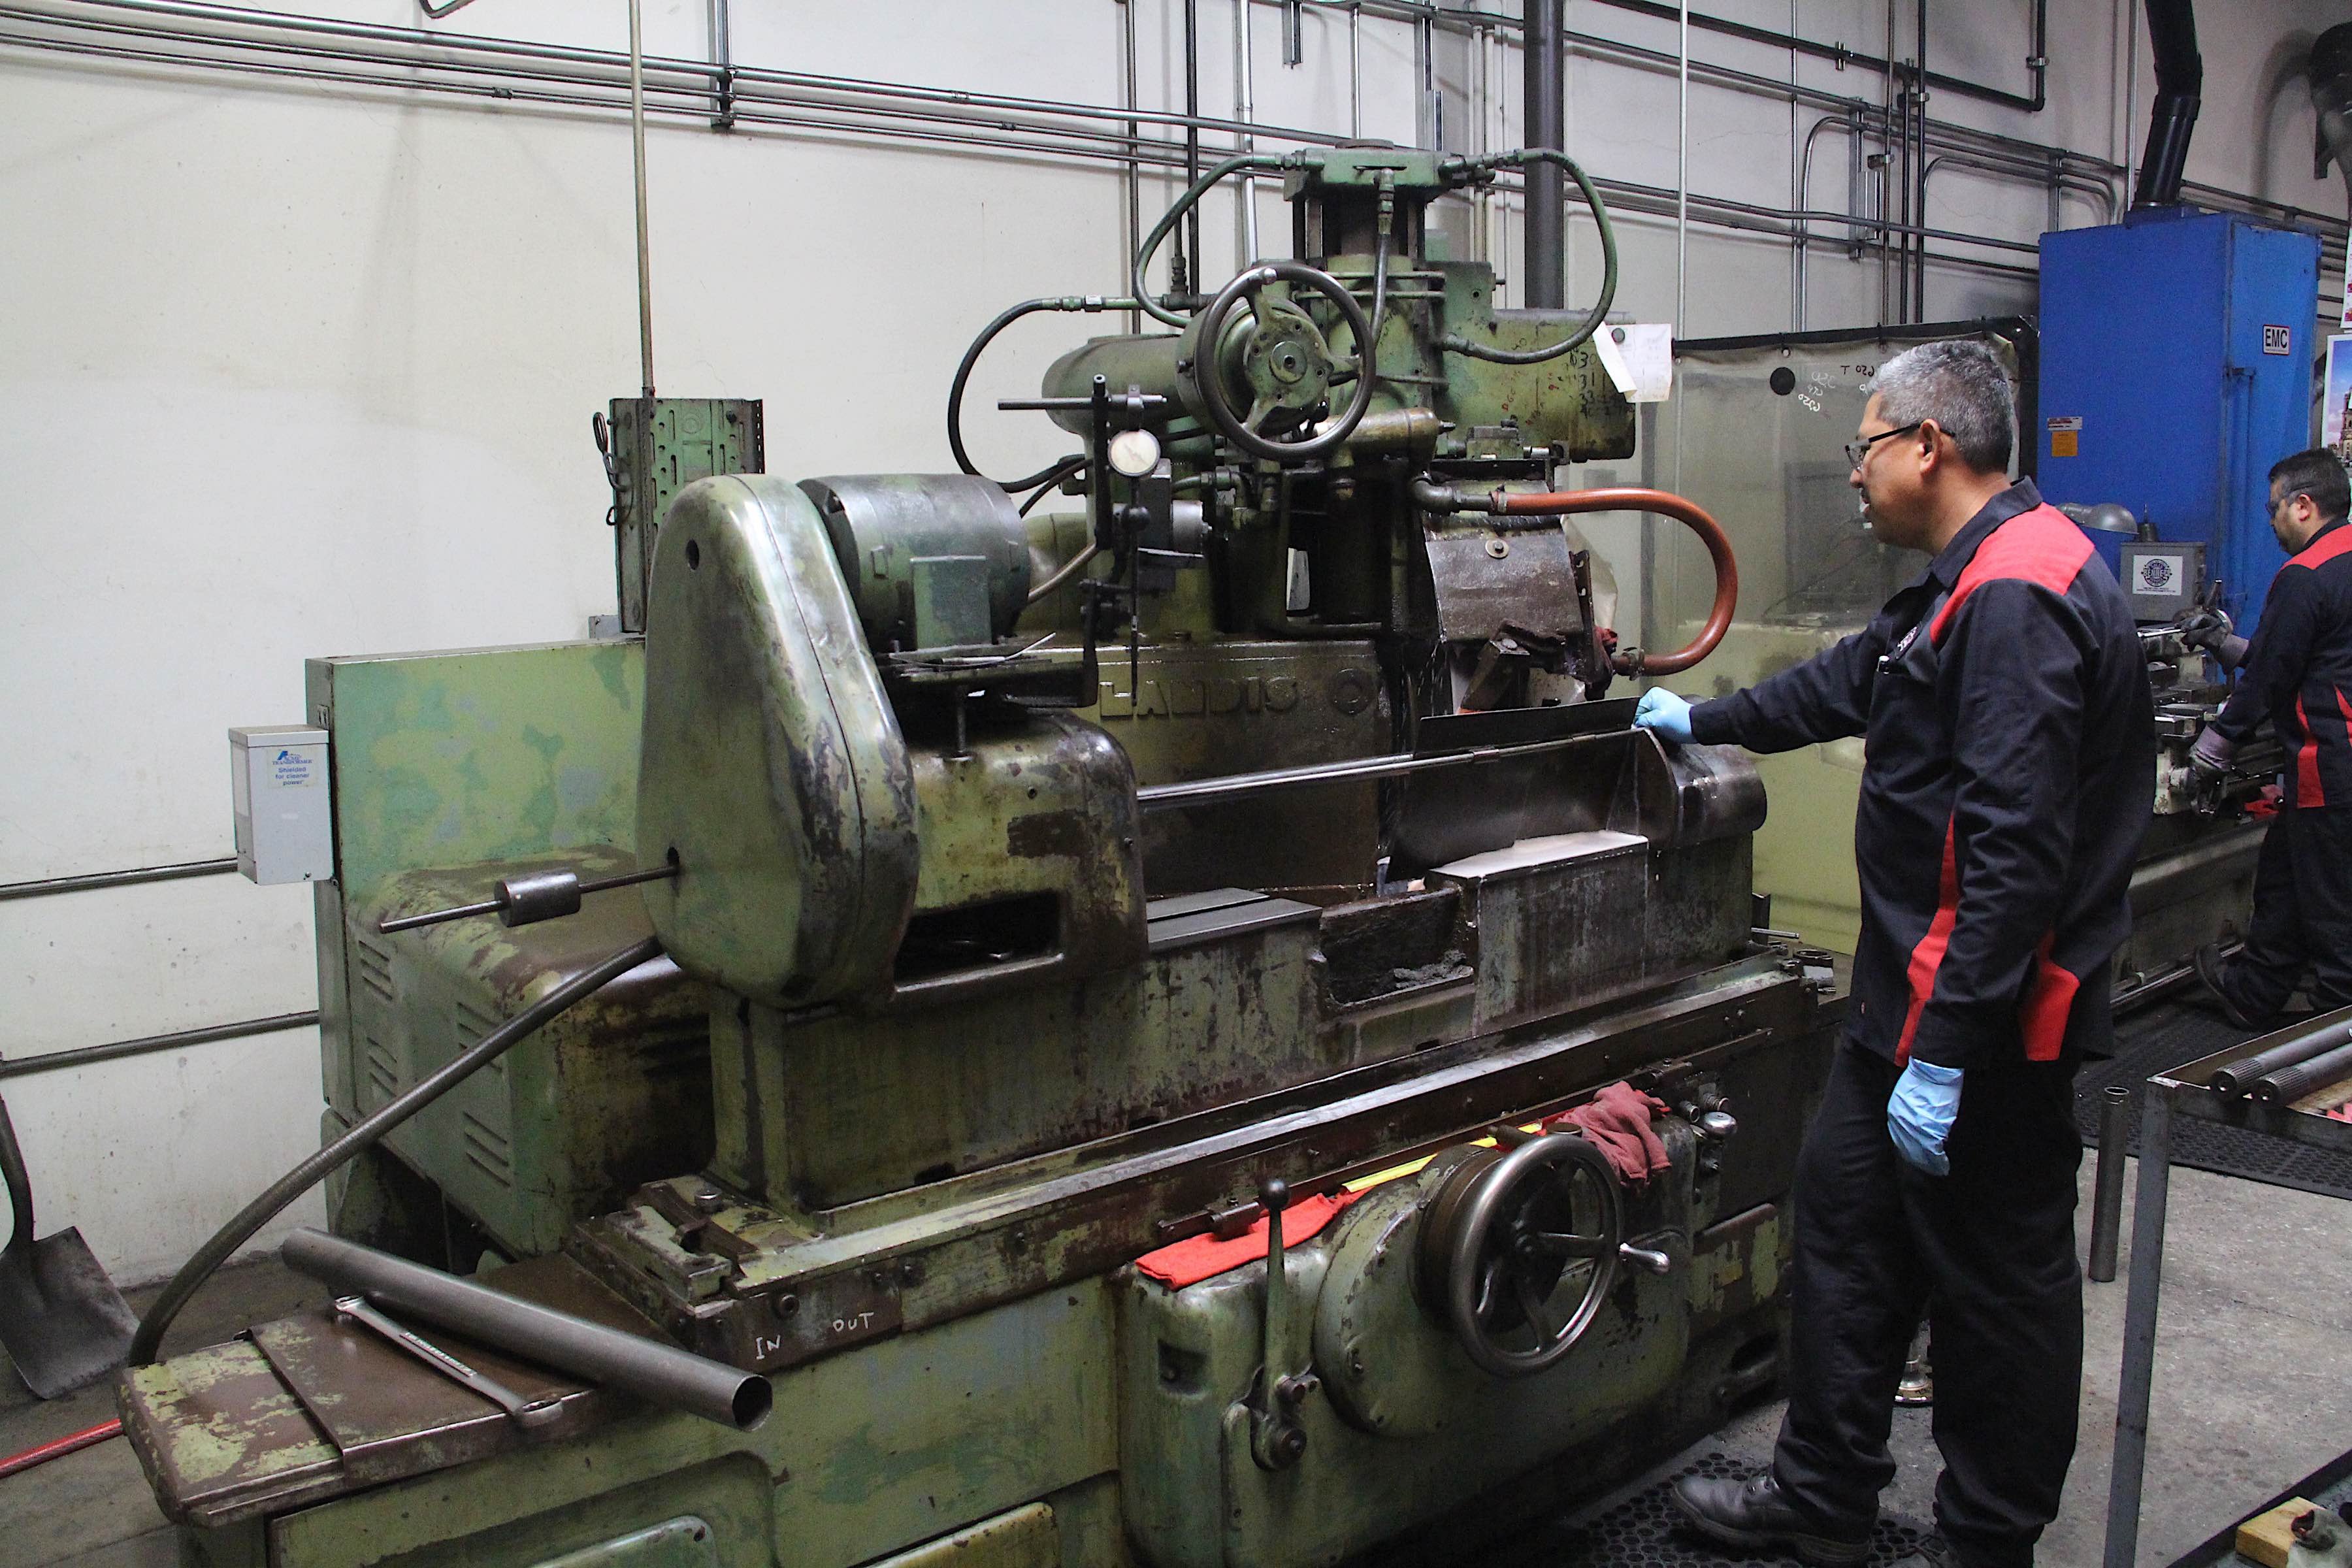

The axle shafts are cut, then placed in a lathe to receive a chamfer and dimple. Next, they mount onto a nearly 100-year-old grinder, which whittles down the surface of the shaft's inside end. This gives the shaft a surface amenable to mounting flush with the axle seal.
The next machine, the Landis Grinding Machine, whittled down the shafts to provide an area for not just the splines, but also a slightly larger diameter inner portion, which would go flush with the axle seal to prevent leaks. It was a very fine line – thousandths of an inch – but the technician made it look easy, using a caliper to measure the acceptable diameter.
Finally, the cutting came to an end at the Majestic CNC machine. The automated program ground splines into the shafts at amazing speed and accuracy, and within five minutes, a pair of shafts was complete.
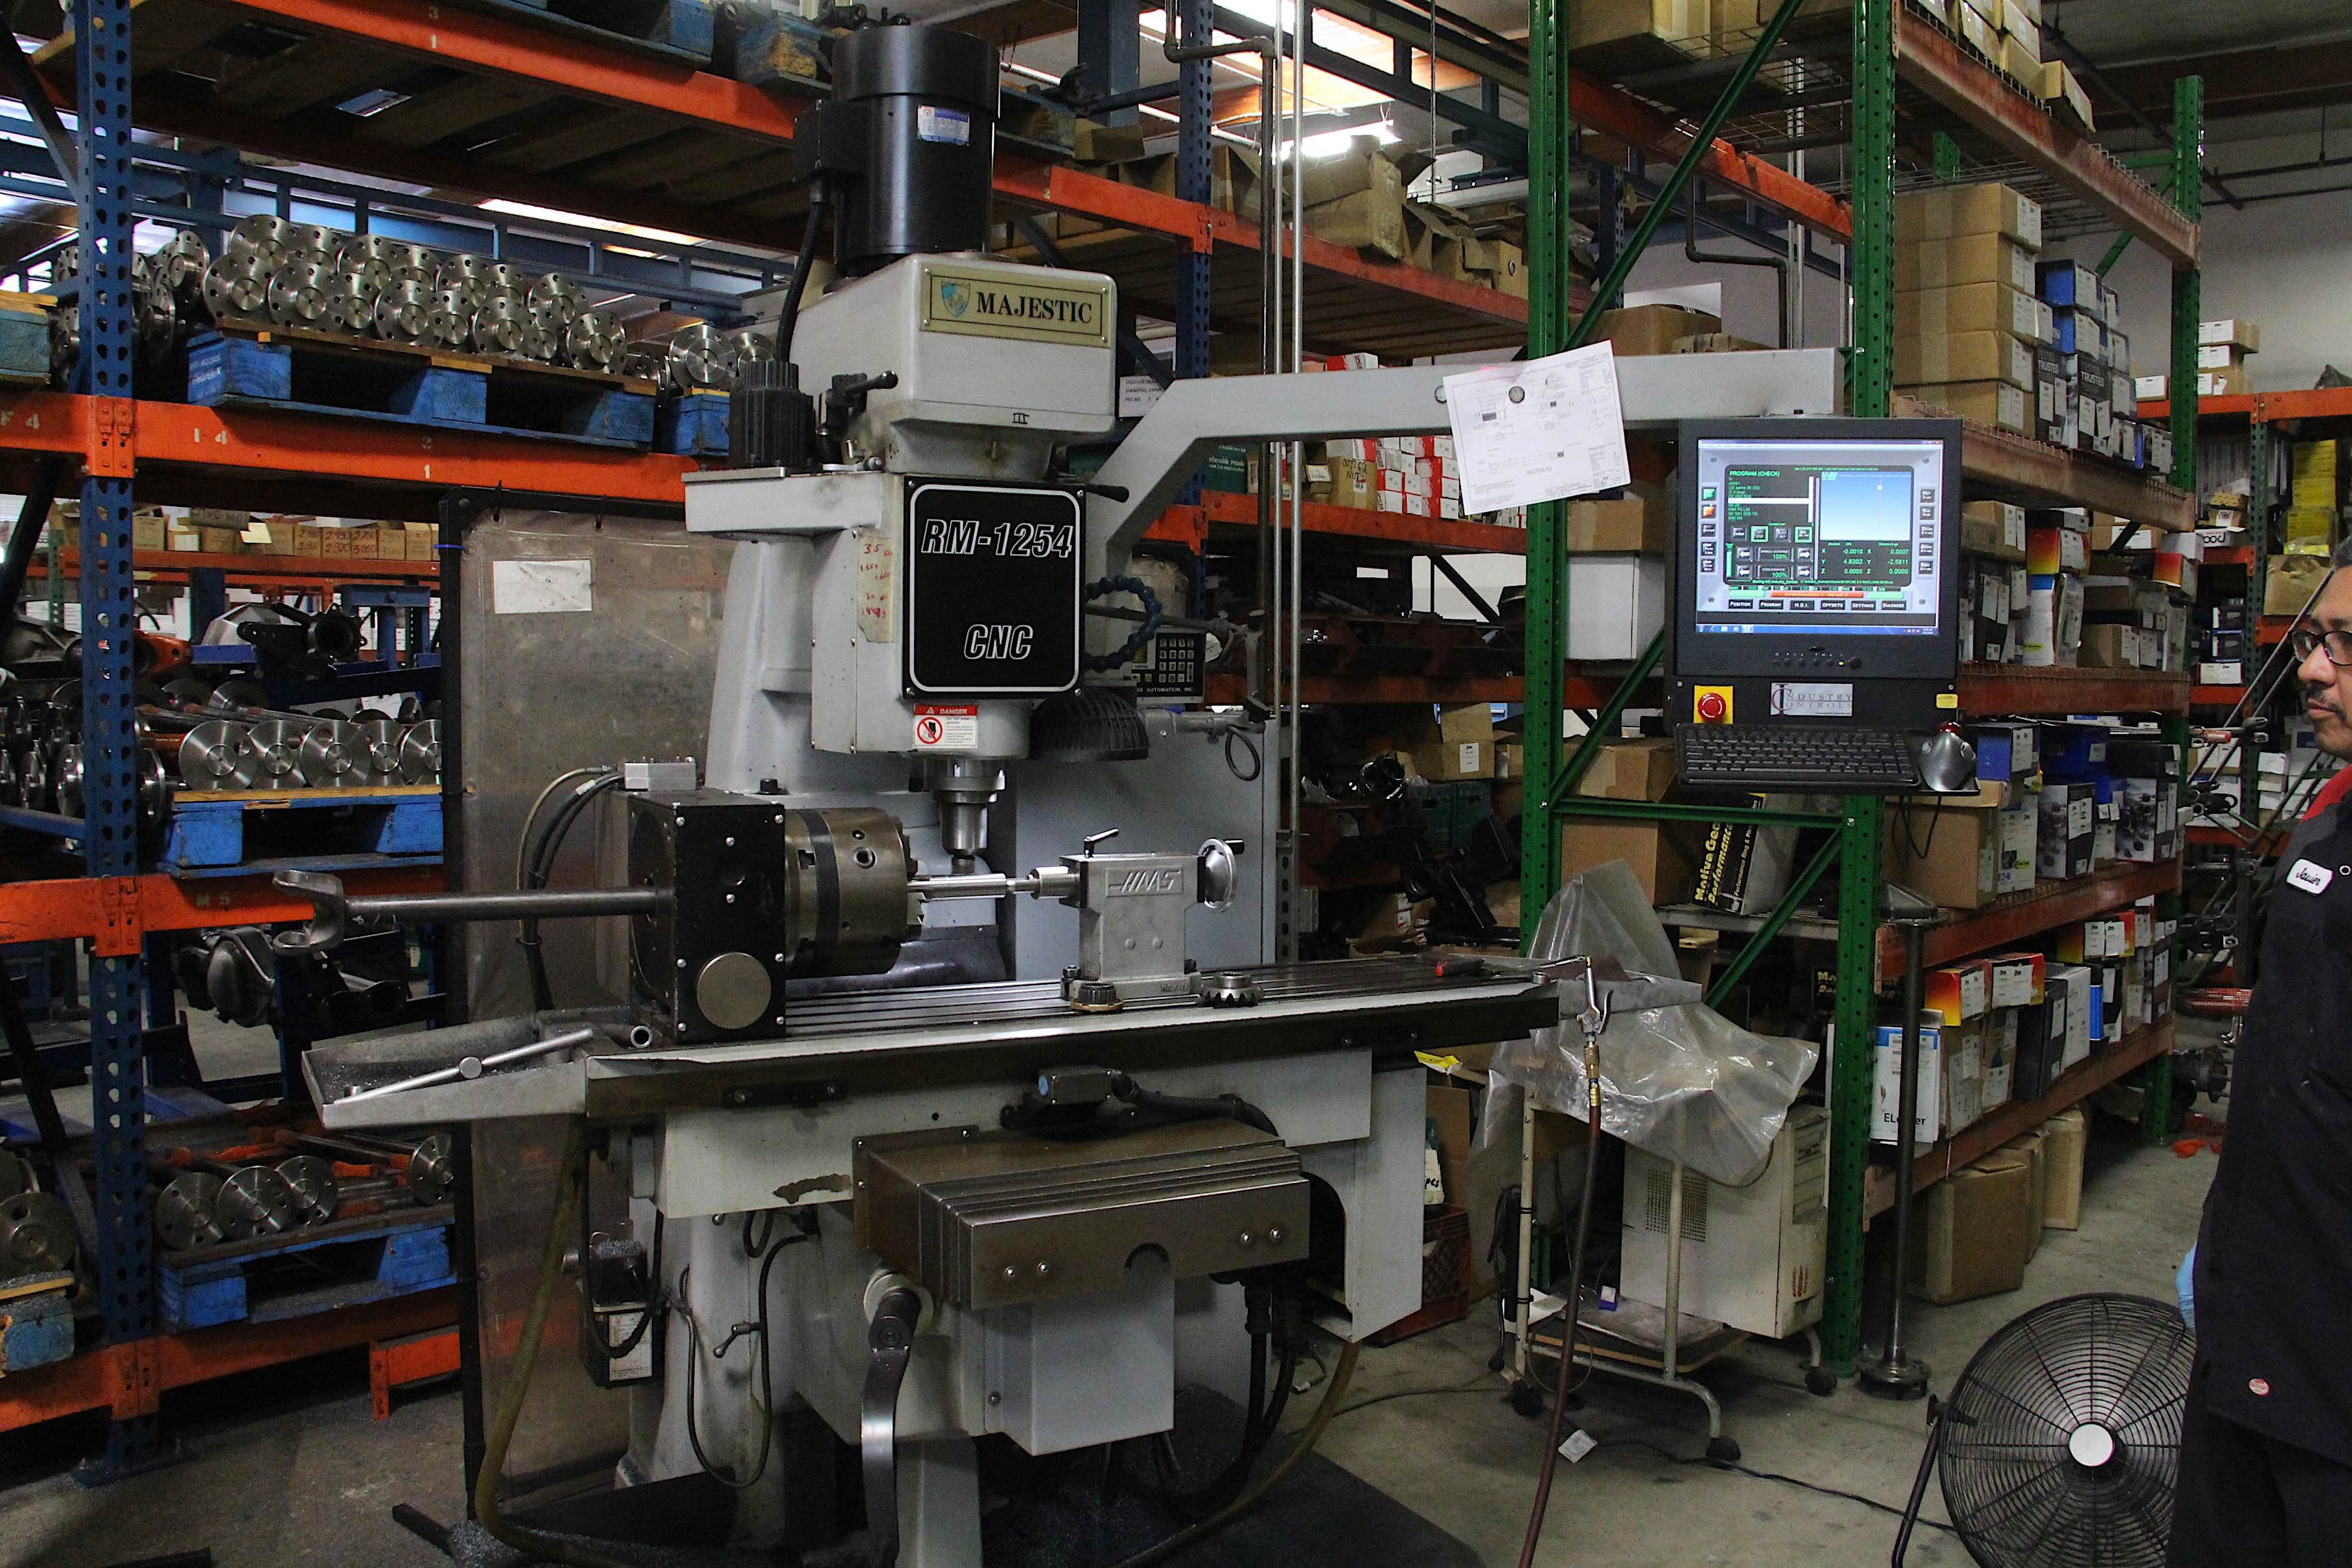
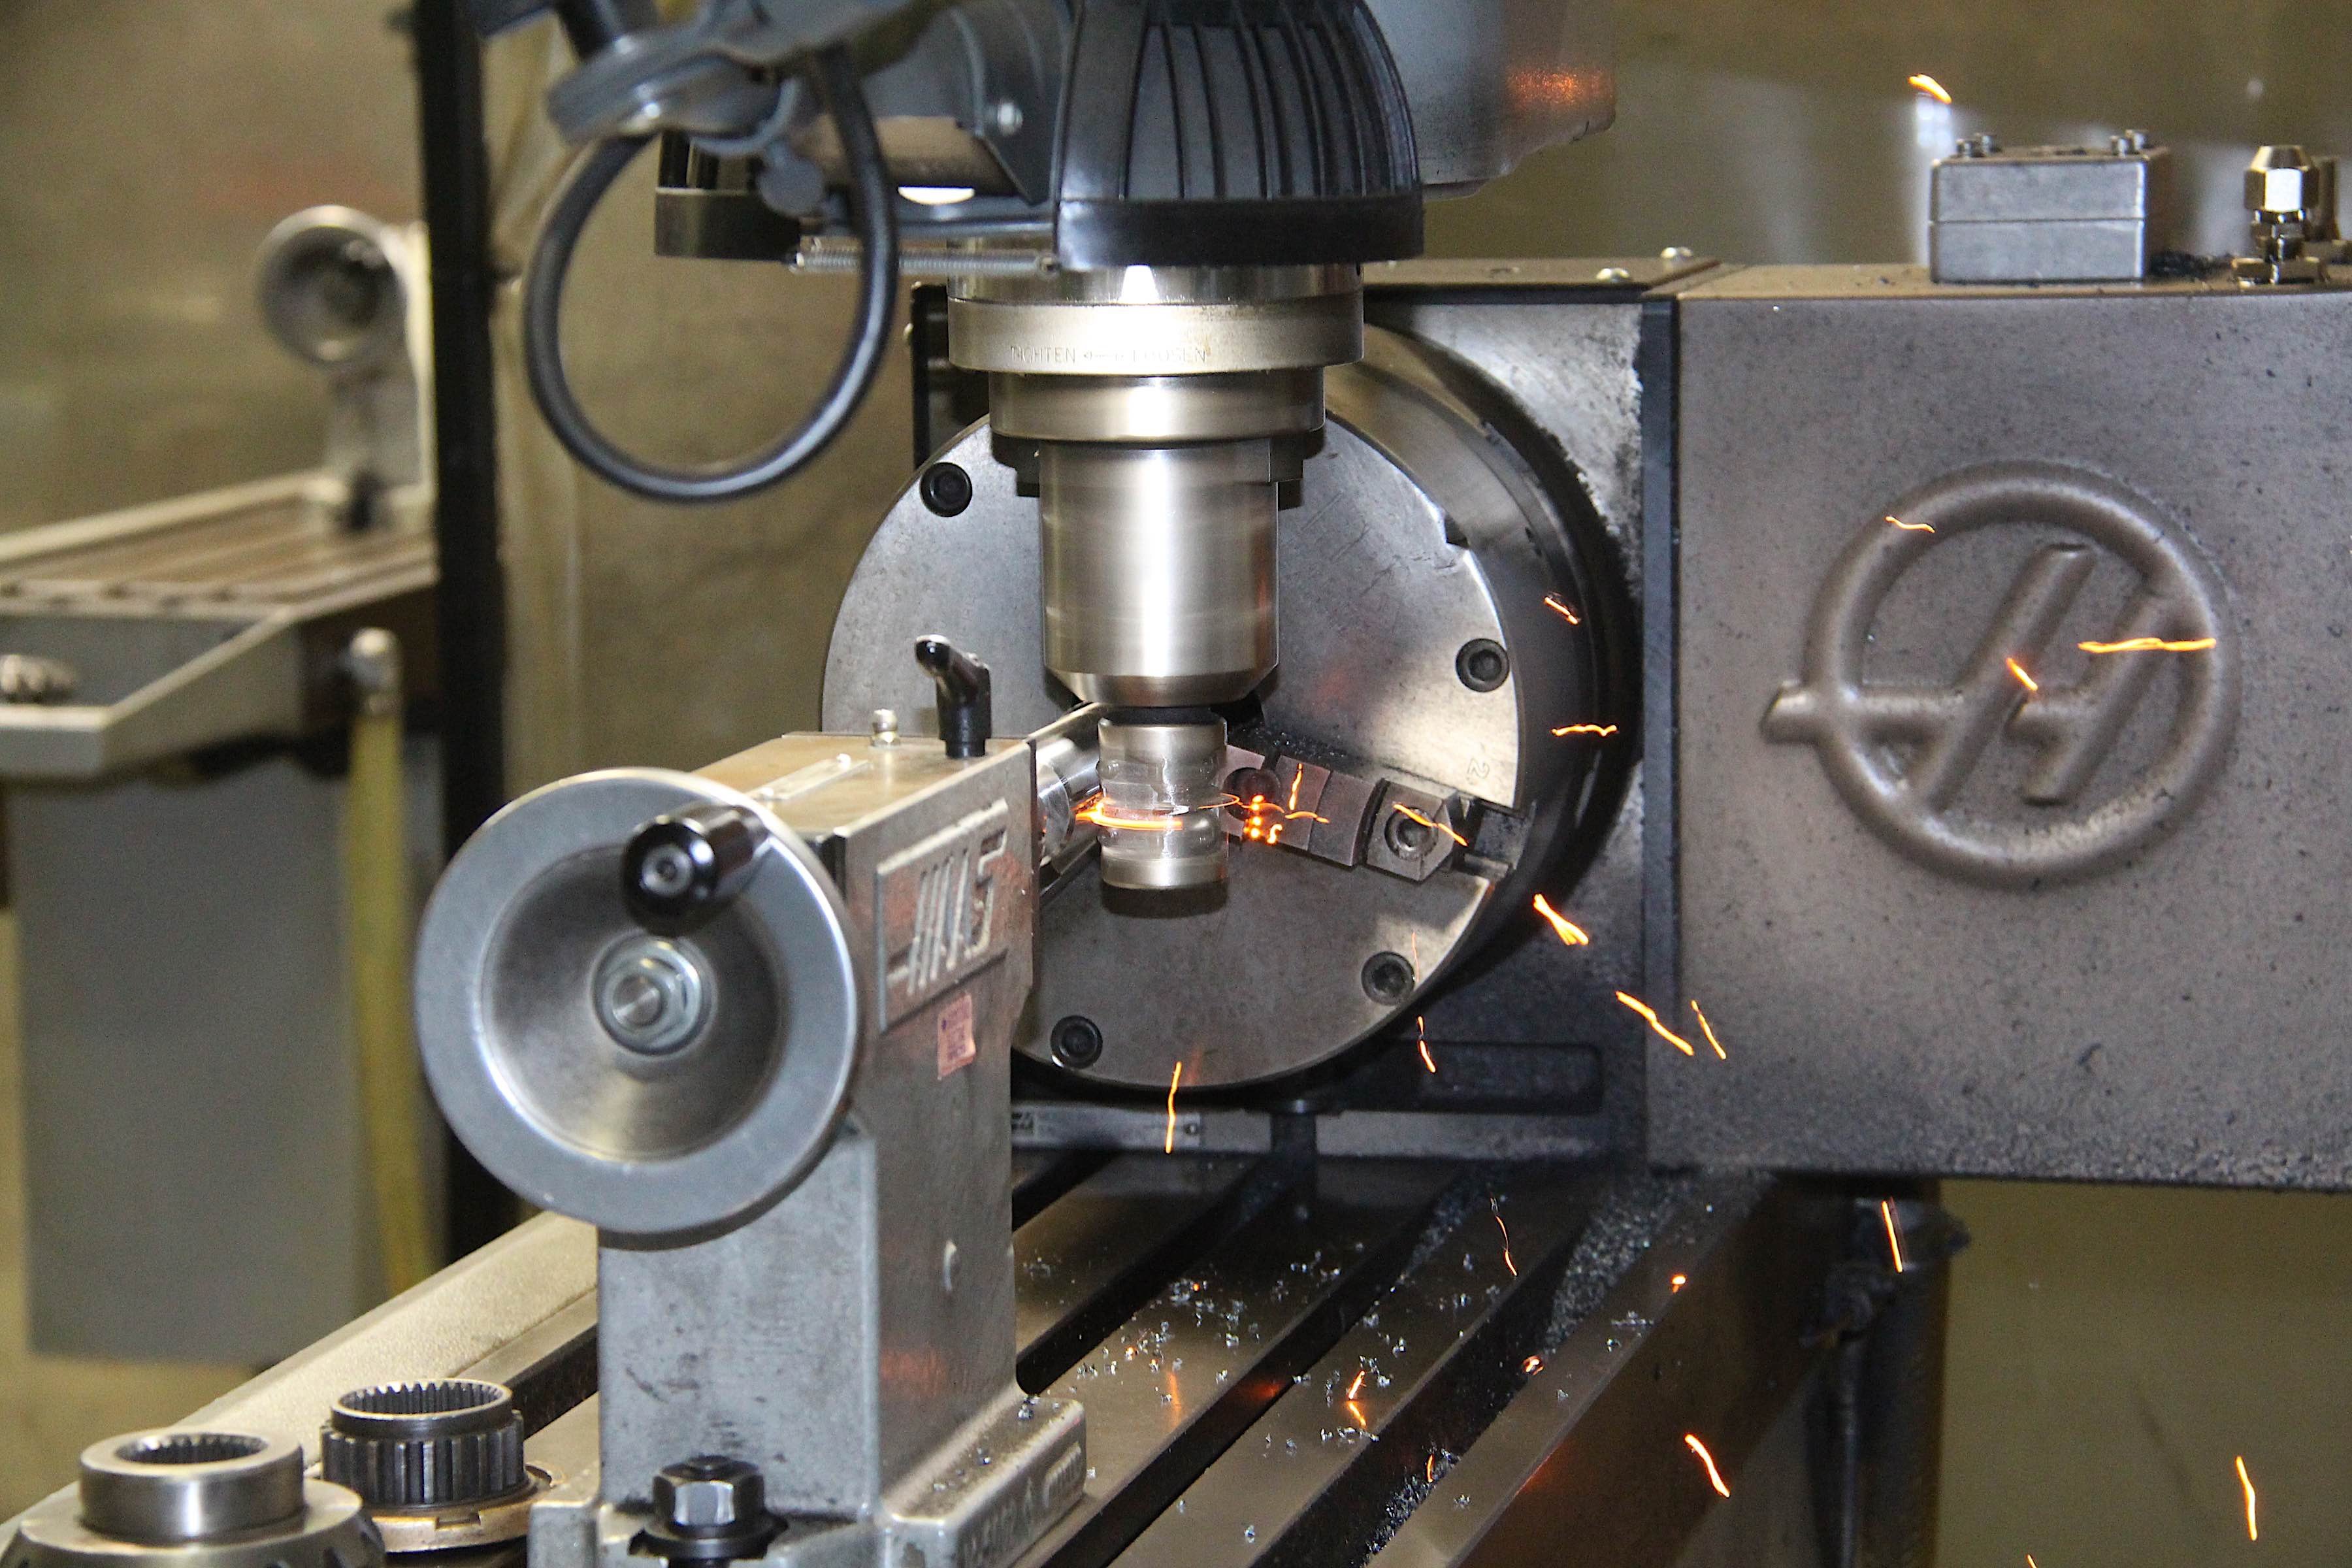

The final step of shaft preparation was CNC machining the splines.
It All Comes Together
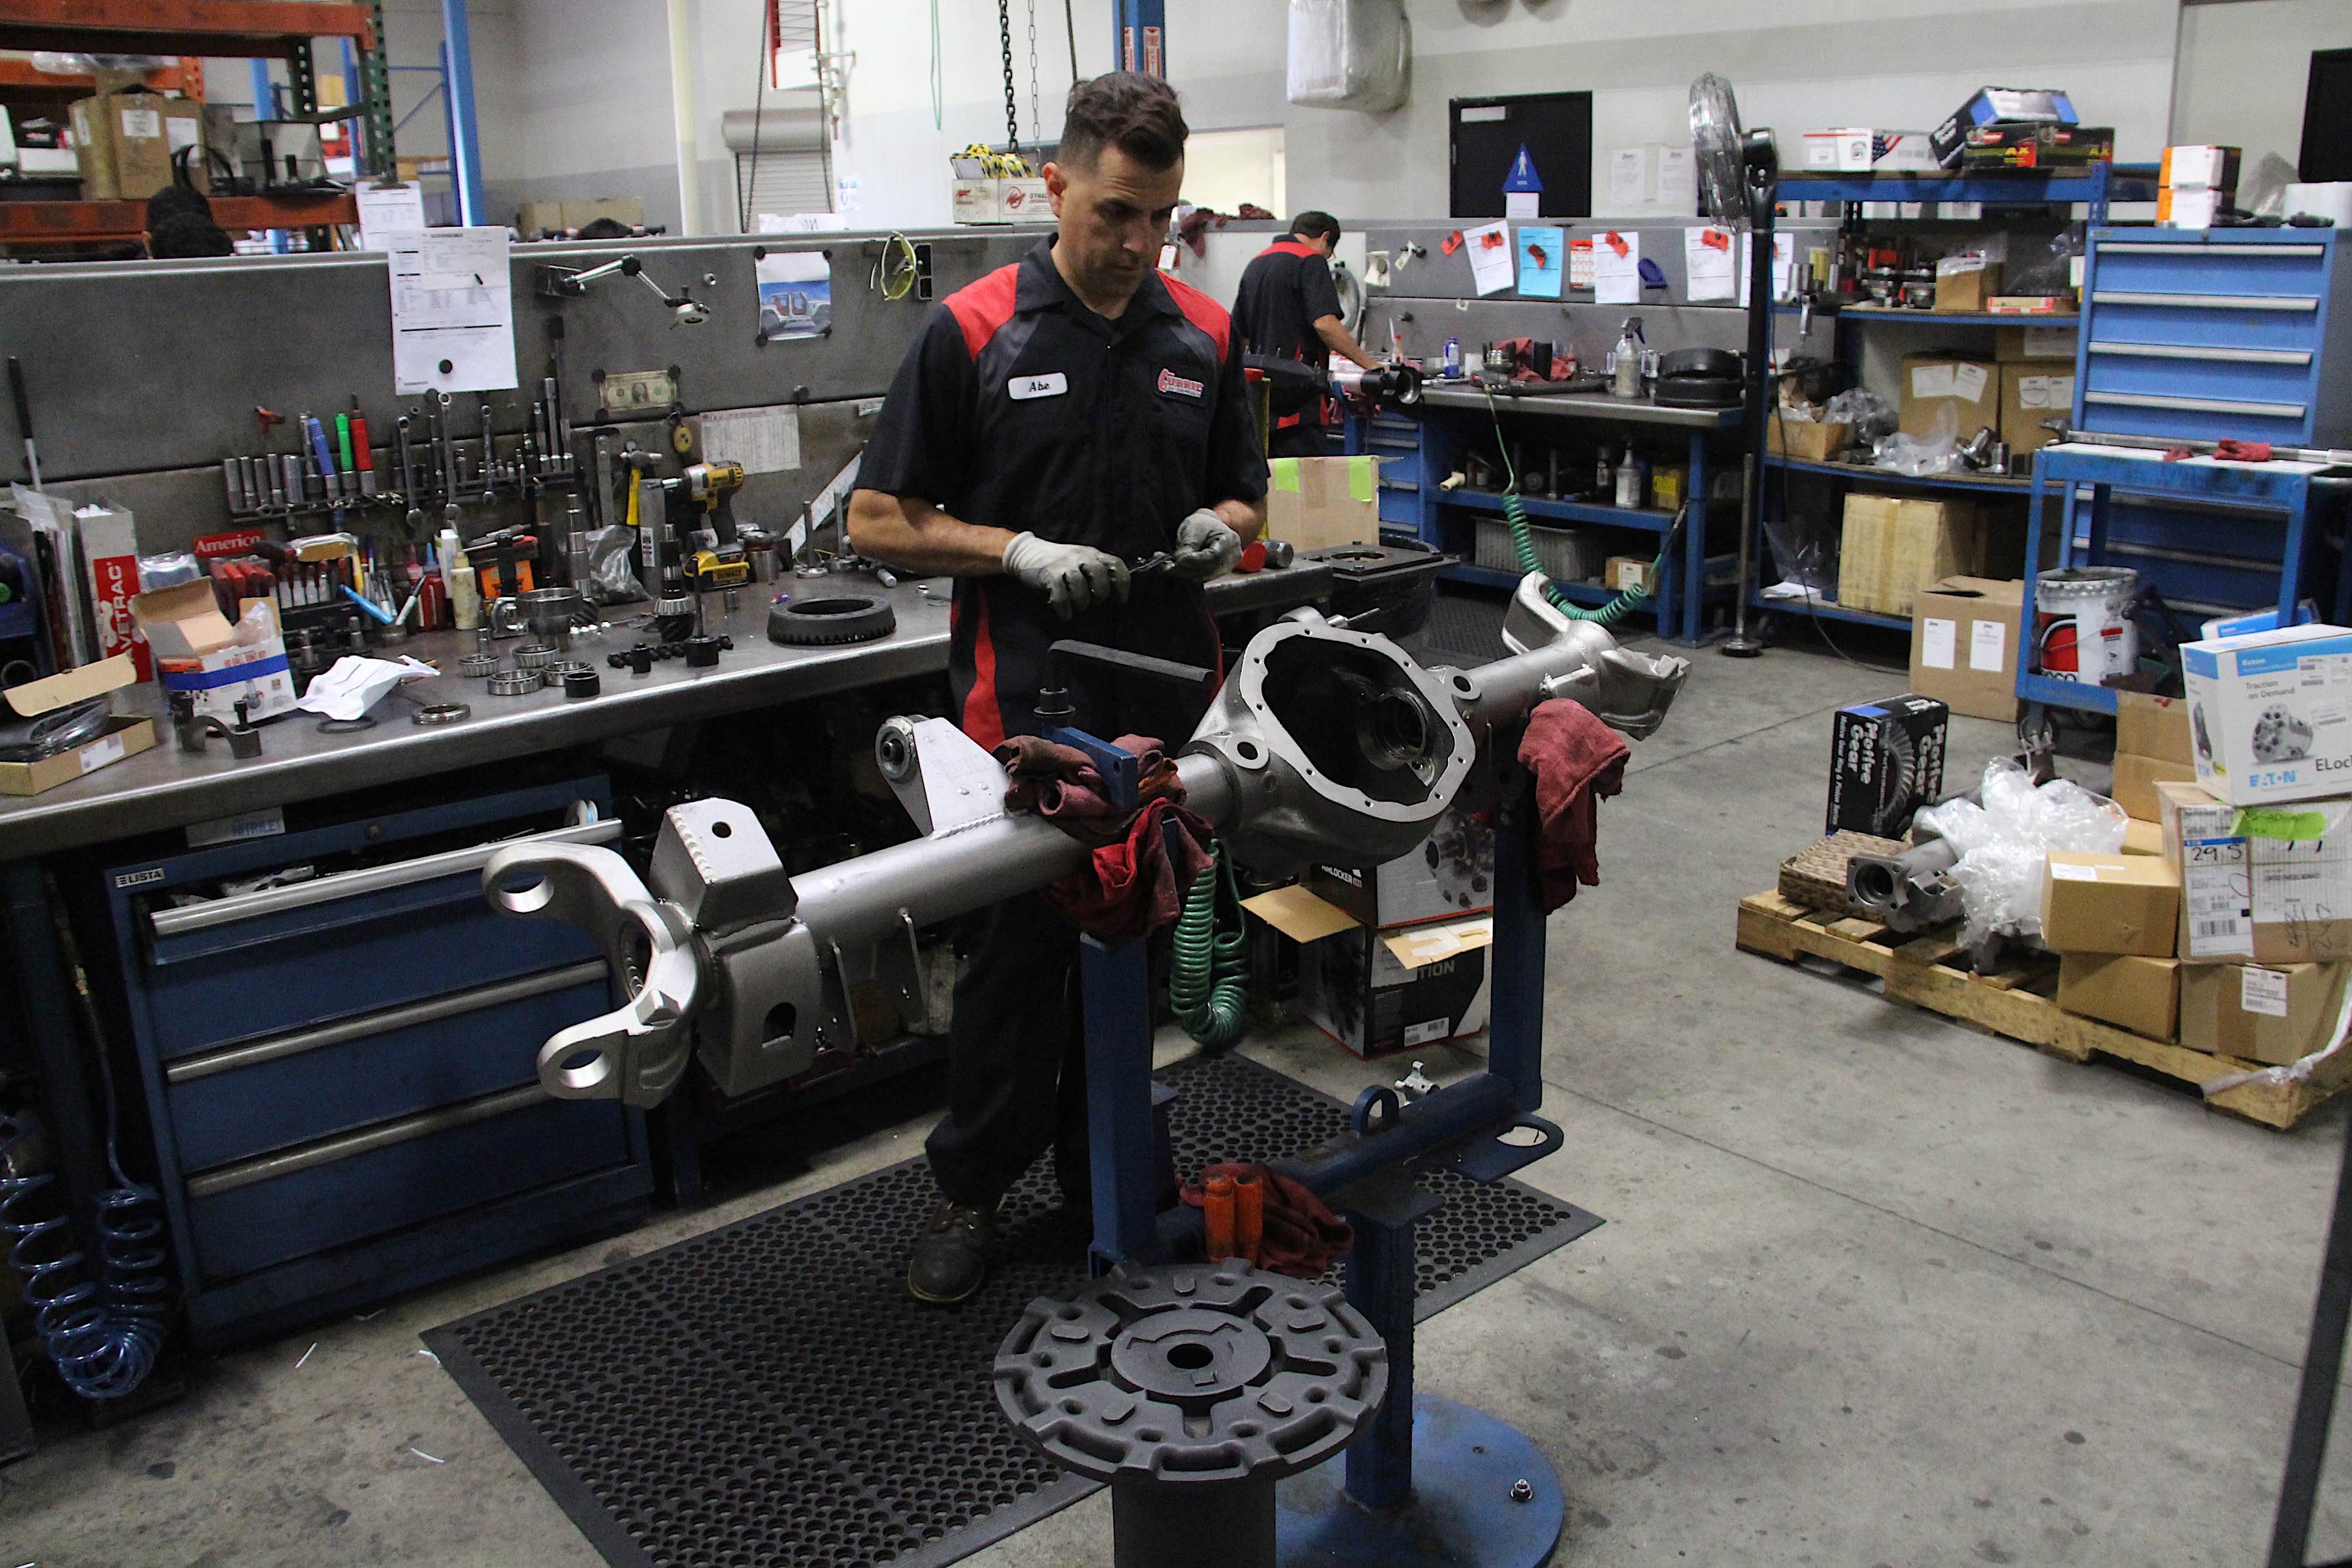
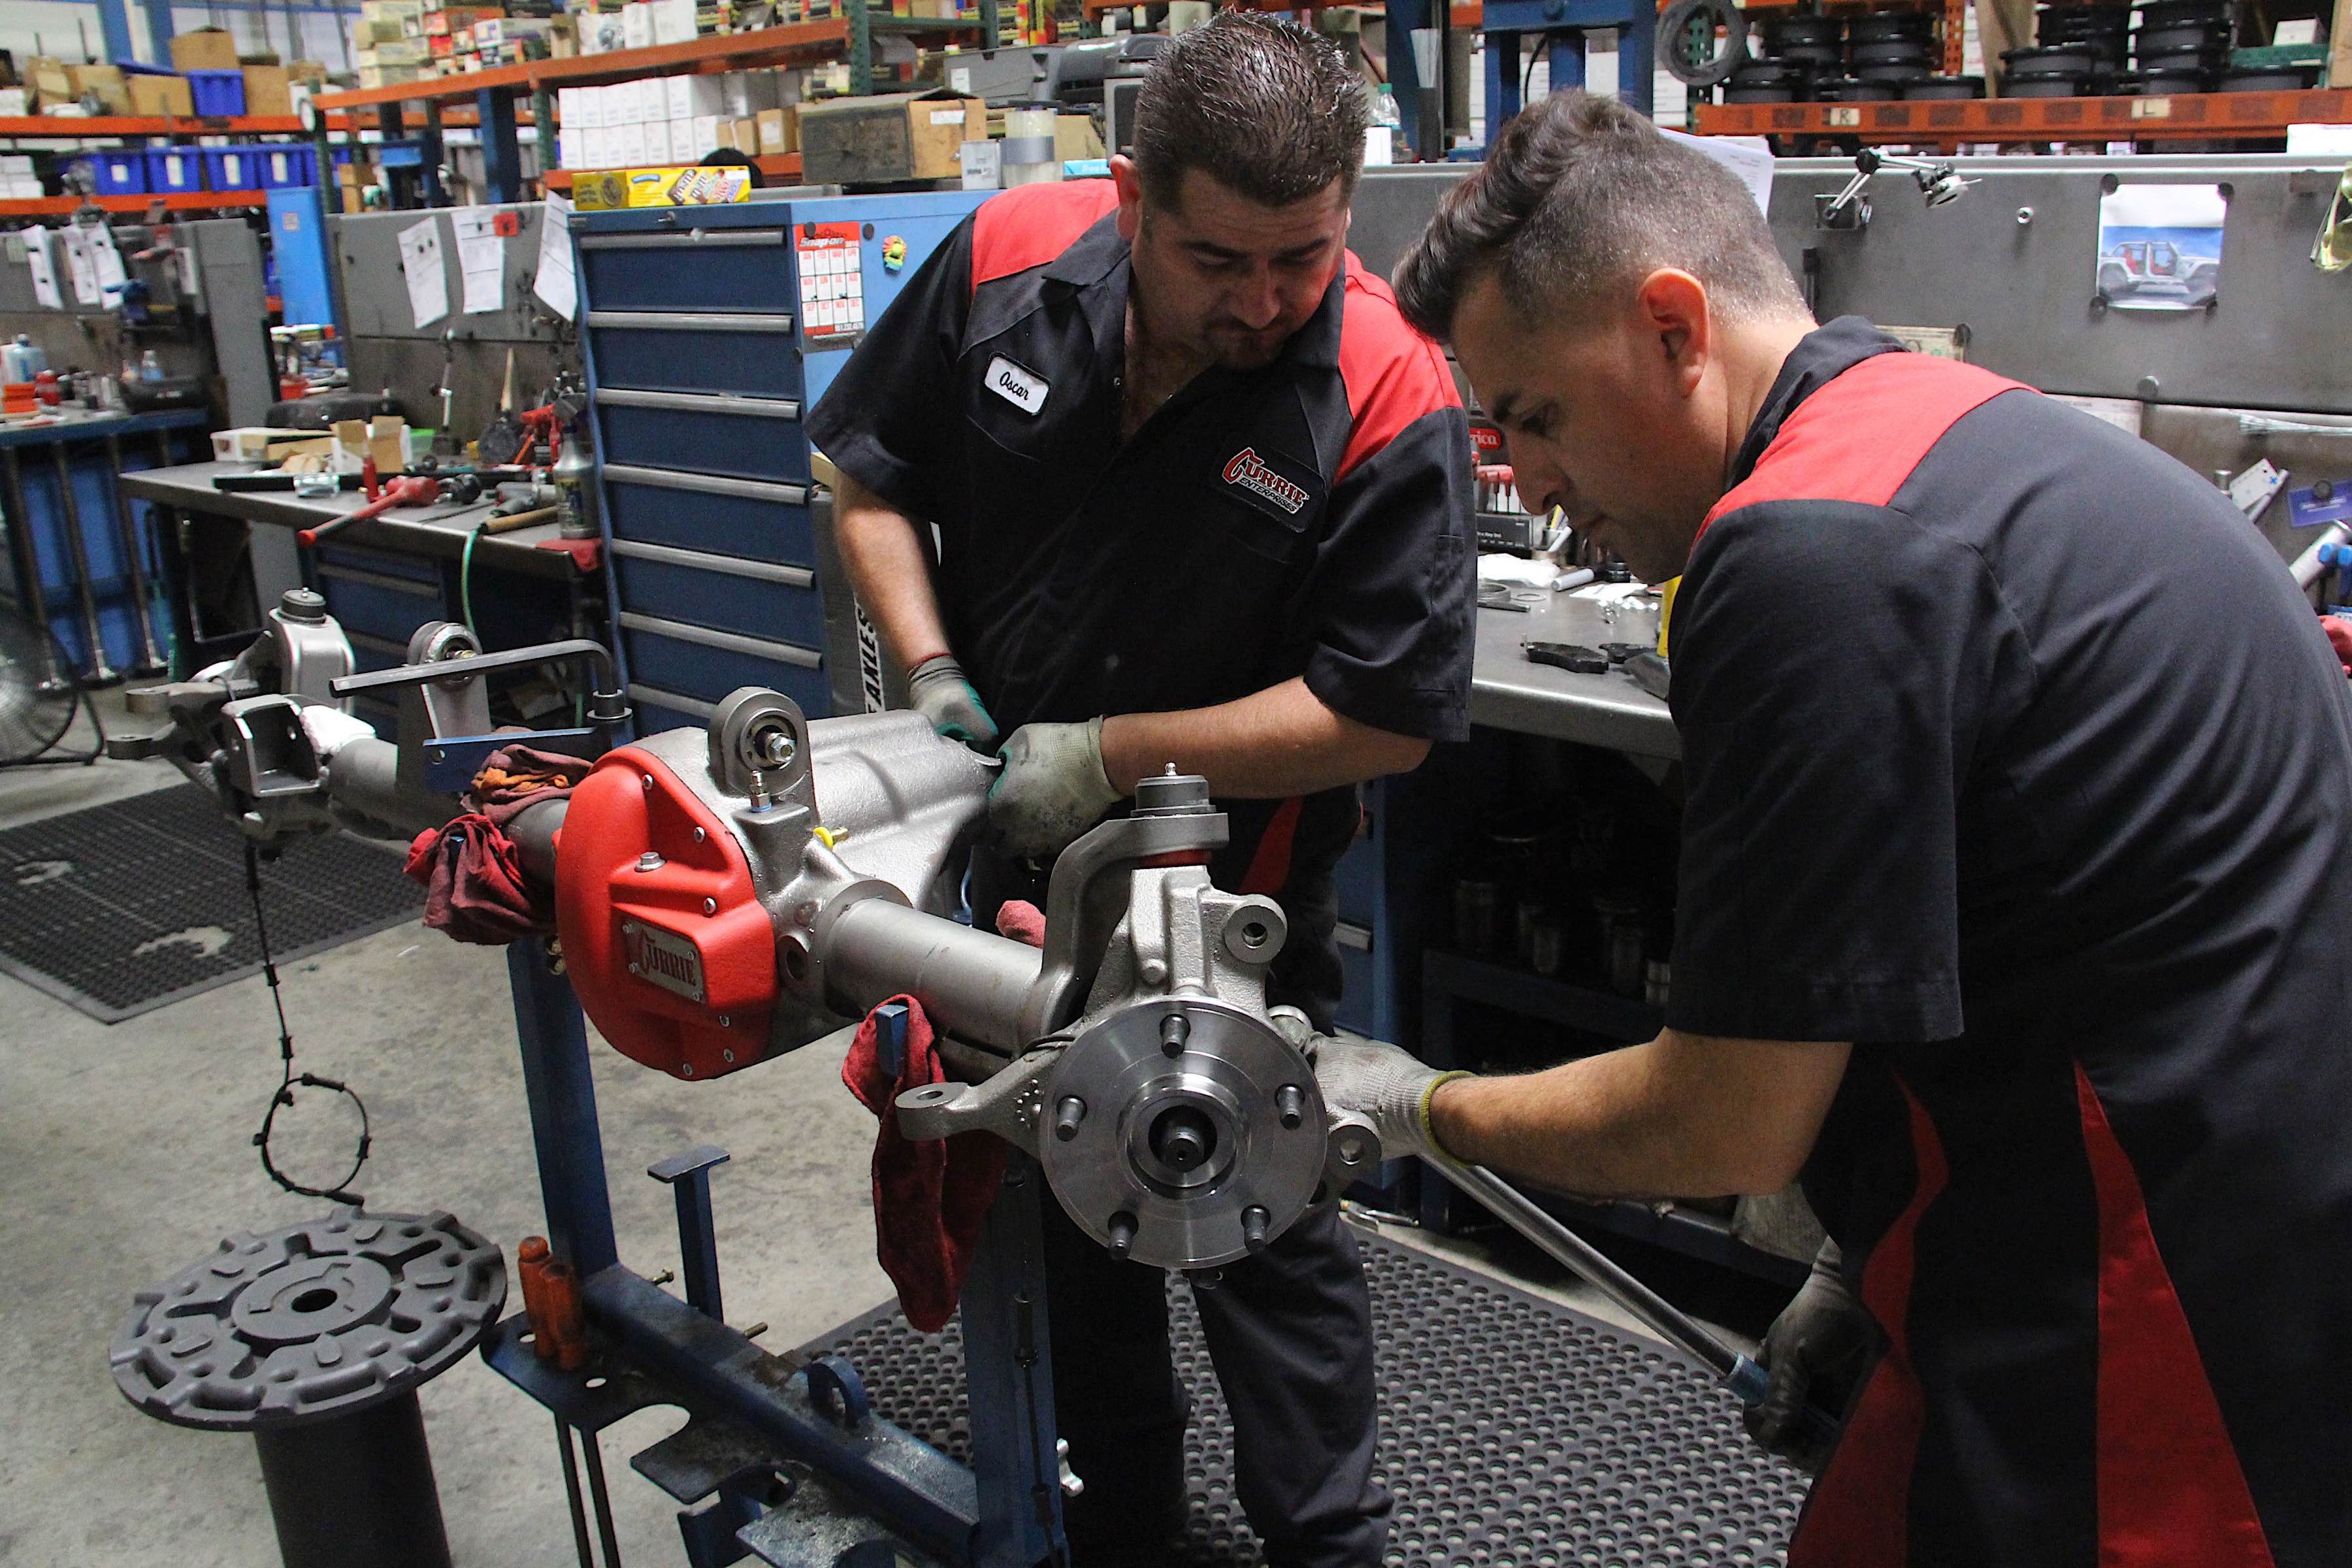
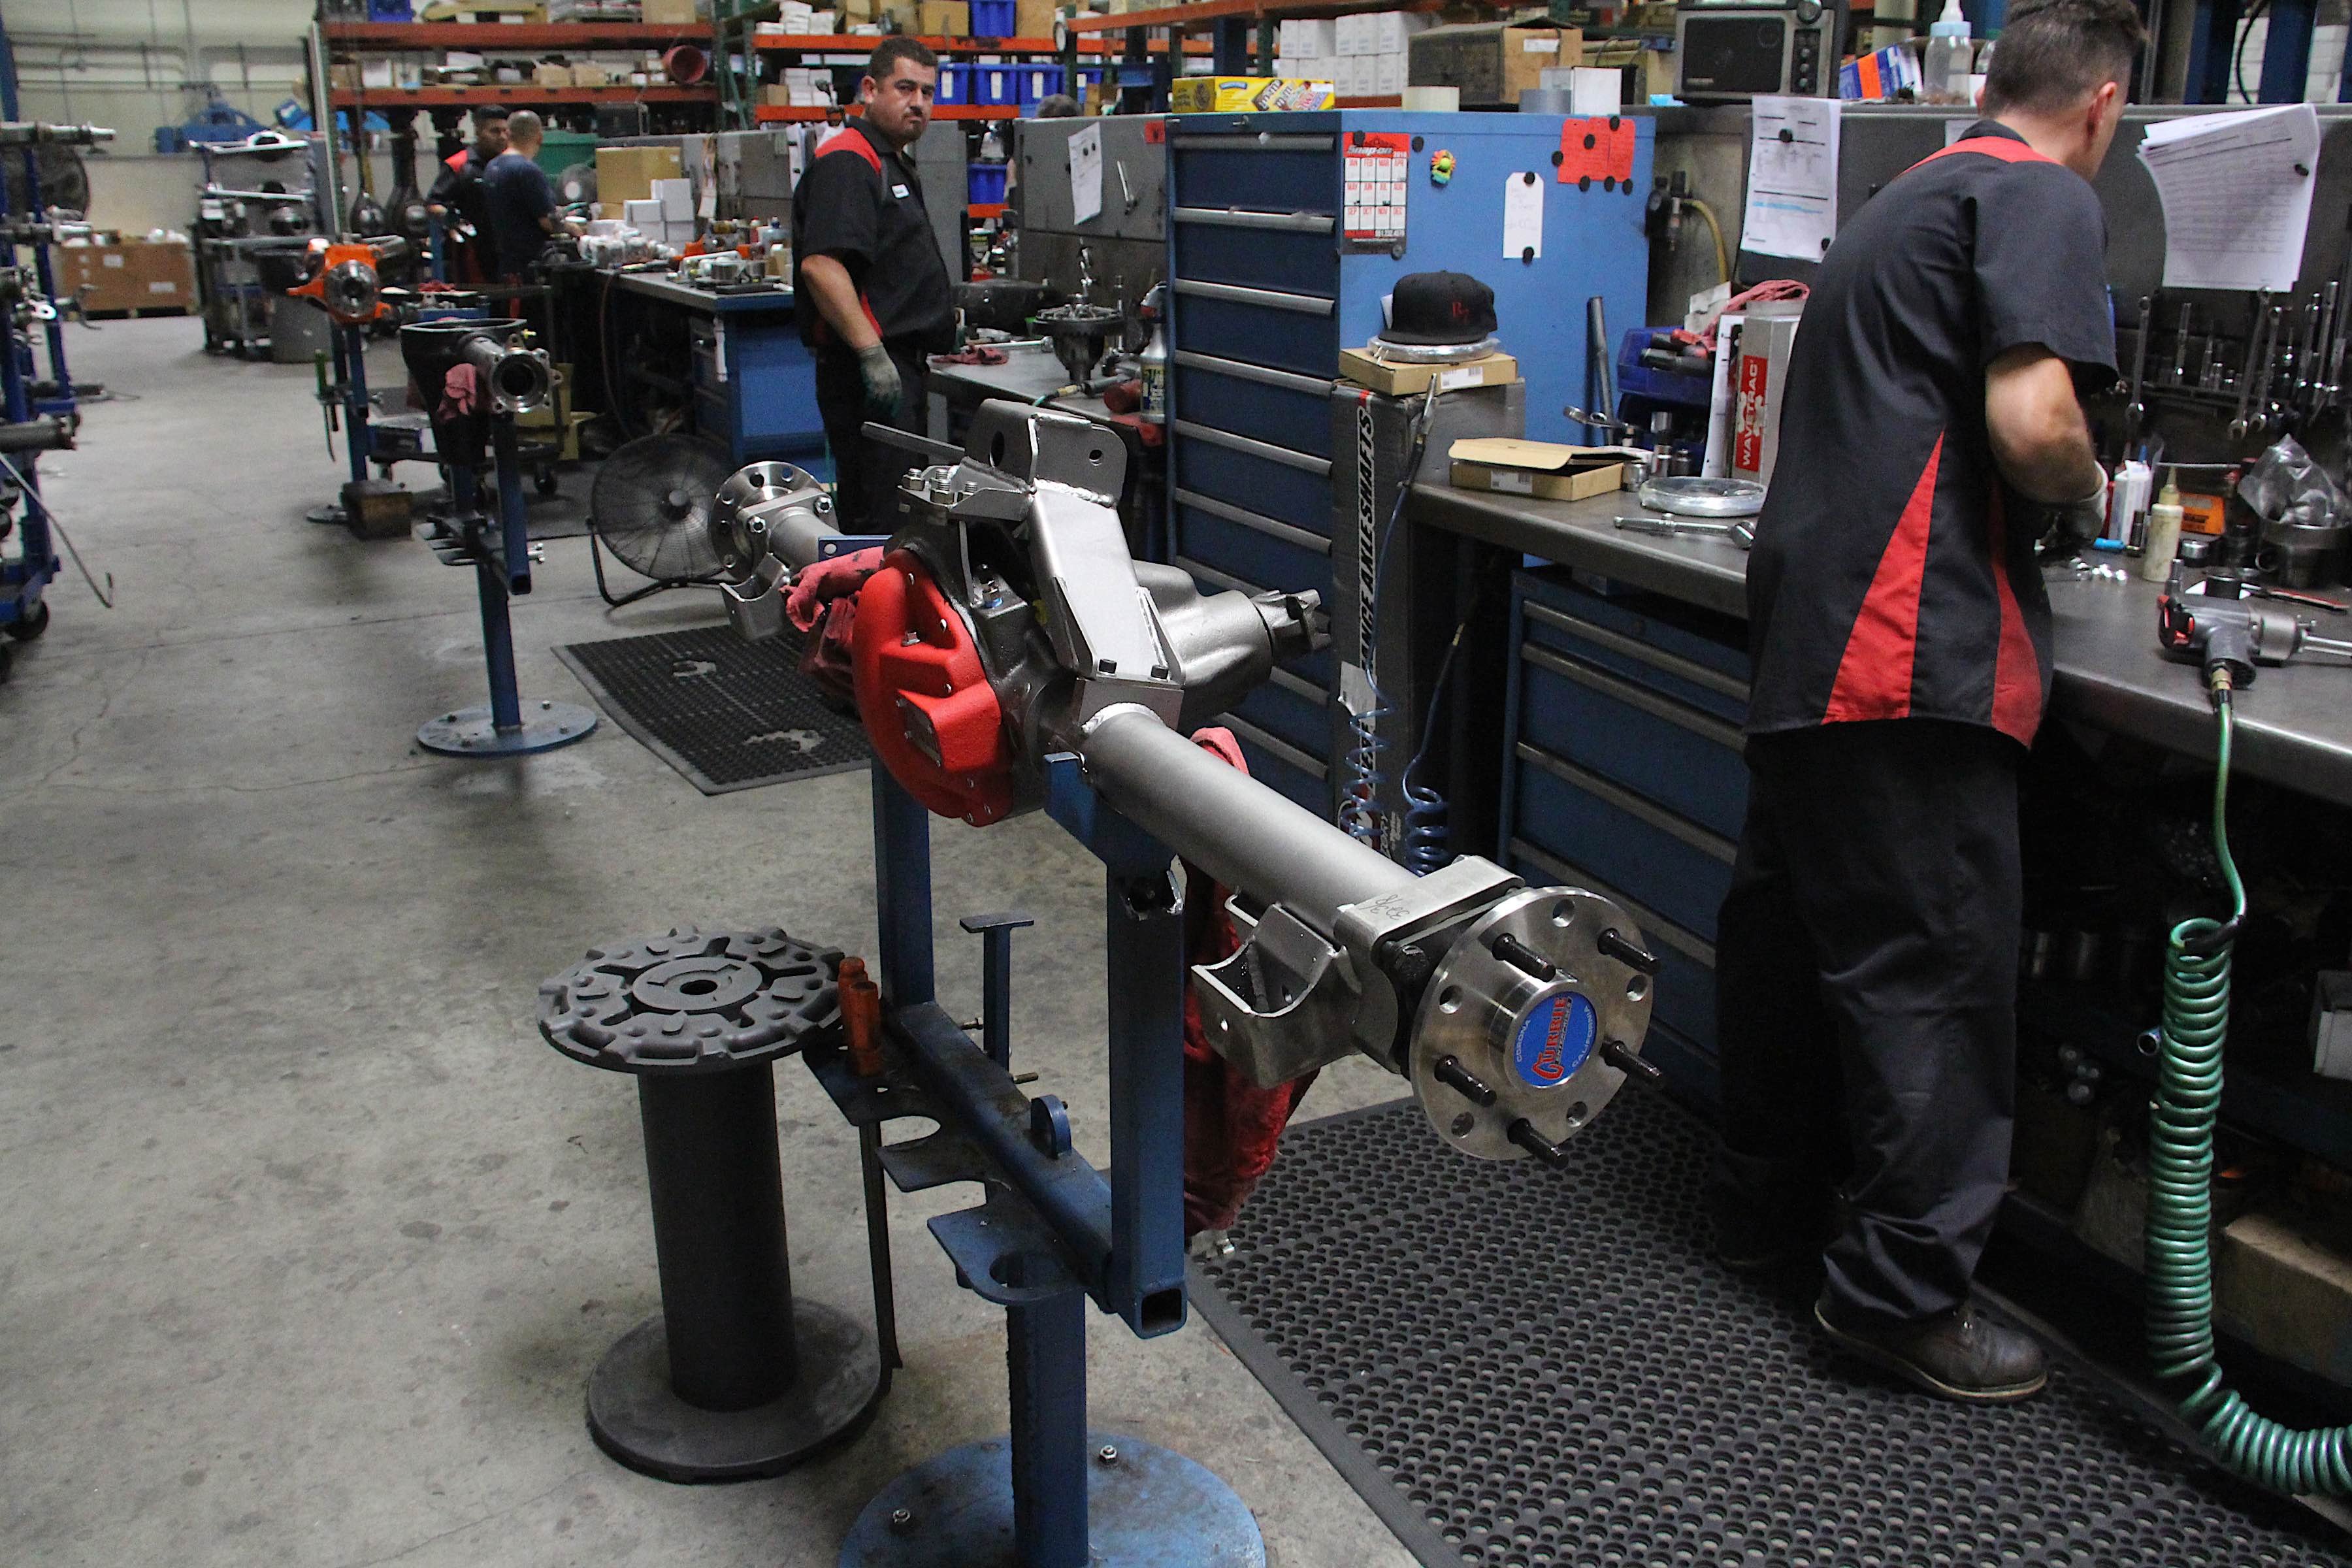
Now that all of our parts to put the off-road axles together were ready, we could begin the final assembly. This area of the warehouse was probably the most straightforward, as technicians took their work orders and put all the pieces together, from ball joints to bearings and everything in between.
A raised boss on the centers of the housings had some meat to allow a breather vent and air line to go through. The technician drilled these out and moved onto assembling the locker.

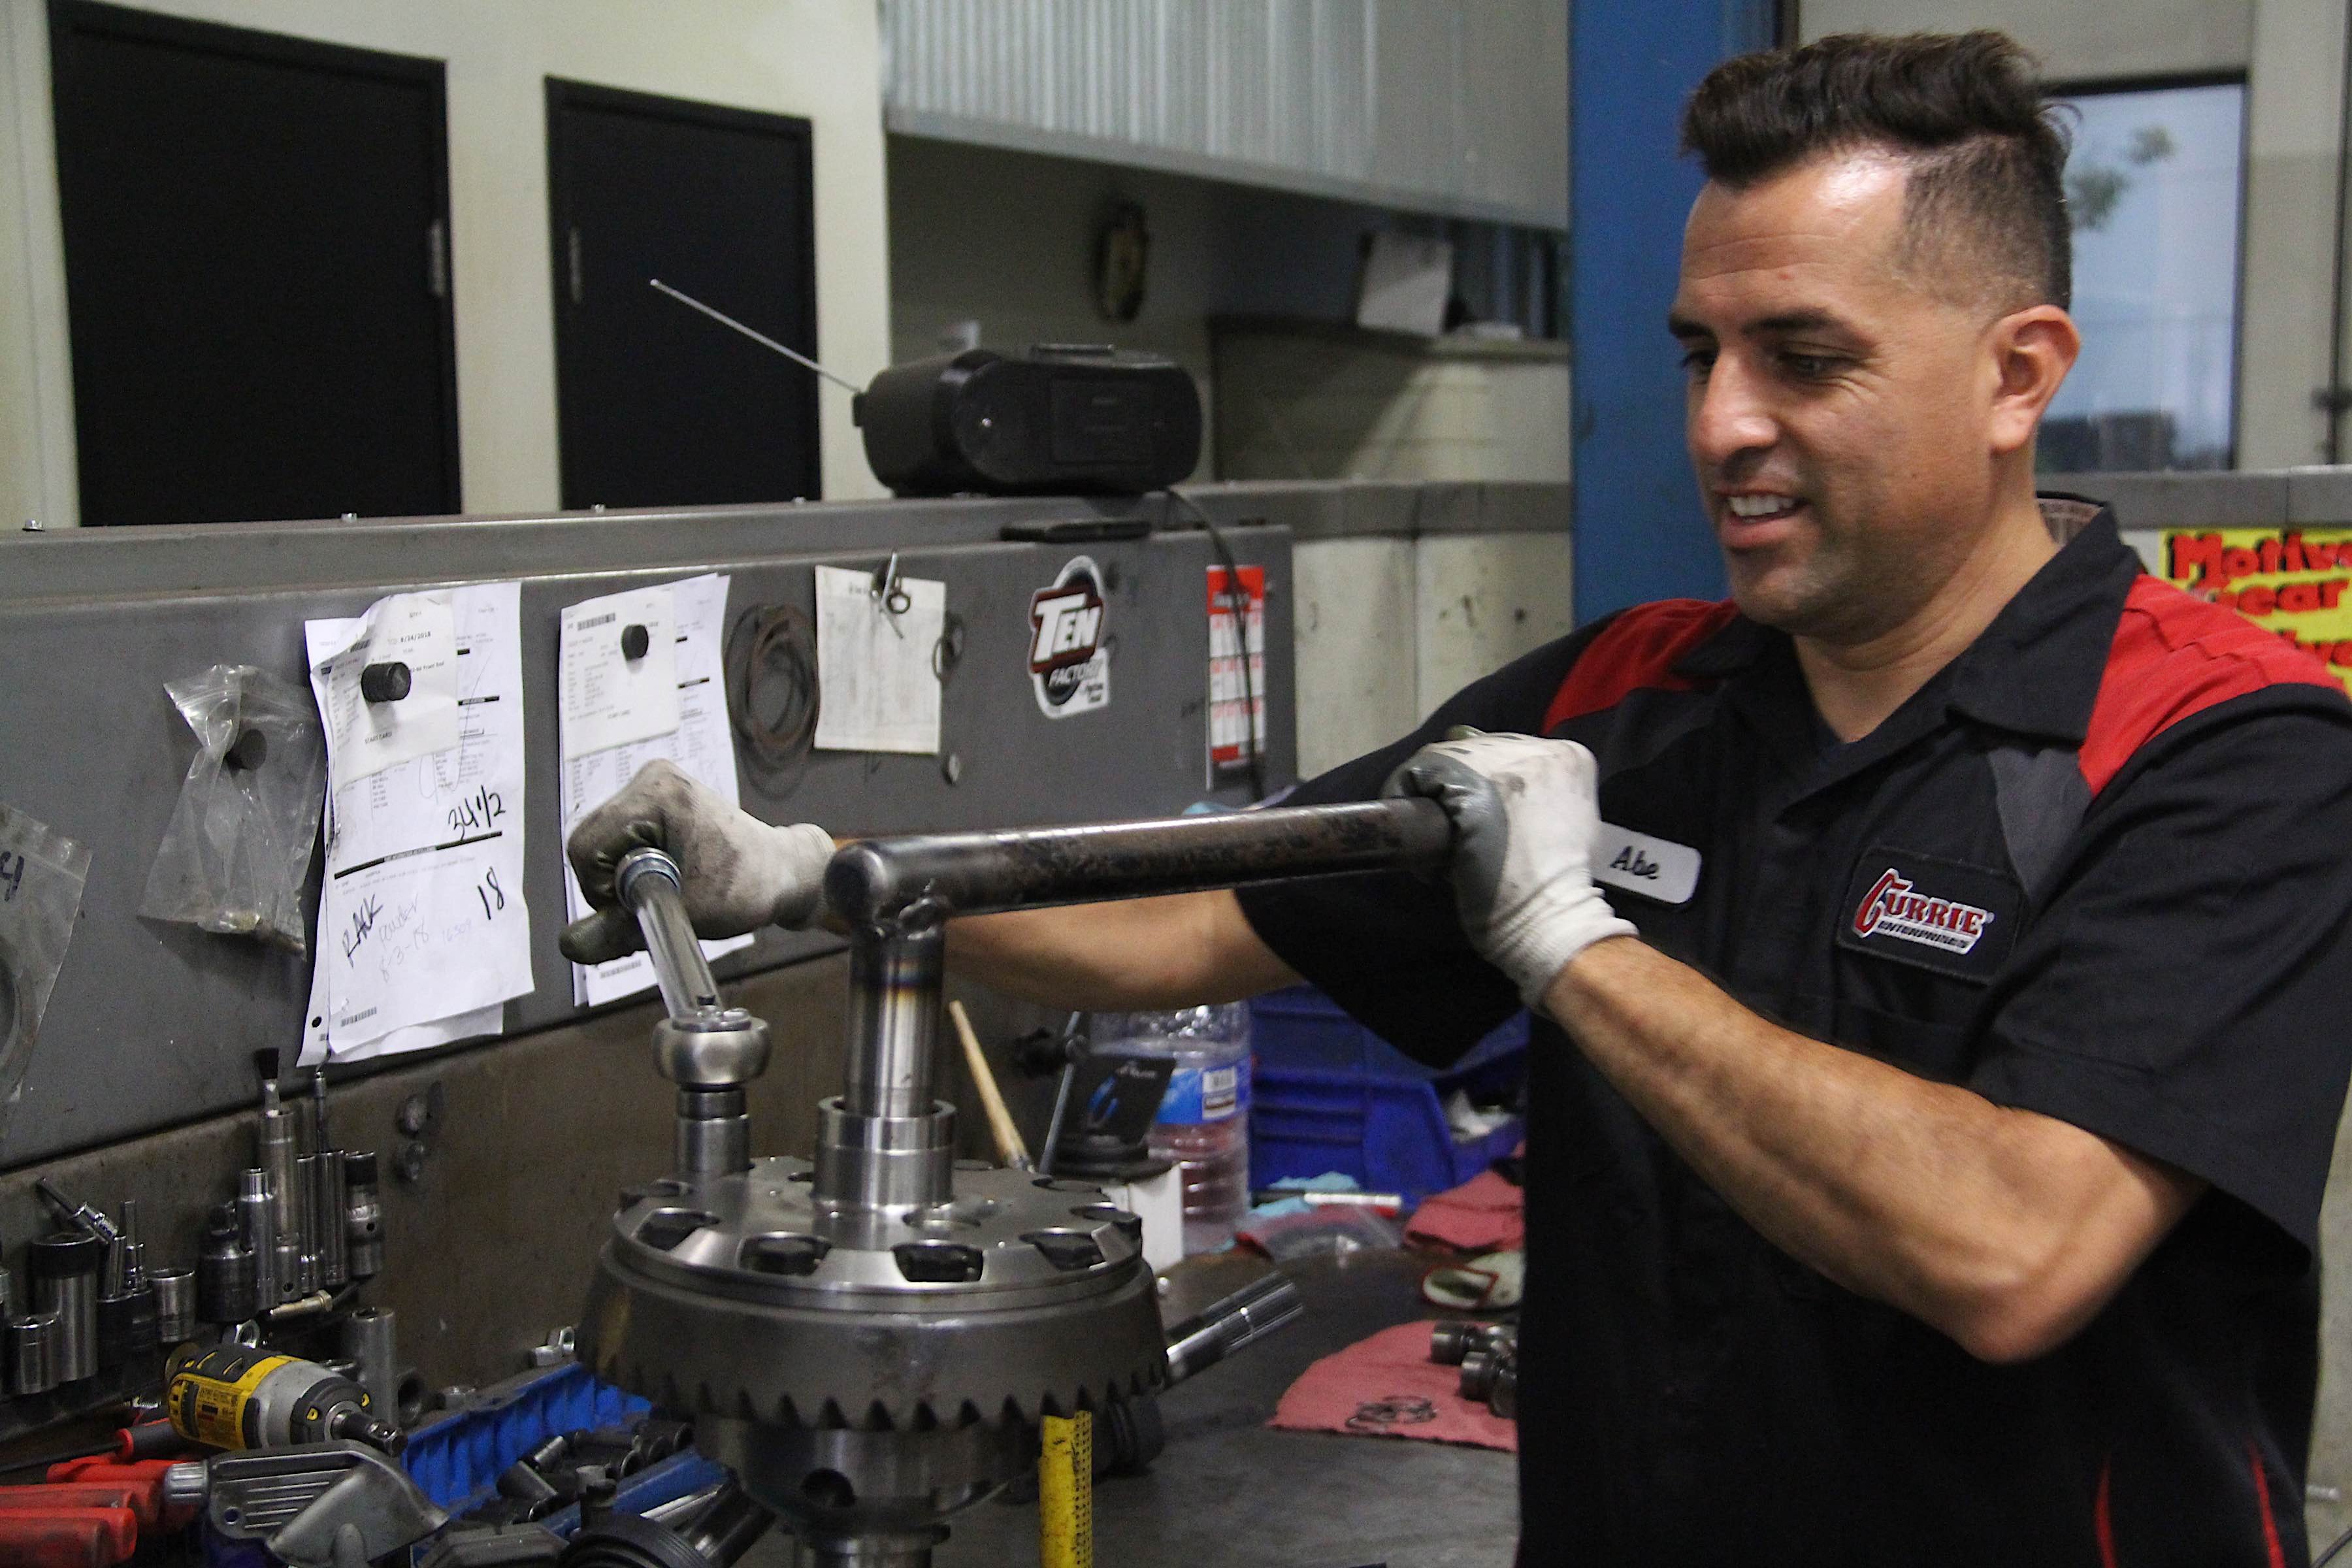

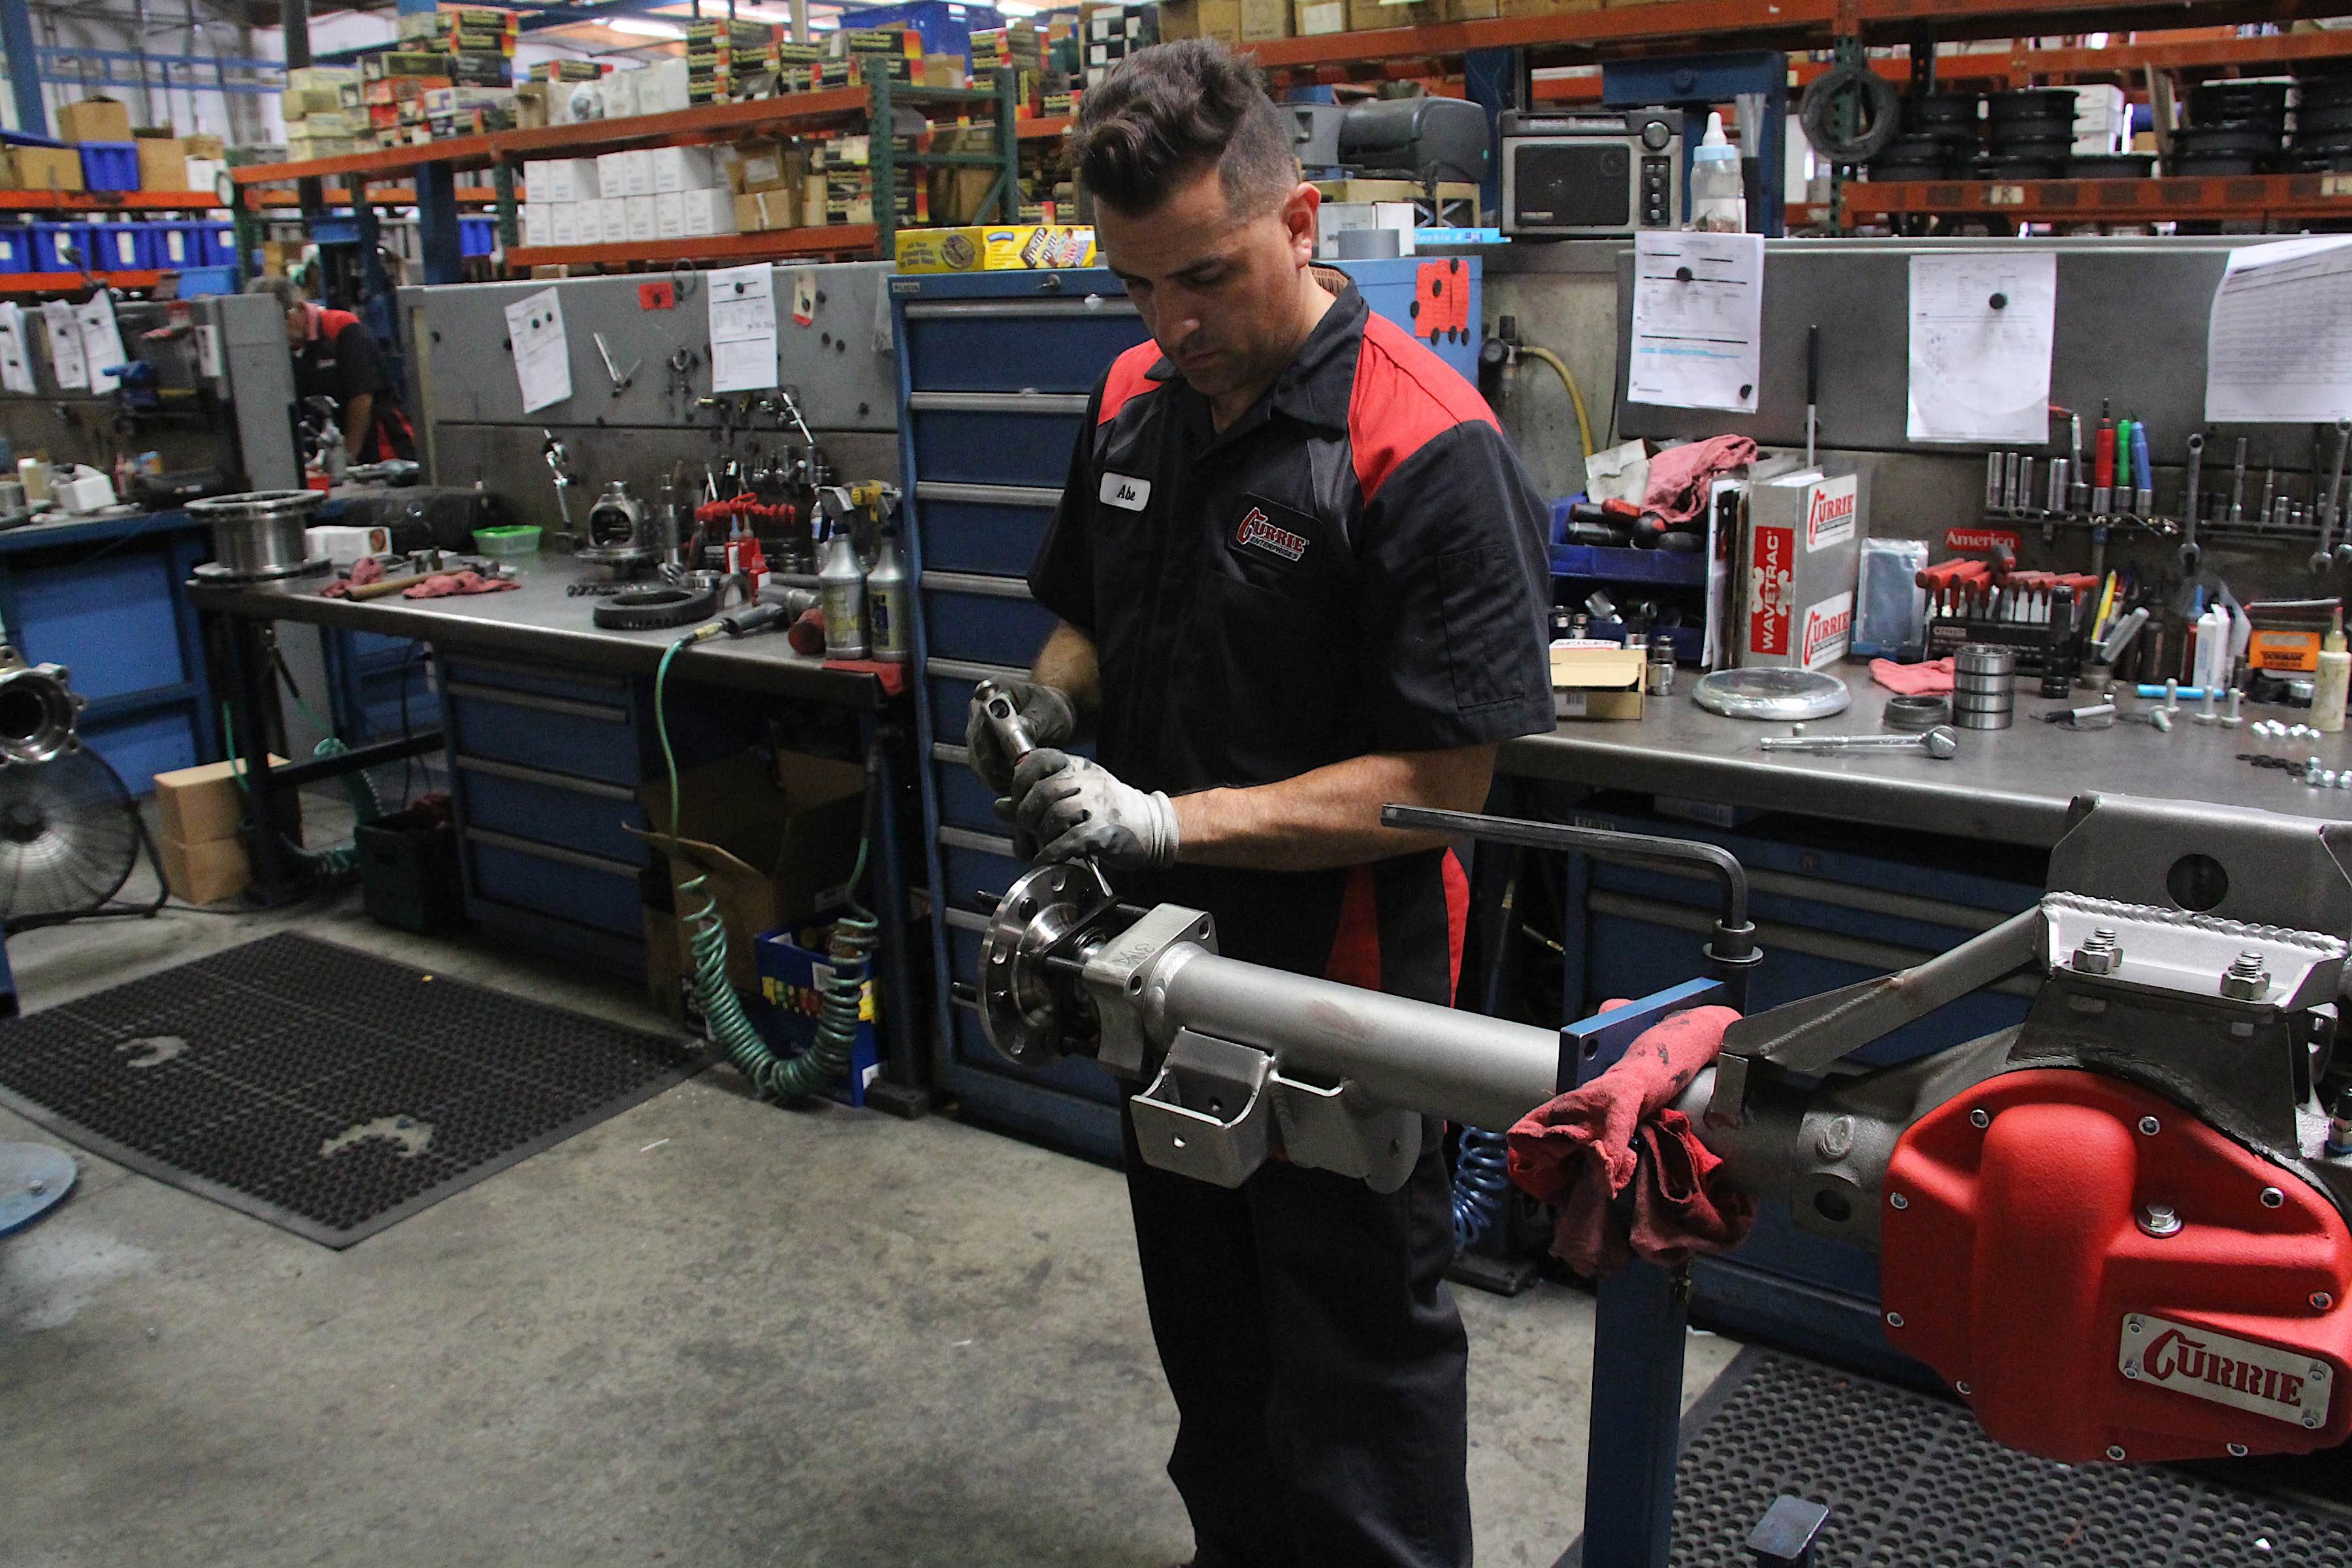
Our experienced technician, Abe, assembled the locker with aplomb.
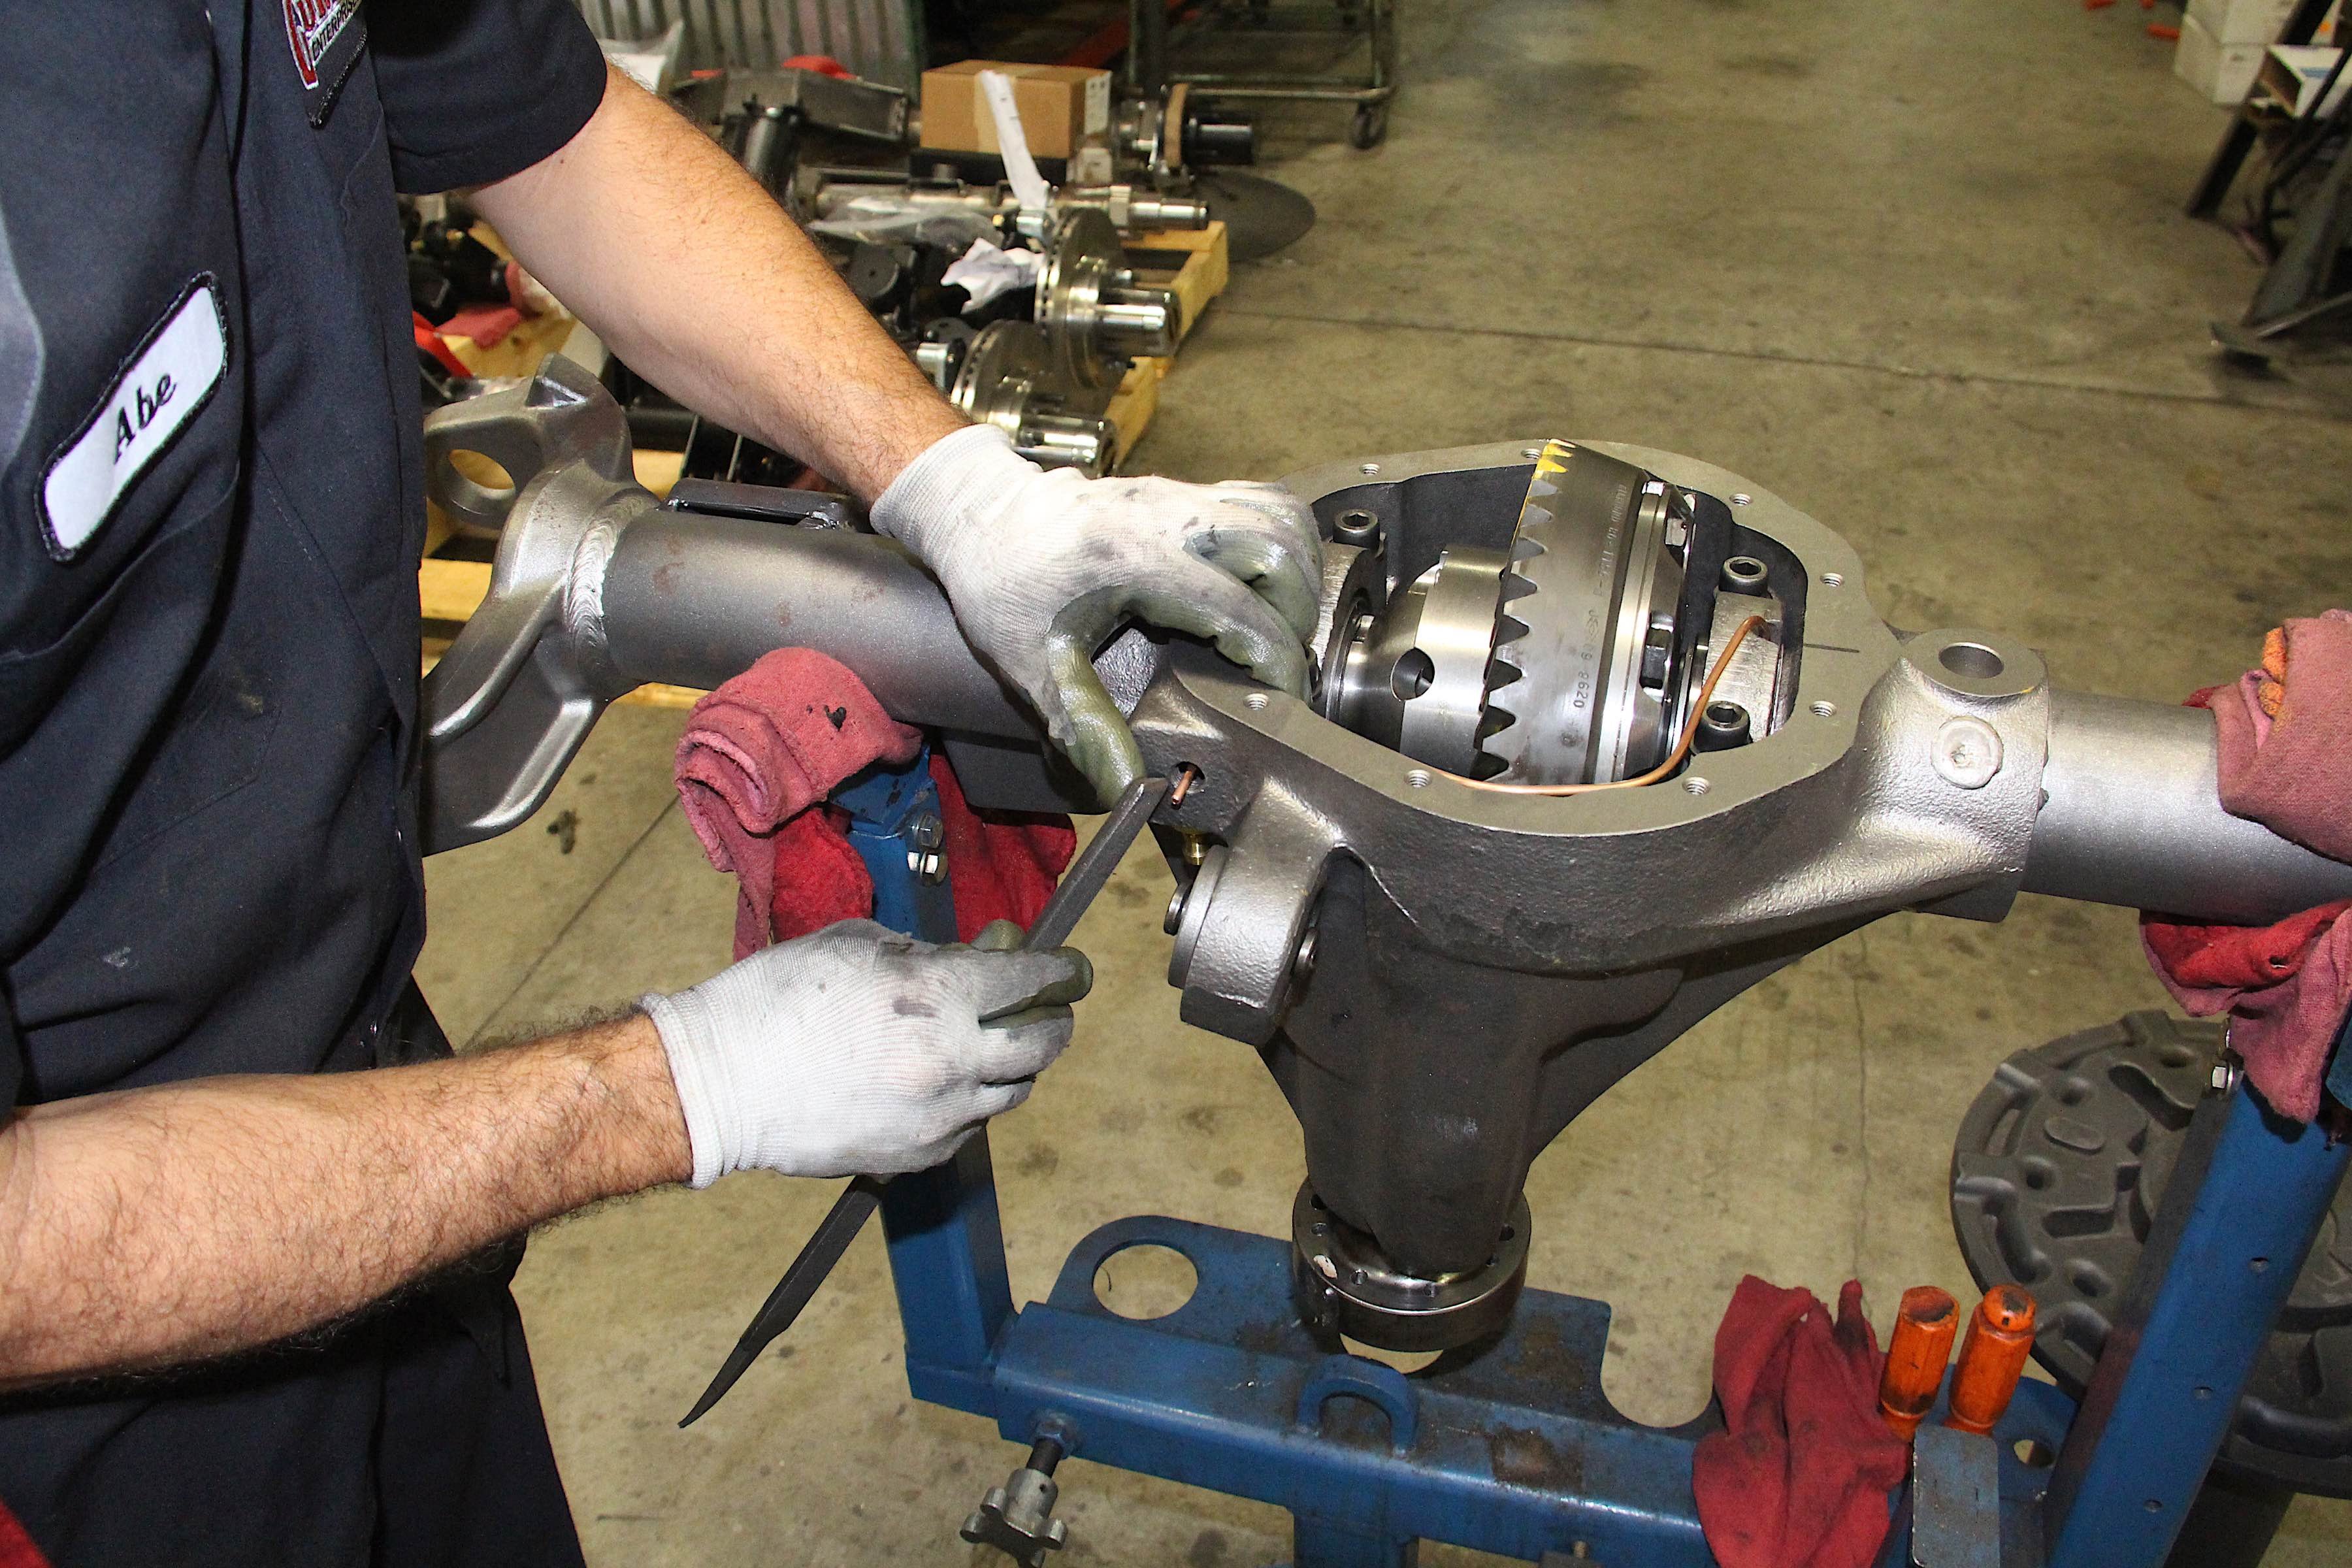
The process of assembling the locker was nothing new to our technician, Abe. He handily put together the parts – bearings pressed on, notching the bearing cap, setting gear lash on the ring and pinion – and before we knew it, the front axle was almost ready.
It was at this point that we saw what was probably the coolest tool ever devised. Suspended from the ceiling, the Currie-designed pneumatic ball joint tool made the process of installing ball joints a piece of cake. All Abe had to do was line up the ball joint with the hole, hit a button, and the tool would do the rest. Once it was fully seated, Abe let off the switch, and he could do the next one.
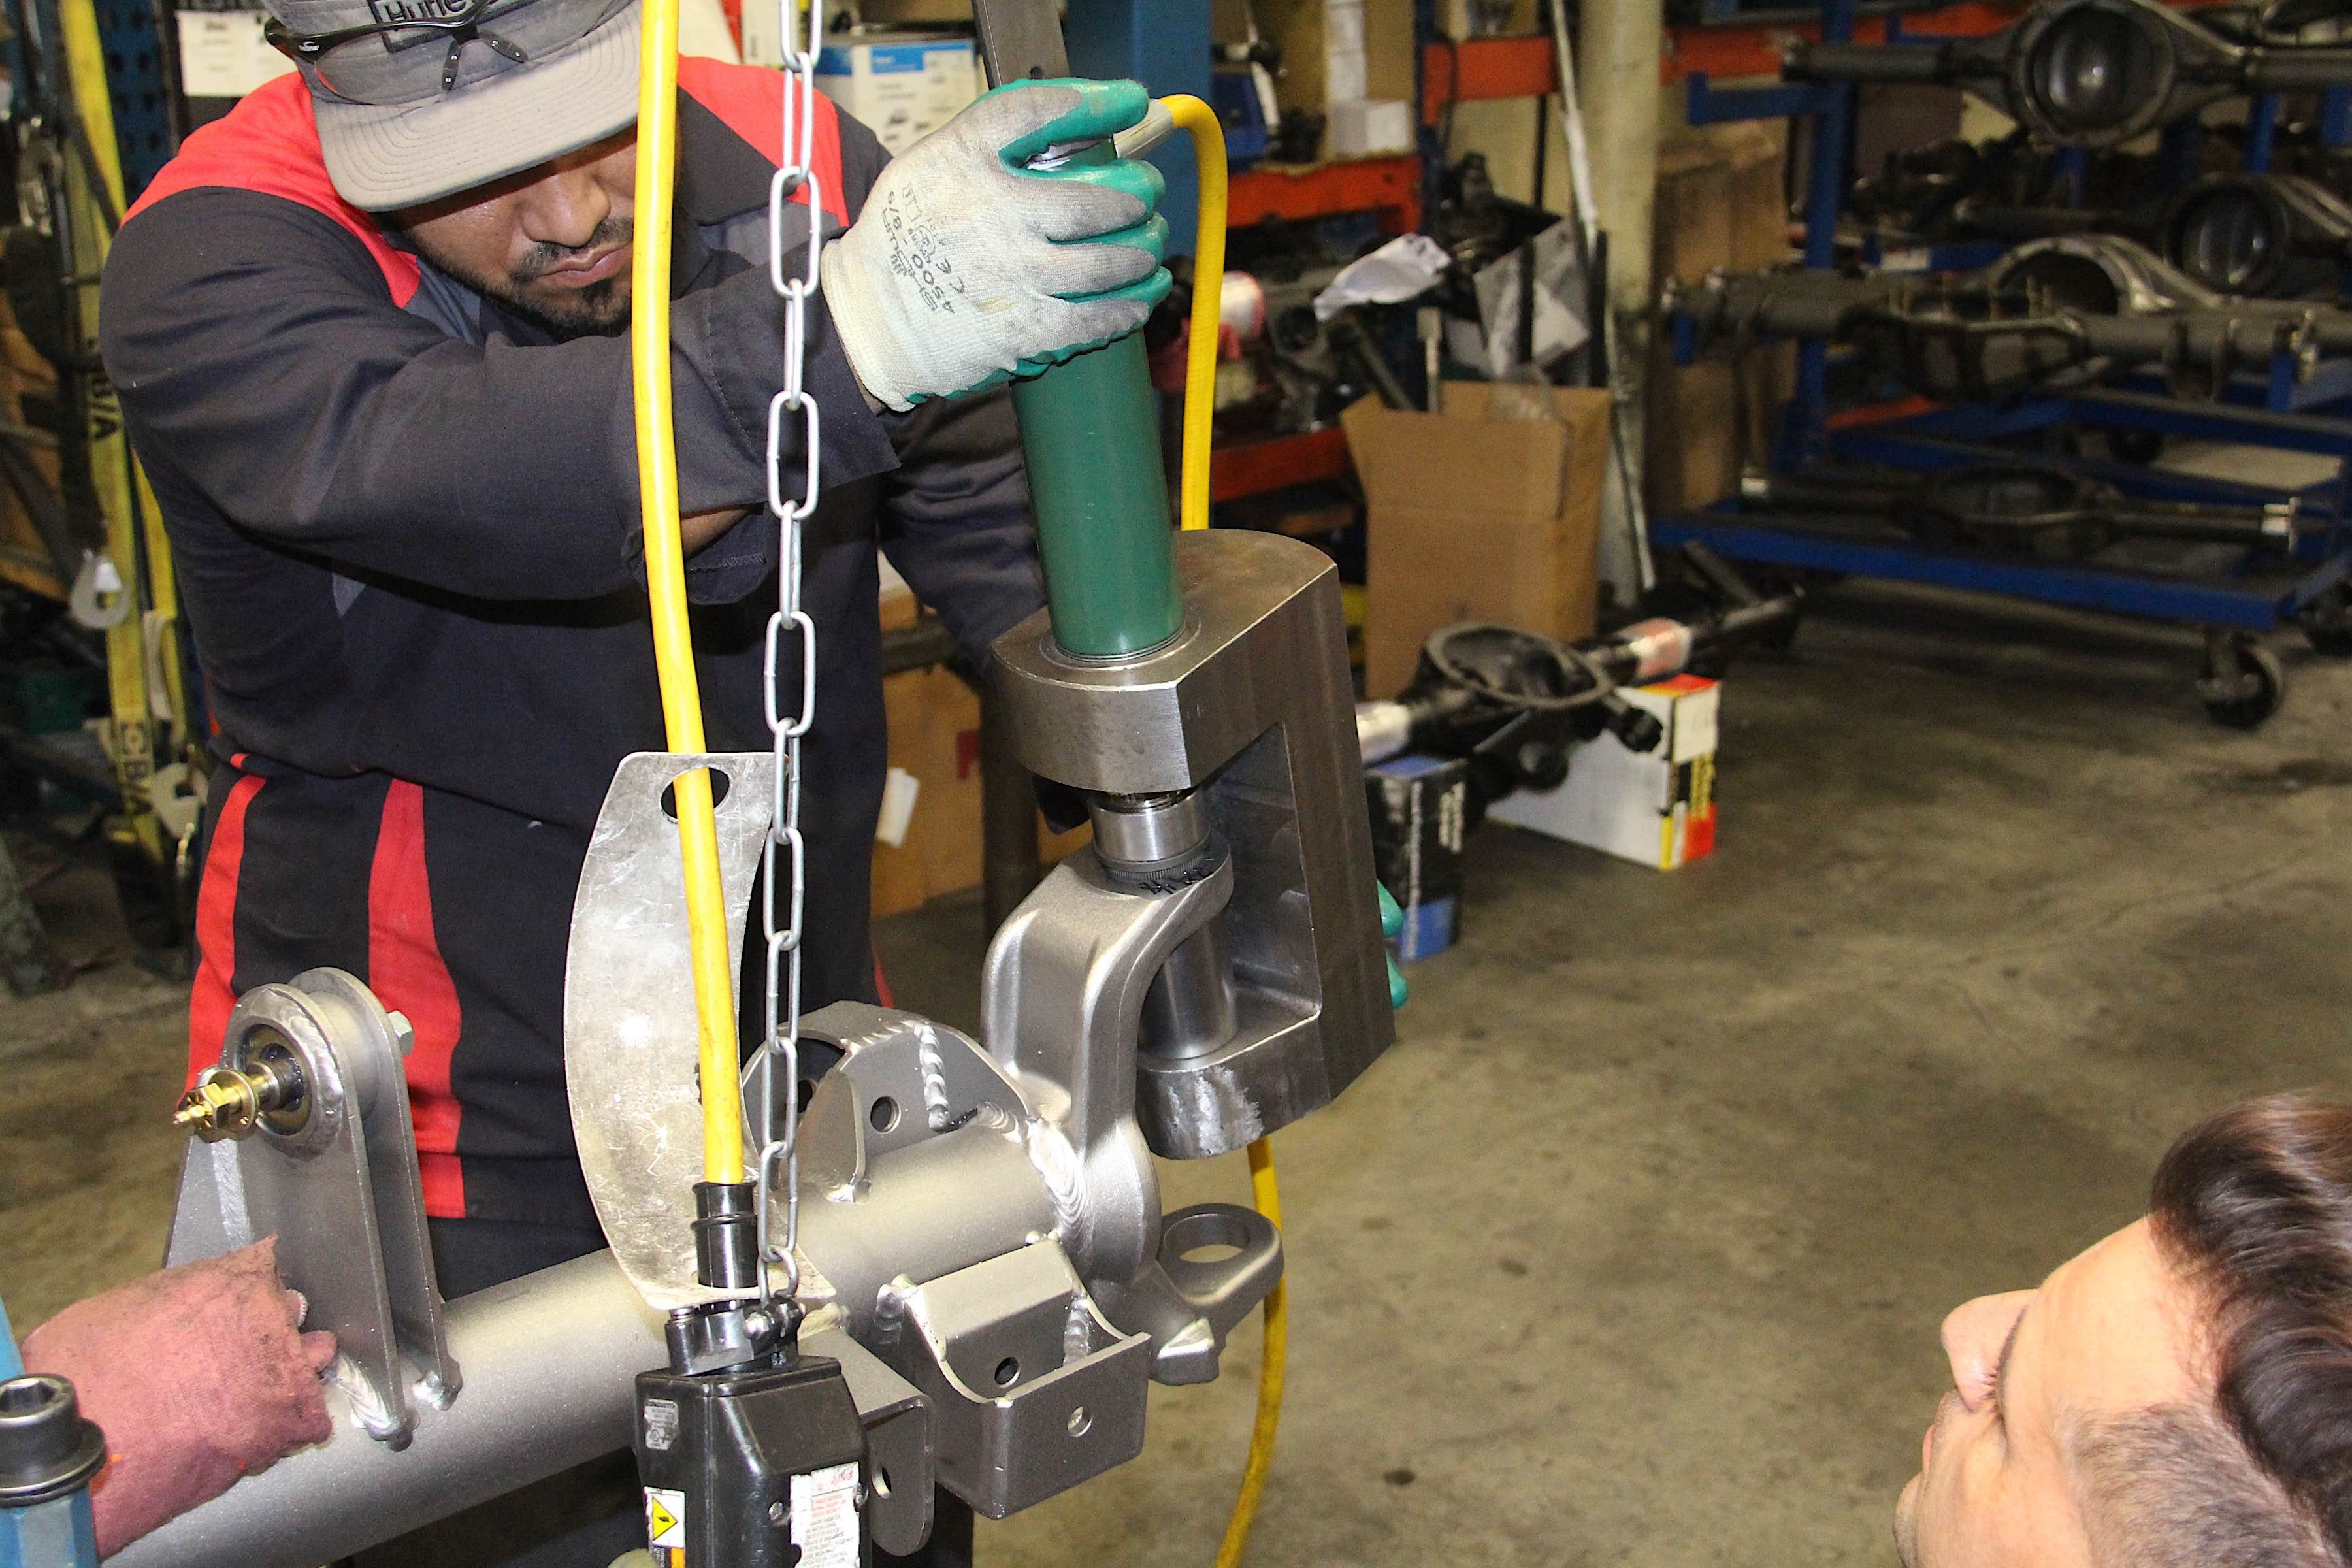
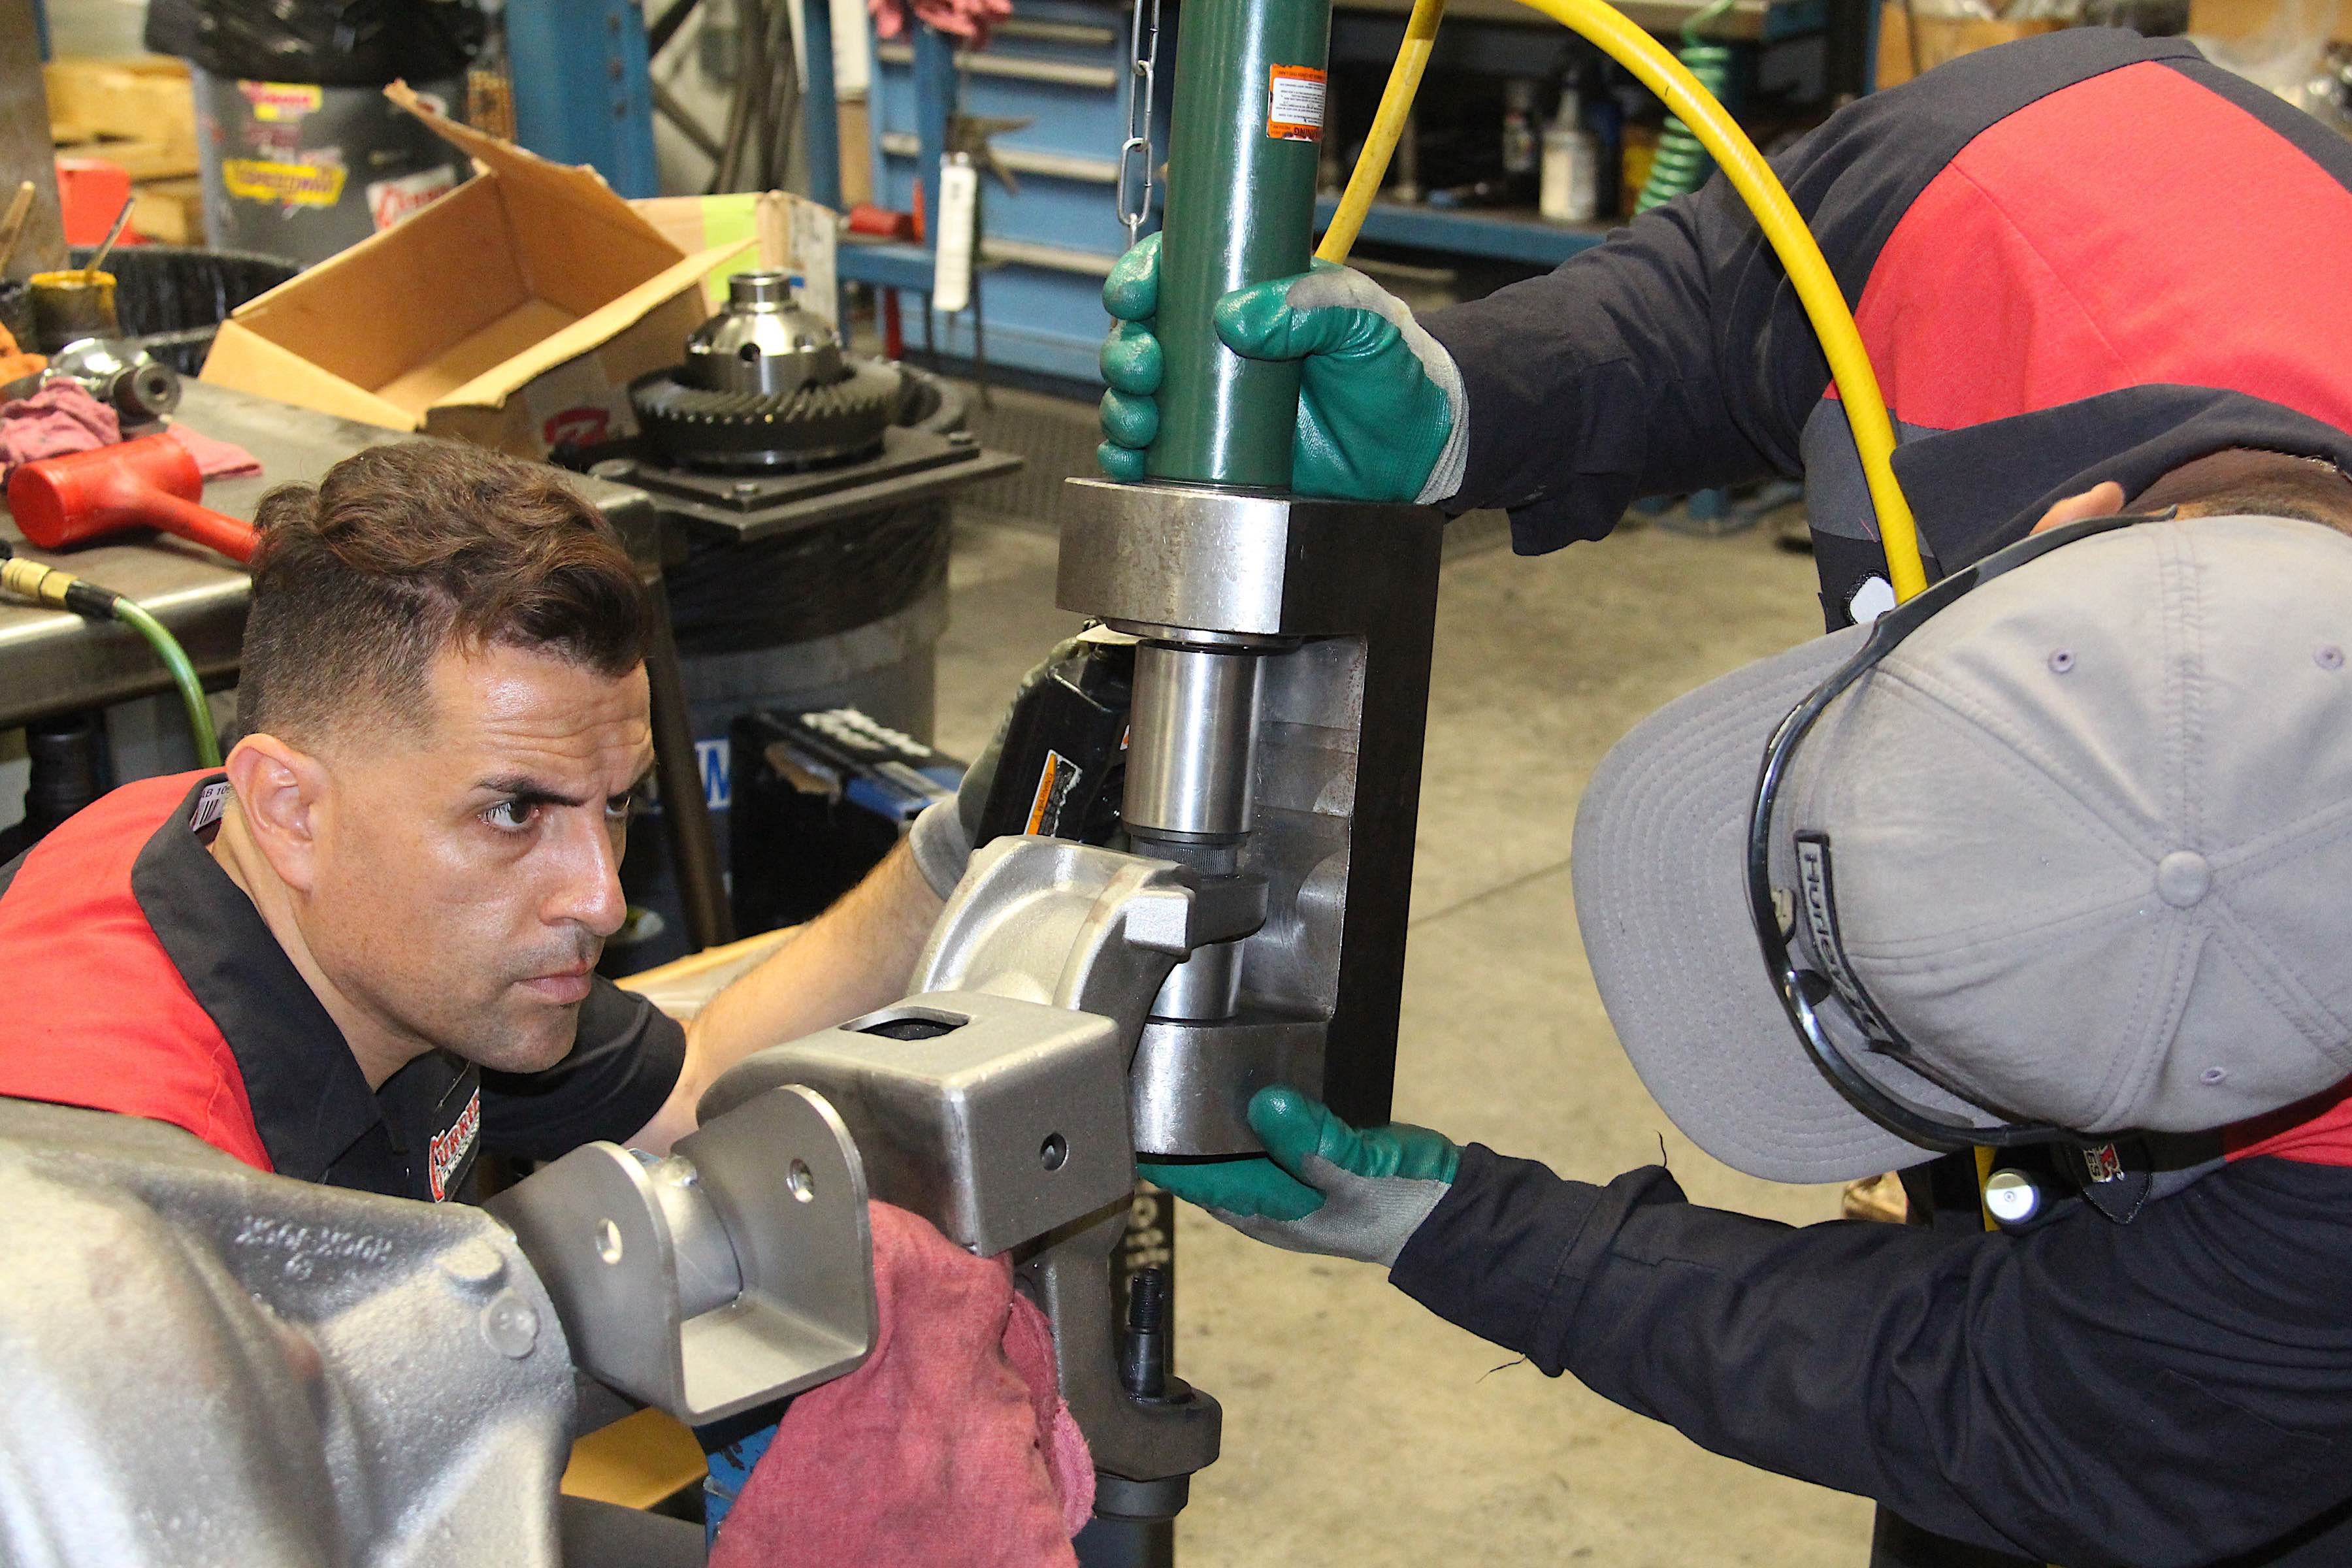
Using the custom Currie-made pneumatic ball joint tool, Abe easily installed the ball joints. We went with Alloy USA HD Ball Joints from our friends at Omix-ADA, and we could rely on their long-lasting lifetime thanks to low-profile zerk fittings and high-strength steel sockets.
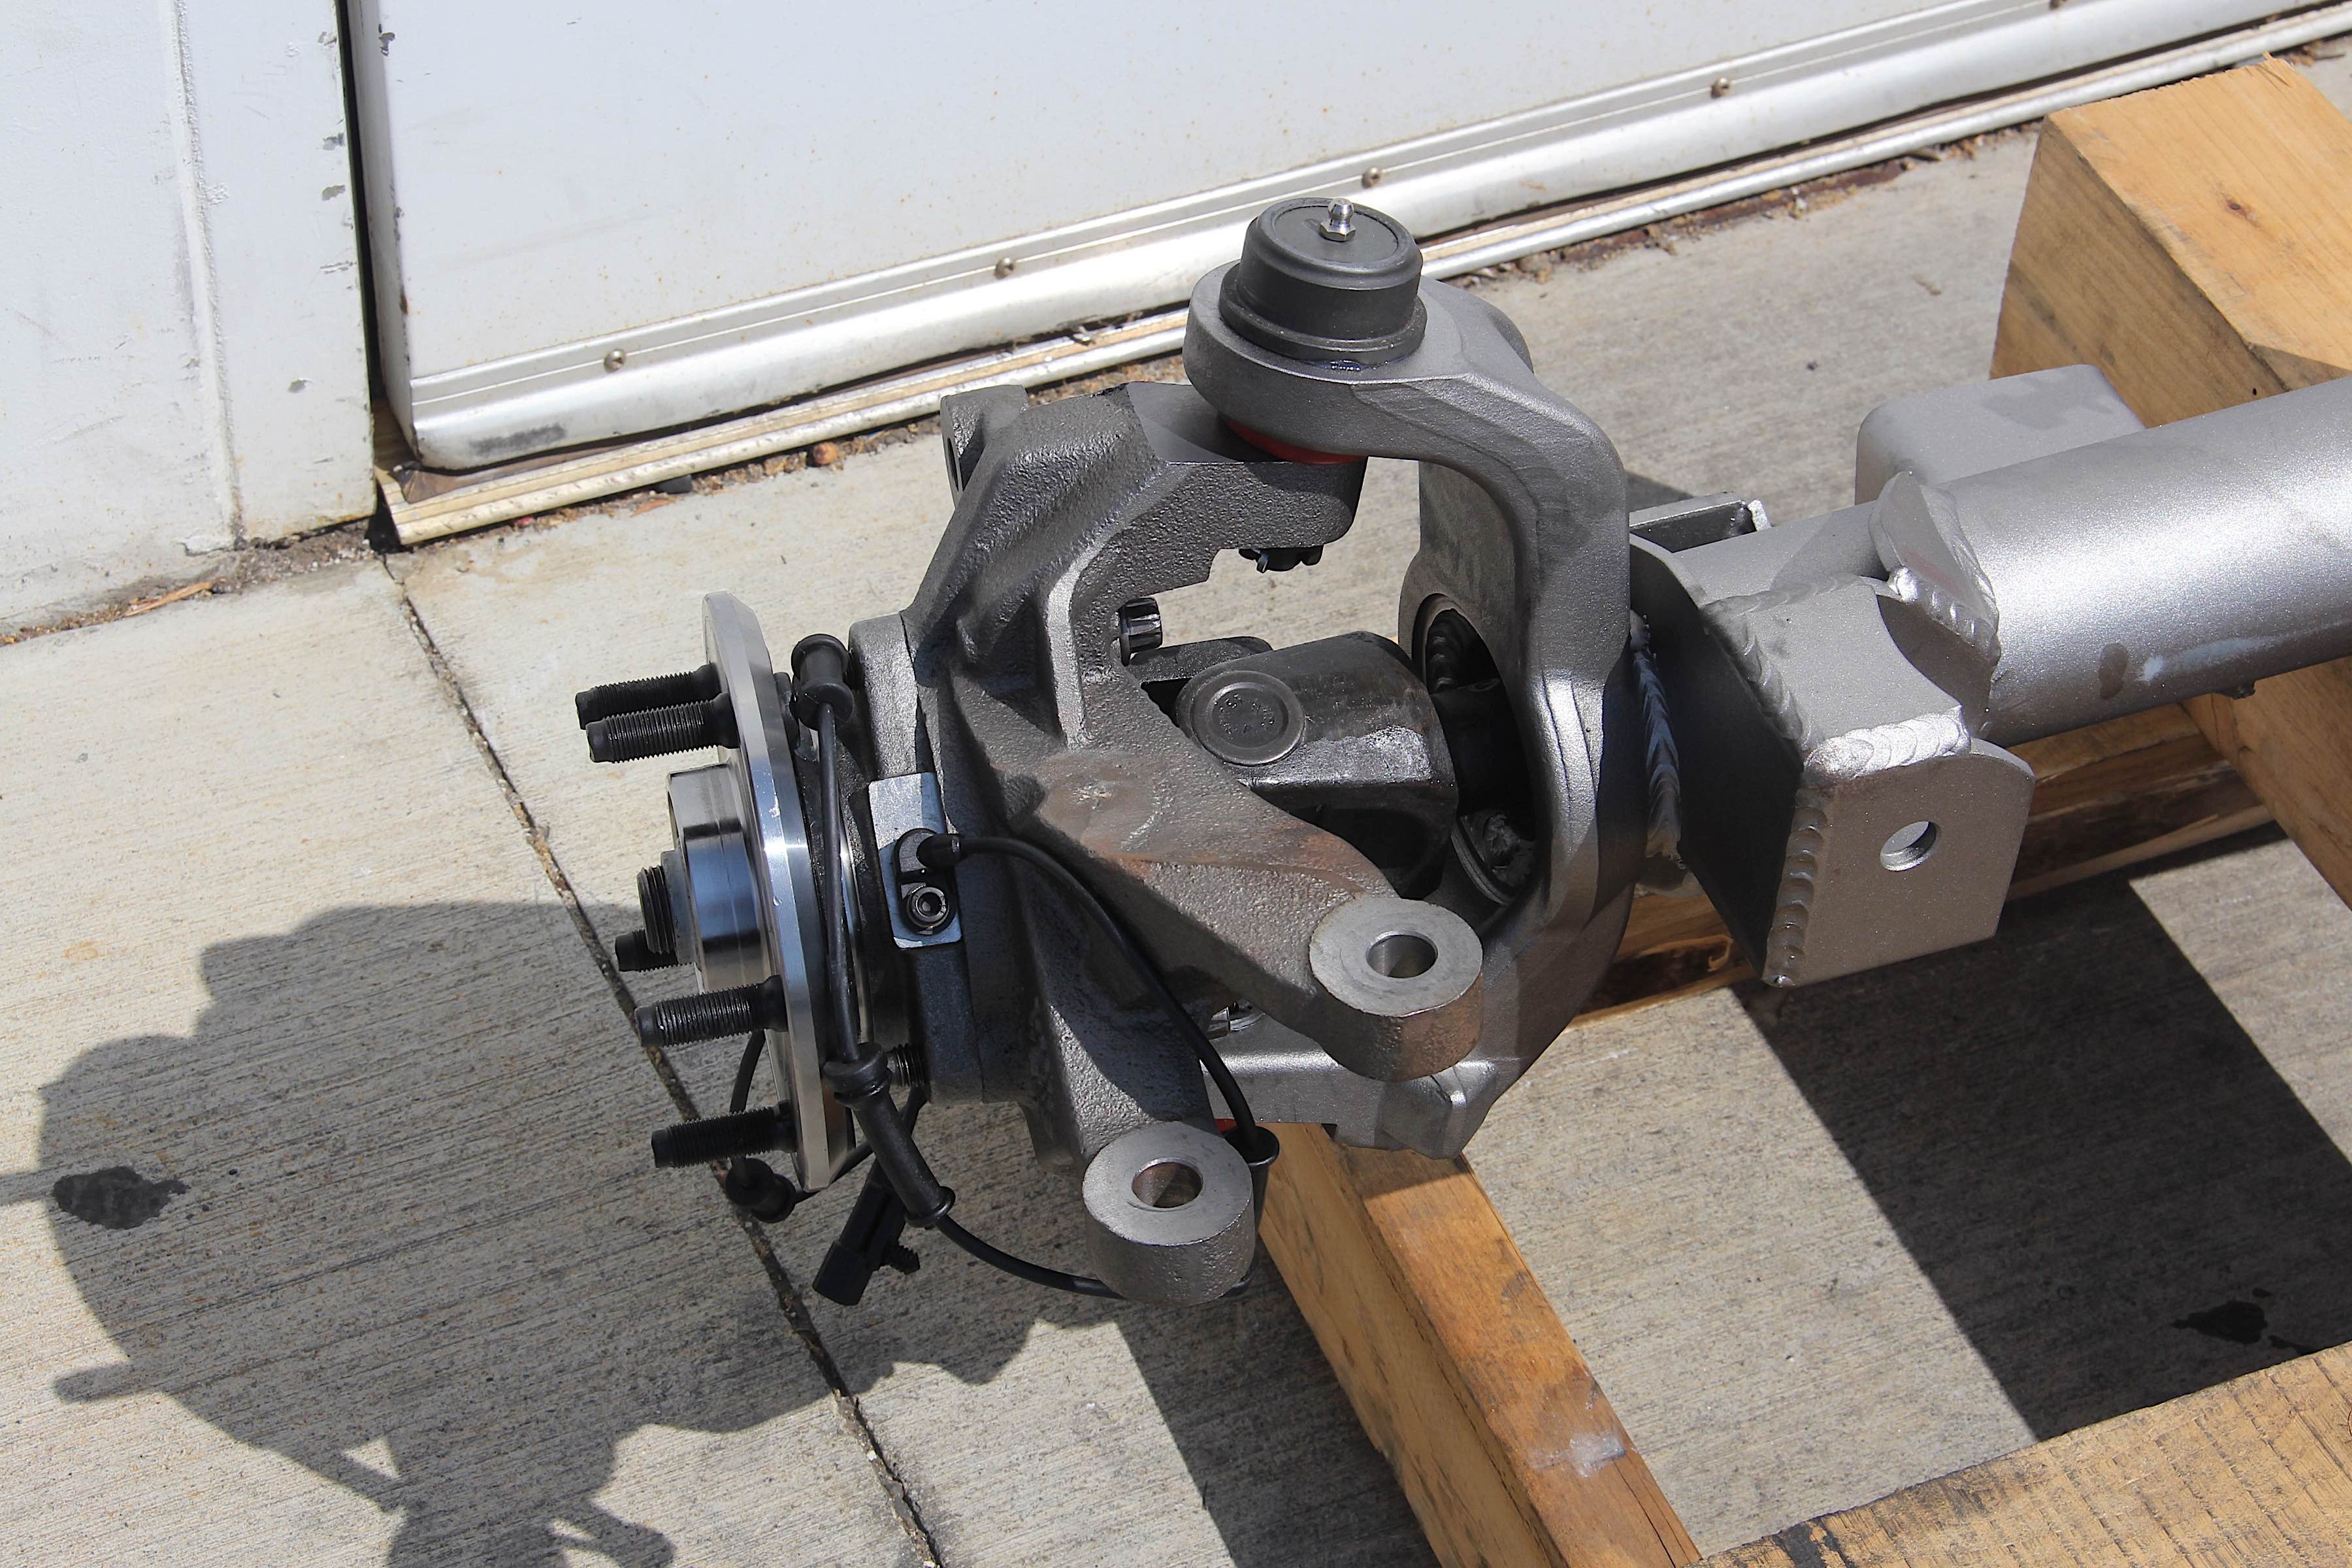
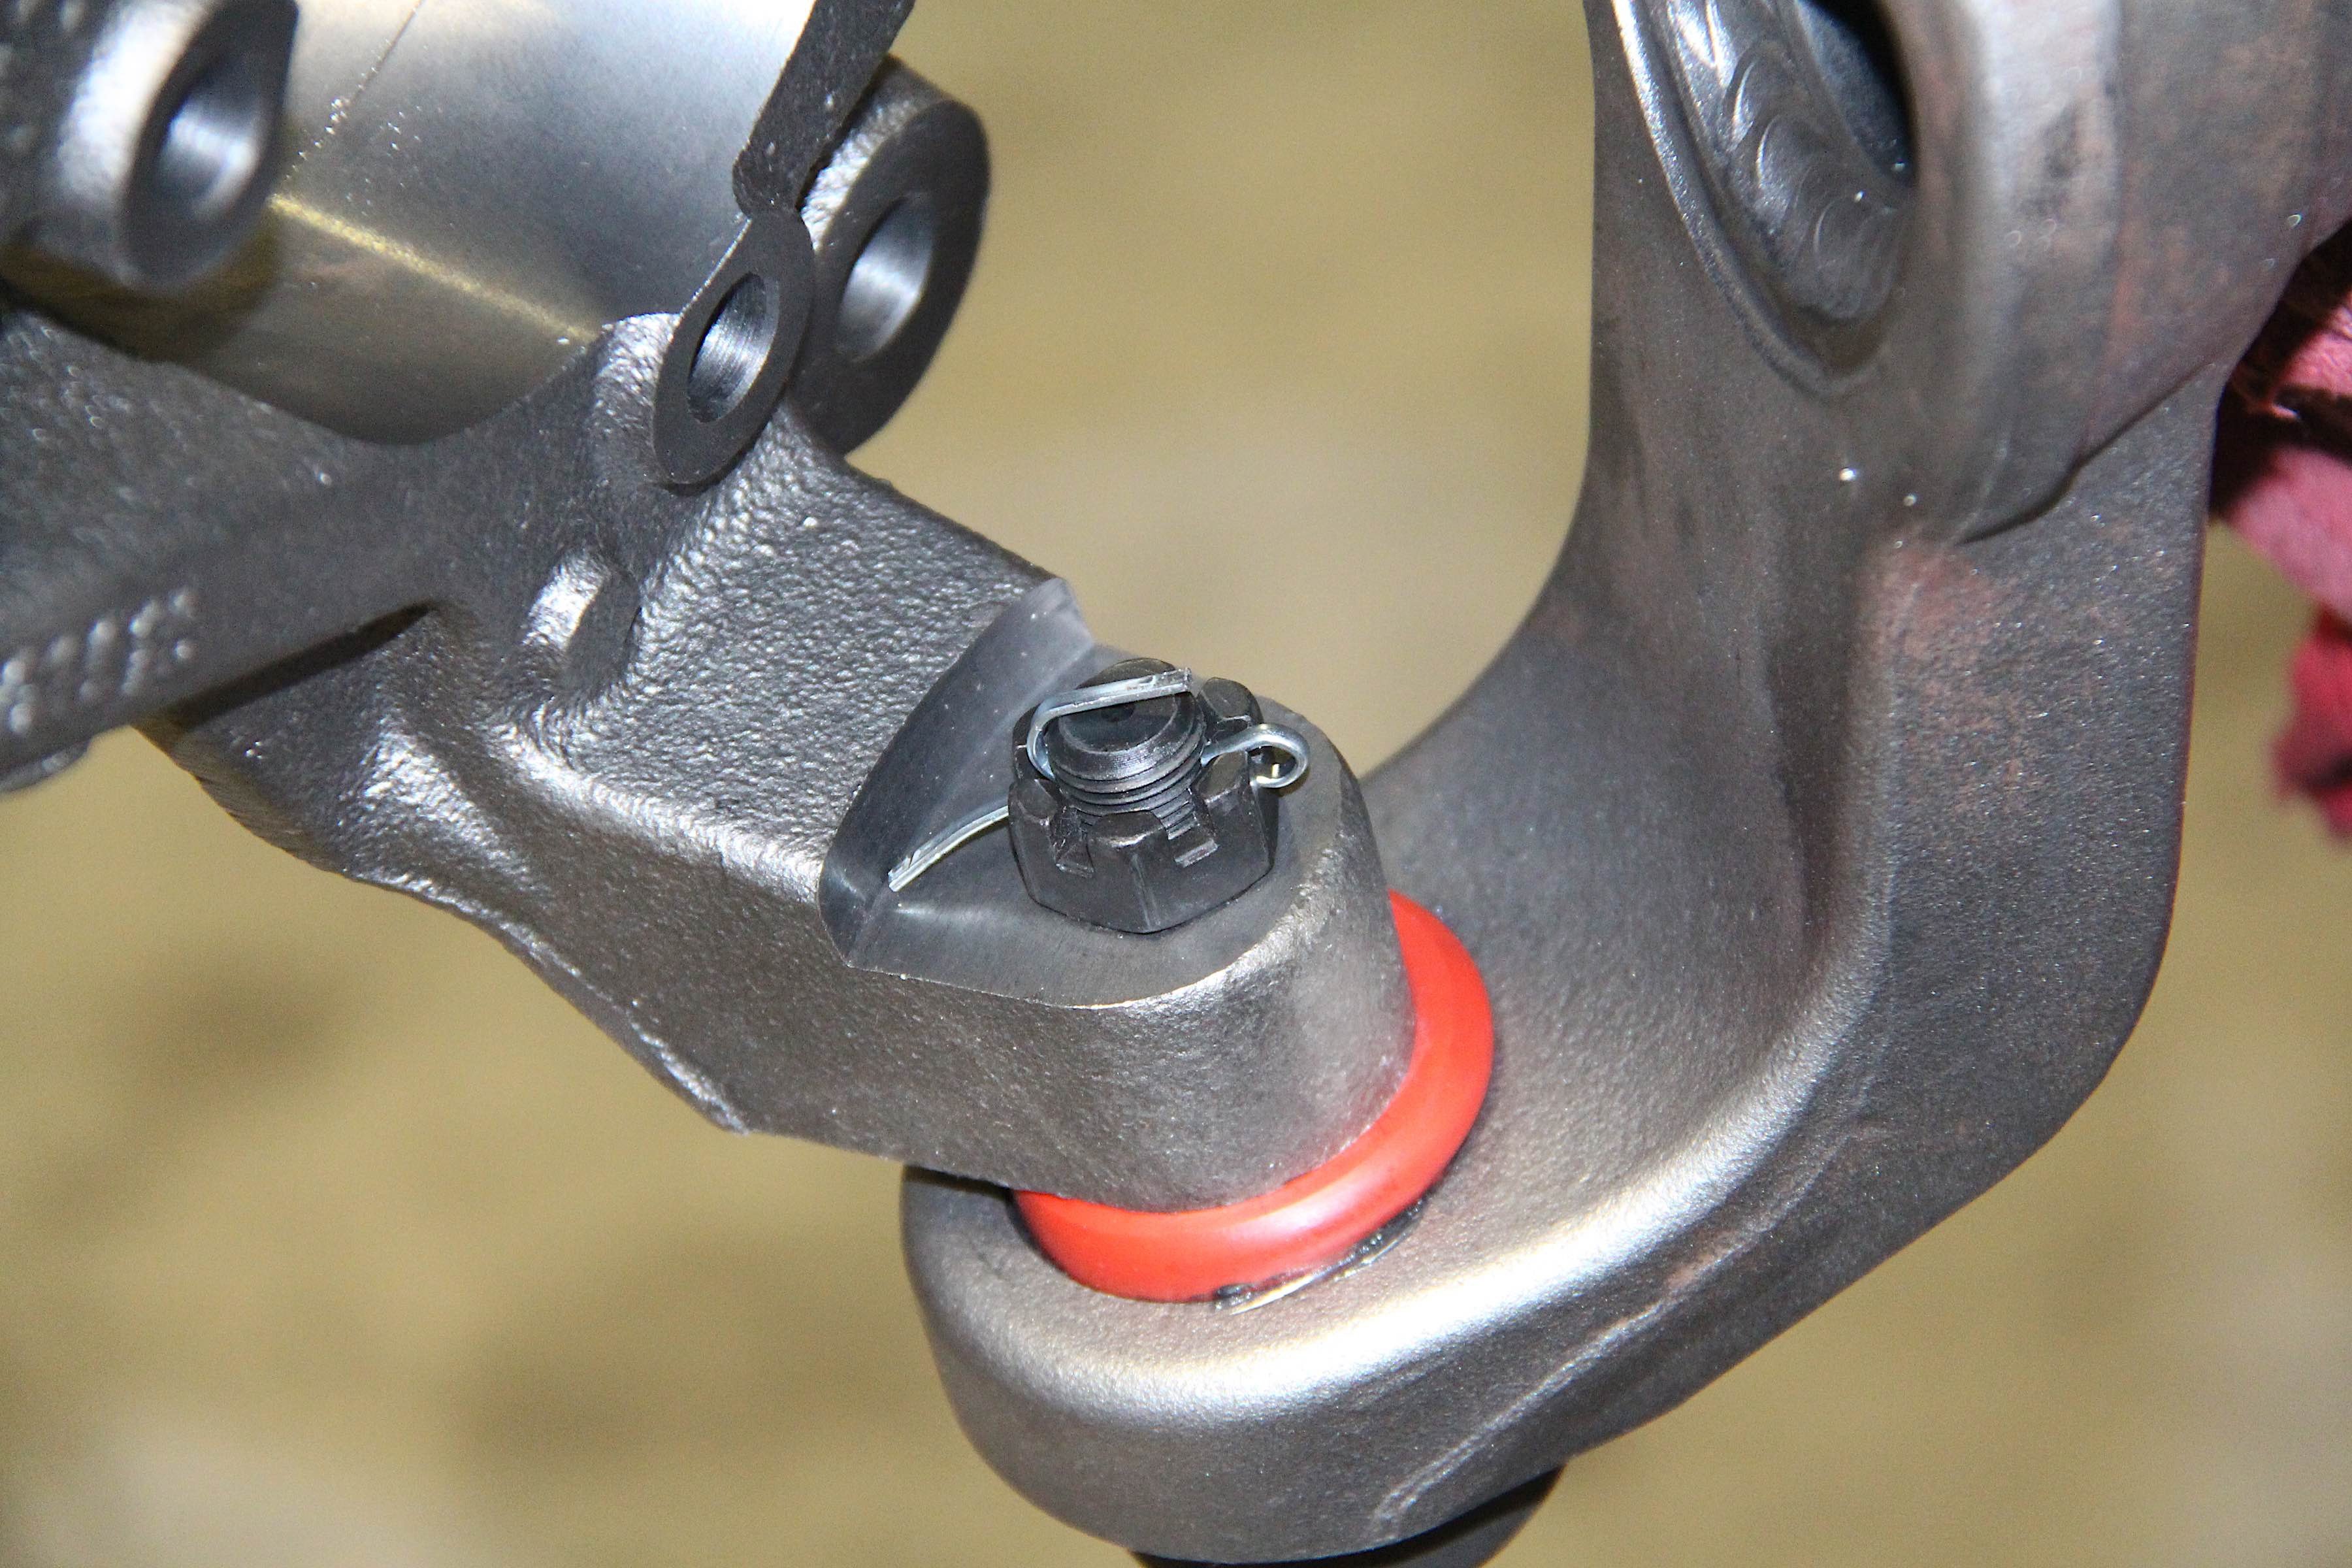
After installing the spindles onto the steering knuckles, all that was left now were the axle shafts. Once fitted with the U-joints and bearings, the axle shafts slid through the axle tubes and were mounted to the spindles via hubs. We attempted to put the brakes on to wrap up the axles, but found the calipers and rotors did not agree with each other. So ended our front housing assembly.
For the rear, the process was similar, minus the ball joints and other steering components. Abe made sure to have clearance on the bearing cap, made holes for ventilation and an air line, and assembled the locker. The one distinction was the housing truss, which was installed last.
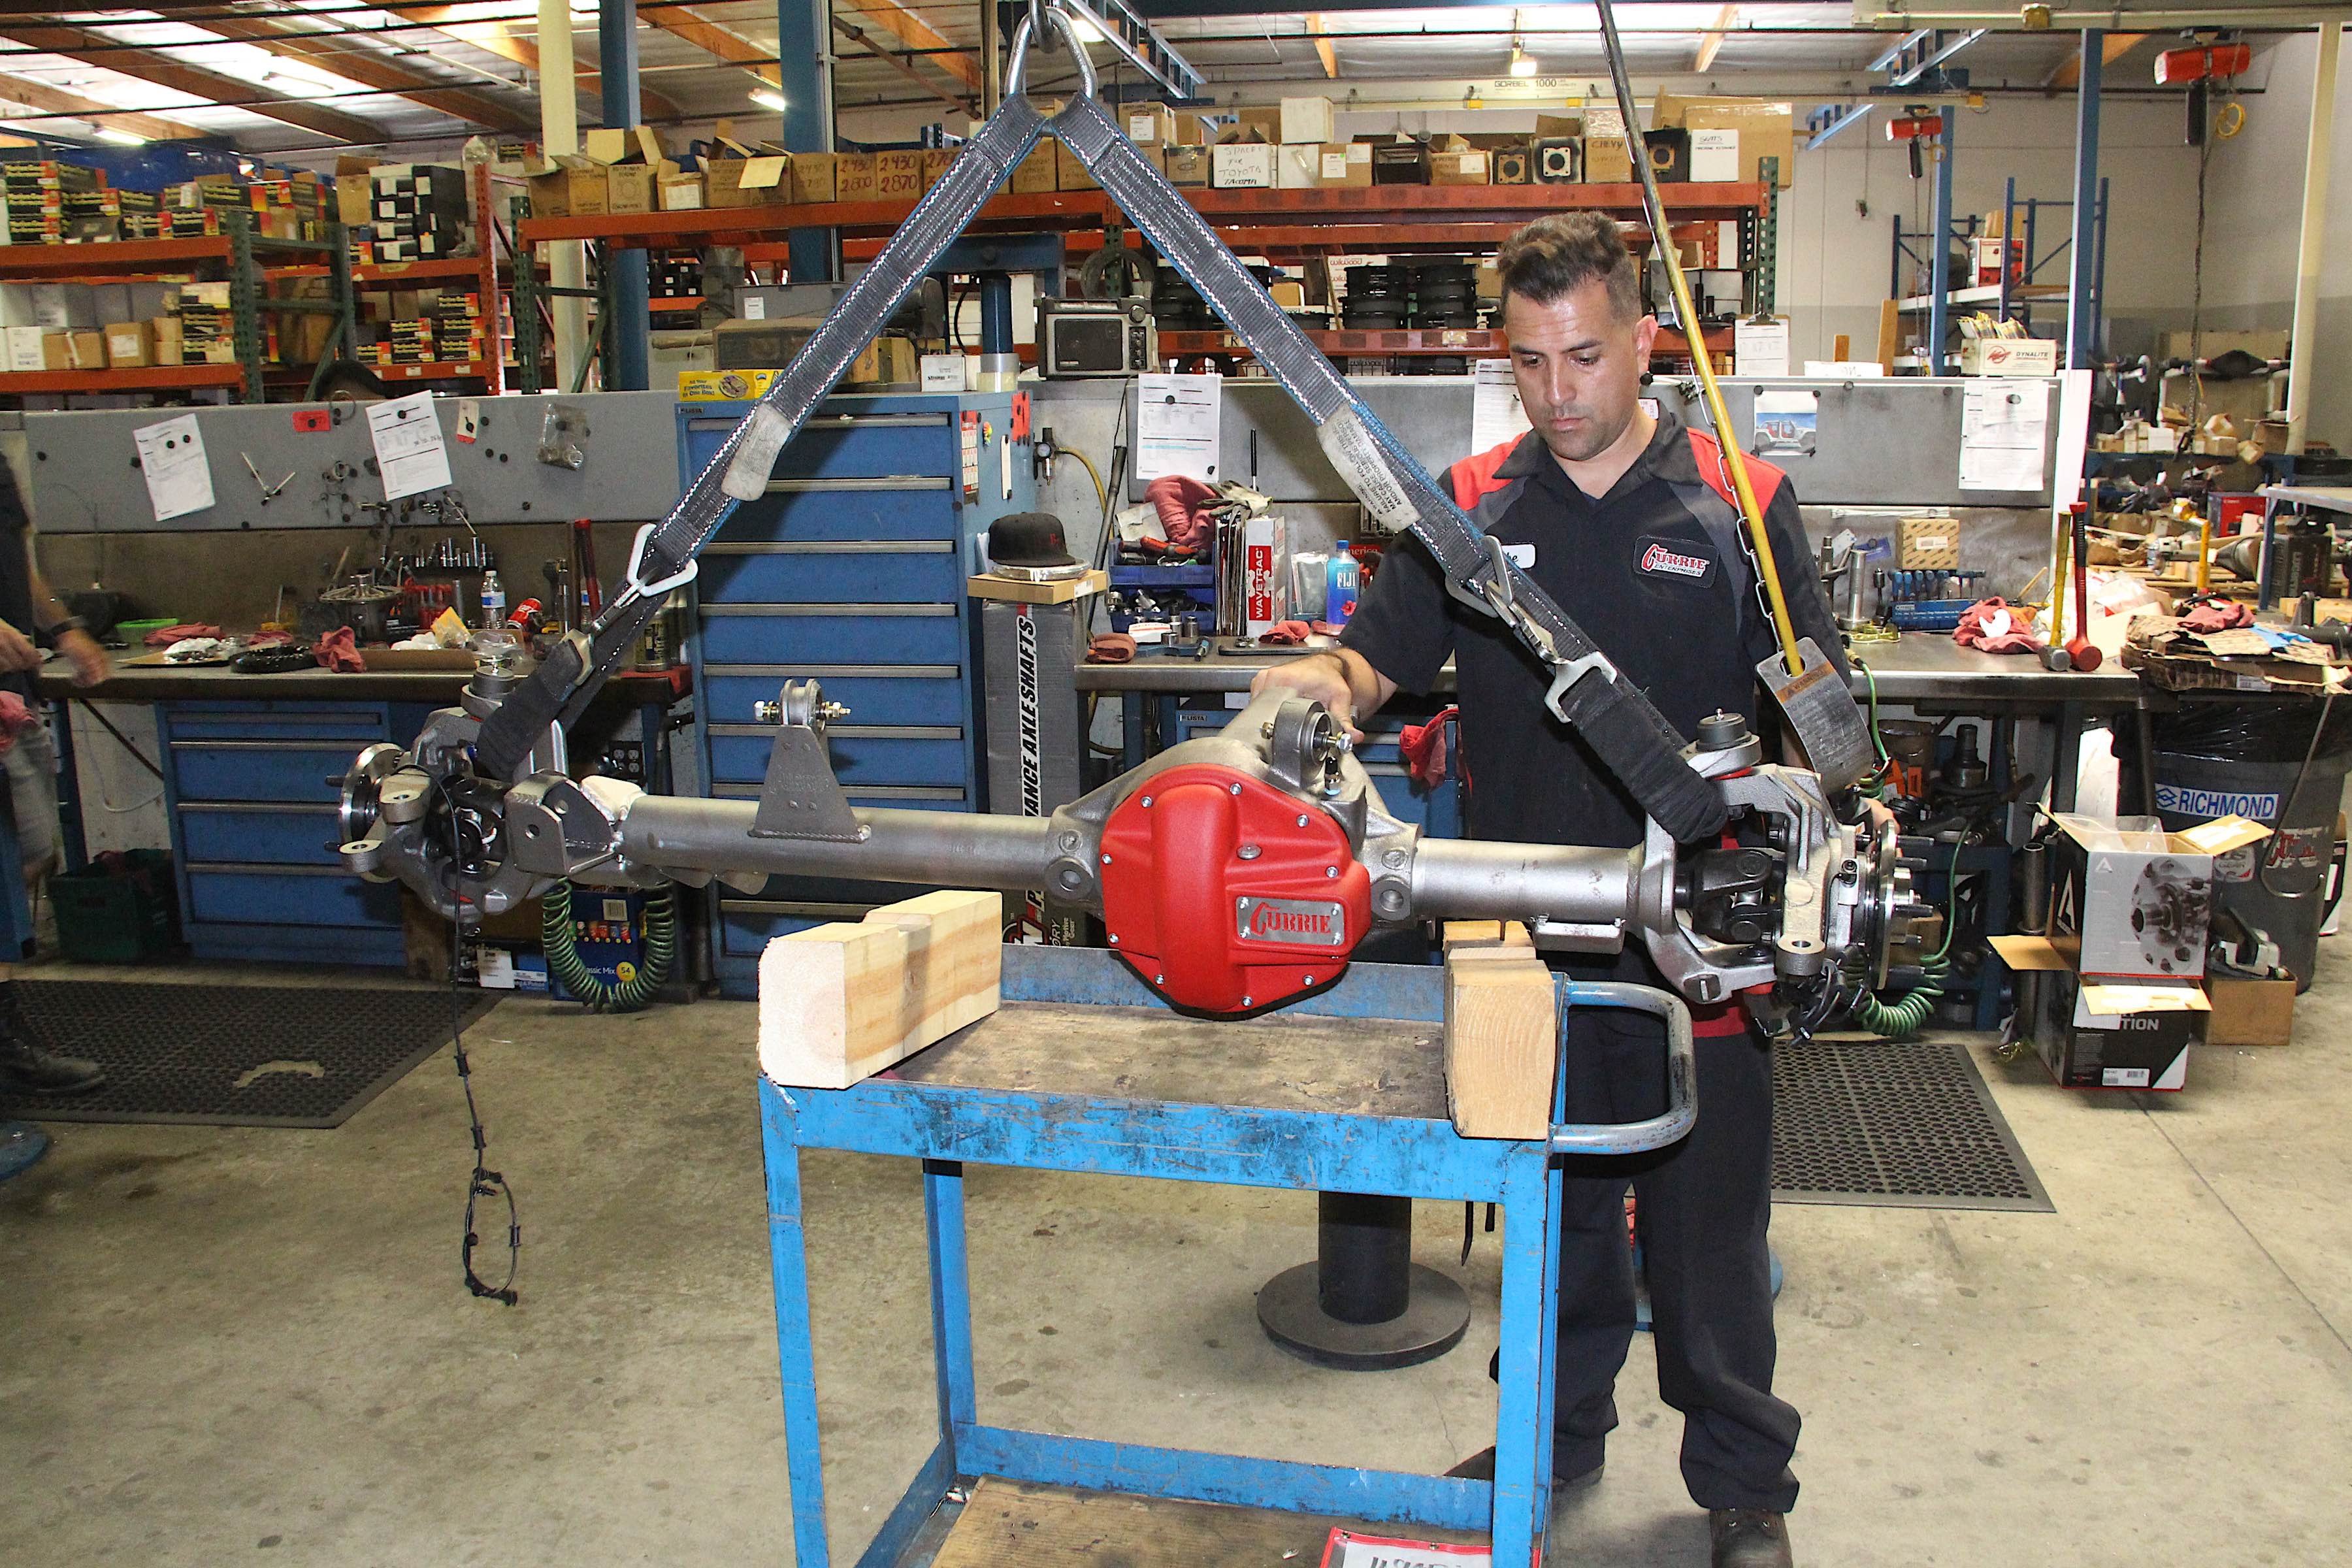
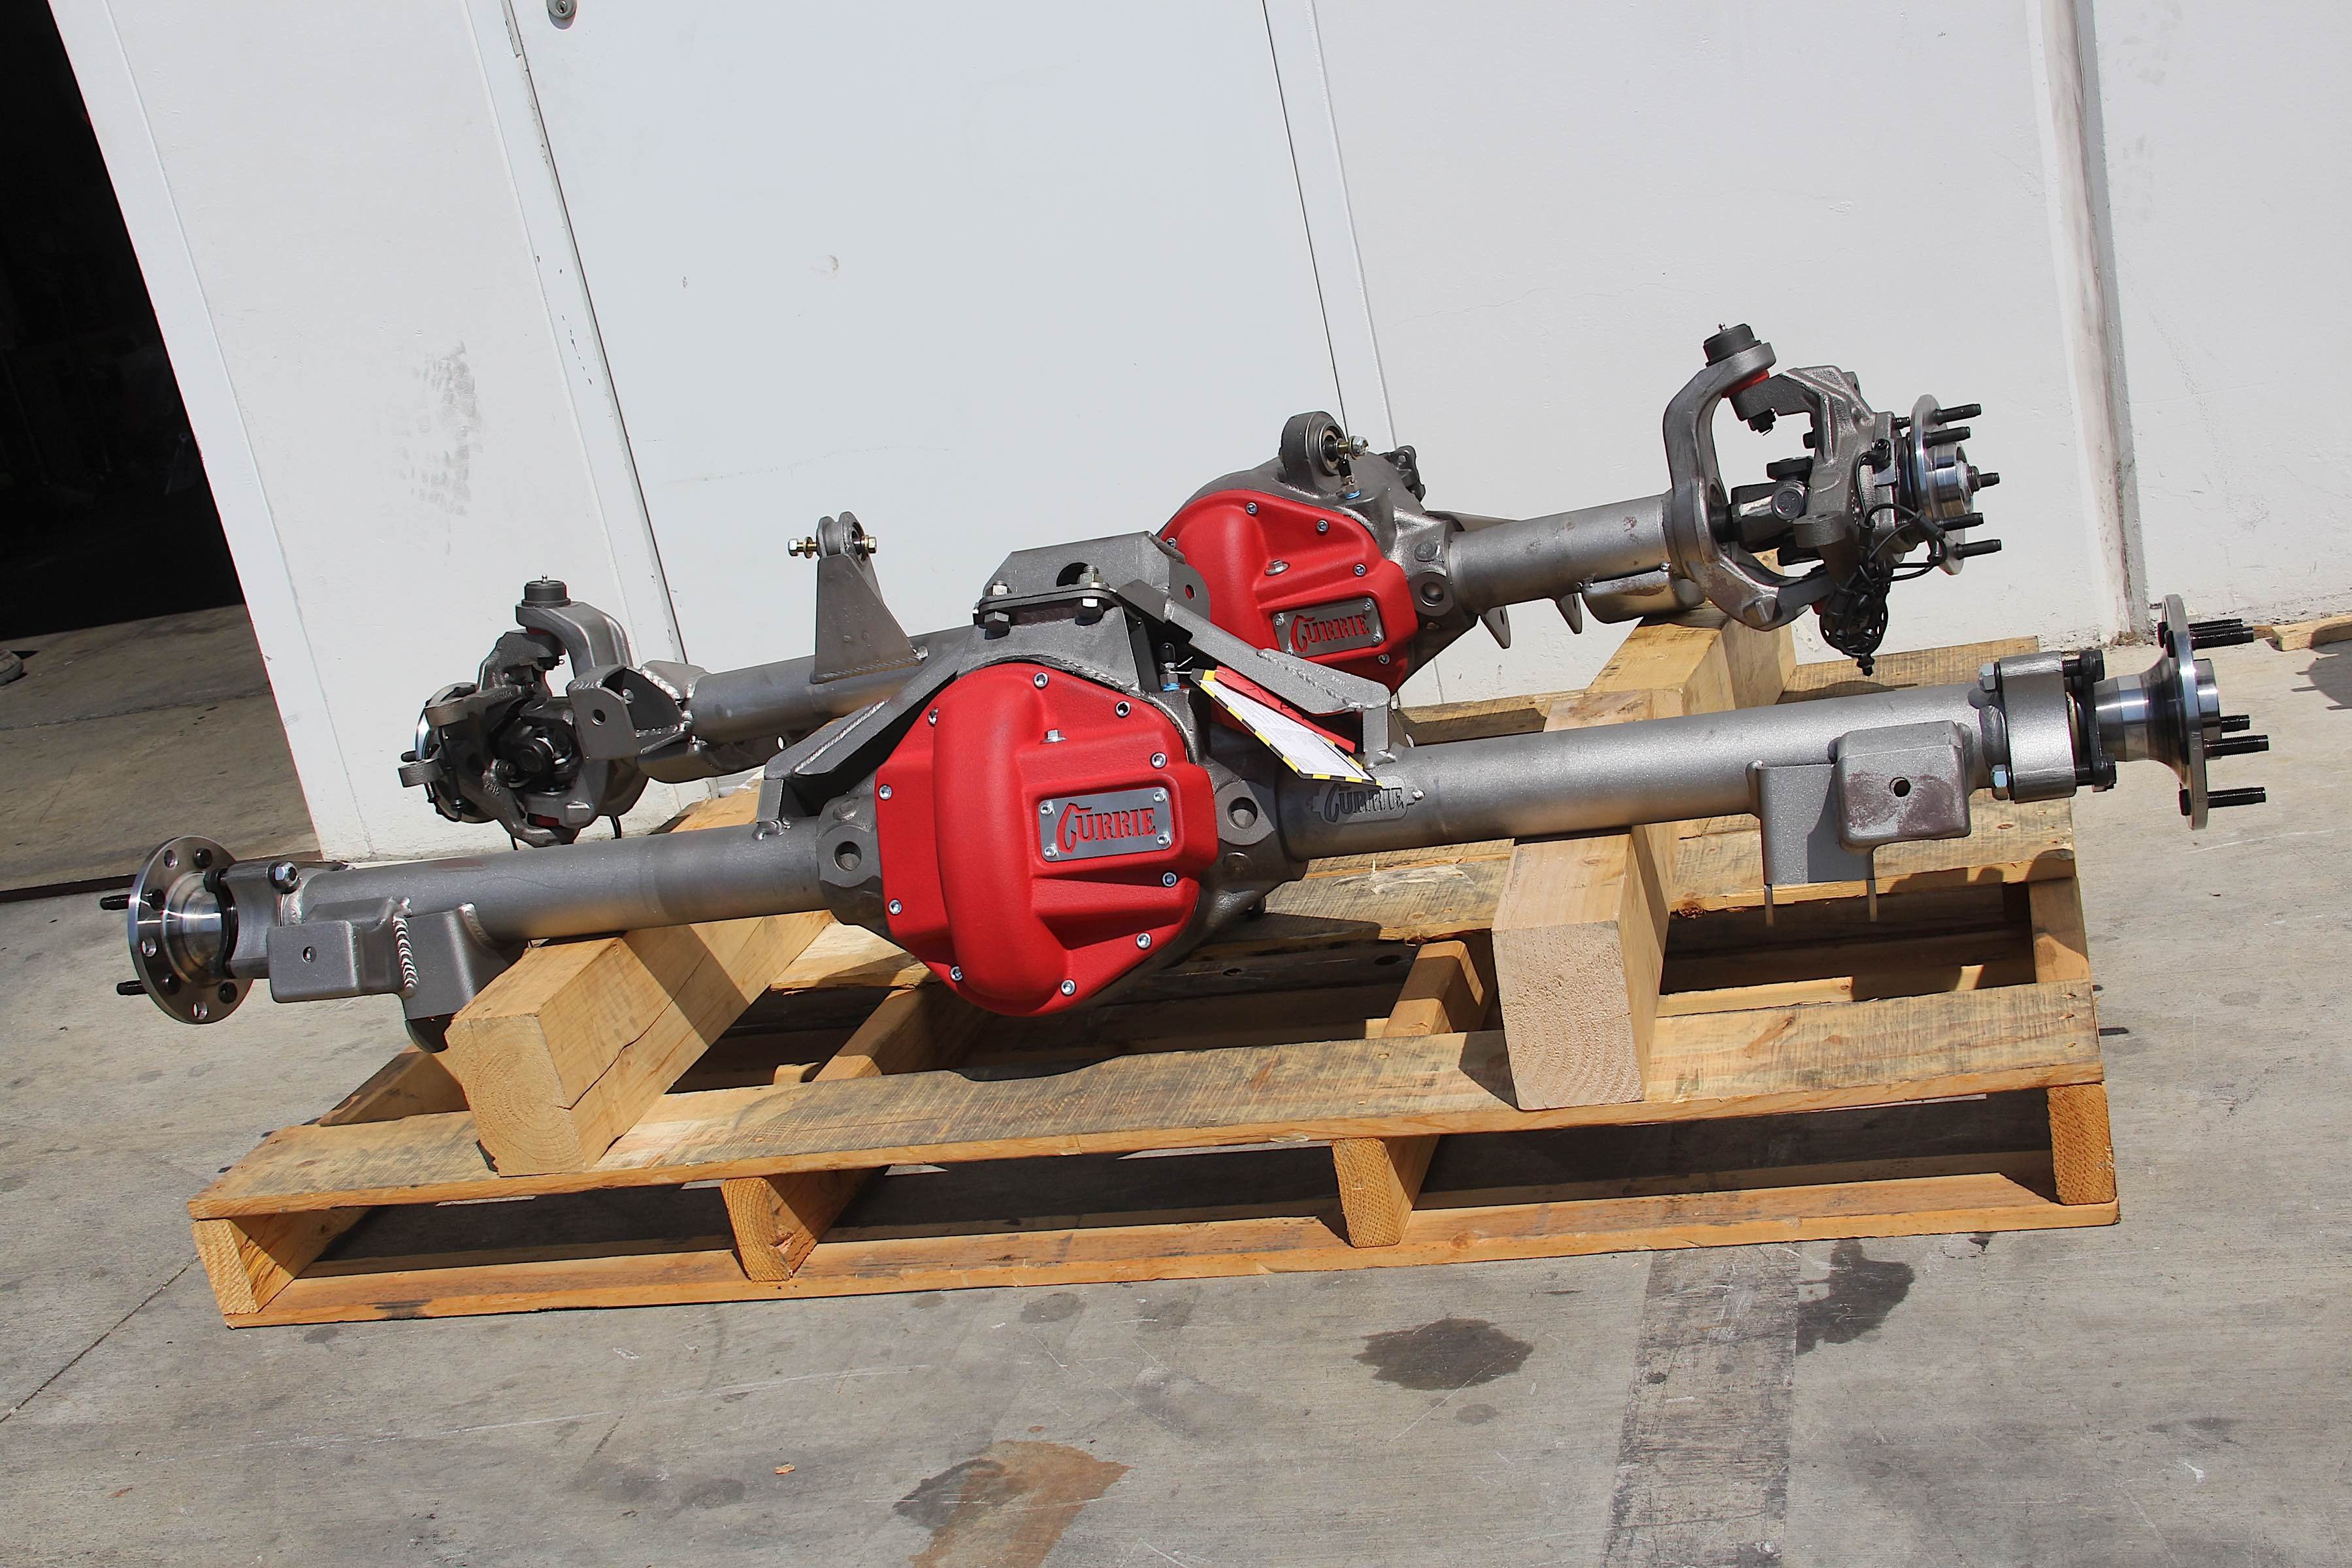
At long last, our front and rear axles were ready to go!
Completion
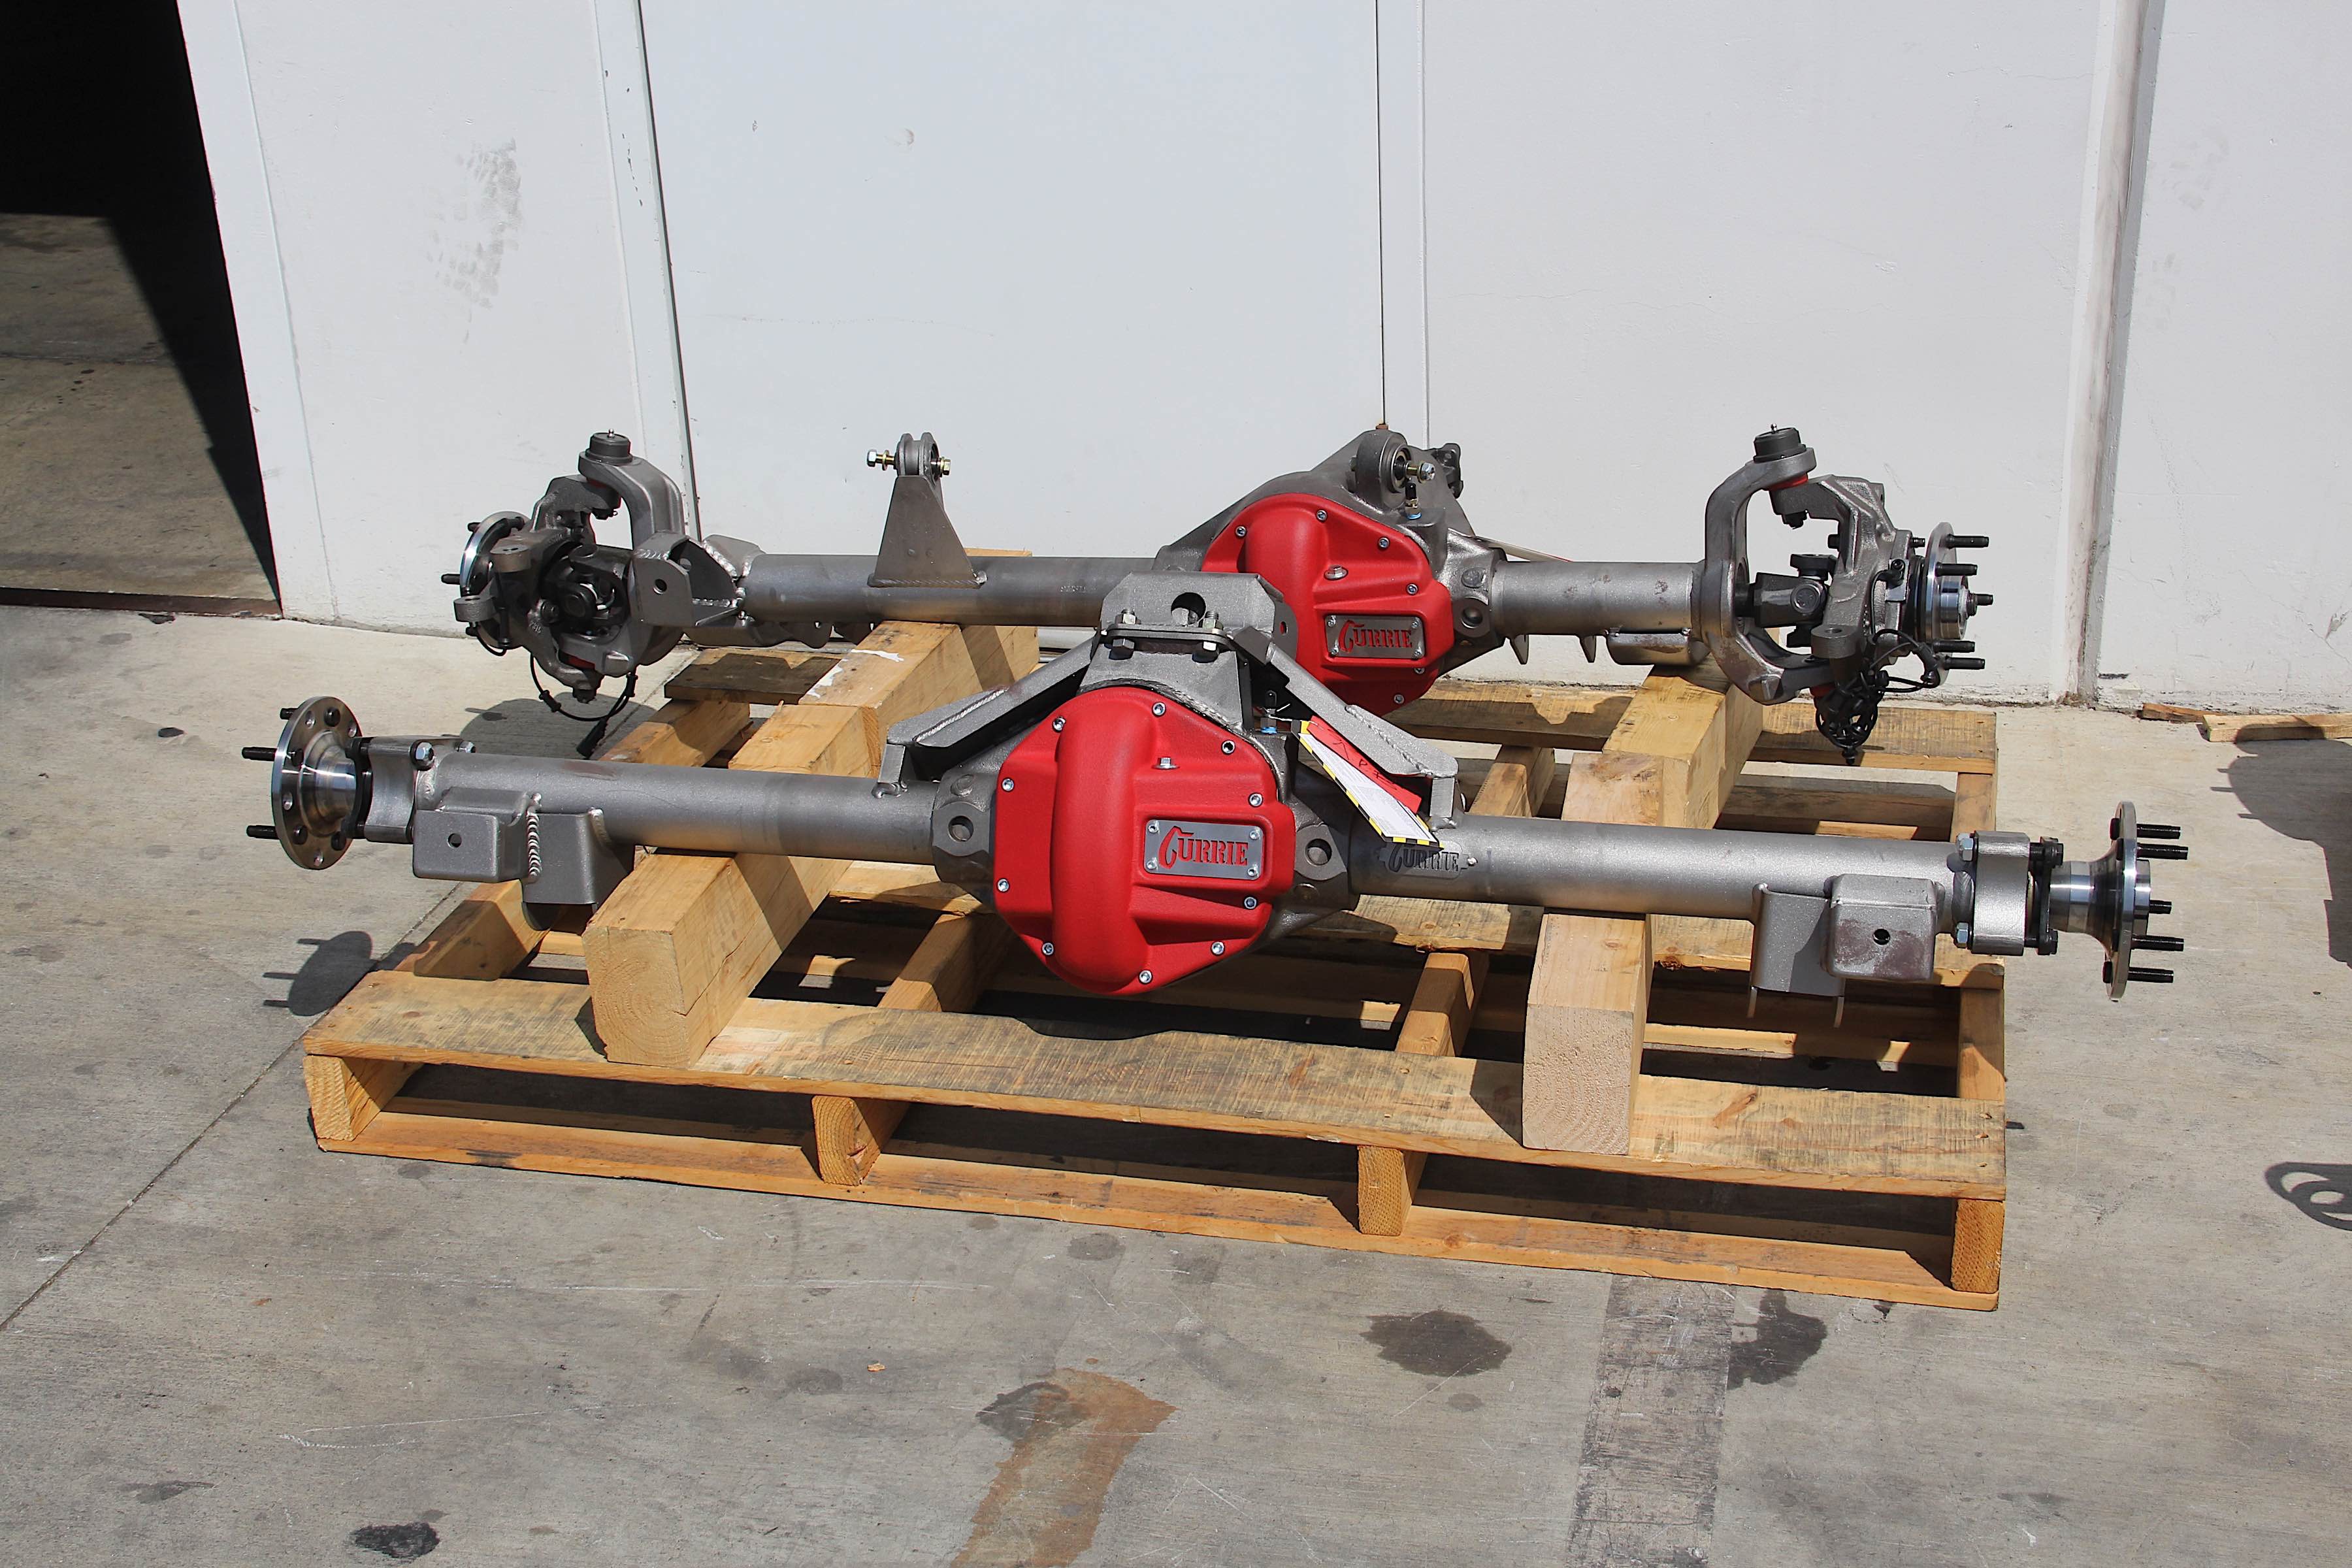
Standing back to look at these creations, we were awestruck at how well our off-road axles came out. But then, why would we be? We saw from start to finish what went into creating these units.
From the very beginning, Currie’s methodology was sharp and precise. Technicians at every station took their time with tasks, and double-checked the work as the housings progressed. In the space of two days, we had two axles that not only looked incredible, but had the craftsmanship to back up those good looks.
We’re looking forward to getting the axles ready to install on Project Redneck soon. In the meantime, be sure to check out what Currie Enterprises can offer your 4×4. You can find out more by visiting their website and Facebook page.