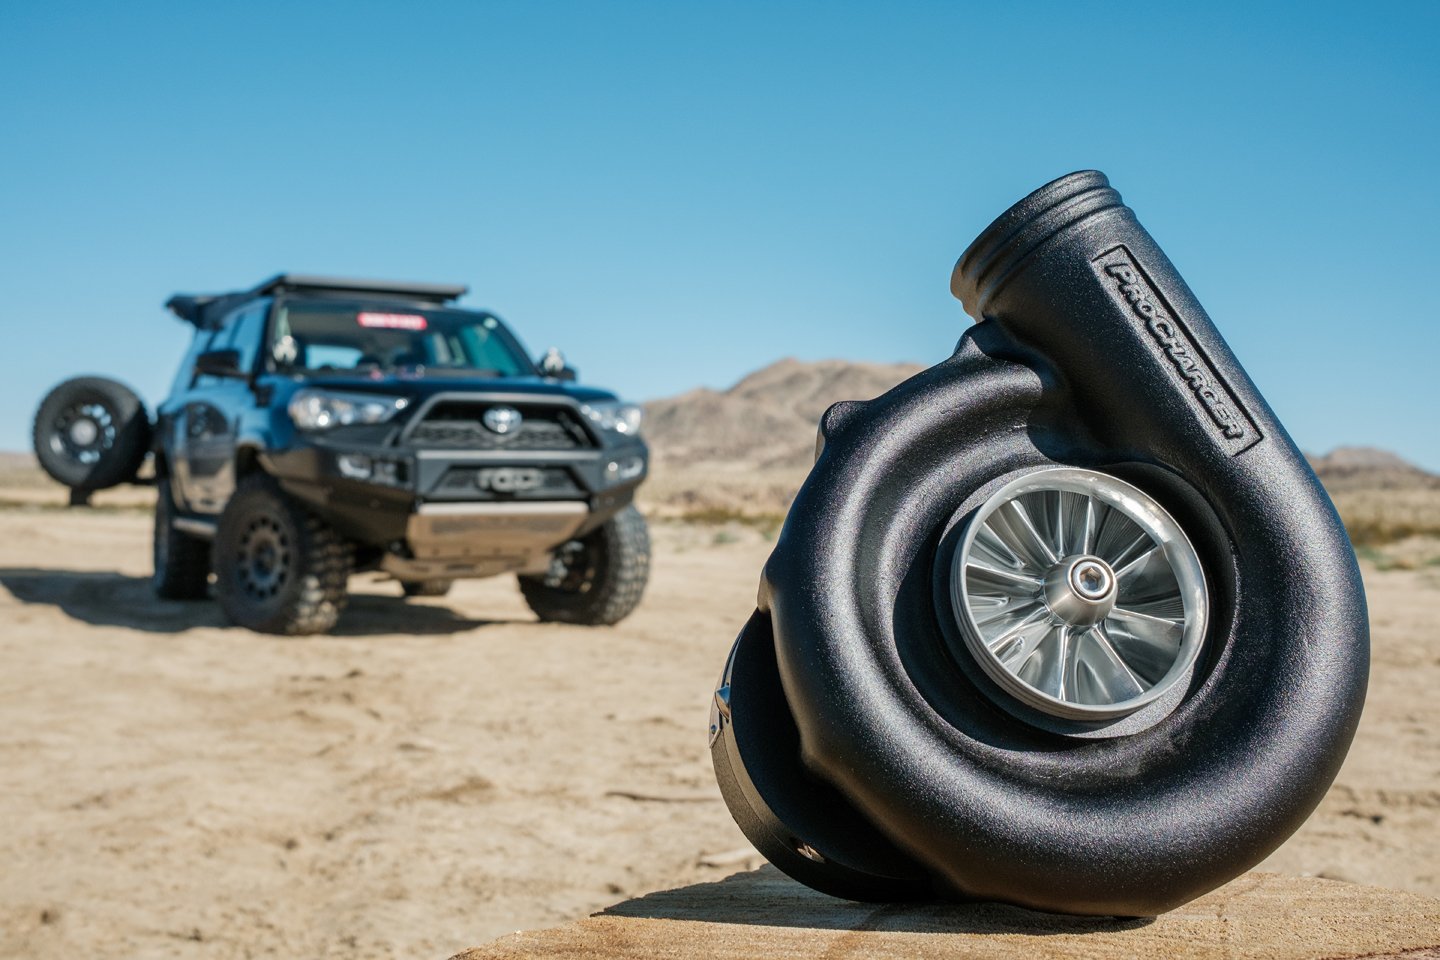
As one of the most popular trucks in the U.S., the Toyota Tacoma is a common sight on and off the roads. So how can you take this already peppy pickup and make it even meaner? ProCharger has the answer – supercharge it!
ProCharger’s kits are now available for a wide variety of applications that work in the dirt. From Jeep Gladiators to Ford F-150s, off-roaders of all types can install these power adders onto their rig. With this latest application for Toyotas, ProCharger has opened up even more customization for Tacomas – not to mention, a lot more fun!
ProCharger recently did a showcase on how to install one of these supercharger systems onto a late-model Tacoma. Follow along below to see how it’s done and also check out the dyno results.
Product Background
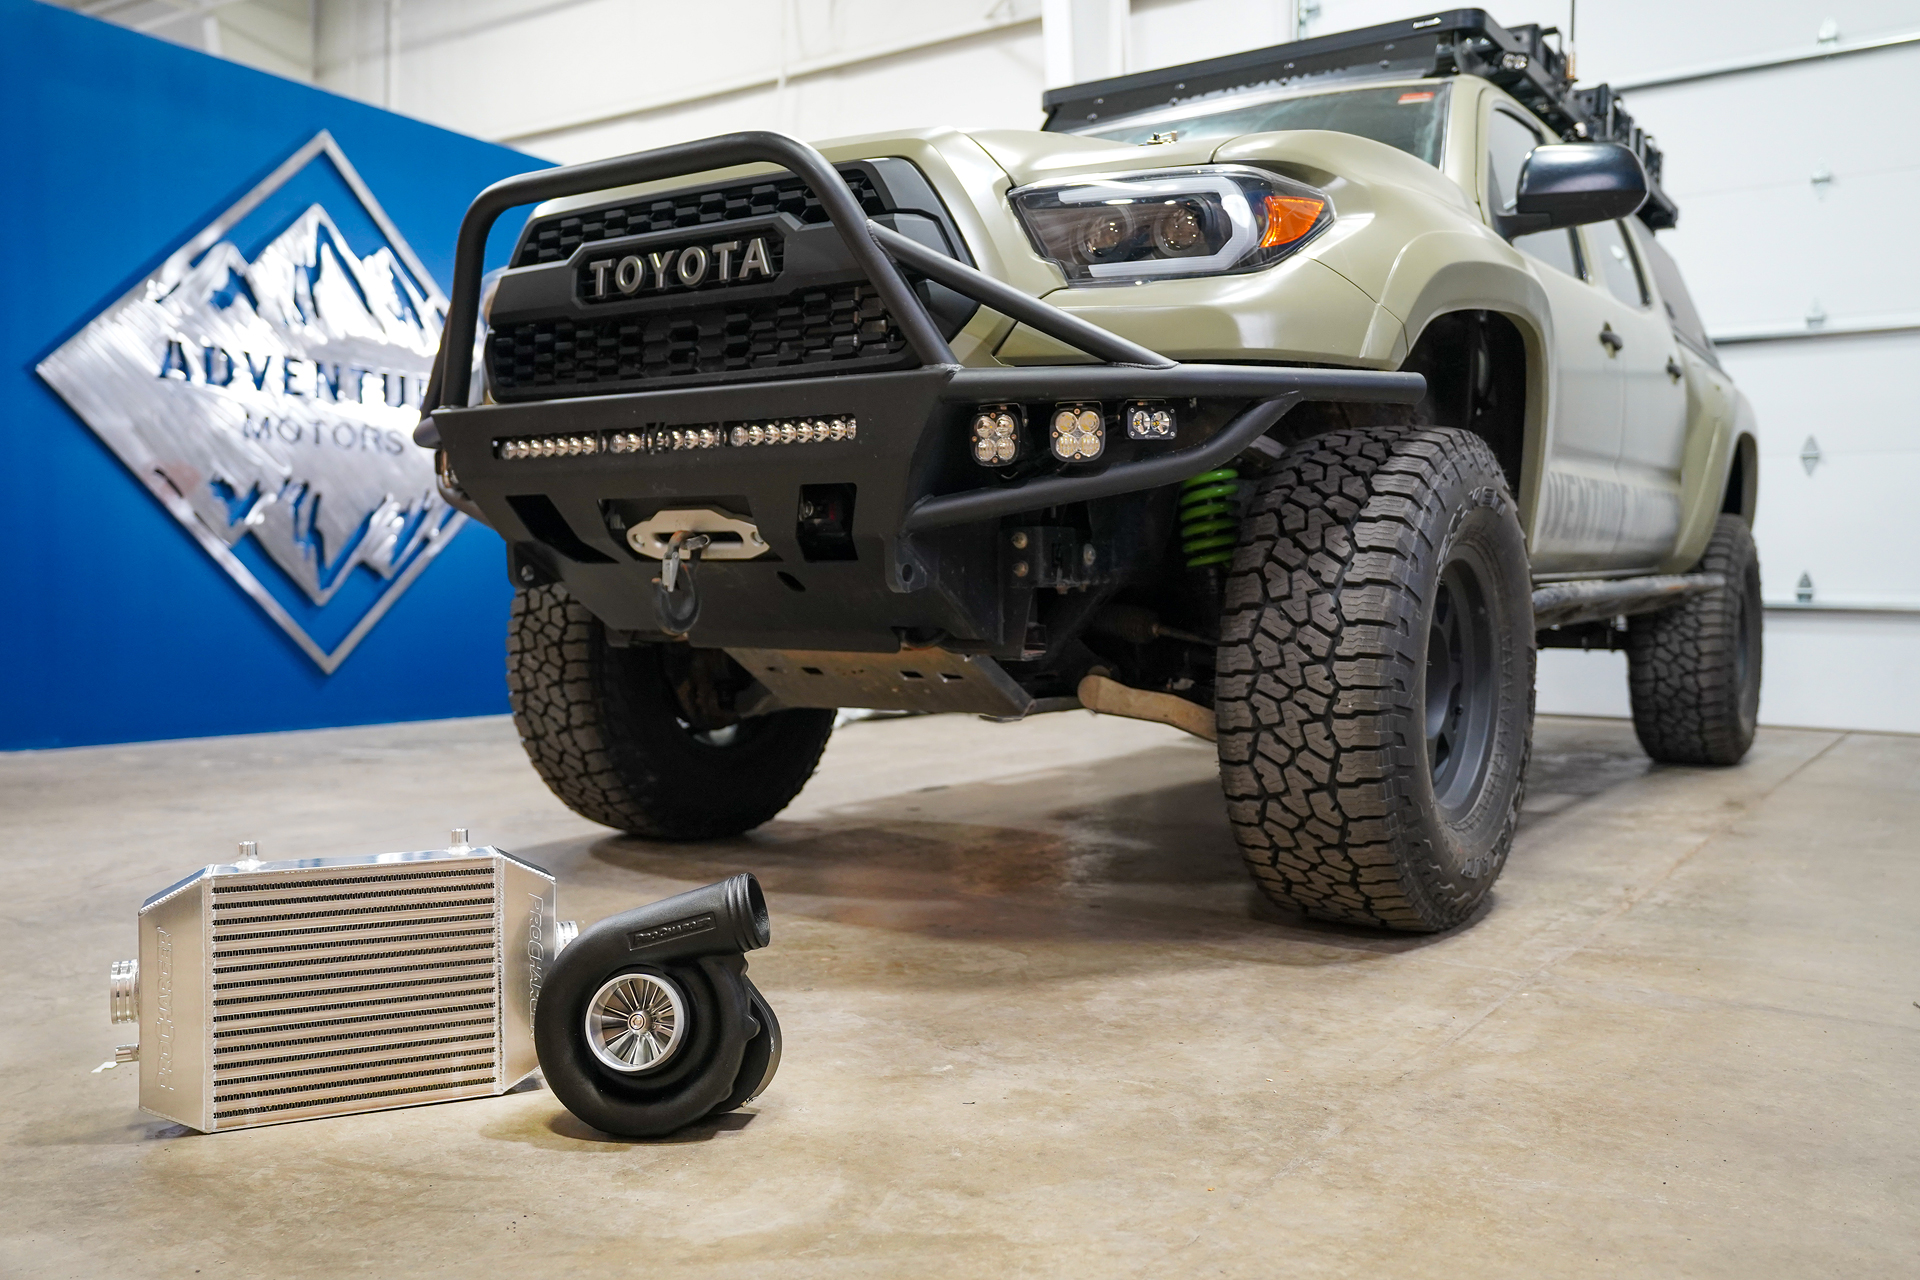
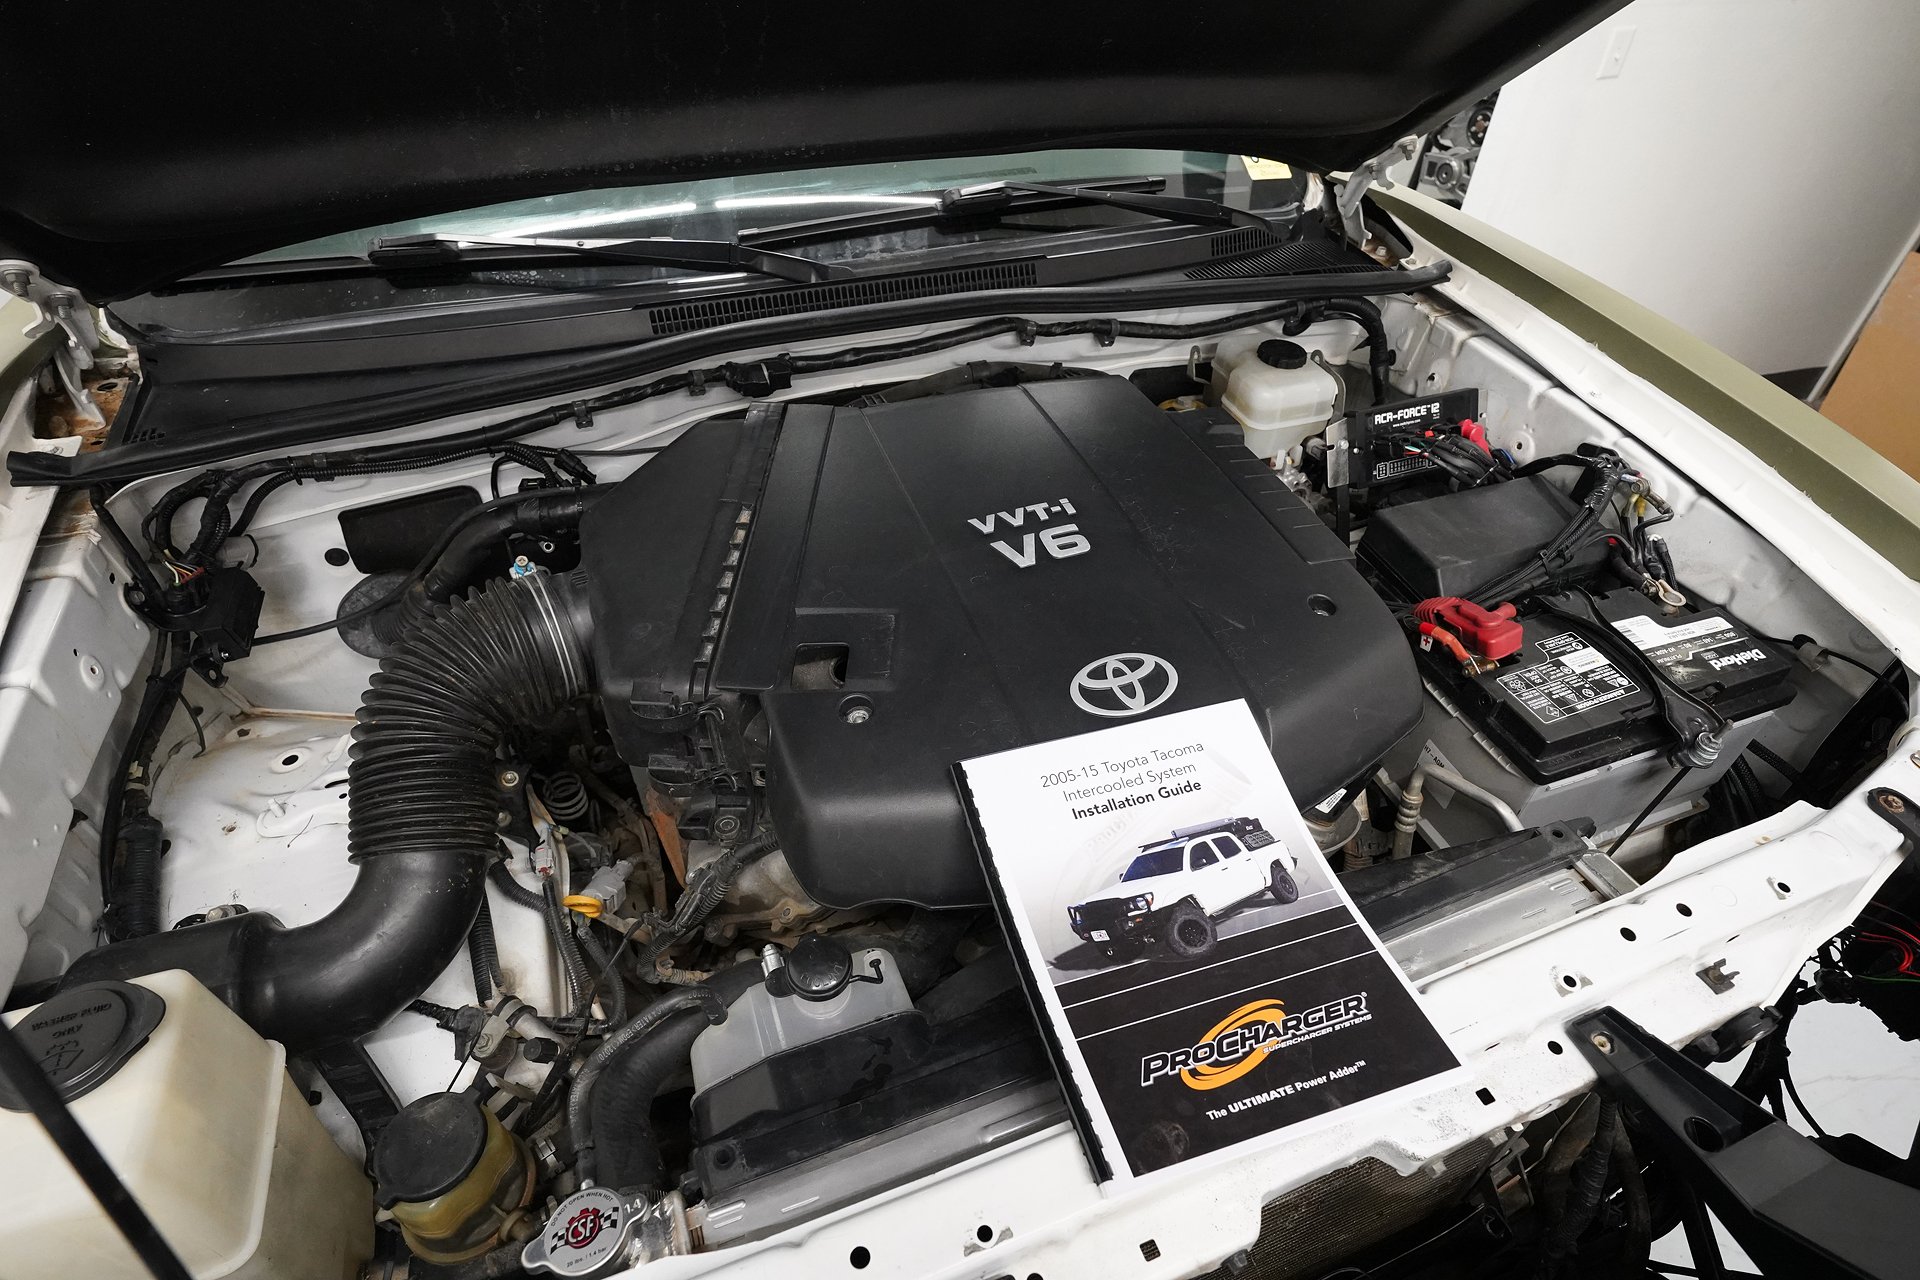
The build you see here is from Adventure Motors in Grandview, Missouri. Though at first glance you might think this is a 3rd-gen Tacoma, it is in fact a 2nd-gen, 2007 model year, but sporting the front end from a 3rd-gen. This means that under the hood of this truck, you won’t find the modern-day 3.5-liter V6, but the classic 4.0-liter V6 found on 2005-15 Tacomas. We should point out that ProCharger does make kits for both generations.
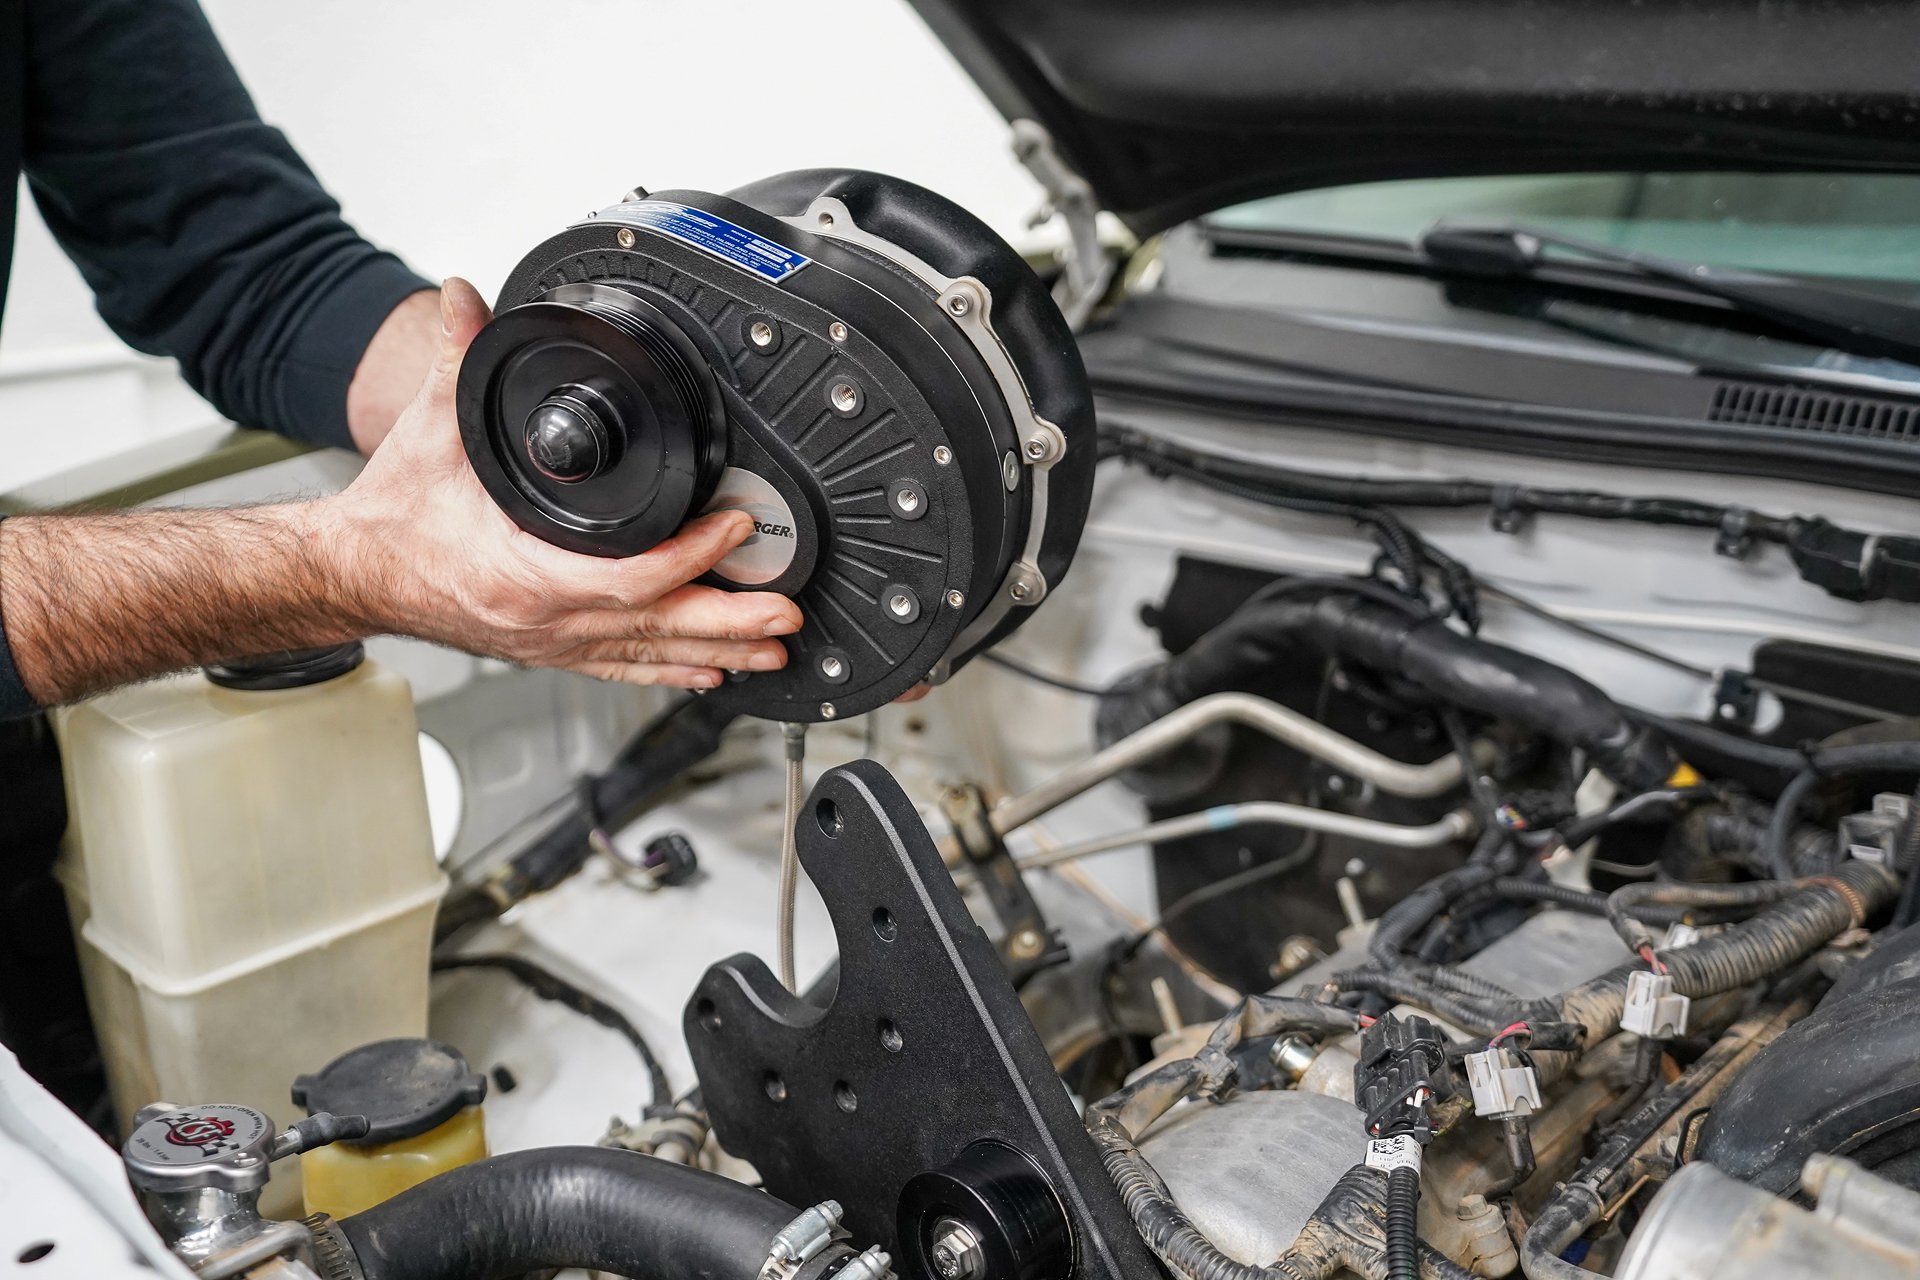
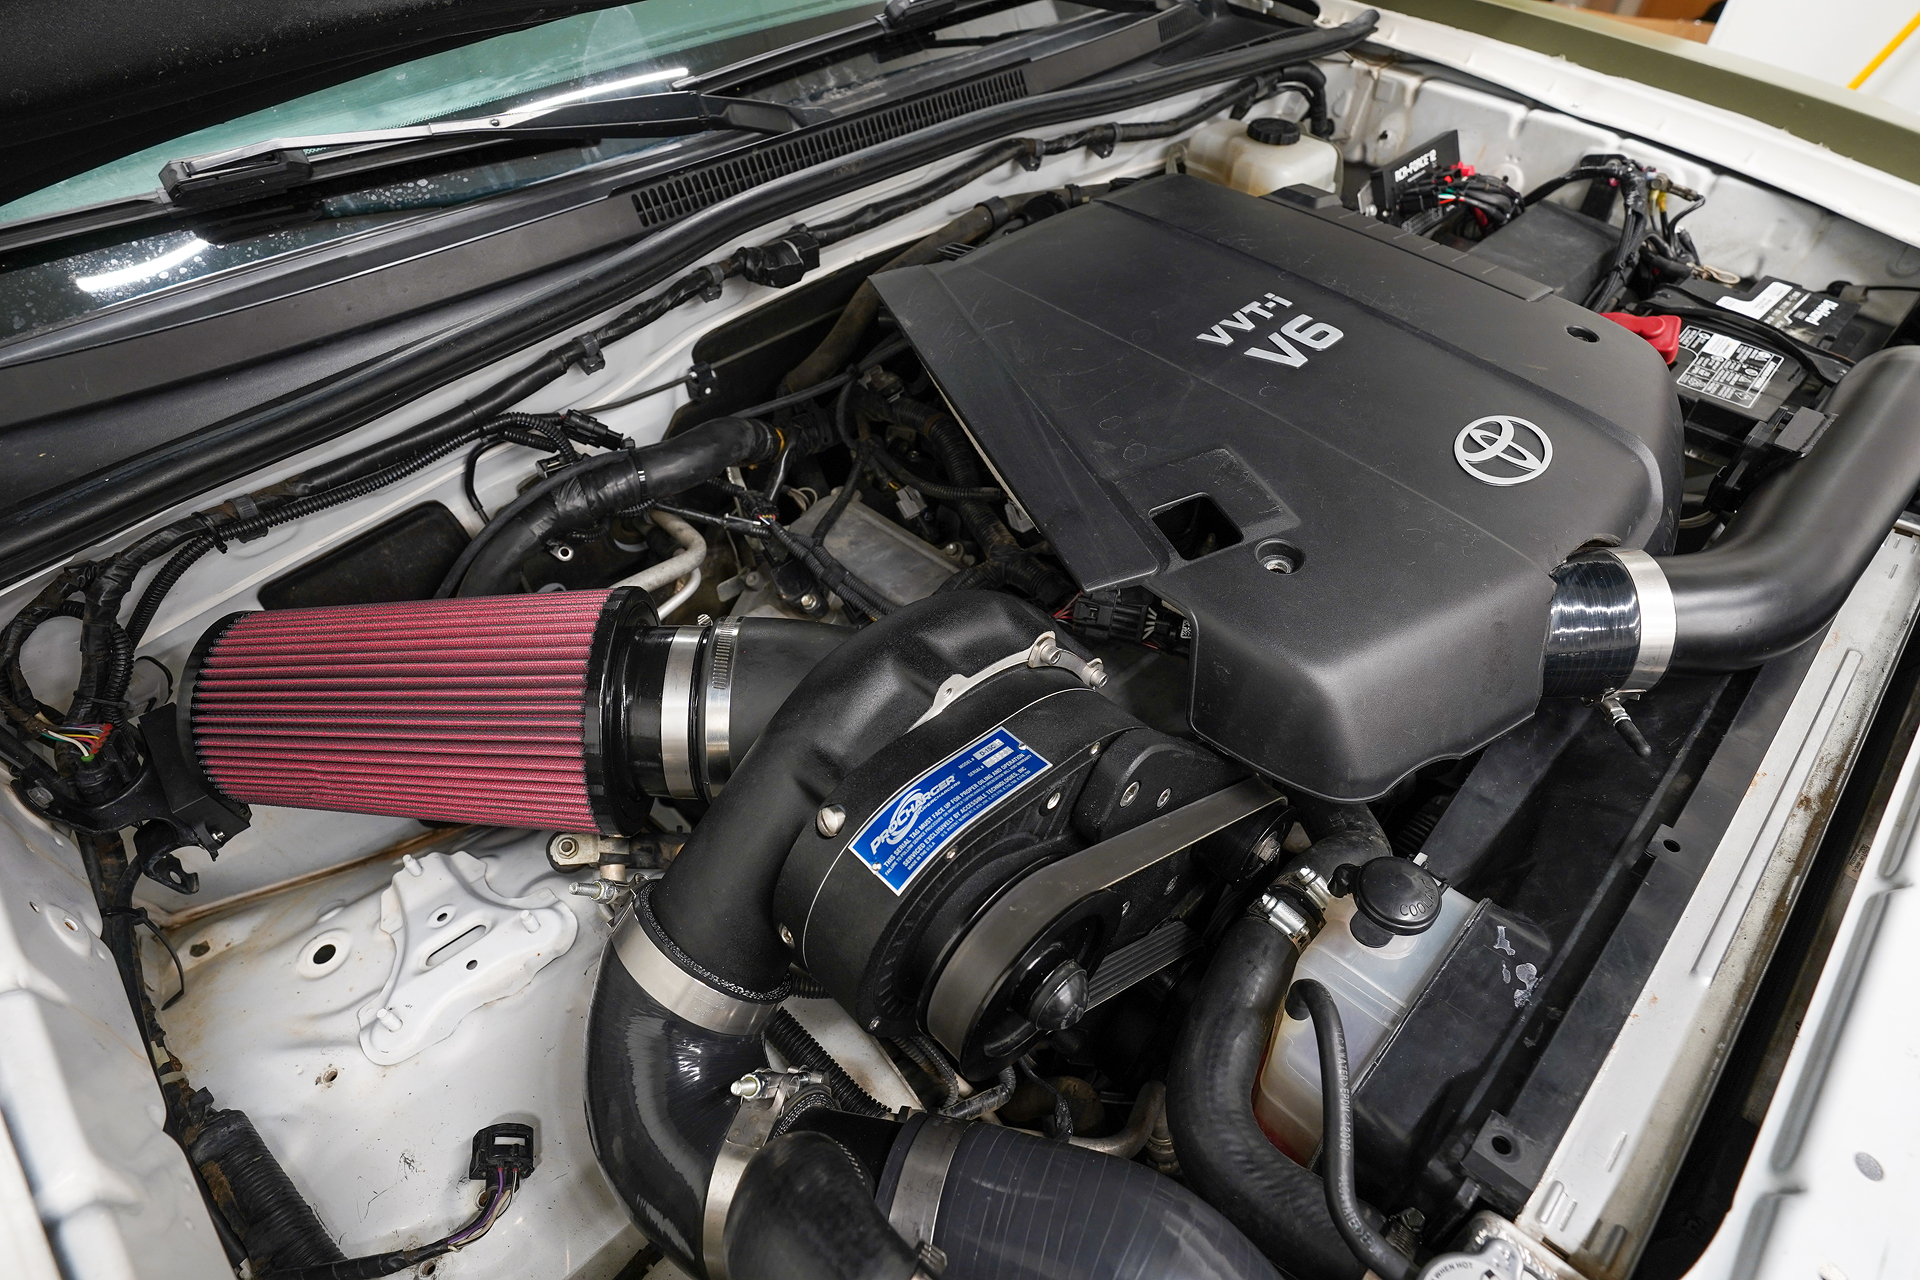
For the 4.0-liter Tacoma, ProCharger’s D-1SC supercharger is a great power-adding option. The centrifugal supercharger fits neatly into the engine bay, with plenty of room for the intercooler and tubing that complete the package. Power, of course, is the biggest bonus to this system, and ProCharger has proven dyno results that demonstrate the benefits (see below for dyno graphs).
What’s more, the P-1SC is designed with the DIYer in mind. Using simple hand tools, just about anyone can install ProCharger’s system. You’ll see in the photos below just how simple and straightforward the P-1SC is to get set up and going.
Installation
The installation begins with removing the negative battery terminal and engine cover. Other removables include the air inlet tube and MAF sensor, and disconnecting the PCV hose from the air box. There’s one more vacuum line to disconnect, as well as some bolts and a hose clamp, and with those out of the way, the air box assembly comes out. After removing the fan and grille, the work begins on the engine proper.
Removing the fuel injectors first requires removing the intake manifold. With that out of the way, the electrical connectors must detach from the injectors, and 10mm bolts holding the fuel rails must all come out.
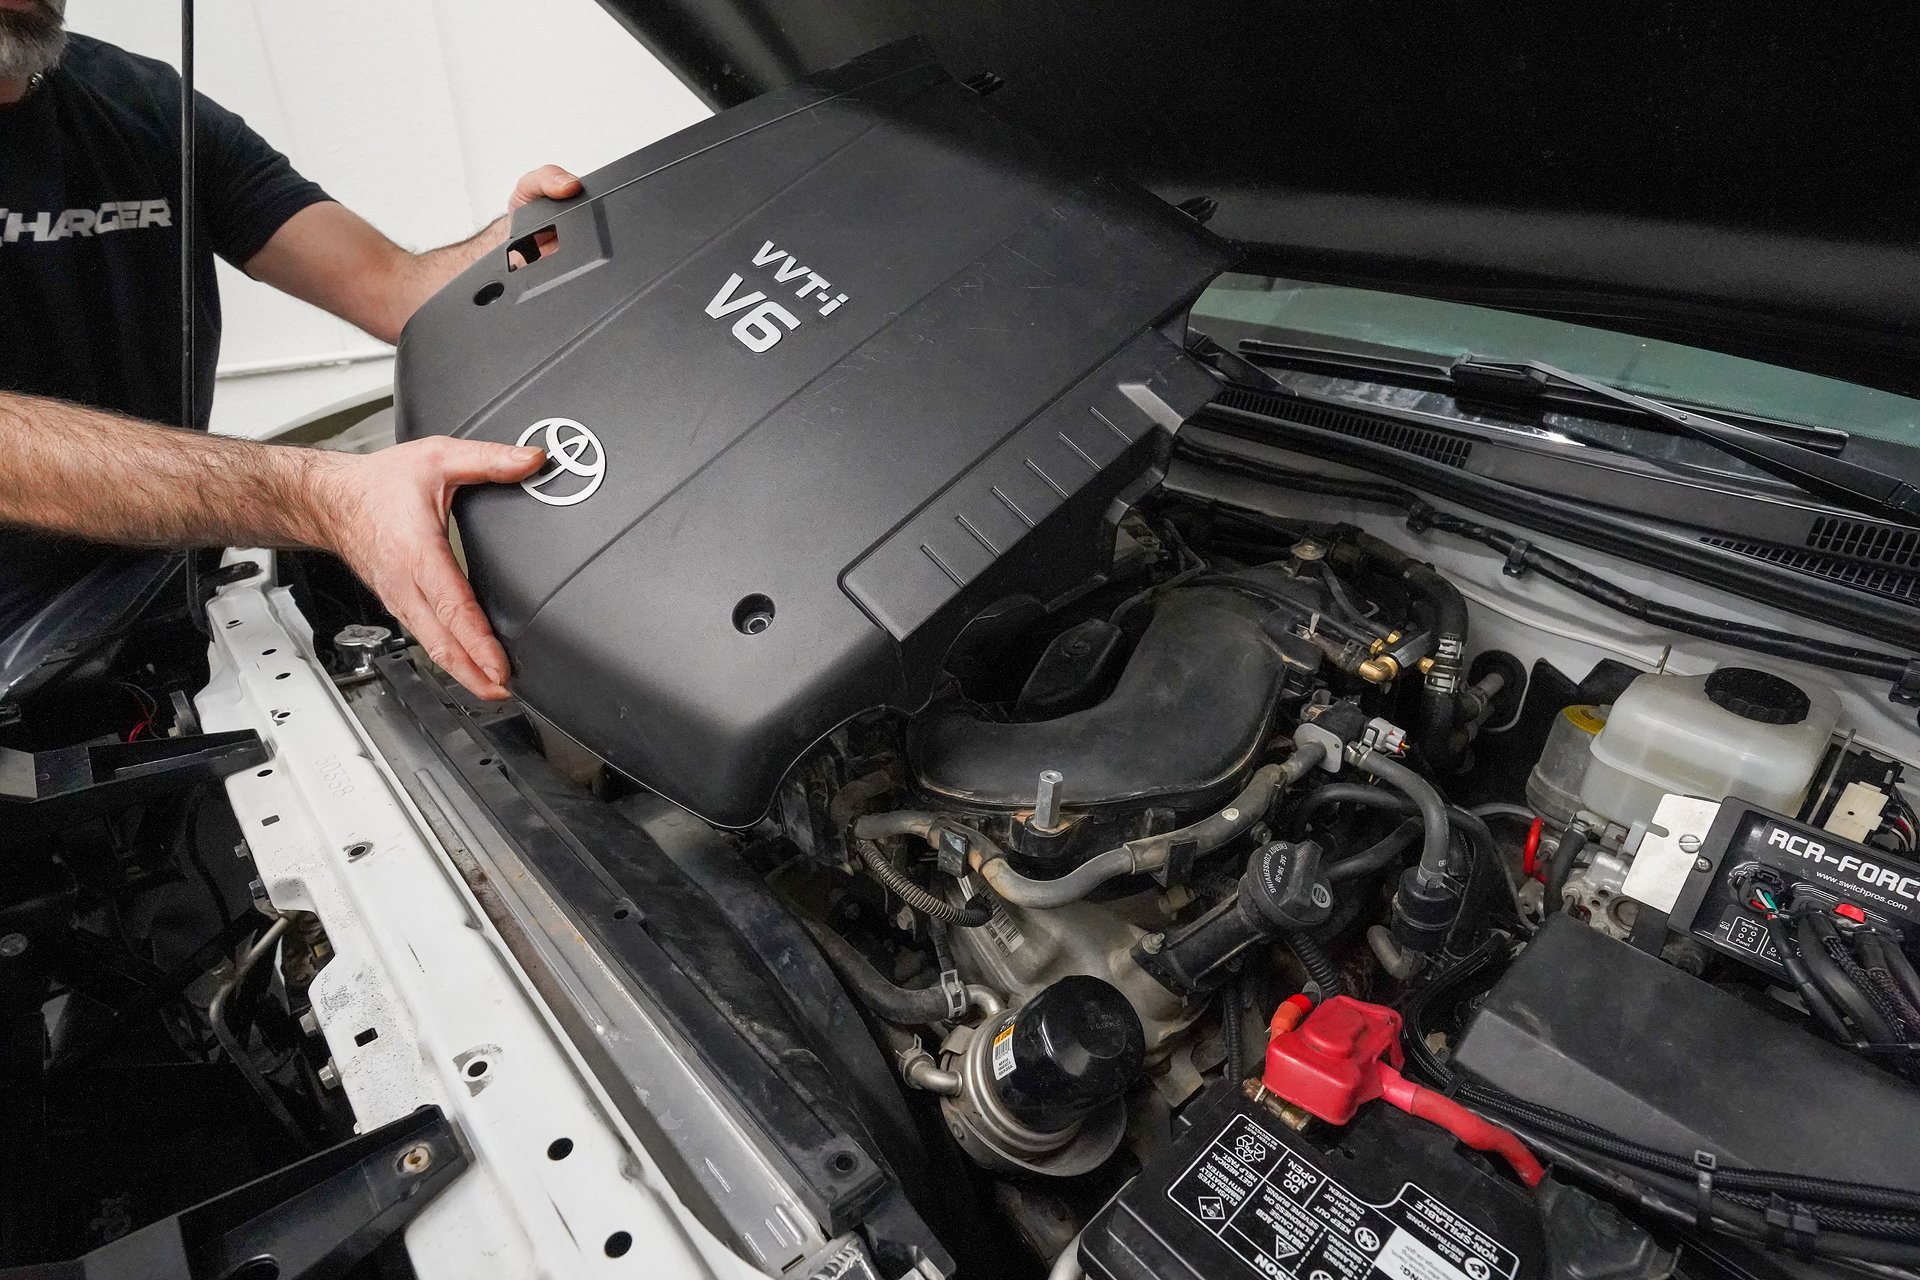
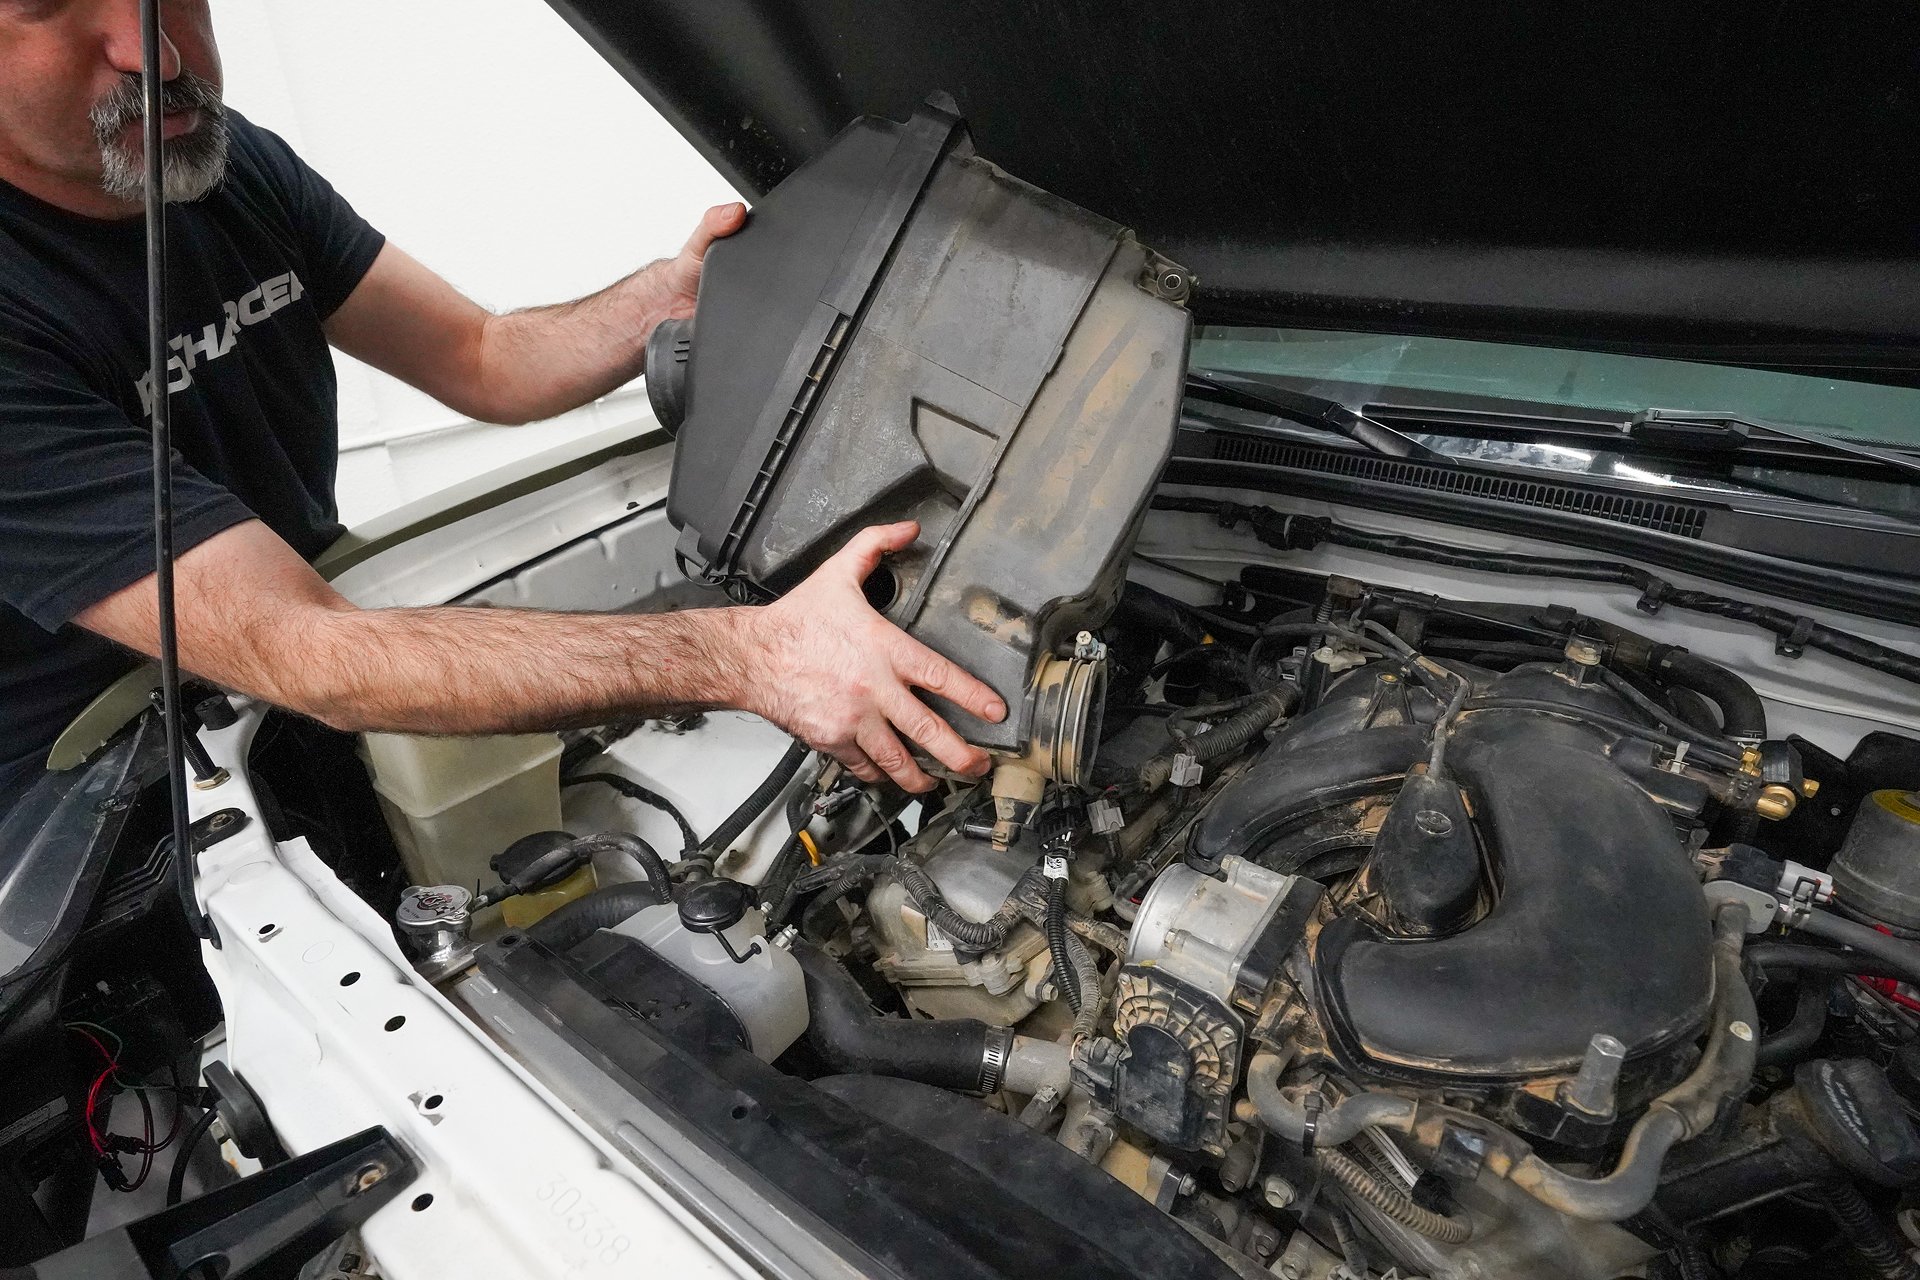
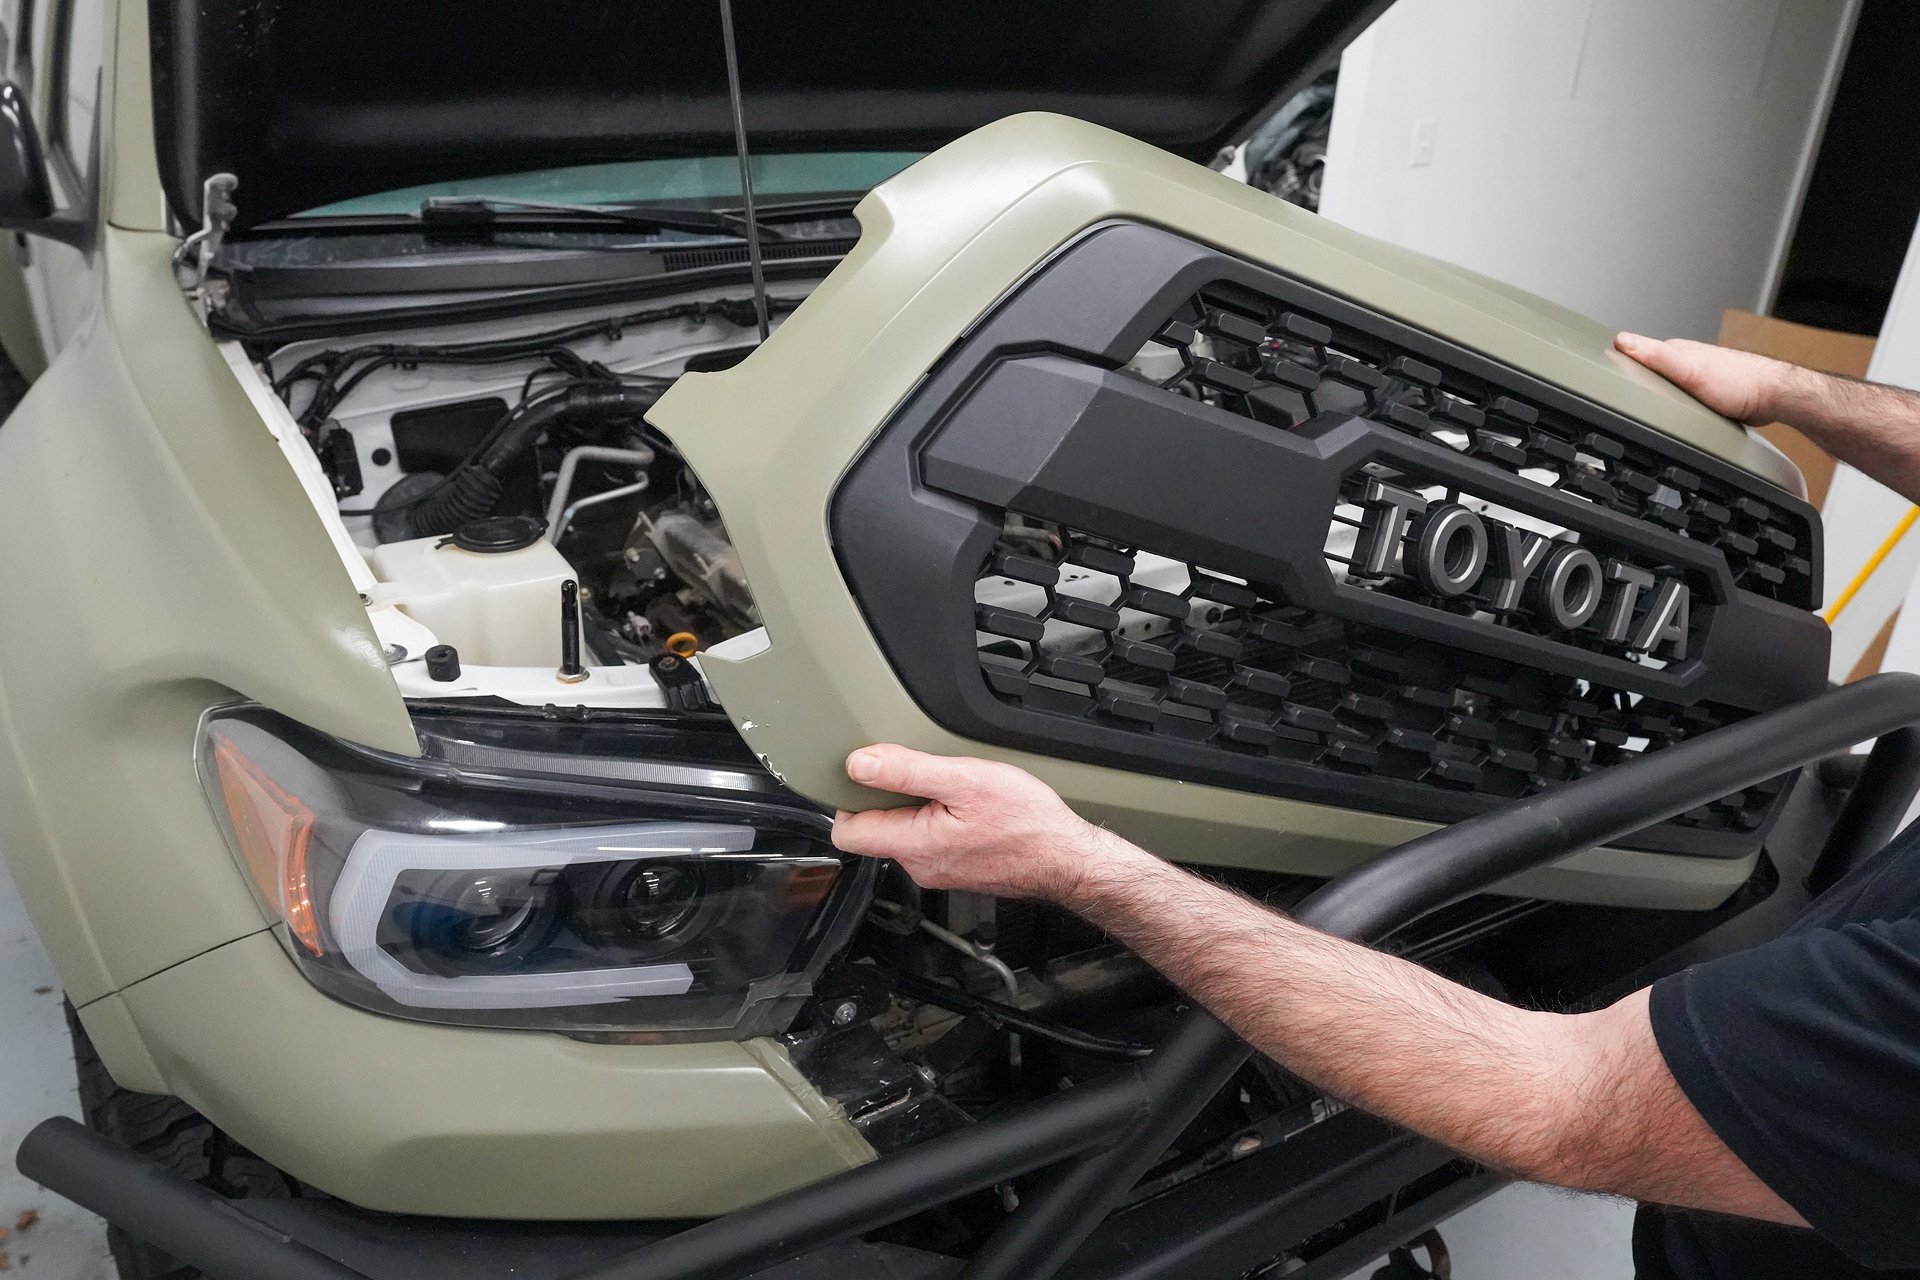
Installing the supercharger requires removal of the engine cover, air box assembly, and grille.
For this install, the build got some extra goodies in the form of new Fuel Injector Clinic fuel injectors and NGK spark plugs. These parts would definitely be a worthwhile upgrade for a supercharger install, since increased airflow would greatly benefit from better fueling and spark.


New NGK spark plugs and Fuel Injector Clinic fuel injectors really help maximize the power potential of the ProCharger kit.
After swapping in the sweet new injectors and relocating the A/C line, the install moved onto the crankshaft pulley. Using a torch to heat the pulley bolt will assist with removal. This new pulley installs on top of the factory crank pulley, and will drive the supercharger via a serpentine belt.
The next step involves the main bracket assembly. It mounts to the engine through the valve cover and timing cover, and is the supercharger’s home. Once installed, it gets filled with ProCharger’s provided oil, and then closed up. Afterwards, the serpentine belt is installed.

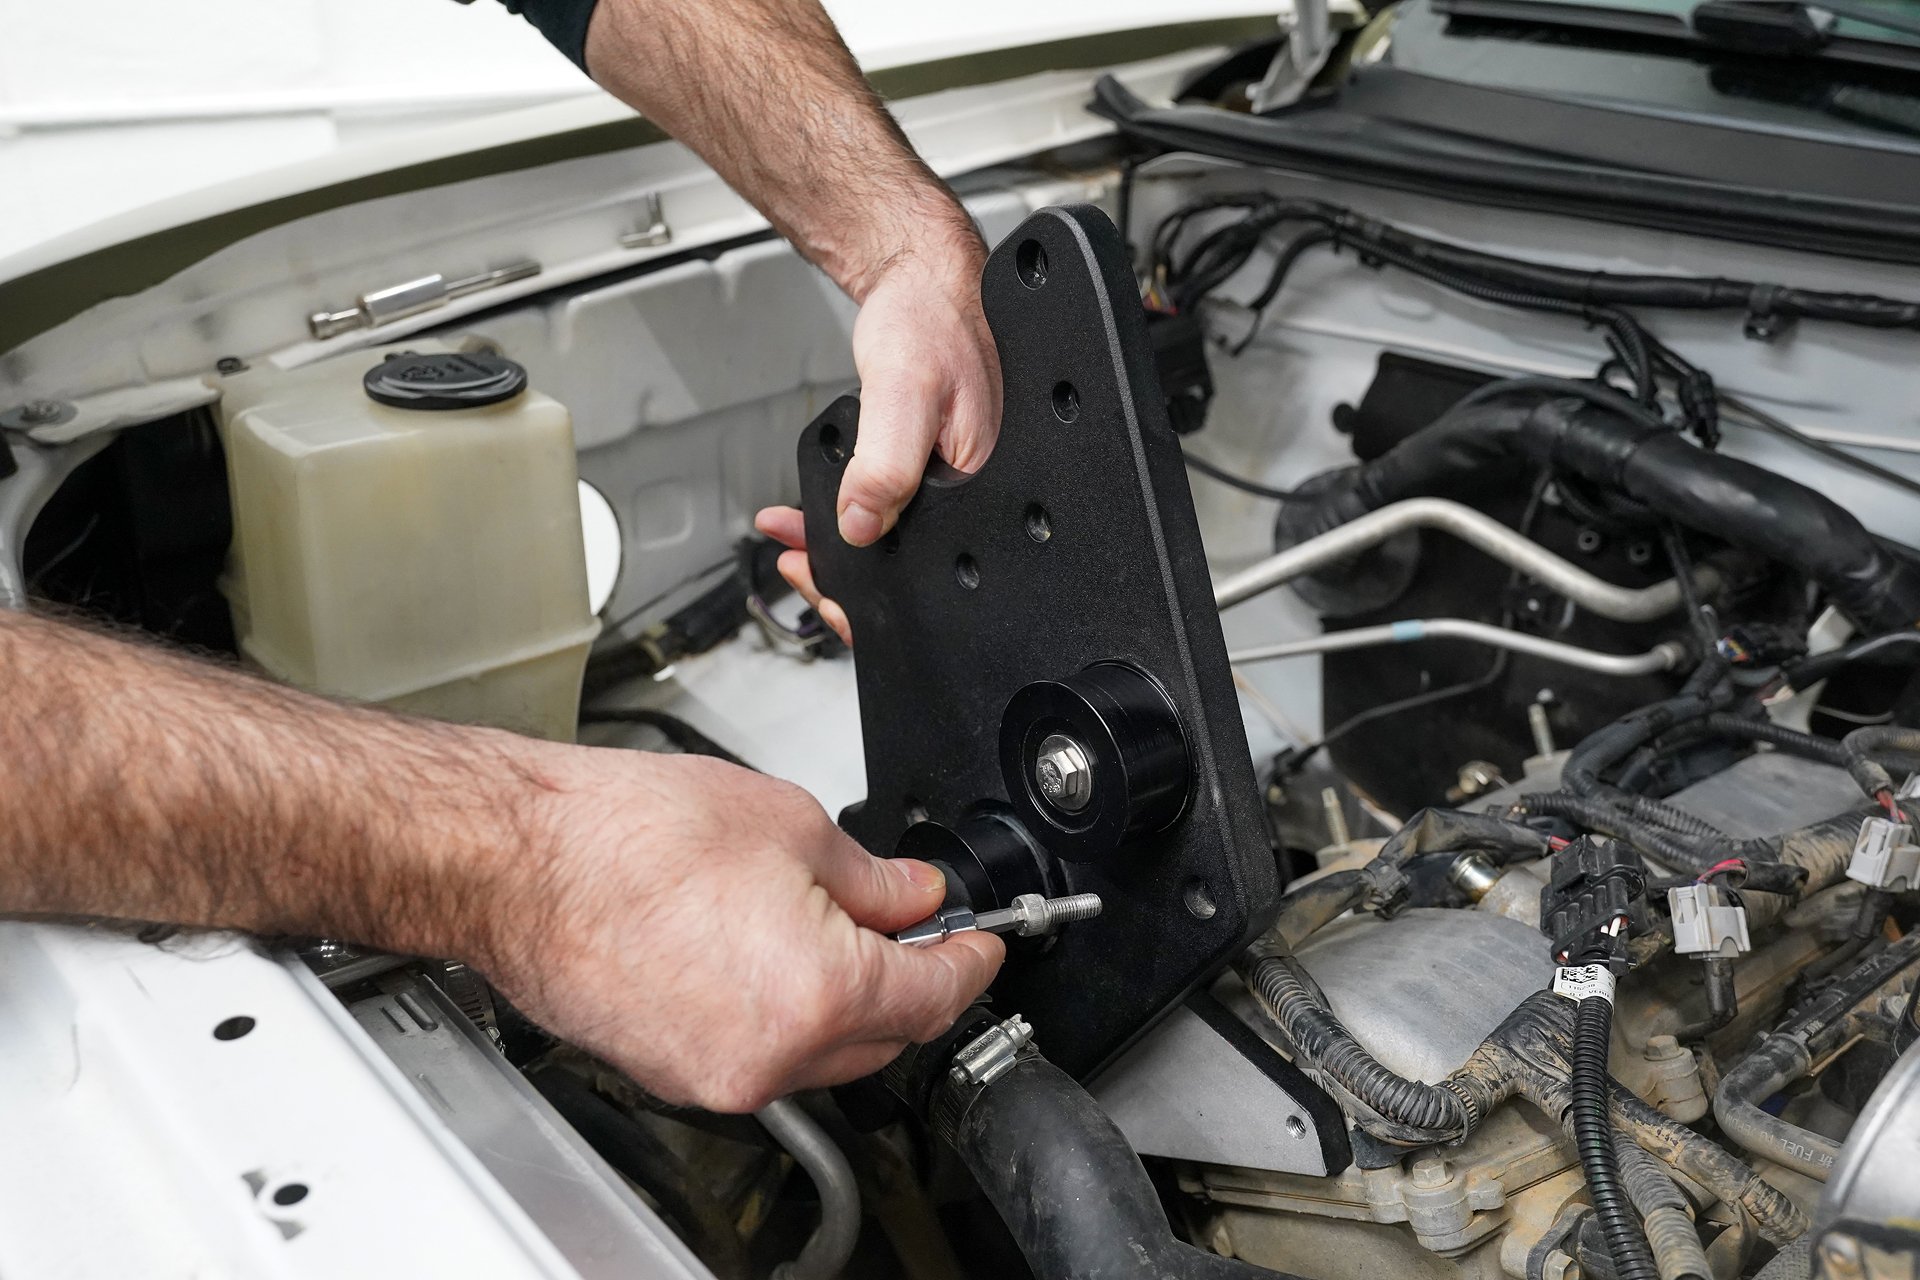
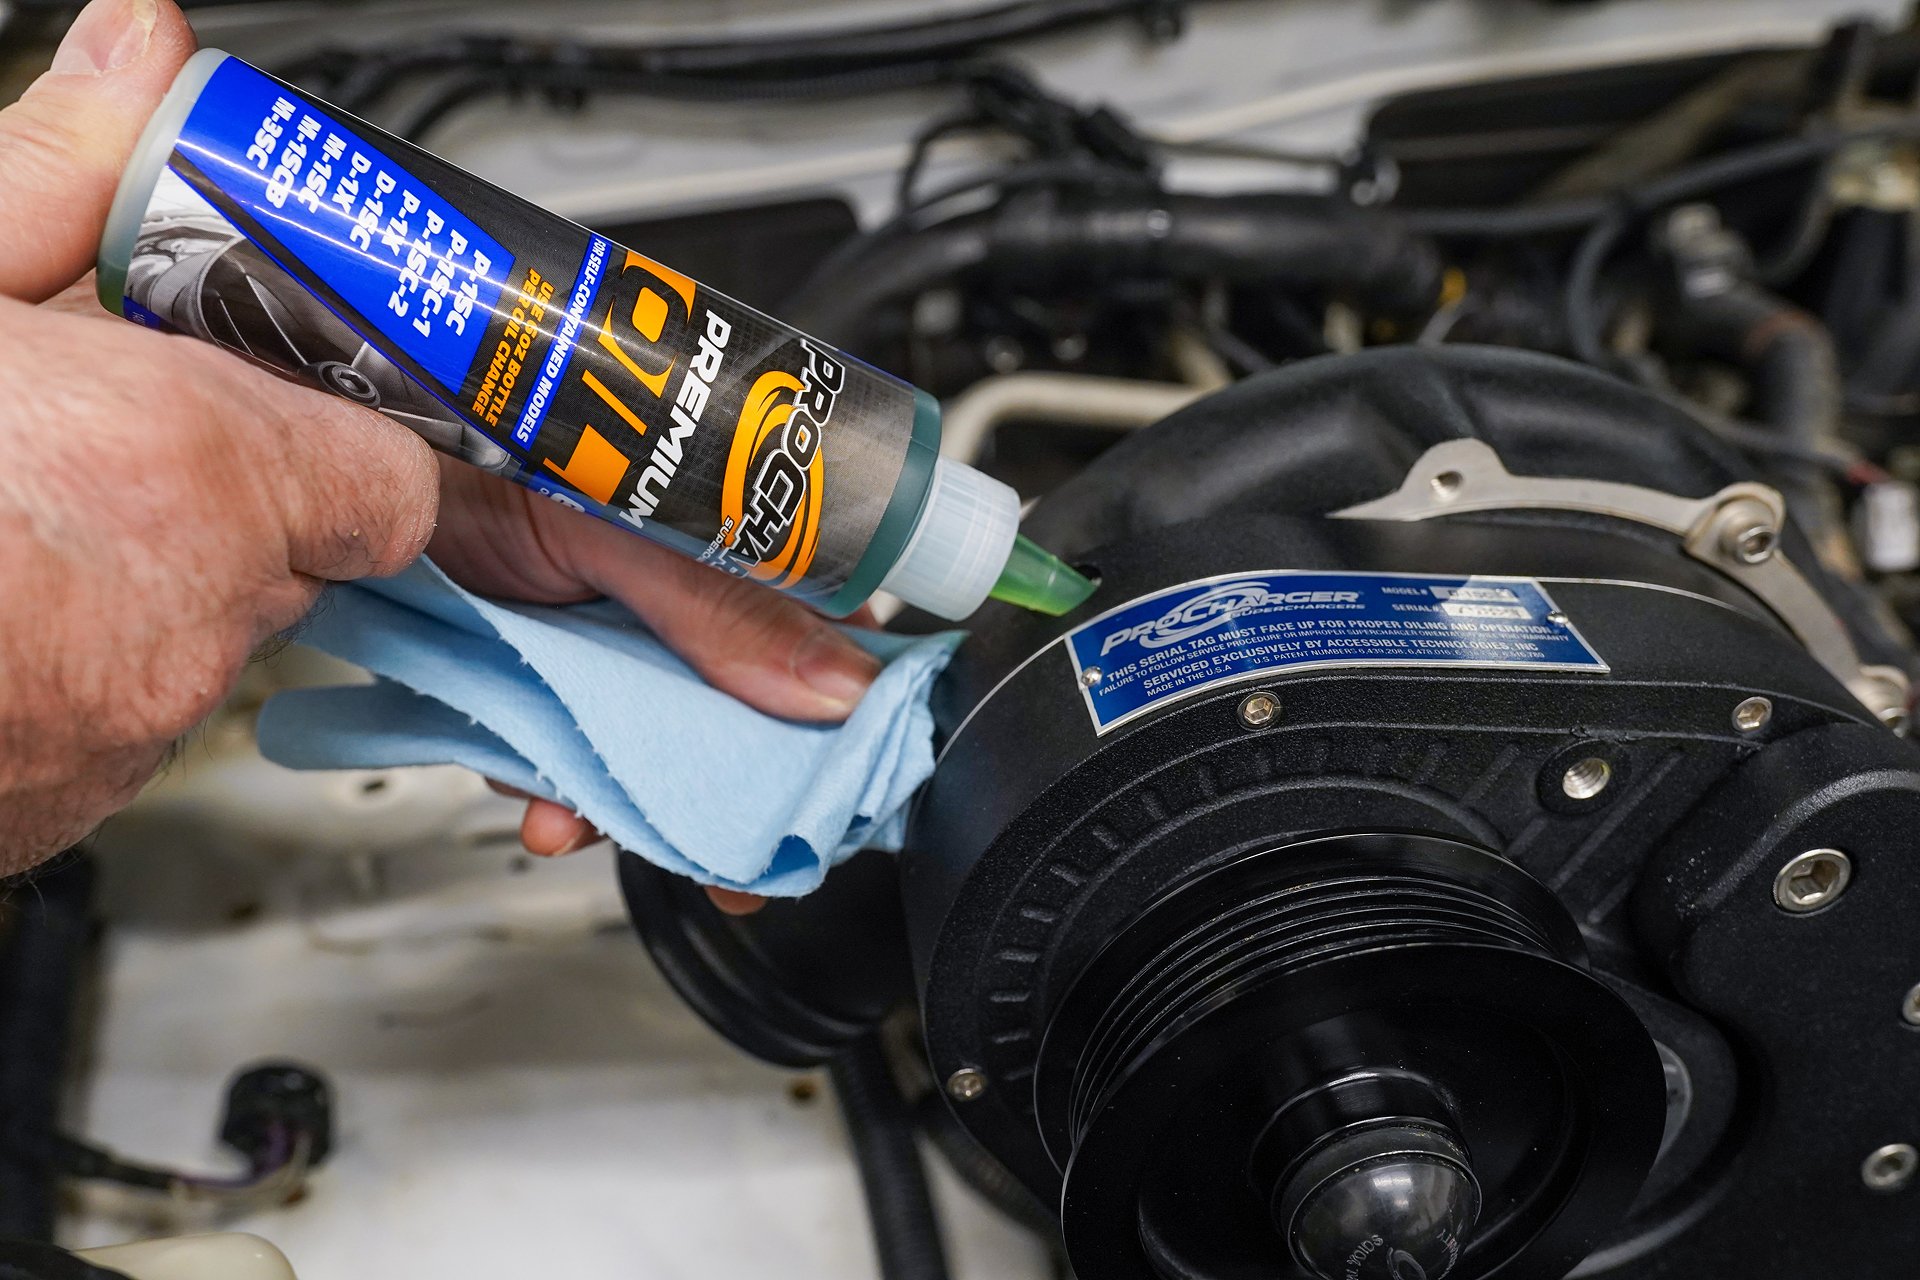
ProCharger's provided serpentine belt pulley attaches onto the stock crank pulley. Also, a new bracket installs onto the engine to house the supercharger. Once installed, ProCharger premium oil fills up the supercharger to ensure proper lubrication.
Because this particular Tacoma has a winch already installed, the intercooler is a narrower one and uses different couplers and tubing. After removing parts in the way and cutting holes for tubing, the intercooler goes into place in front of the radiator. It mounts to ProCharger brackets on either side of the hood latch.

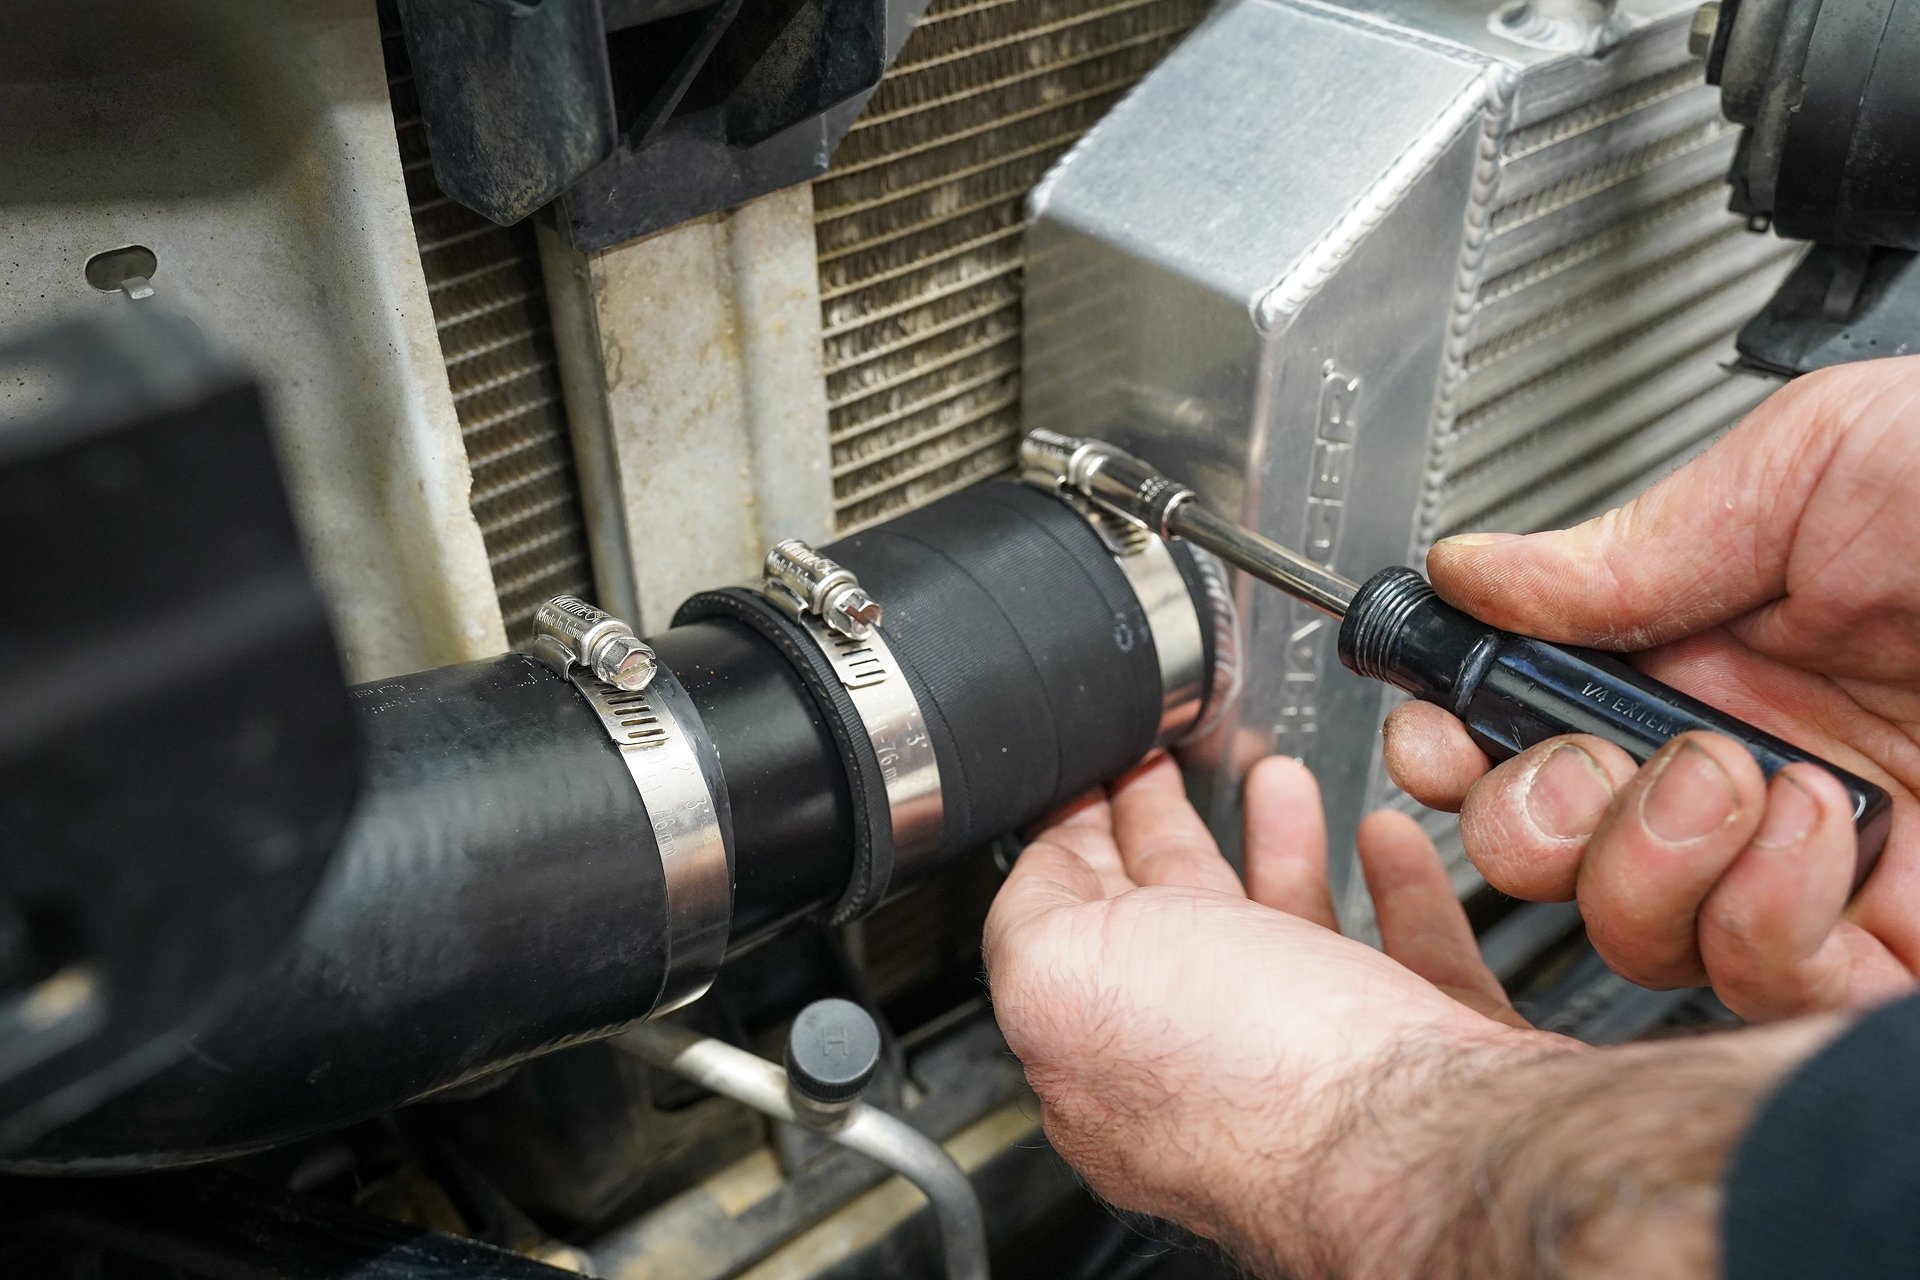
This narrower intercooler works on Tacomas that use a winch.
Next comes the tubing. As this Tacoma has a winch, there are some differences from a stock Tacoma. In this case, the tubing comes off of the supercharger and uses a 90-degree coupler plus another, smaller tube to connect to the inlet and outlet sides of the intercooler. The tubing routes back through the core support and up, then routes back to the supercharger. Here, it’s safe to install the factory MAF sensor and use ProCharger’s provided extension harness as well.
Afterwards, the surge system needs to get hooked up. It fits onto a factory vacuum hole located on top of the intake manifold. Using the provided vacuum line, the vacuum manifold reaches to the fuel pressure regulator, as well as the ProCharger ProFlow assembly.
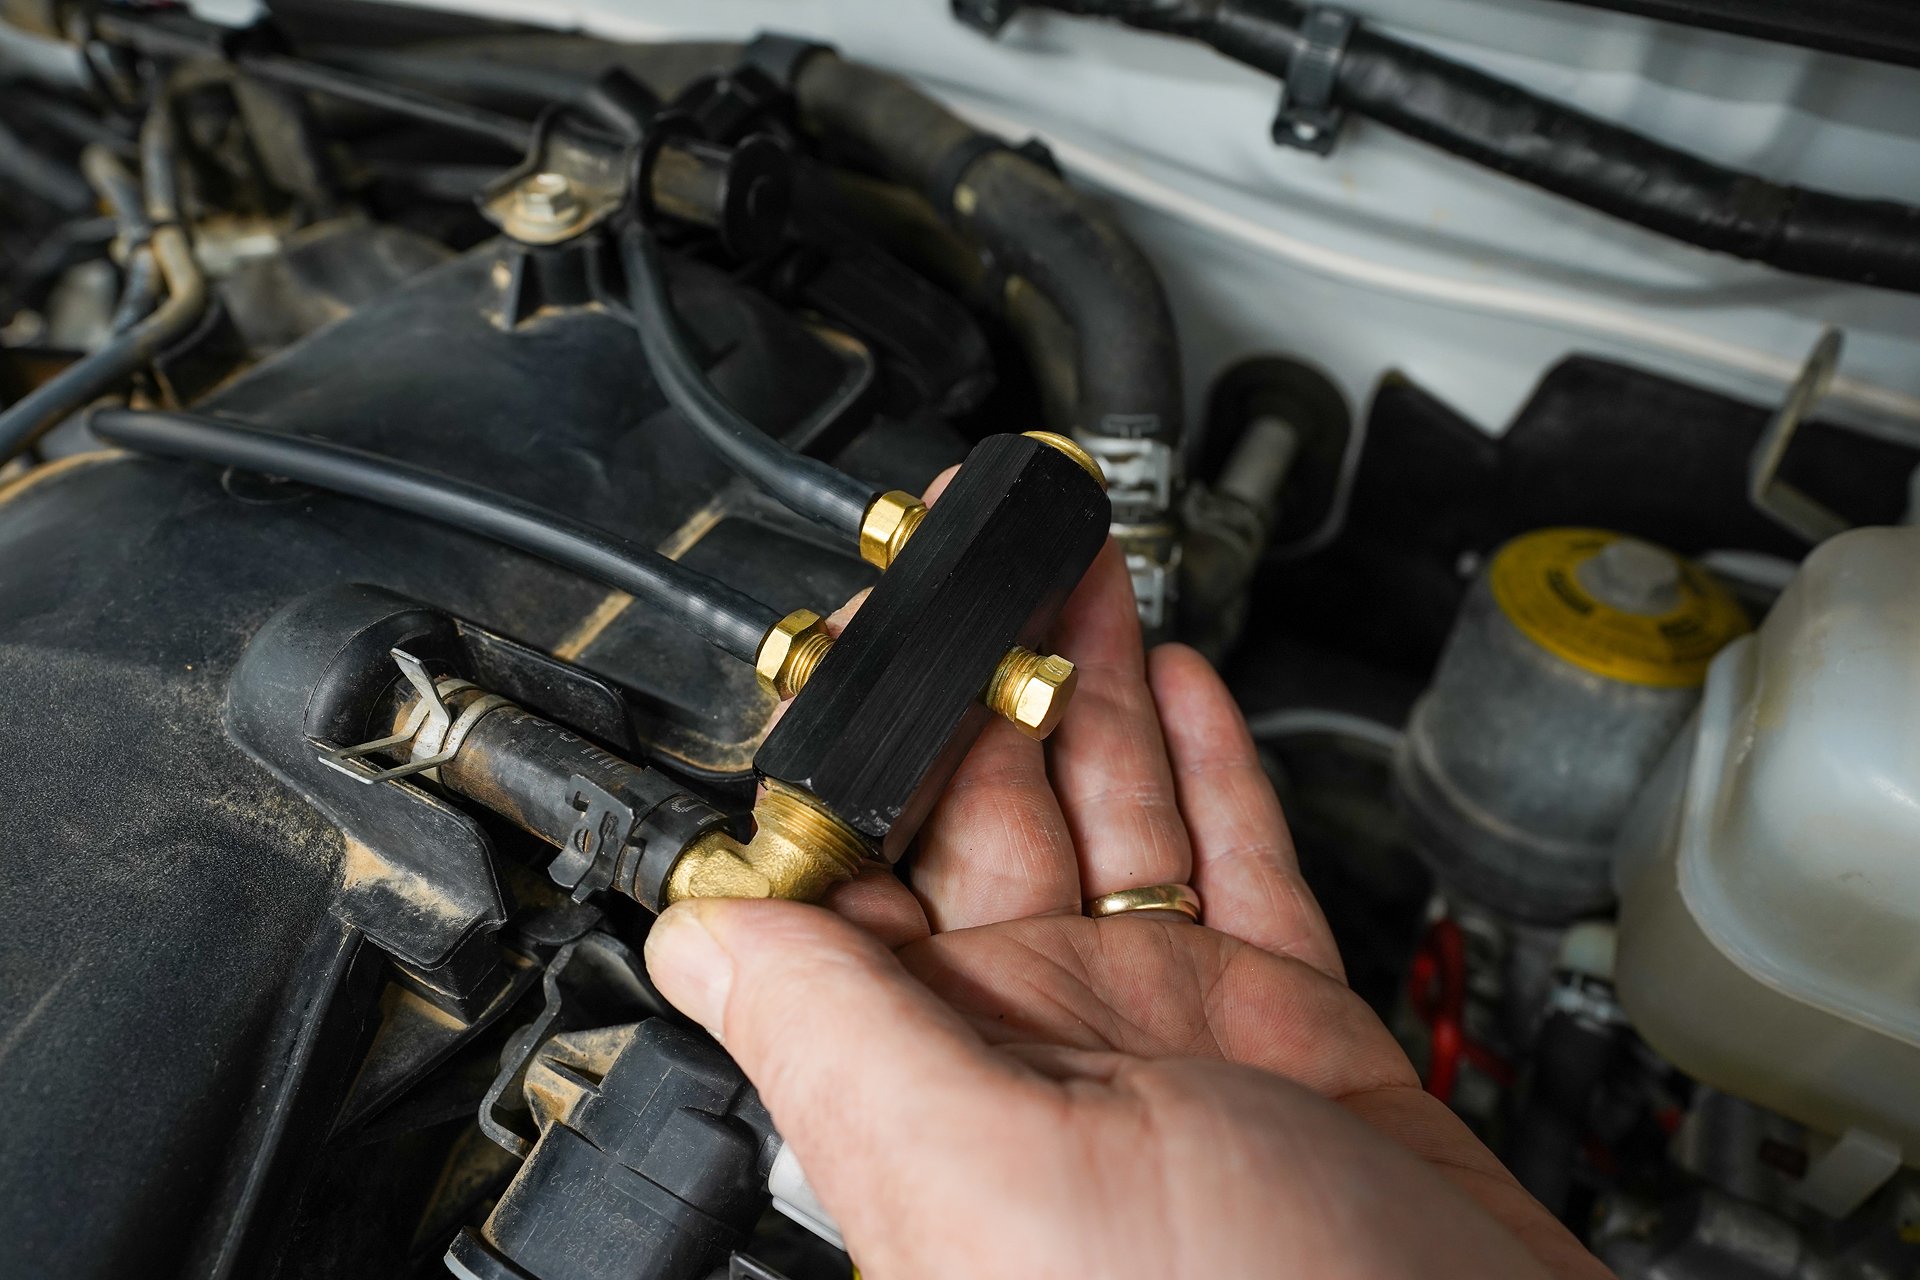

After the surge system is installed, the ProCharger kit is almost done.
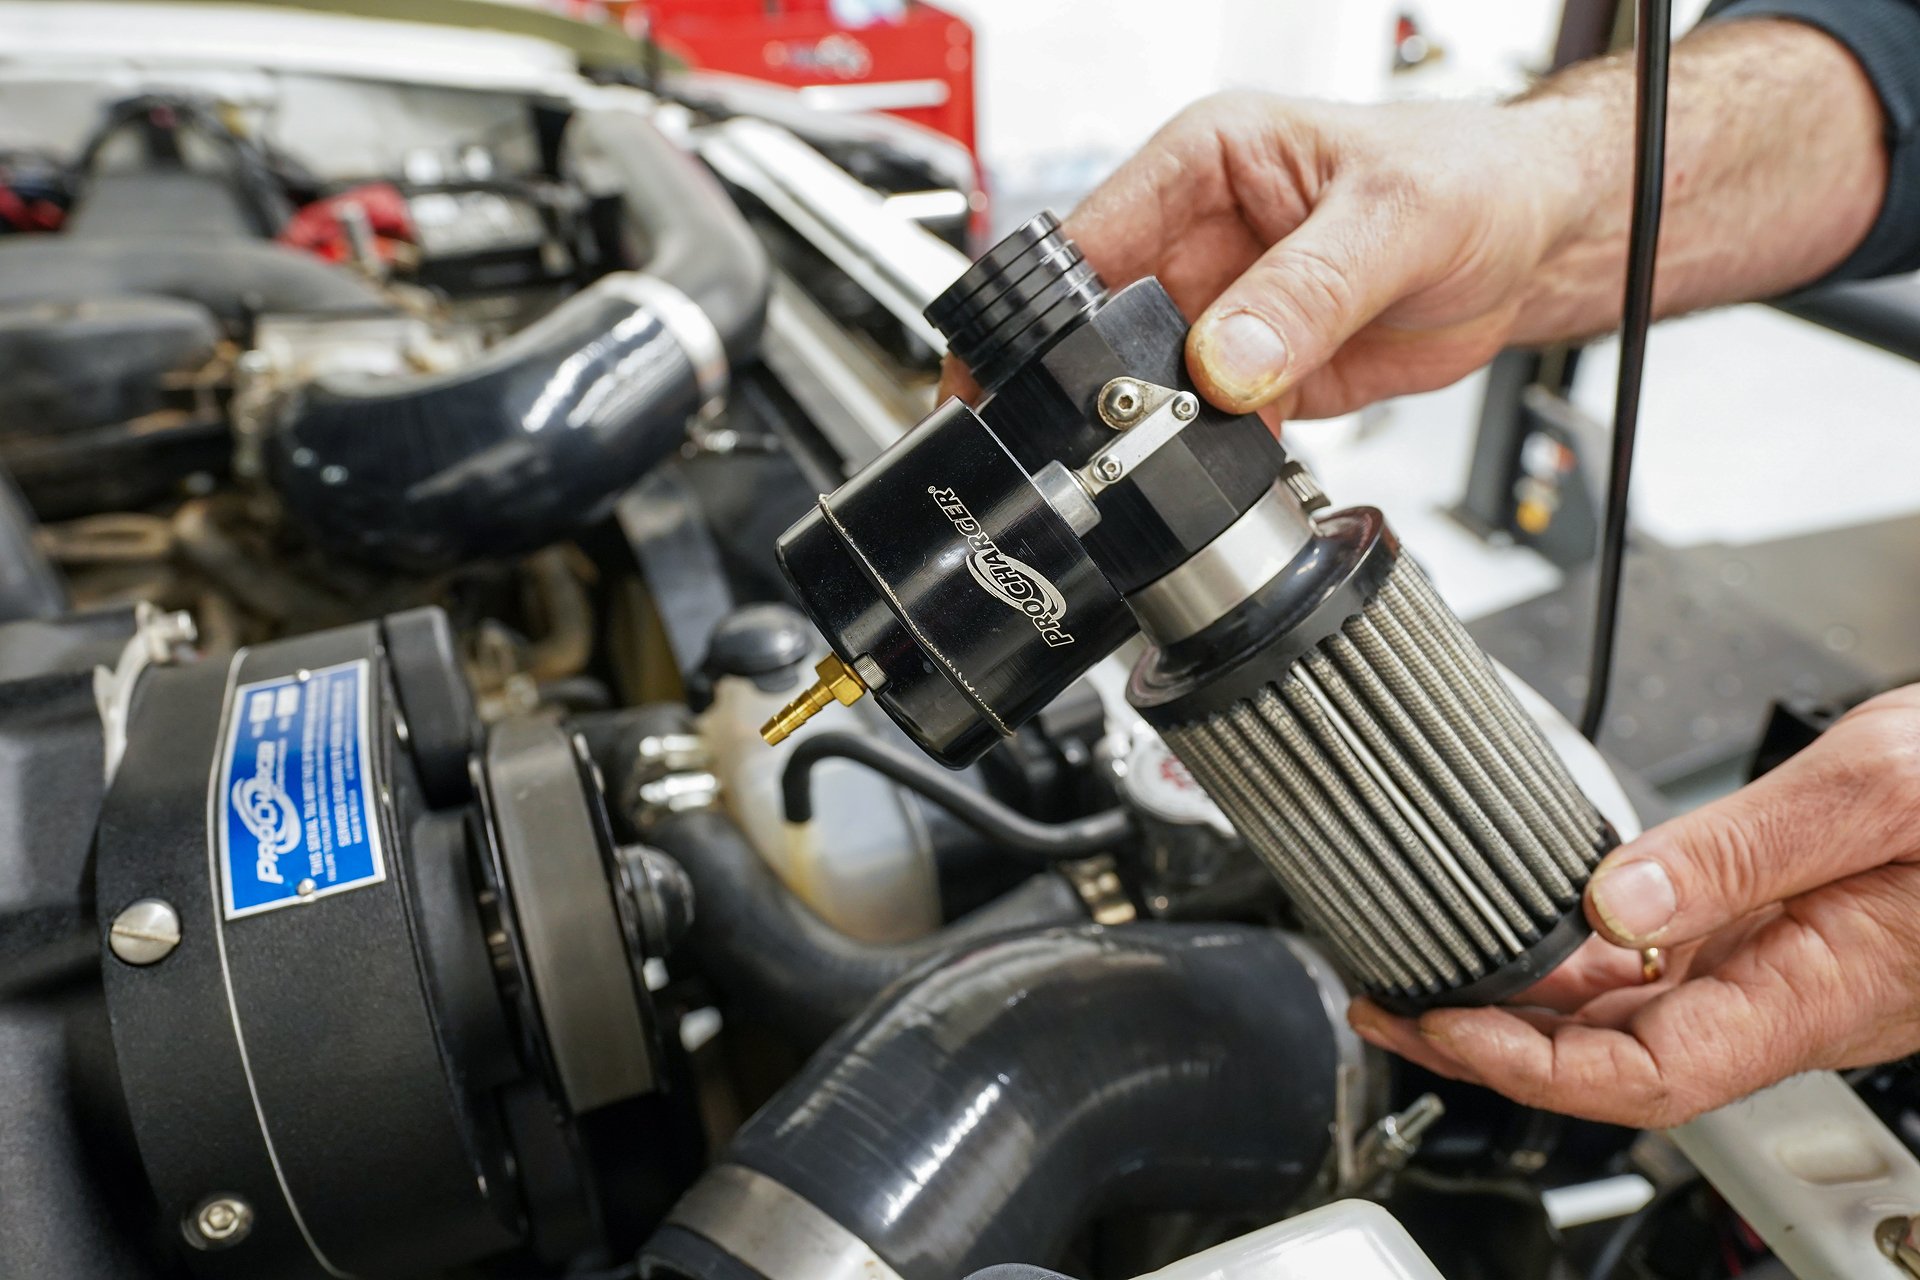
Next, the PCV system gets taken care of. ProCharger’s instructions account for Tacomas that have a snorkel intake or use a normal intake. On this non-snorkel-equipped truck, the PCV system routes from the PCV line to a hole in the supercharger inlet. Afterwards, the air filter slips onto the inlet, and that’s that for the supercharger installation.
Dyno Results

Before installation, the Tacoma made 206 horsepower and 225 pound-feet of torque.
After checking the final assembly and making sure everything is accounted for, the truck is ready to head to the dyno. Here’s where we get to see just how much of a difference a supercharger really makes.
As you can see in the dyno graph above, the Tacoma made a maximum of 206 horsepower at around 5,000 rpm. For a stock V6, it wasn’t bad, but it was definitely not enough to really make an impression. That all changed once the supercharger was installed.
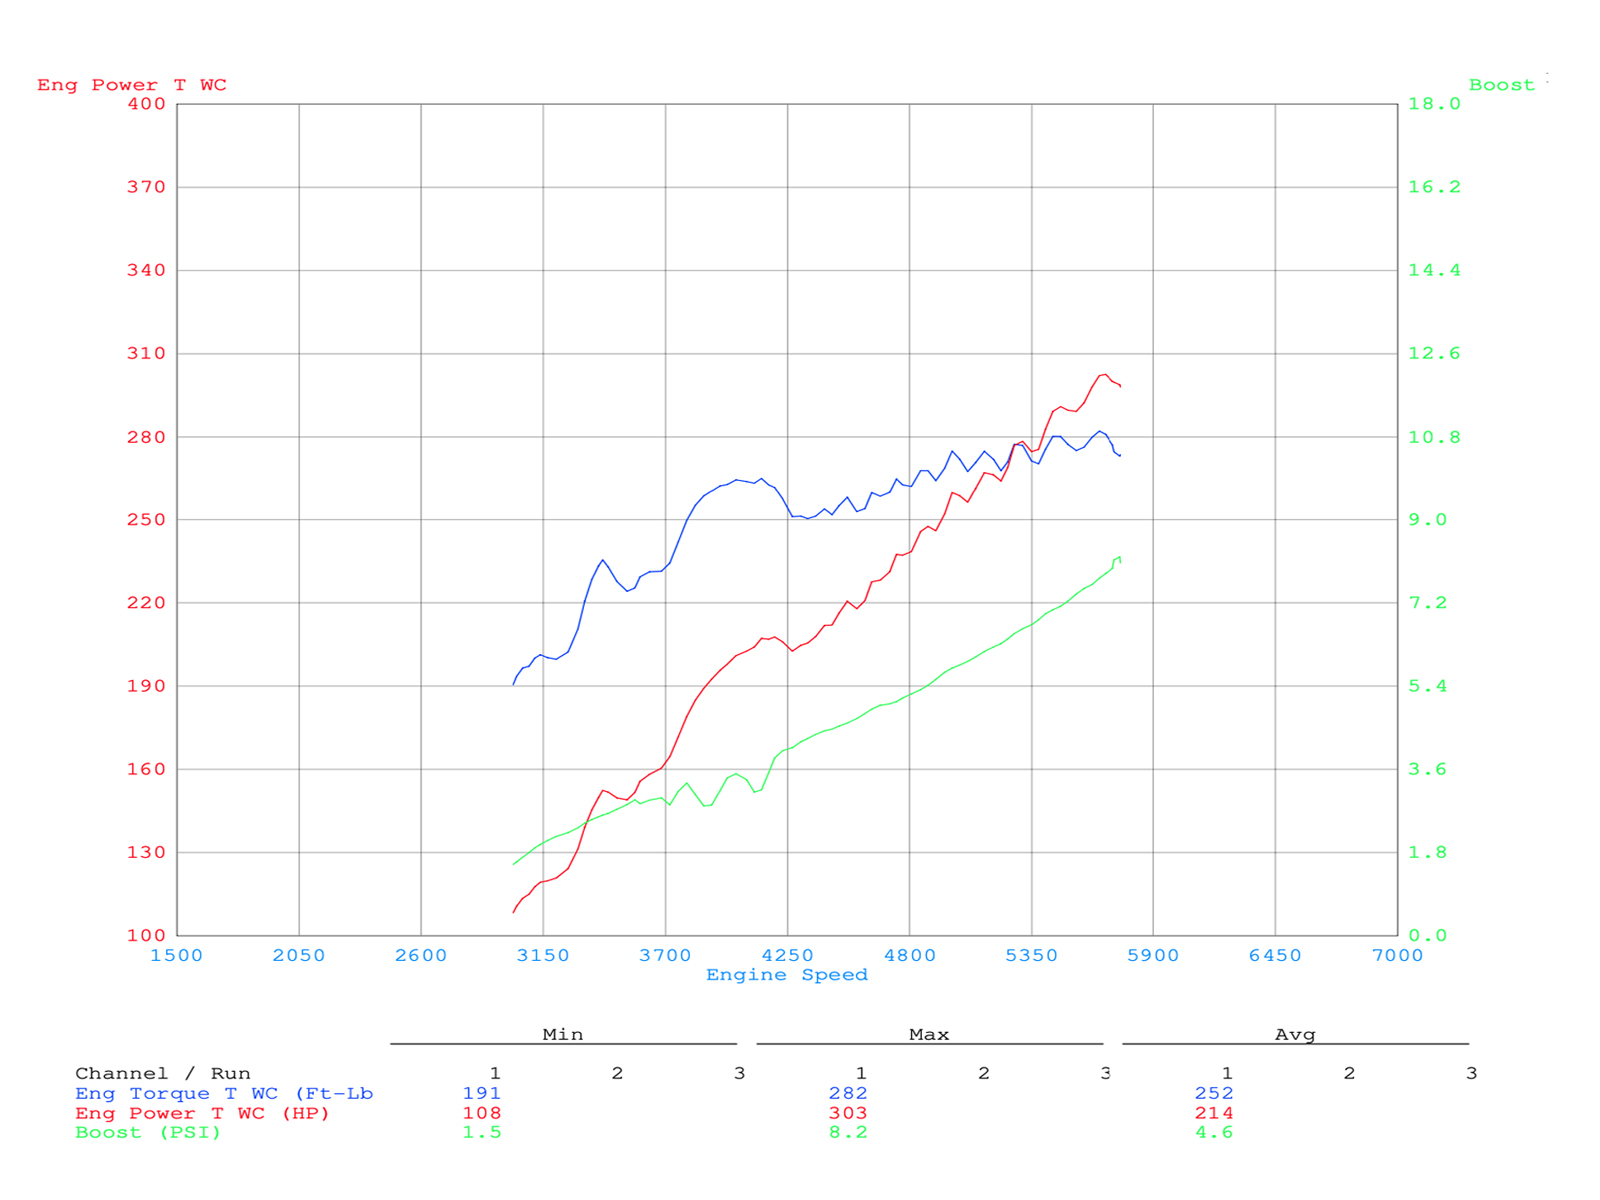
After installation, the Tacoma made 303 horsepower and 282 pound-feet of torque.
With ProCharger’s kit installed, the Tacoma now made 303 horsepower at around 265 horsepower near 5,000 rpm. It maxed out at 303 horsepower at 5,700 rpm, stretching out the power band of the Tacoma and giving it that much more grunt.
You really see a noticeable improvement near the 3,700 rpm mark, where before the truck made less than 150 horsepower, and now makes 160, with gobs of power coming on between 3,700 and 4,250 rpm. Torque is also improved. The Tacoma made 225 pound-feet of torque before, and now hits a maximum of 282.
For owners that want more power without swapping engines, the ProCharger P-1SC supercharger is the way to go. It’s an ideal solution especially for rigs that get the overlanding treatment, which adds more weight to the vehicle. This is a surefire way to boost horsepower and torque on these popular pickups and make them fun to drive again.
If you want to know more, be sure to visit ProCharger’s website. And don’t forget to follow ProCharger on Facebook for the latest news, photos, event updates, videos, and more.