New rims and tires tend to be one of the first upgrades on the list when starting a build. Working with-in the factory clearance to fit them can be a huge determining factor when deciding on size. Go too large and you can create rubbing situations resulting in both safety and handling issues. This is where the Daystar Tactical Lift kit comes in, providing the extra space to fit up to 35-inch tires without significantly altering your ride quality, stability control or towing capacity.
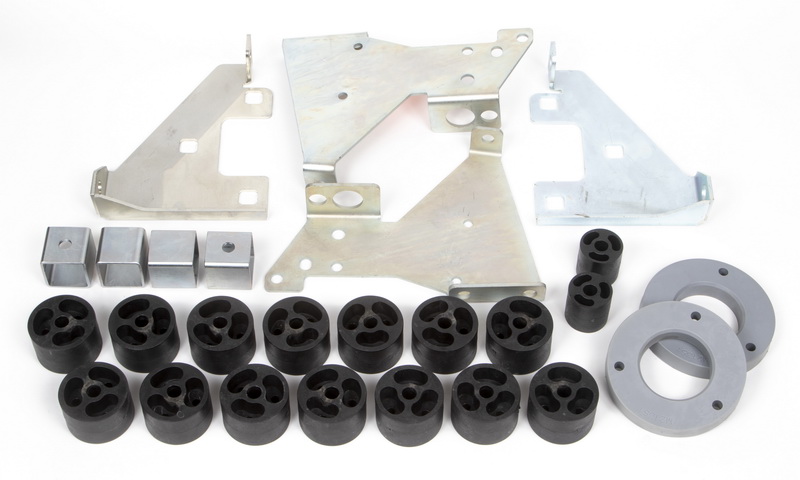
Coming in at a total of four inches of lift, the kit offers a lot for a price tag under $600 and includes all the necessary hardware to complete the install. Made from kevlar-infused polyurethane, it provides a stable and safe design that minimizes the negative impact on your ride quality. An increase in seat height is one of the main gains, offering a better view of the trail or road ahead.
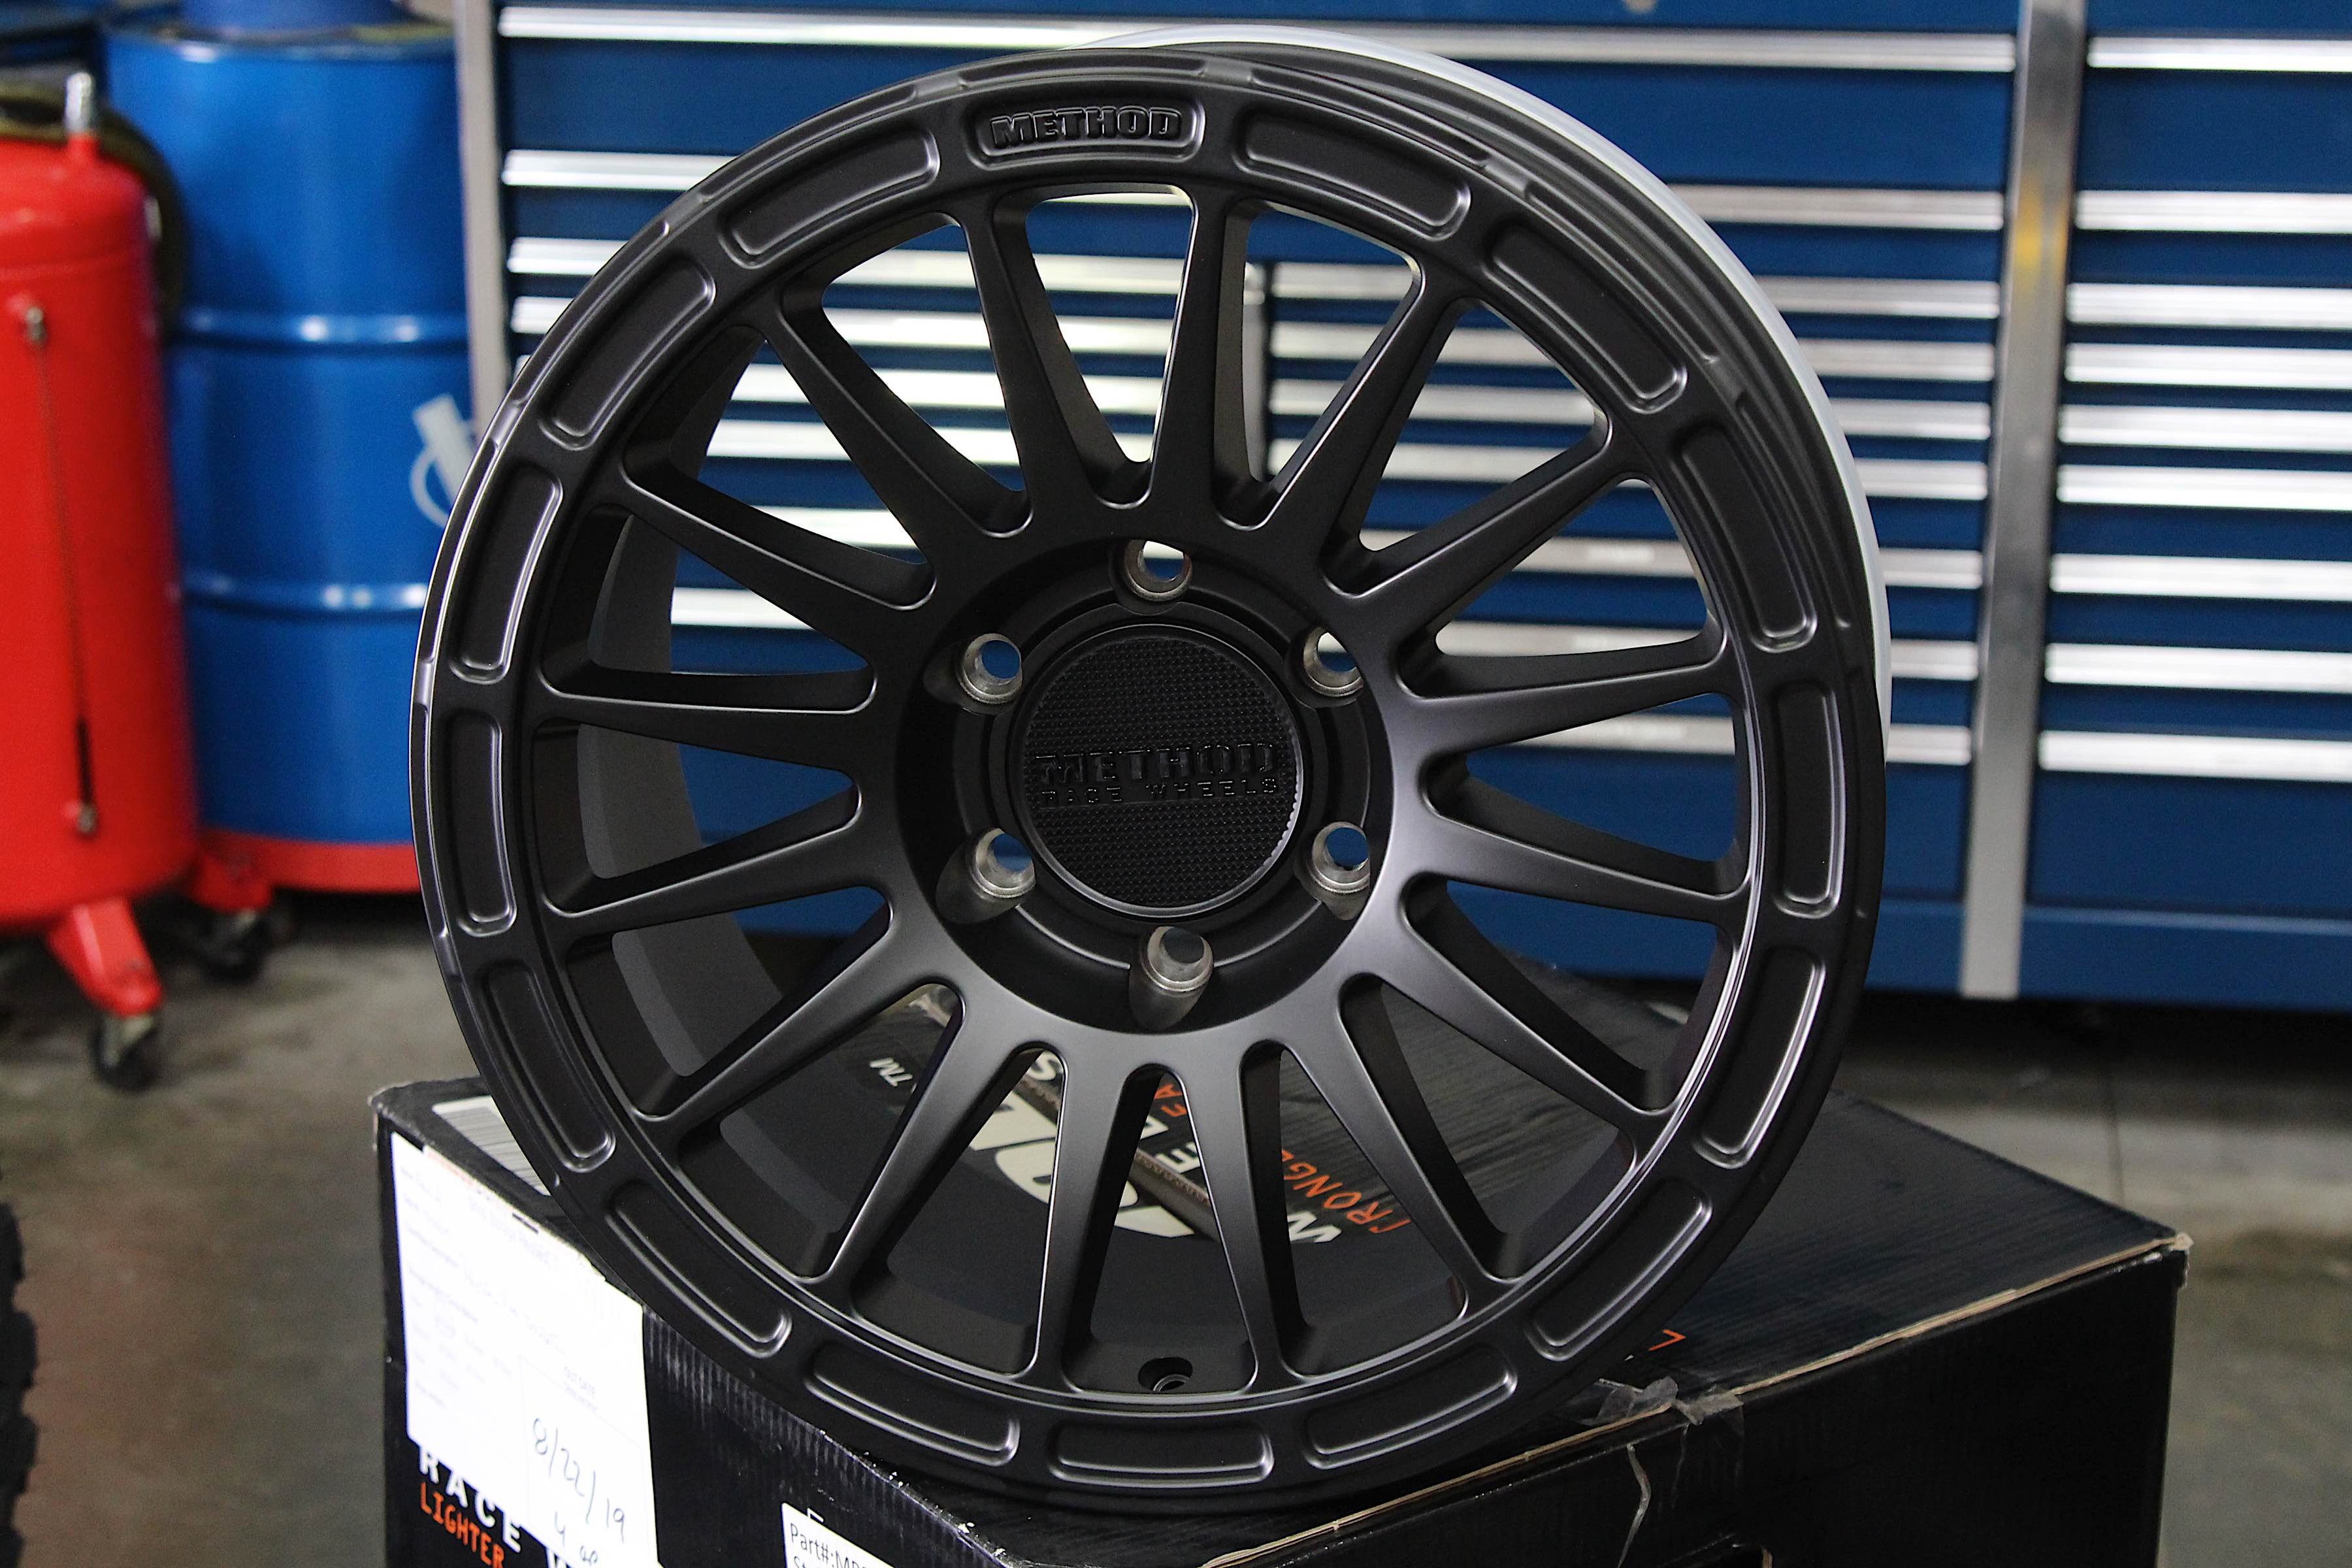

To get our new Method Wheels and Mickey Thompsons to fit on our 2016 Silverado we called up Daystar to provide some much-needed clearance.
“It’s more a suspension lift system than body lift kit,” Jim Chick of Daystar explained. “The additional fender well room the cab and bed spacers provides is the little bit extra needed to clear larger tires without rubbing. It’s far less expensive and far more simple to get additional height on the body side versus all the additional changes one has to make to get the same lift with suspension. It is not too tall, not too short, it is just right.”
While traditional body lifts don’t offer increased clearance in the traditional sense, being able to fit an extra three inches of tire does offer around 1.5 inches of rock clearing space. With a new set of Method wheels and Mickey Thompsons Baja ATZ’s waiting, it was time to lift the Chevy. For our install, we used the 4.0 Series Tactical Lift Kit for a 2016-2018 Chevrolet Silverado and GMC Sierra (PN 4002101).
Time To Go Up
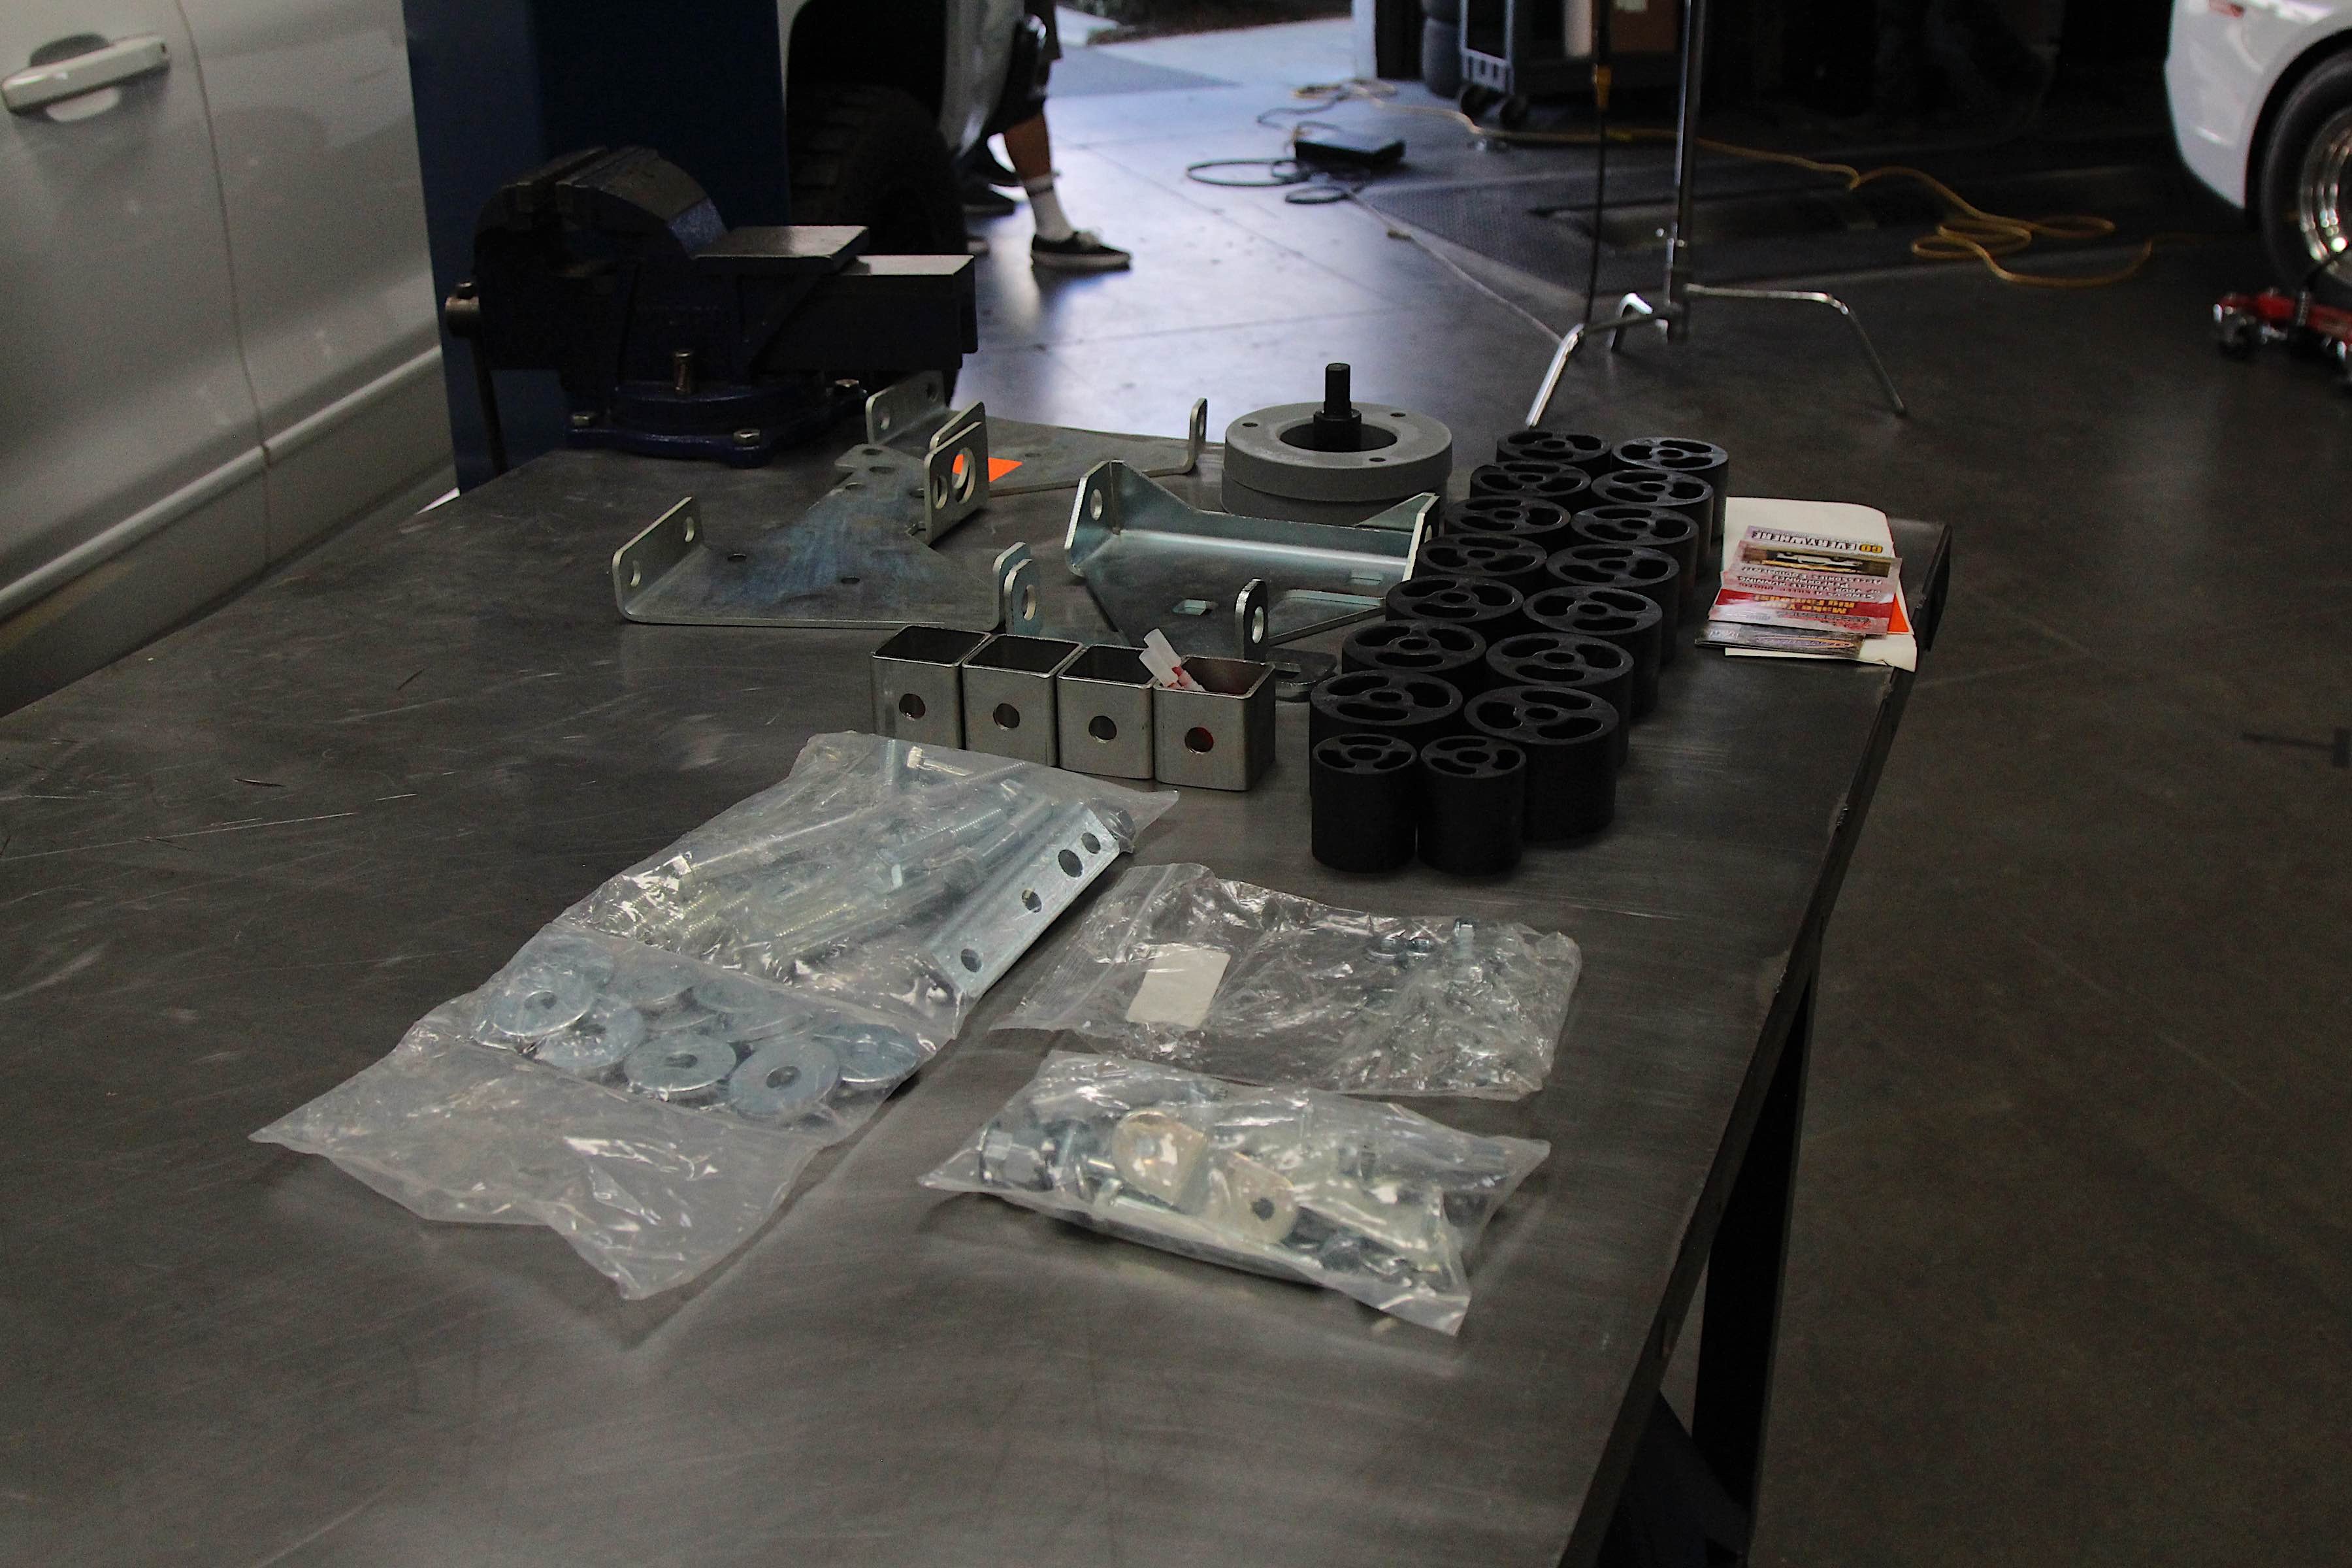


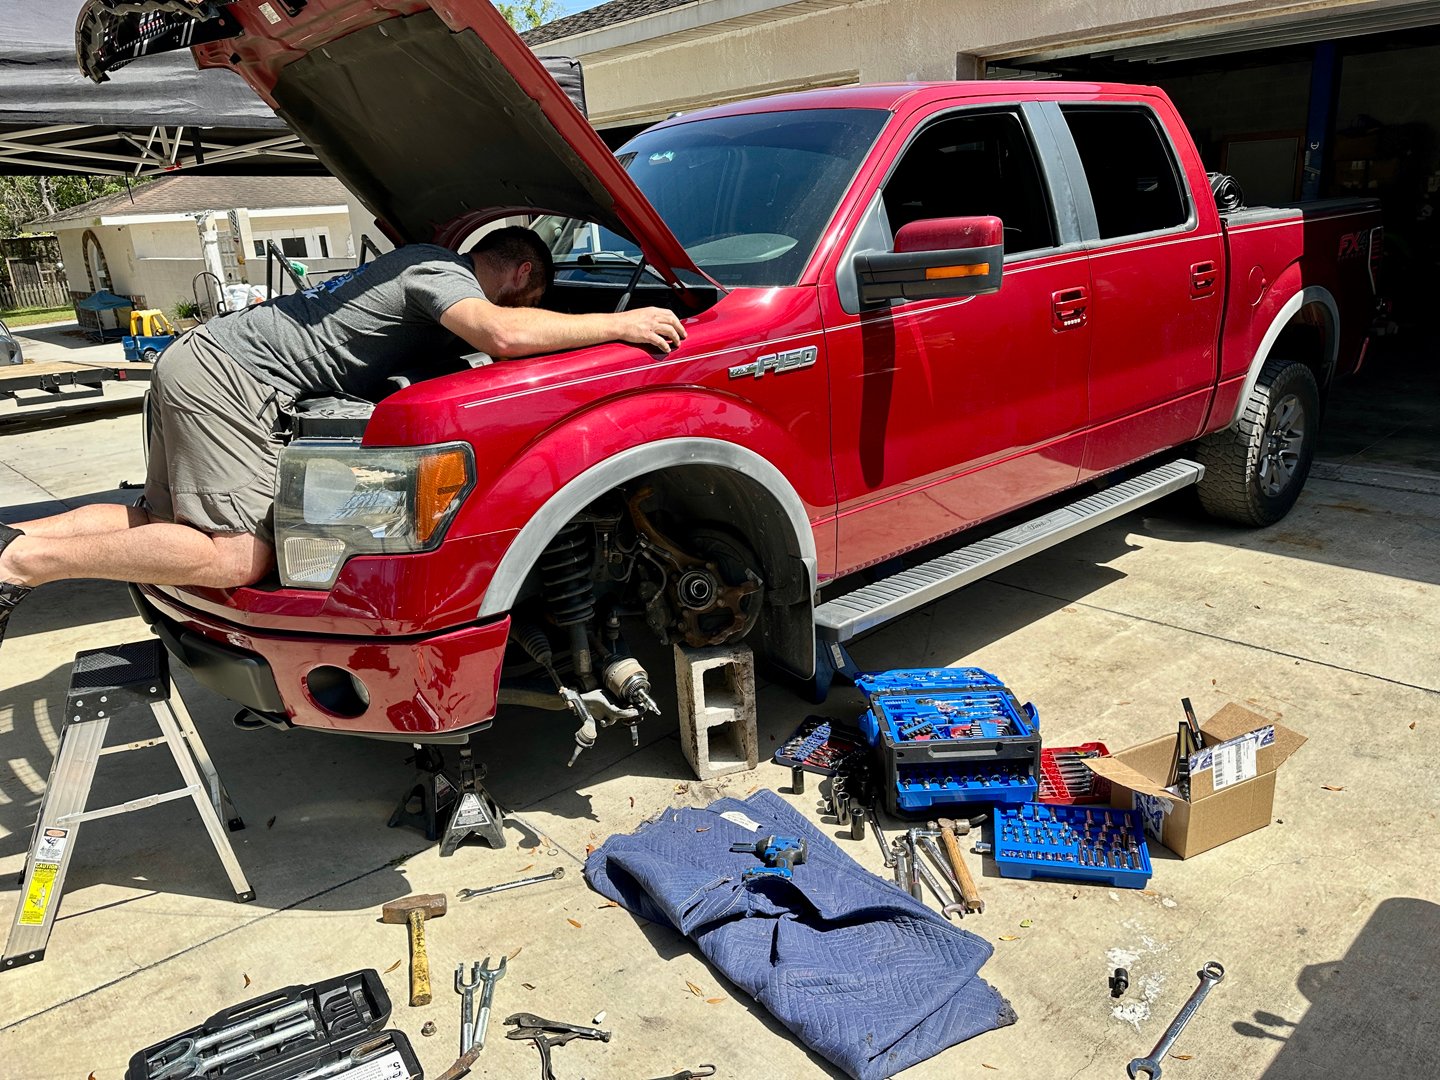
With the kit all laid out, we followed the provided instructions for disassembly.
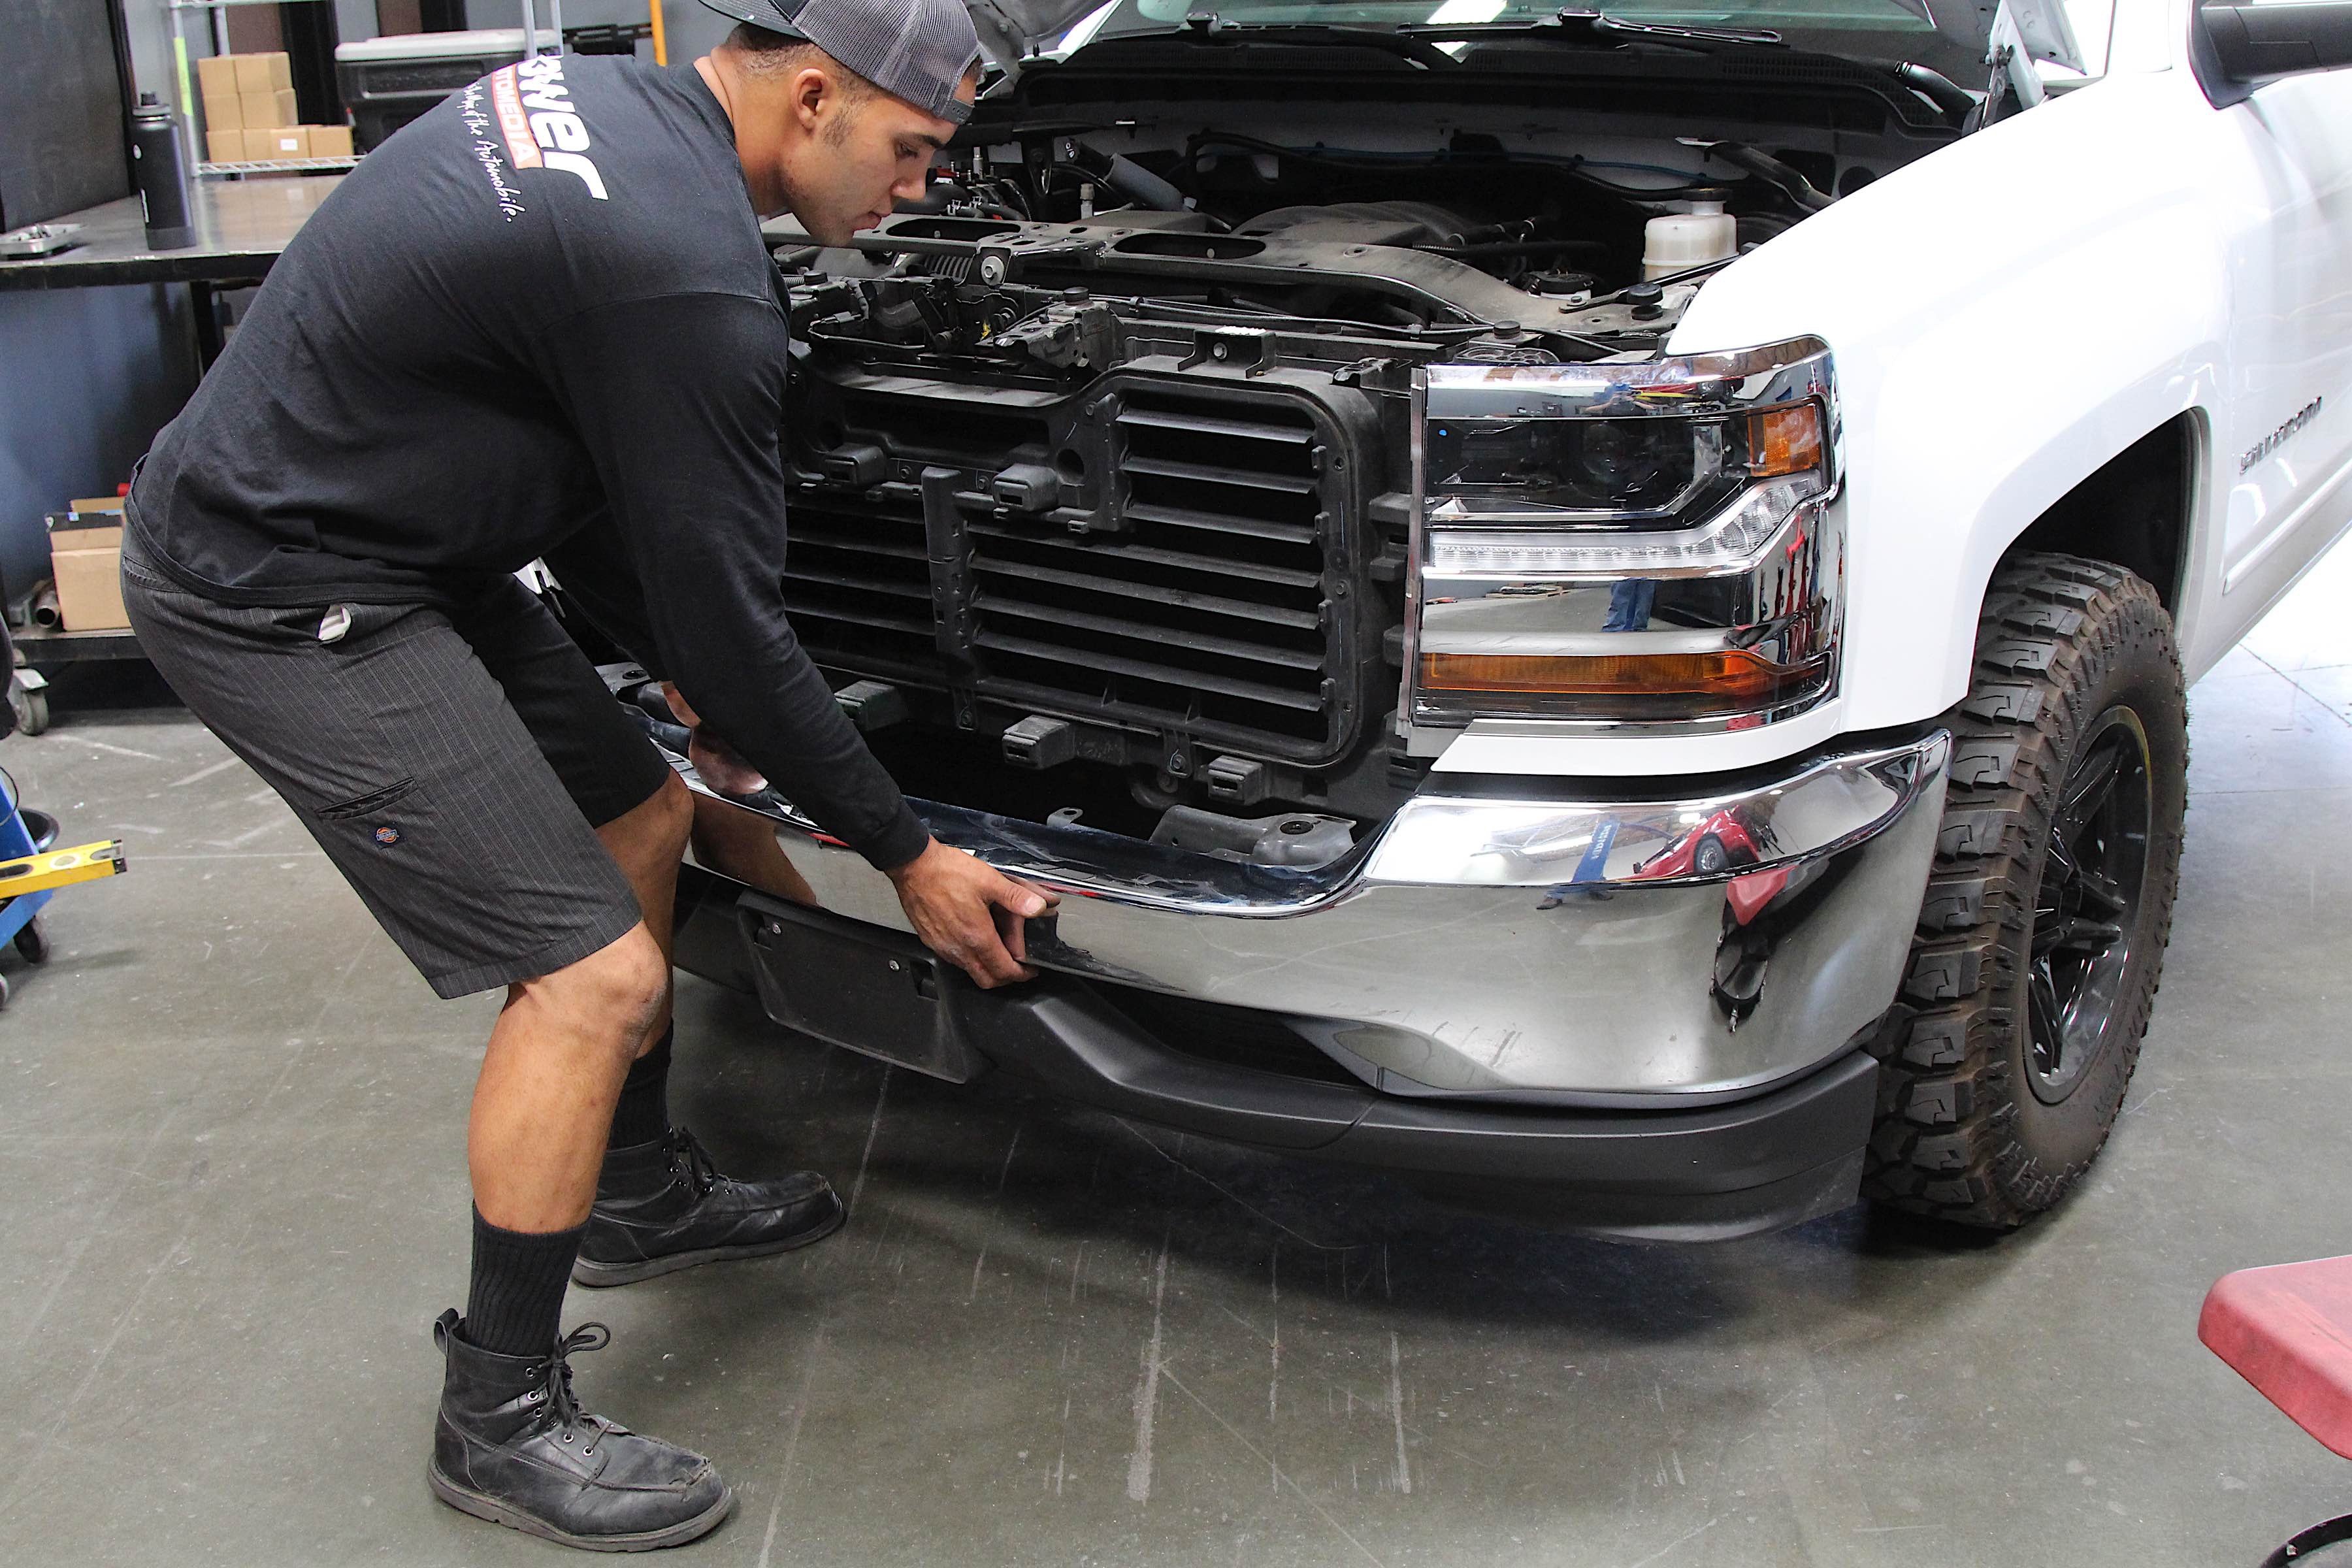
Prior to getting the truck up on the lift, there were a few under the hood tasks to start with. After disconnecting the battery we removing the engine cover, core support cover and grill expose the bumper bolts as well as a grounding strap that needed to be relocated. Once the plastics were off the bumper was unbolted we fitted with the new provided brackets to match the bumper height to the new body height. While there is some cutting involved on the interior of the bumper to create clearance, Day Star walks you through the process in detail.
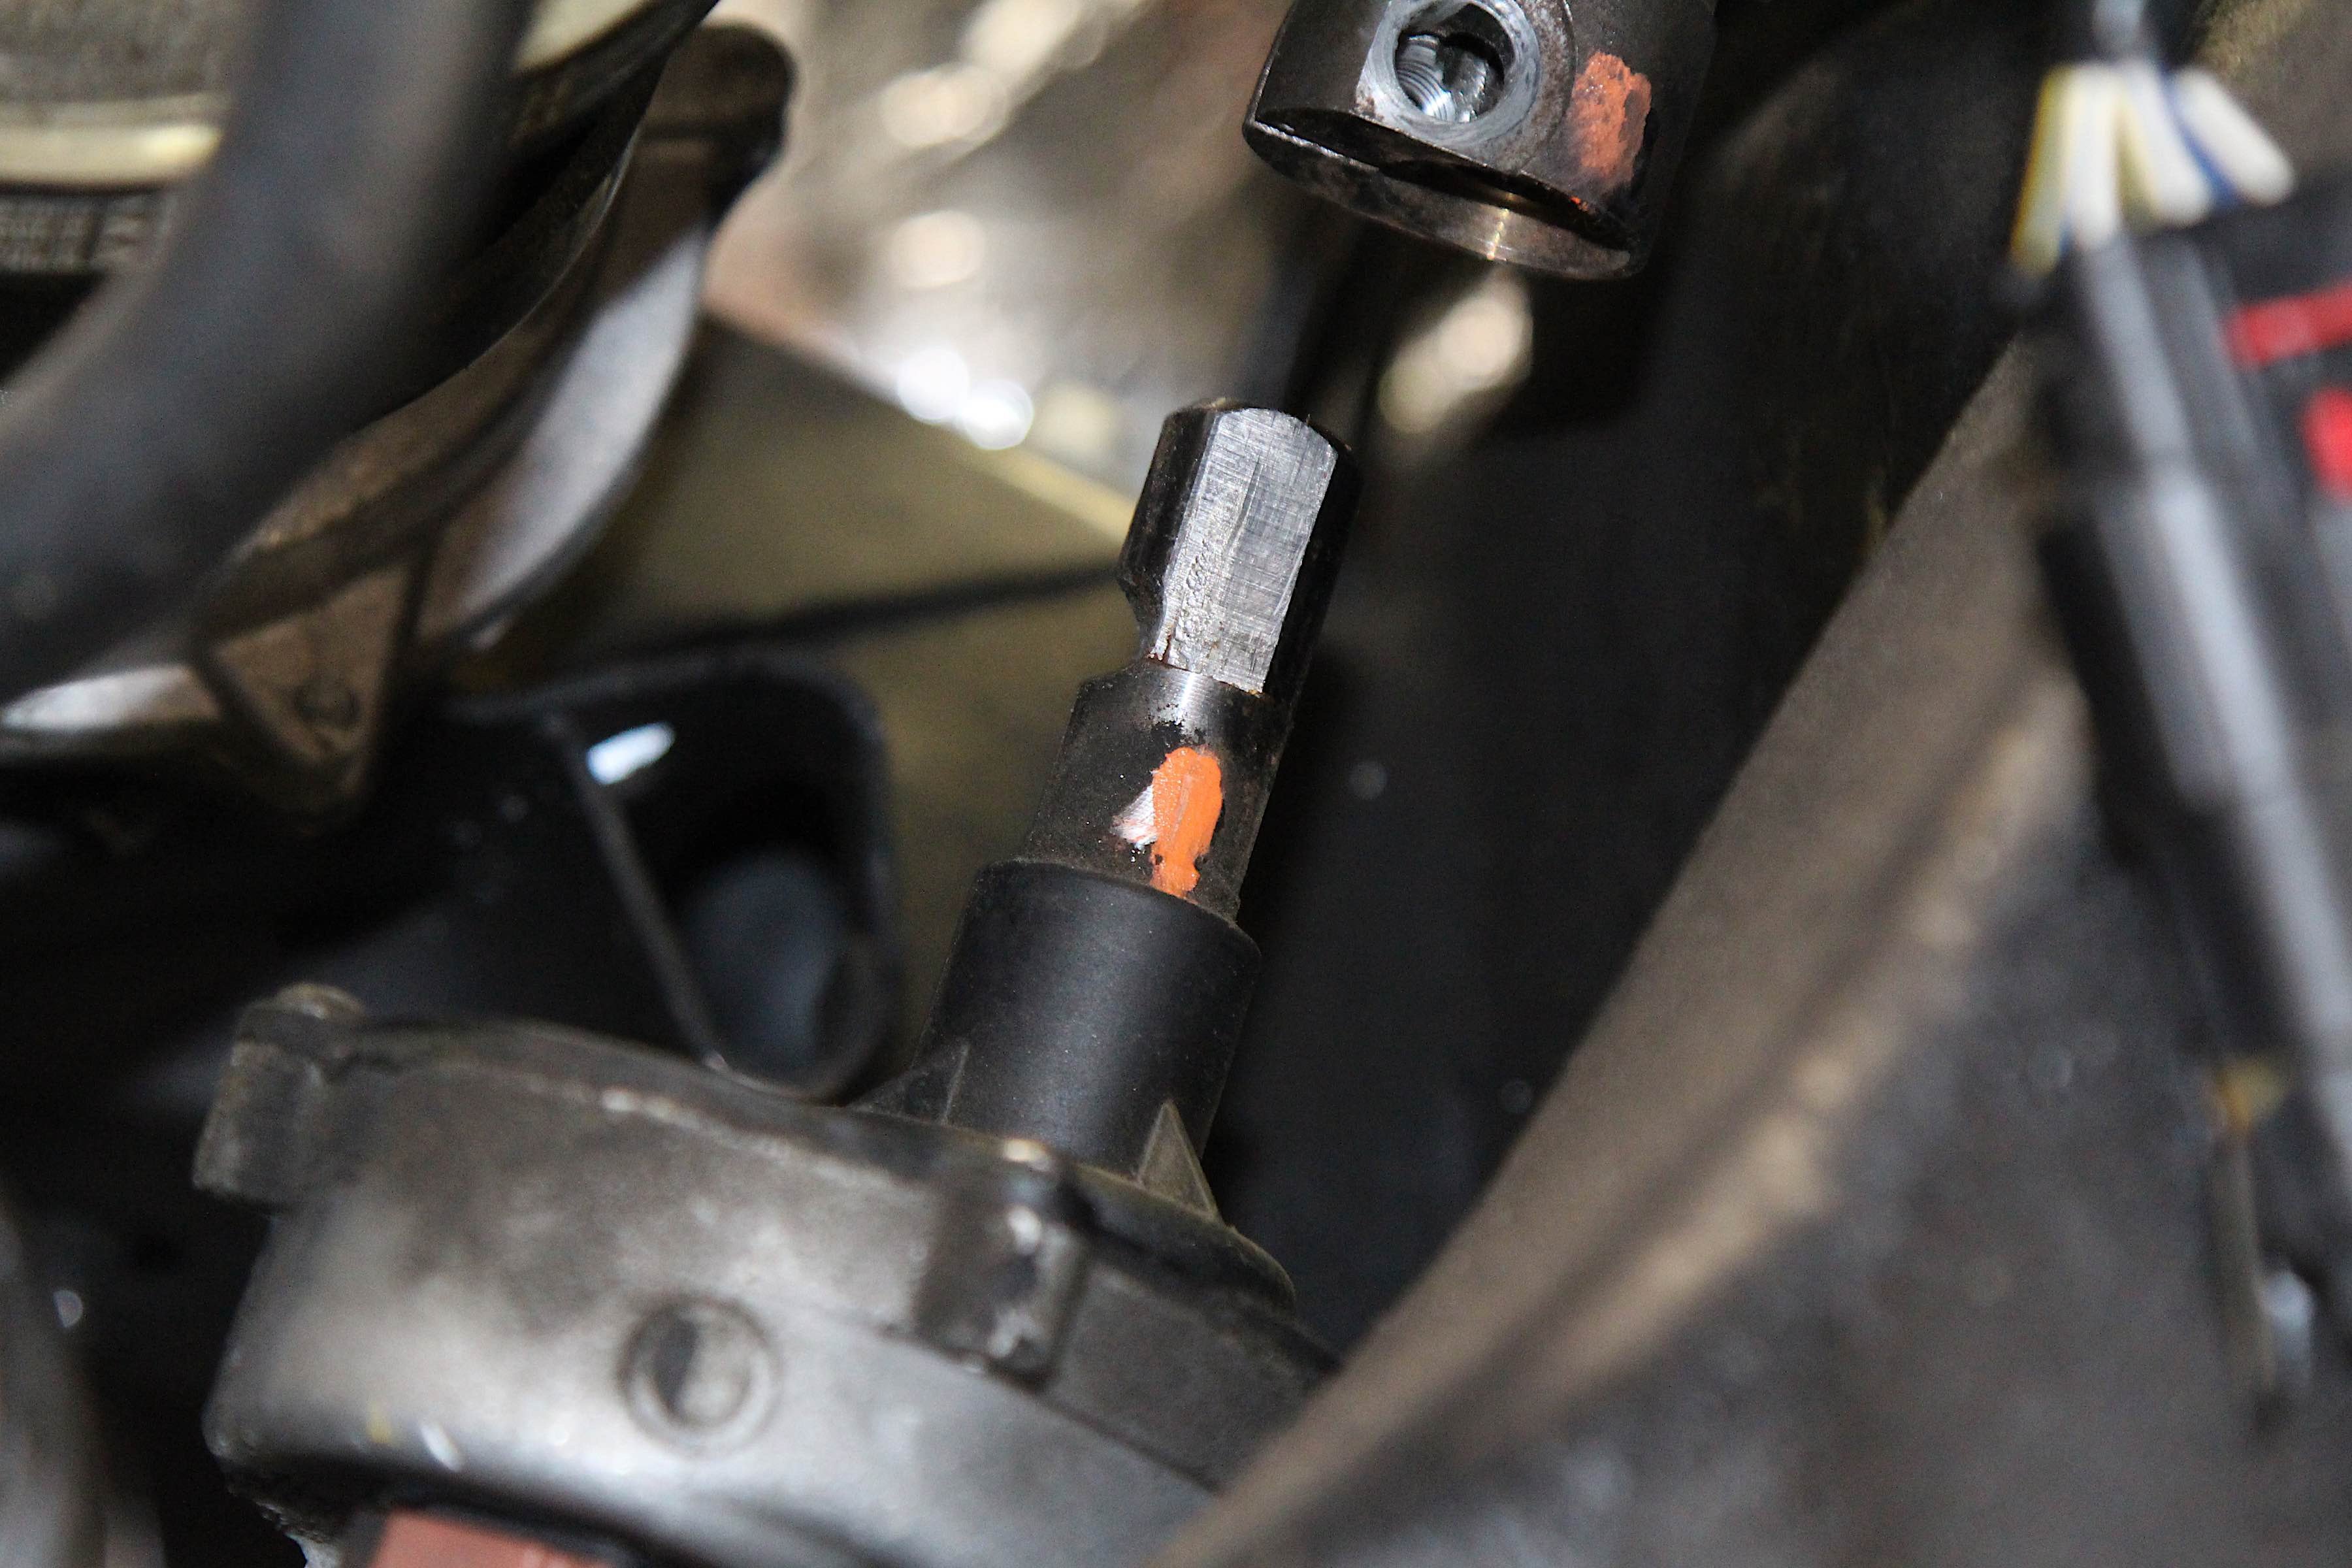
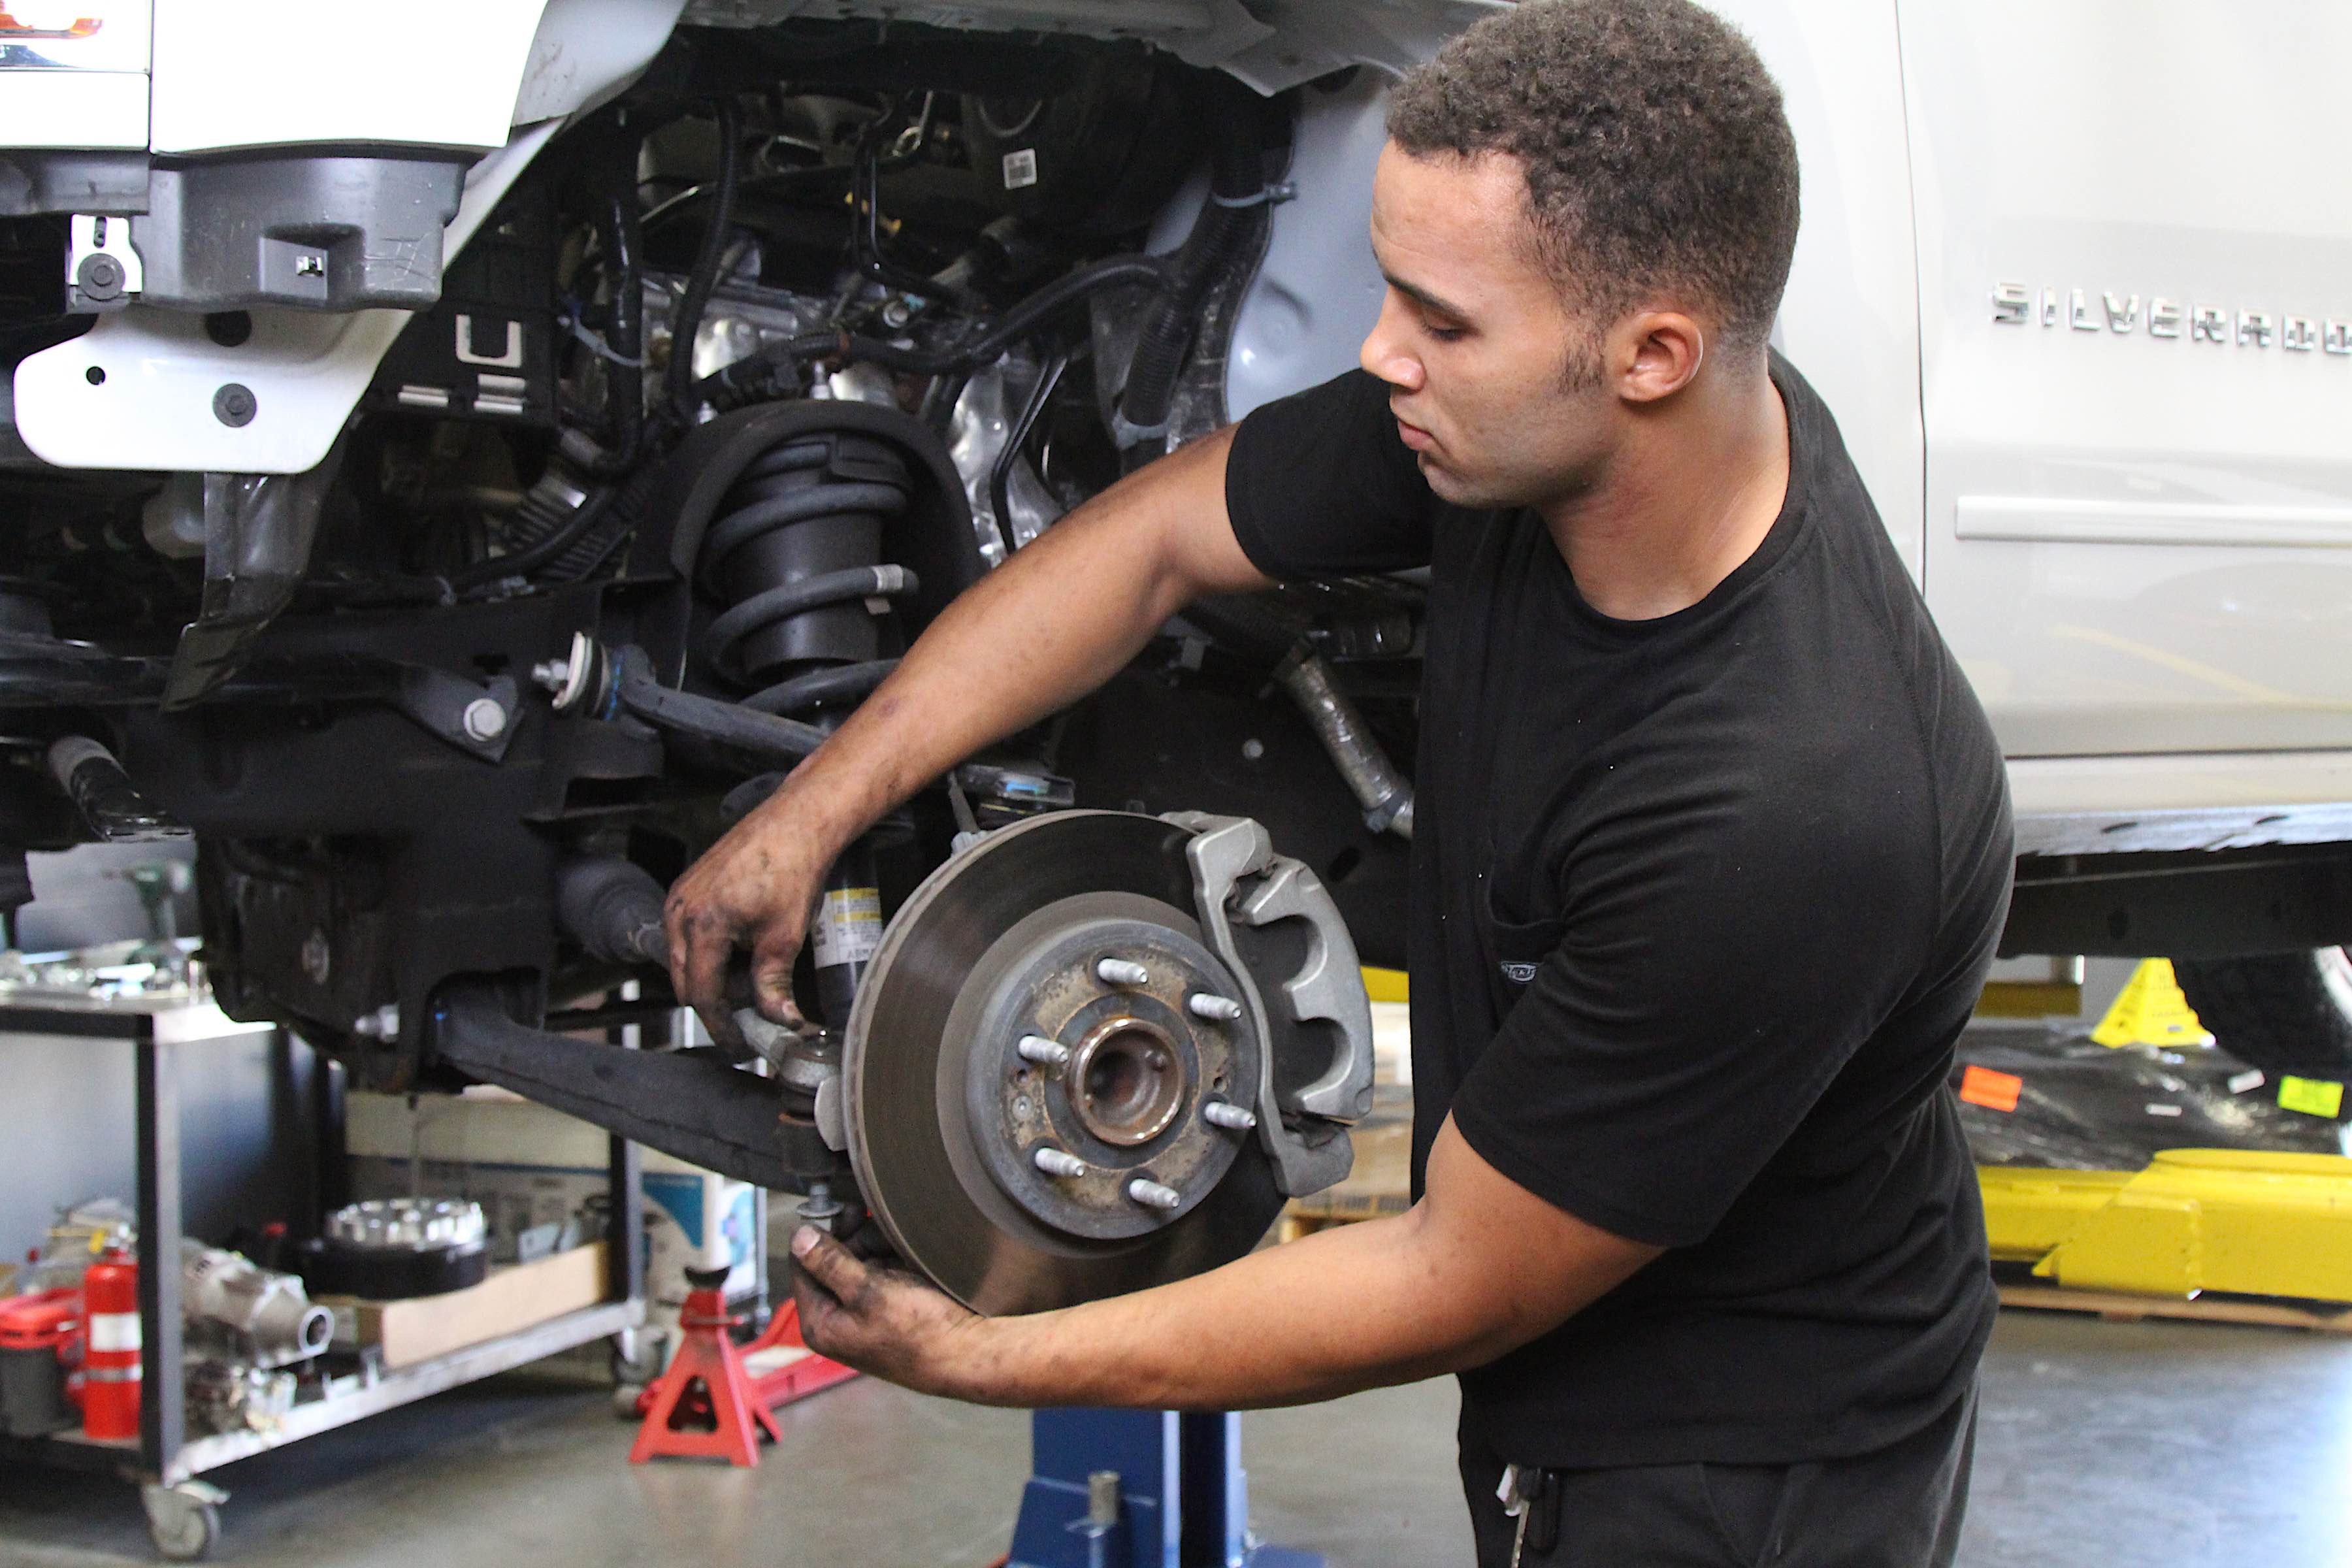
Once on the lift, the old wheels were removed as well as the wheel well liners. Next, the steering shaft was disconnected followed by the e-brake cable, and a few wiring harnesses. Once all the connections were released, it was time to loosen the body mounts and drop the struts.

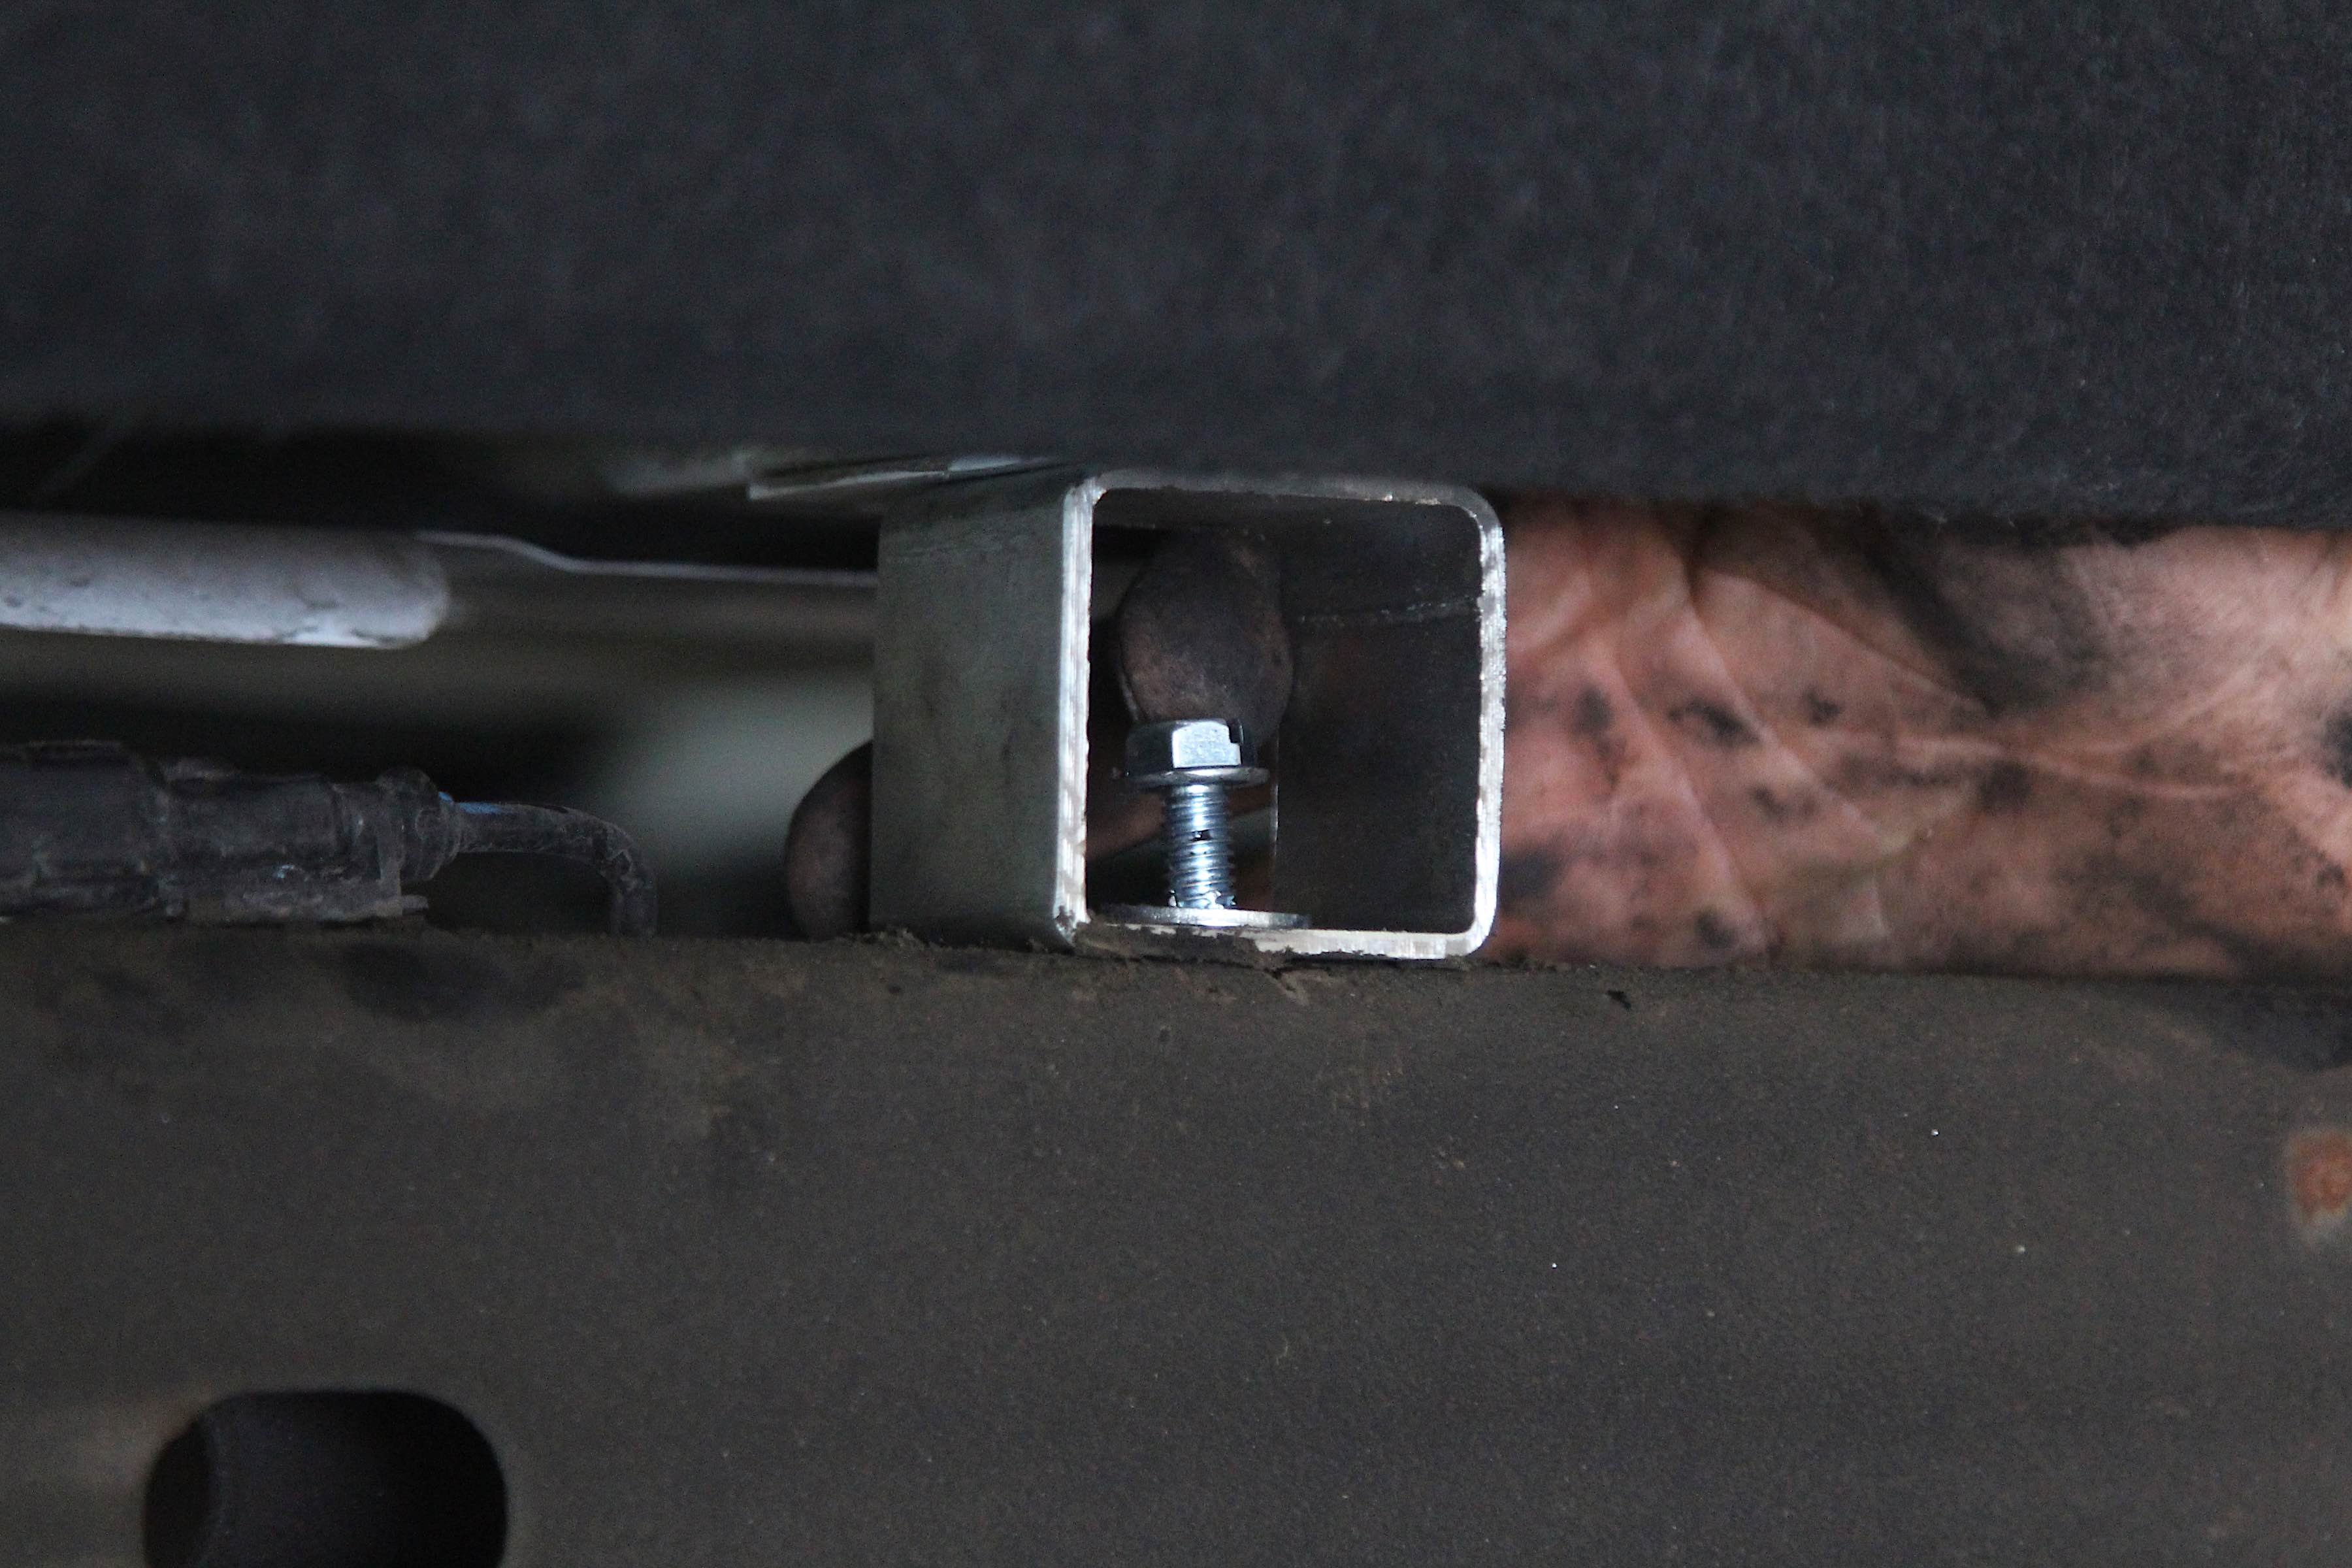
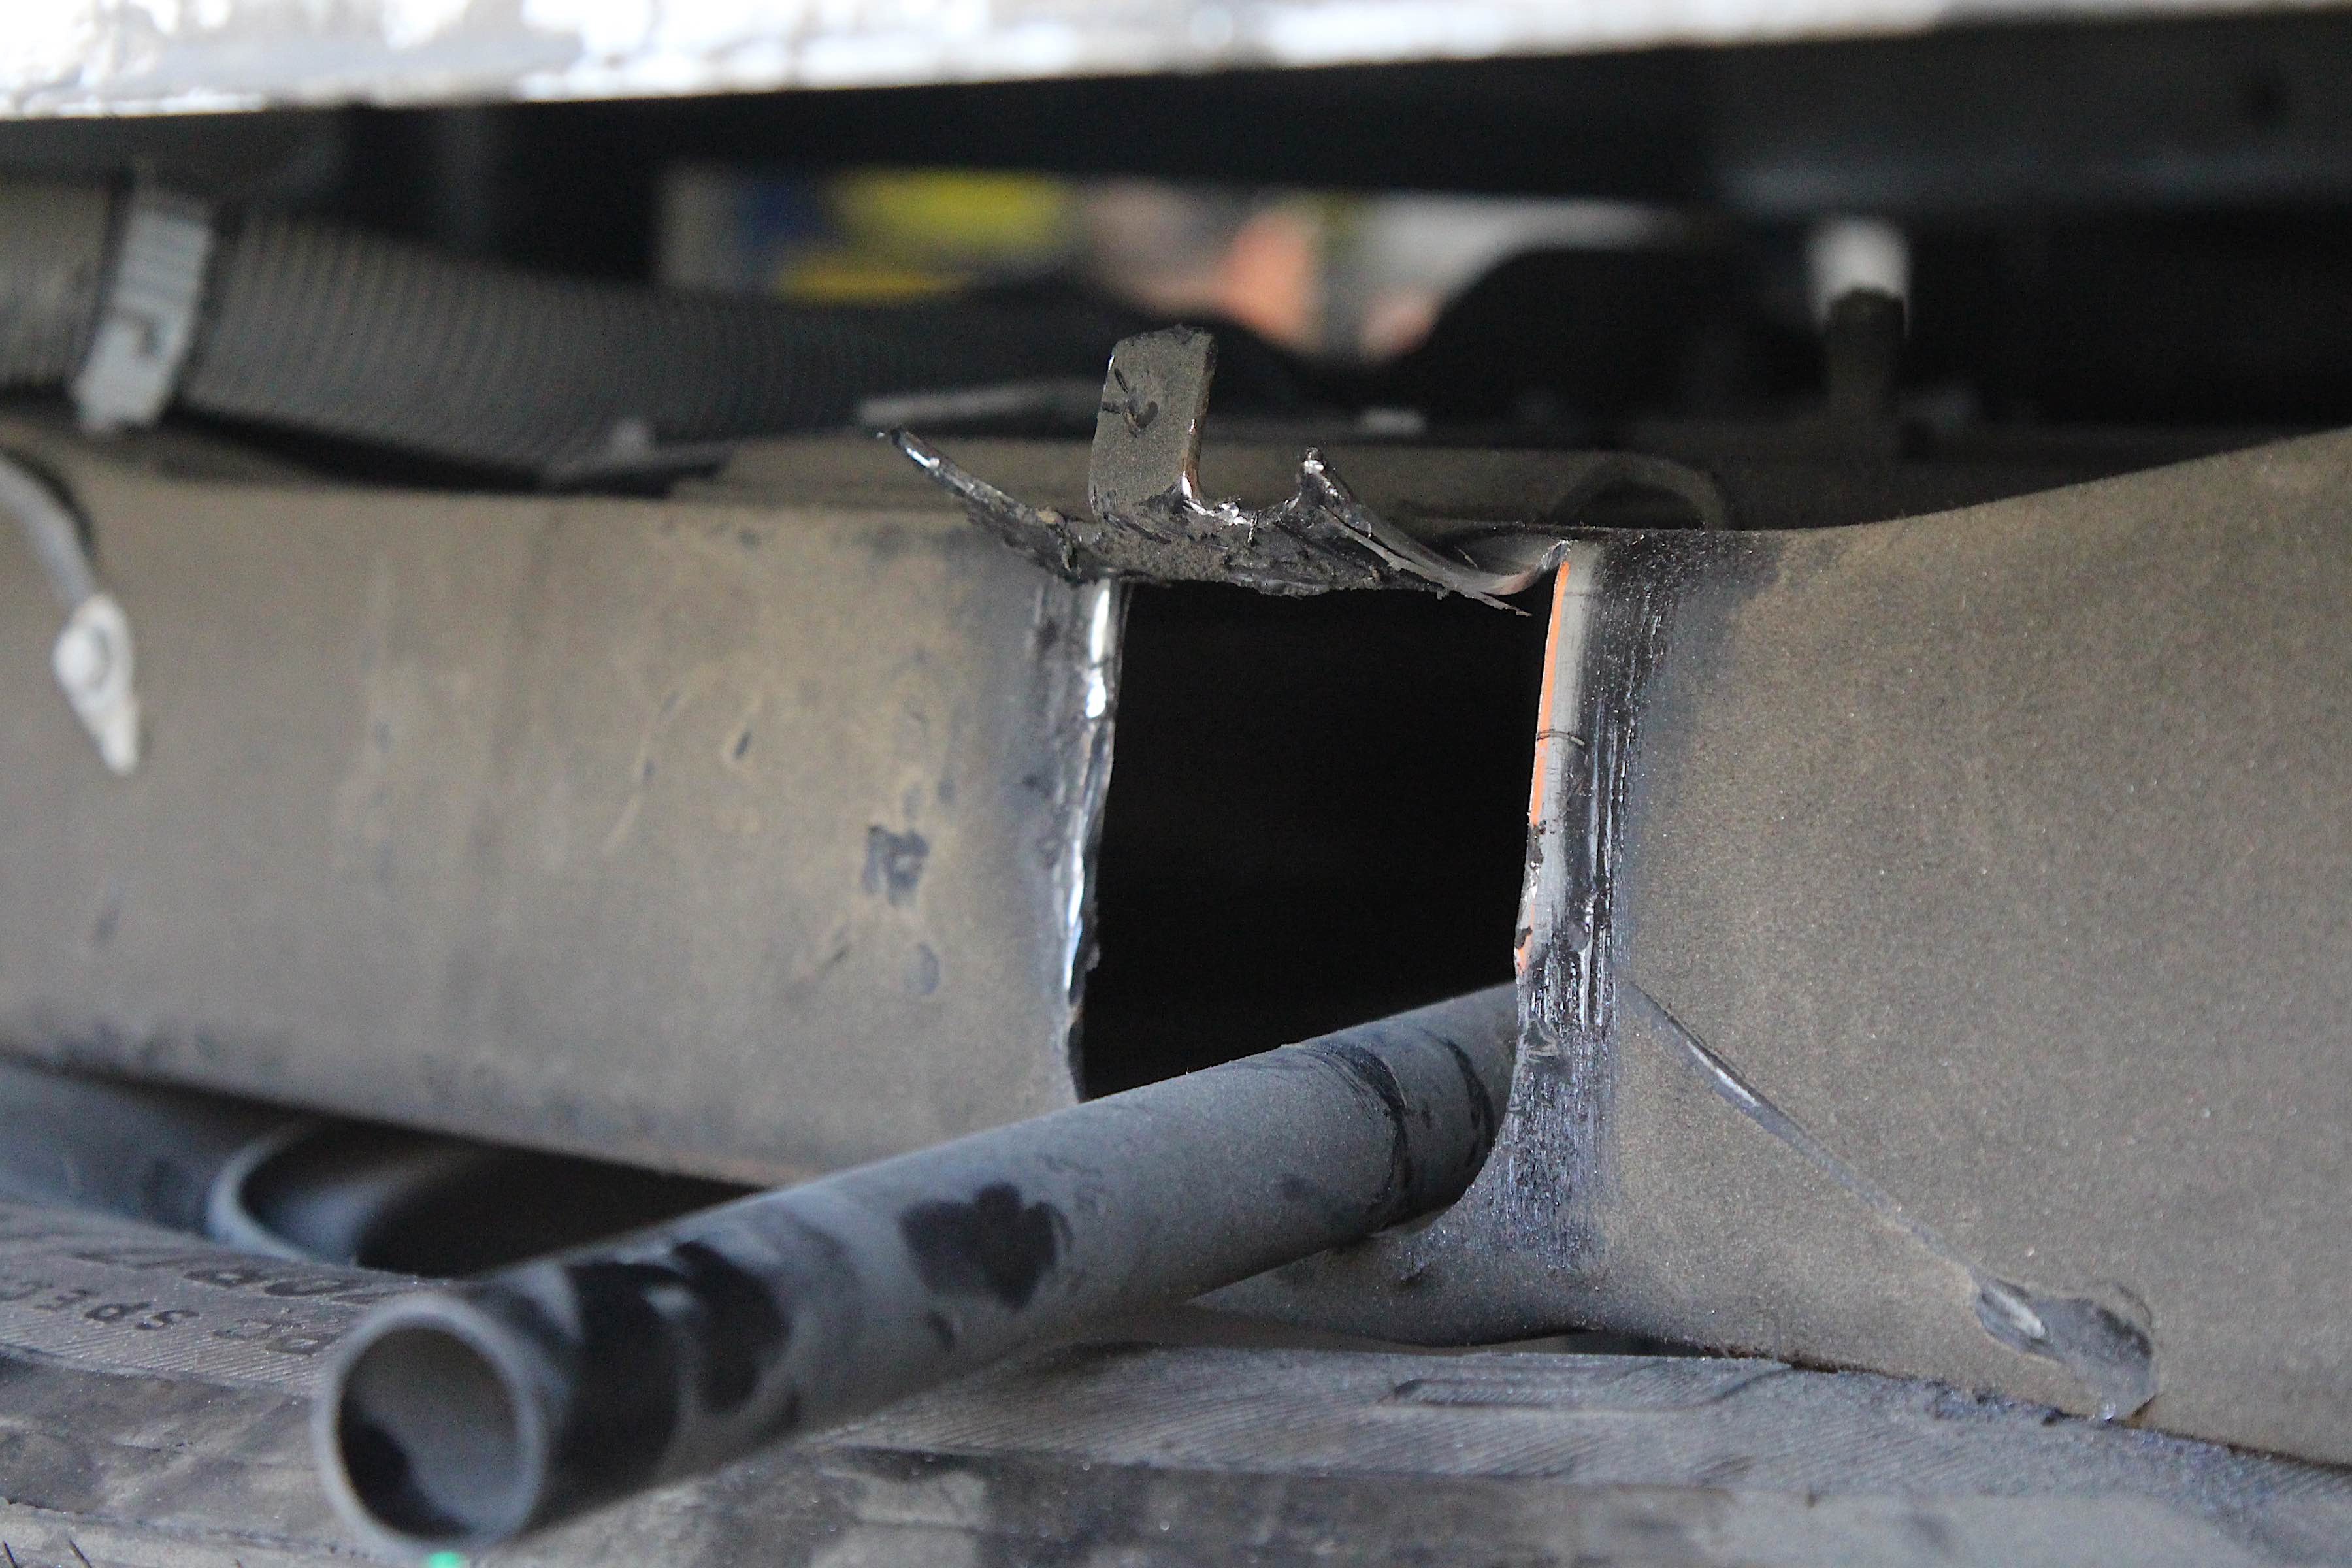
While the install is pretty straight forward, there are some minor modifications and relocations that are needed to install the Tactical Lift Kit.
While the bed has fewer connections between body and frame there were a few points that required attention. The fuel filler needed to be unbolted along with more cables and grounding straps. Notching the cross member containing the spare tire winch meant it was time to bring out the air saw, but even this was a pretty minor process done by just widening the factory opening.
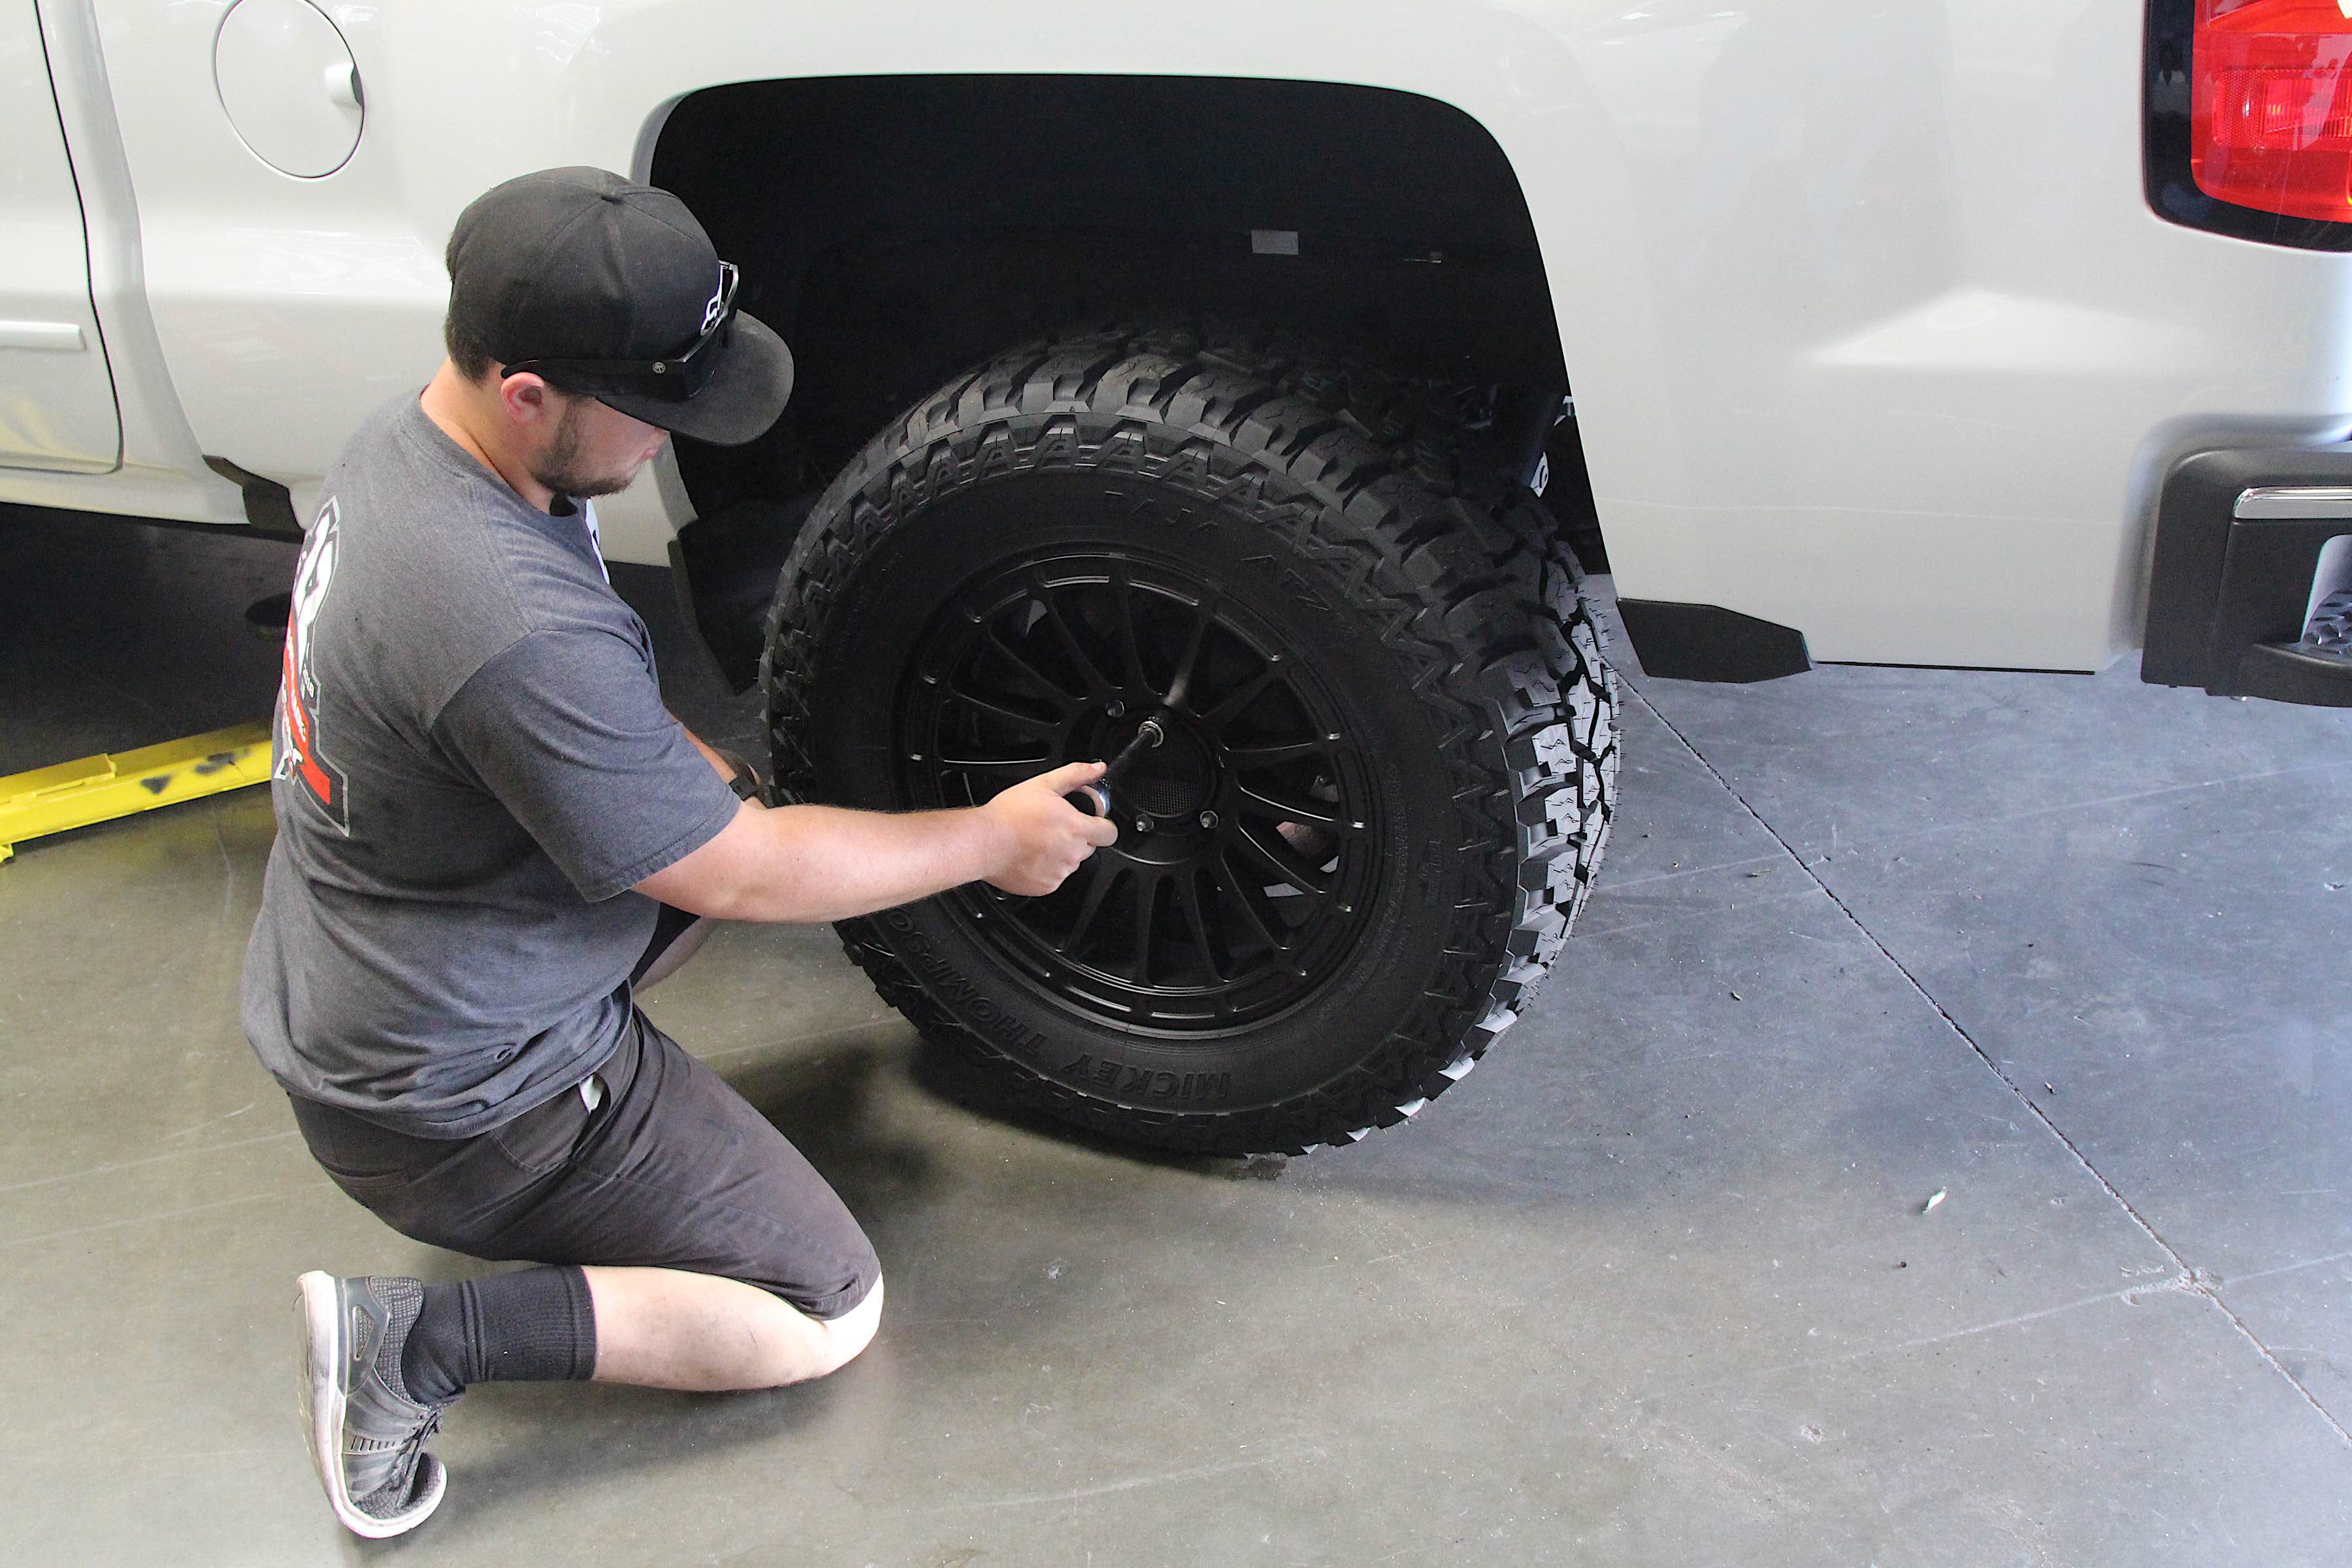
Getting everything put back together, it was time to fit the shoes on the Silverado and head out to the trail.
It was time to start installing the spacers and begin the reassembly process. The real beauty of this kit becomes evident as you start utilizing all the supplied relocation brackets as you start reconnecting components between body and chassis. Daystar thought everything through to ensure everything is provided along with detailed instructions of the few modifications that need to be made. Once everything was hooked back up, it was time to put on the new shoes and hit the trail for a full test-drive and shakedown.
Getting Dirty
Heading out to one of our favorite local spots we put the truck through the paces on the way up to the top of the trail. Offering some narrow climbs, steep slopes and moderate boulder pits it was a great place to test out the new increased clearance as well as any changes in handling the kit may have created. The ride was still there from the original truck and the center of gravity is right where it should be.

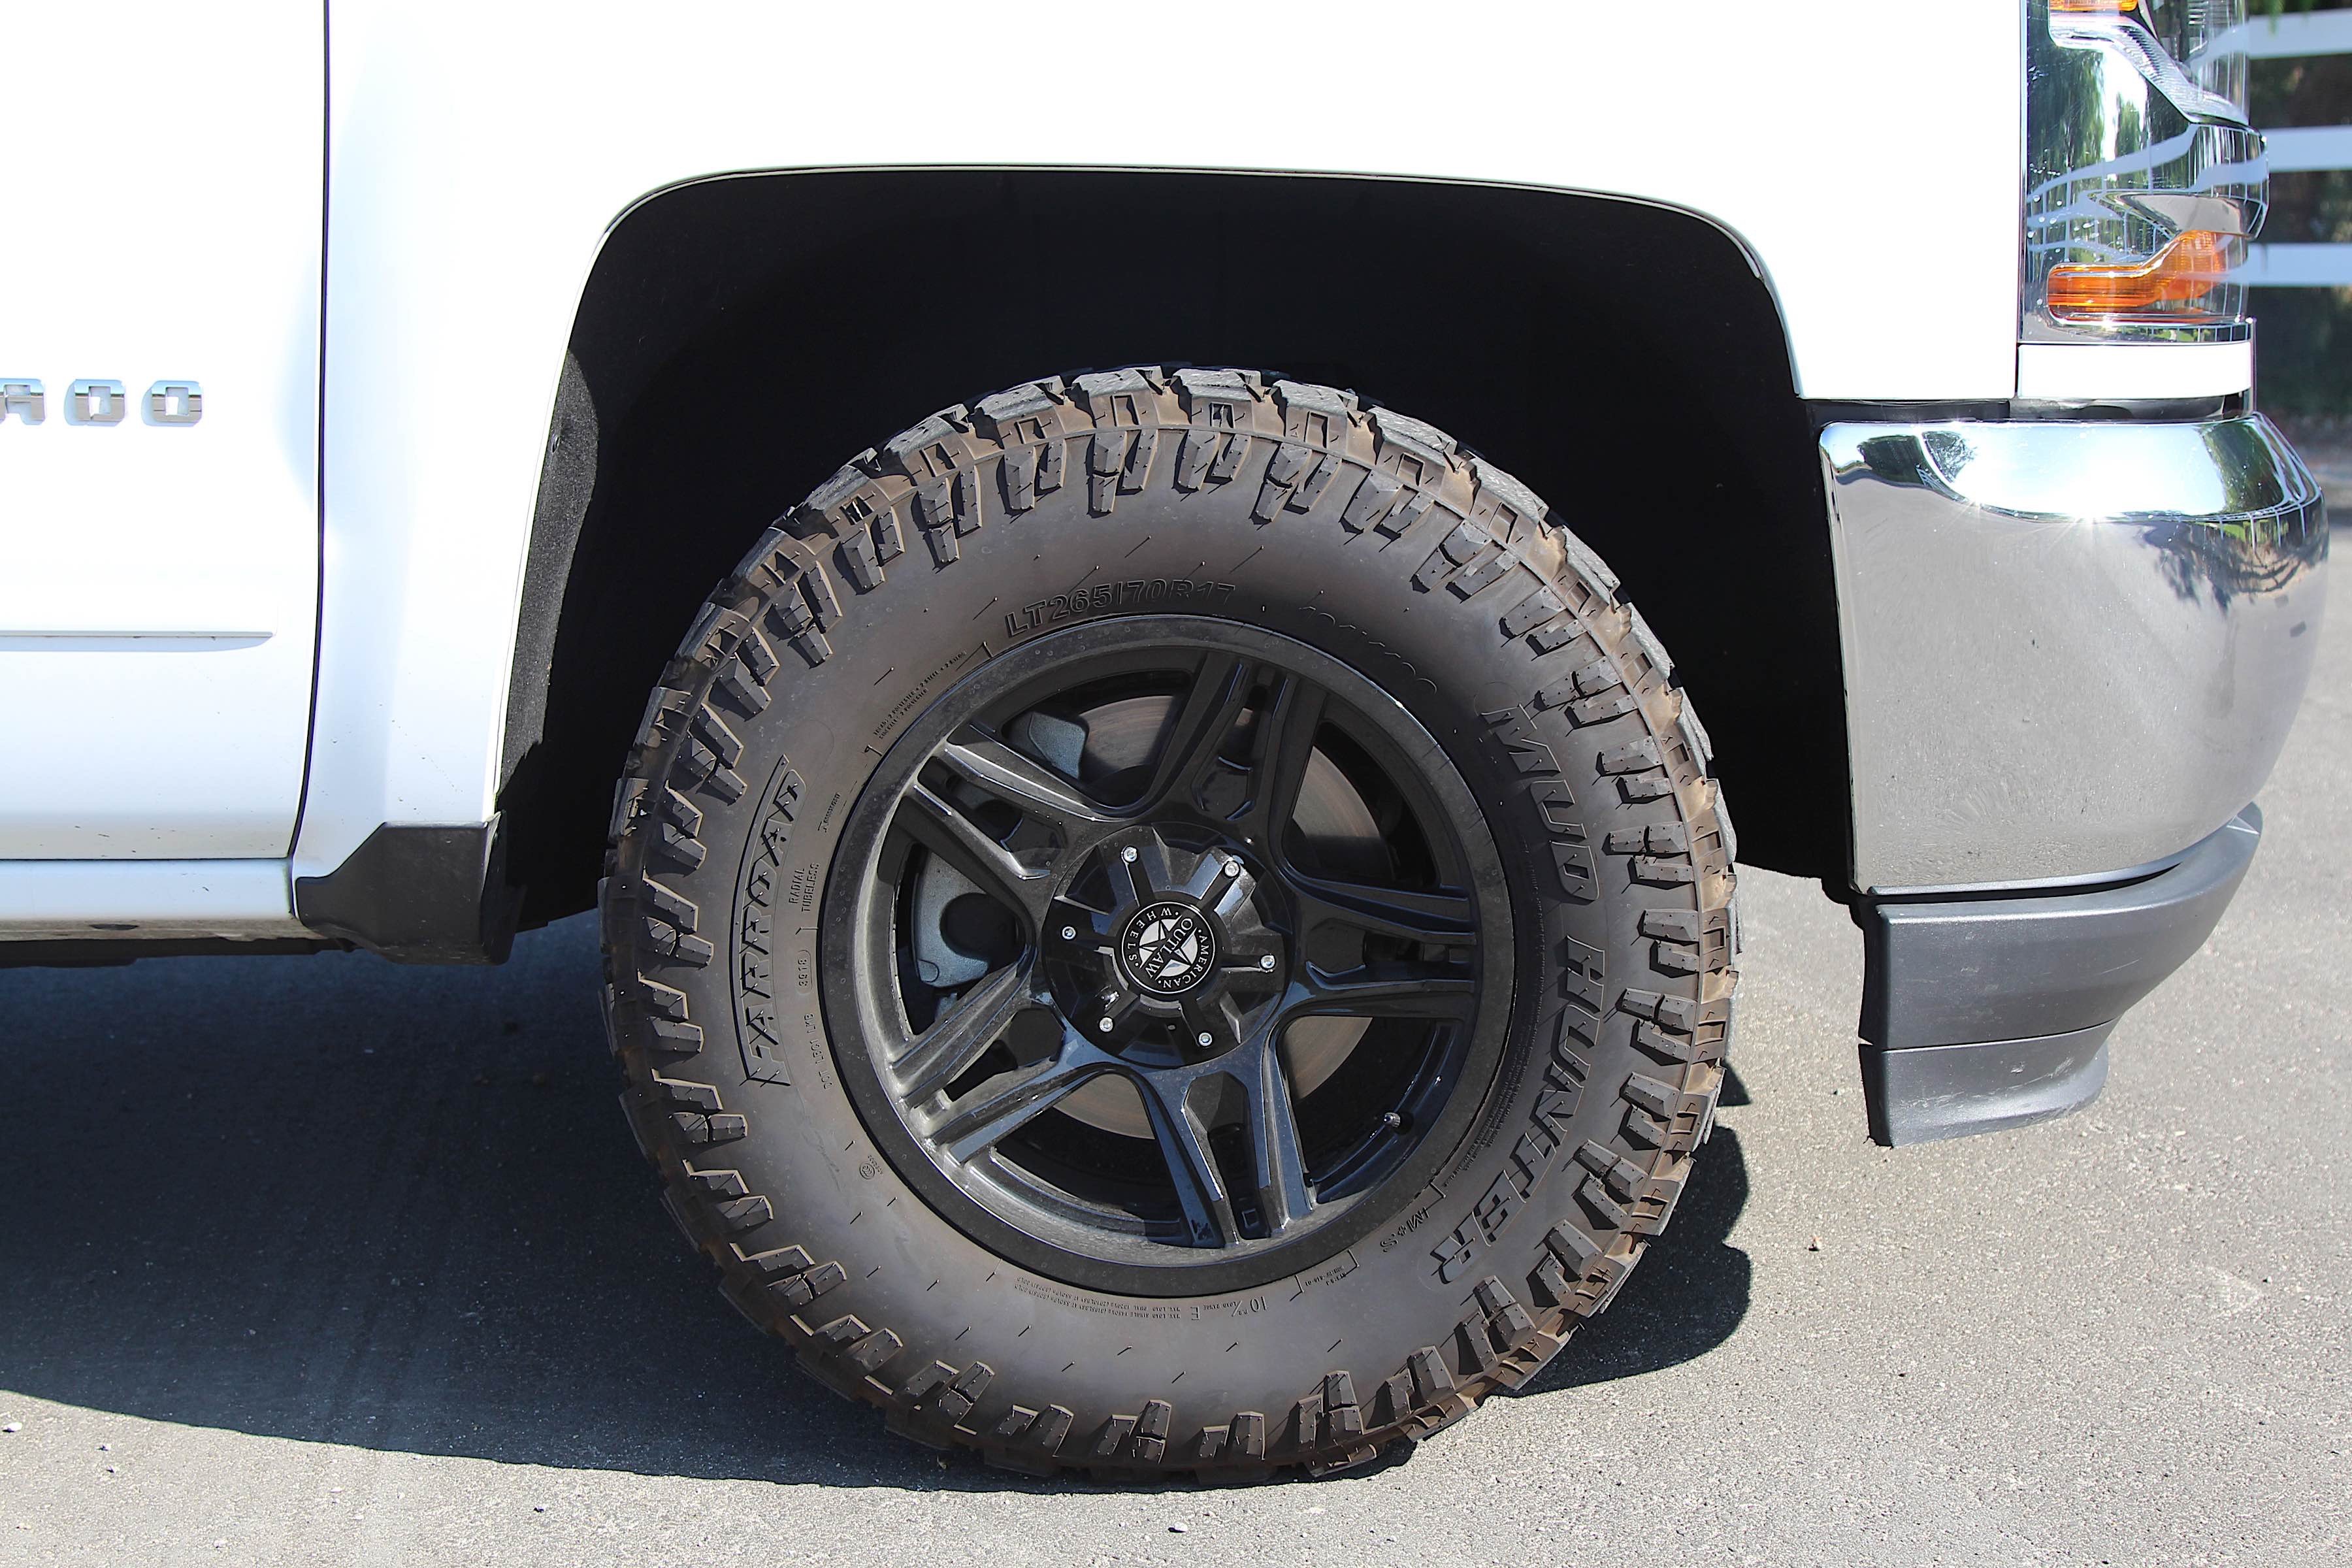
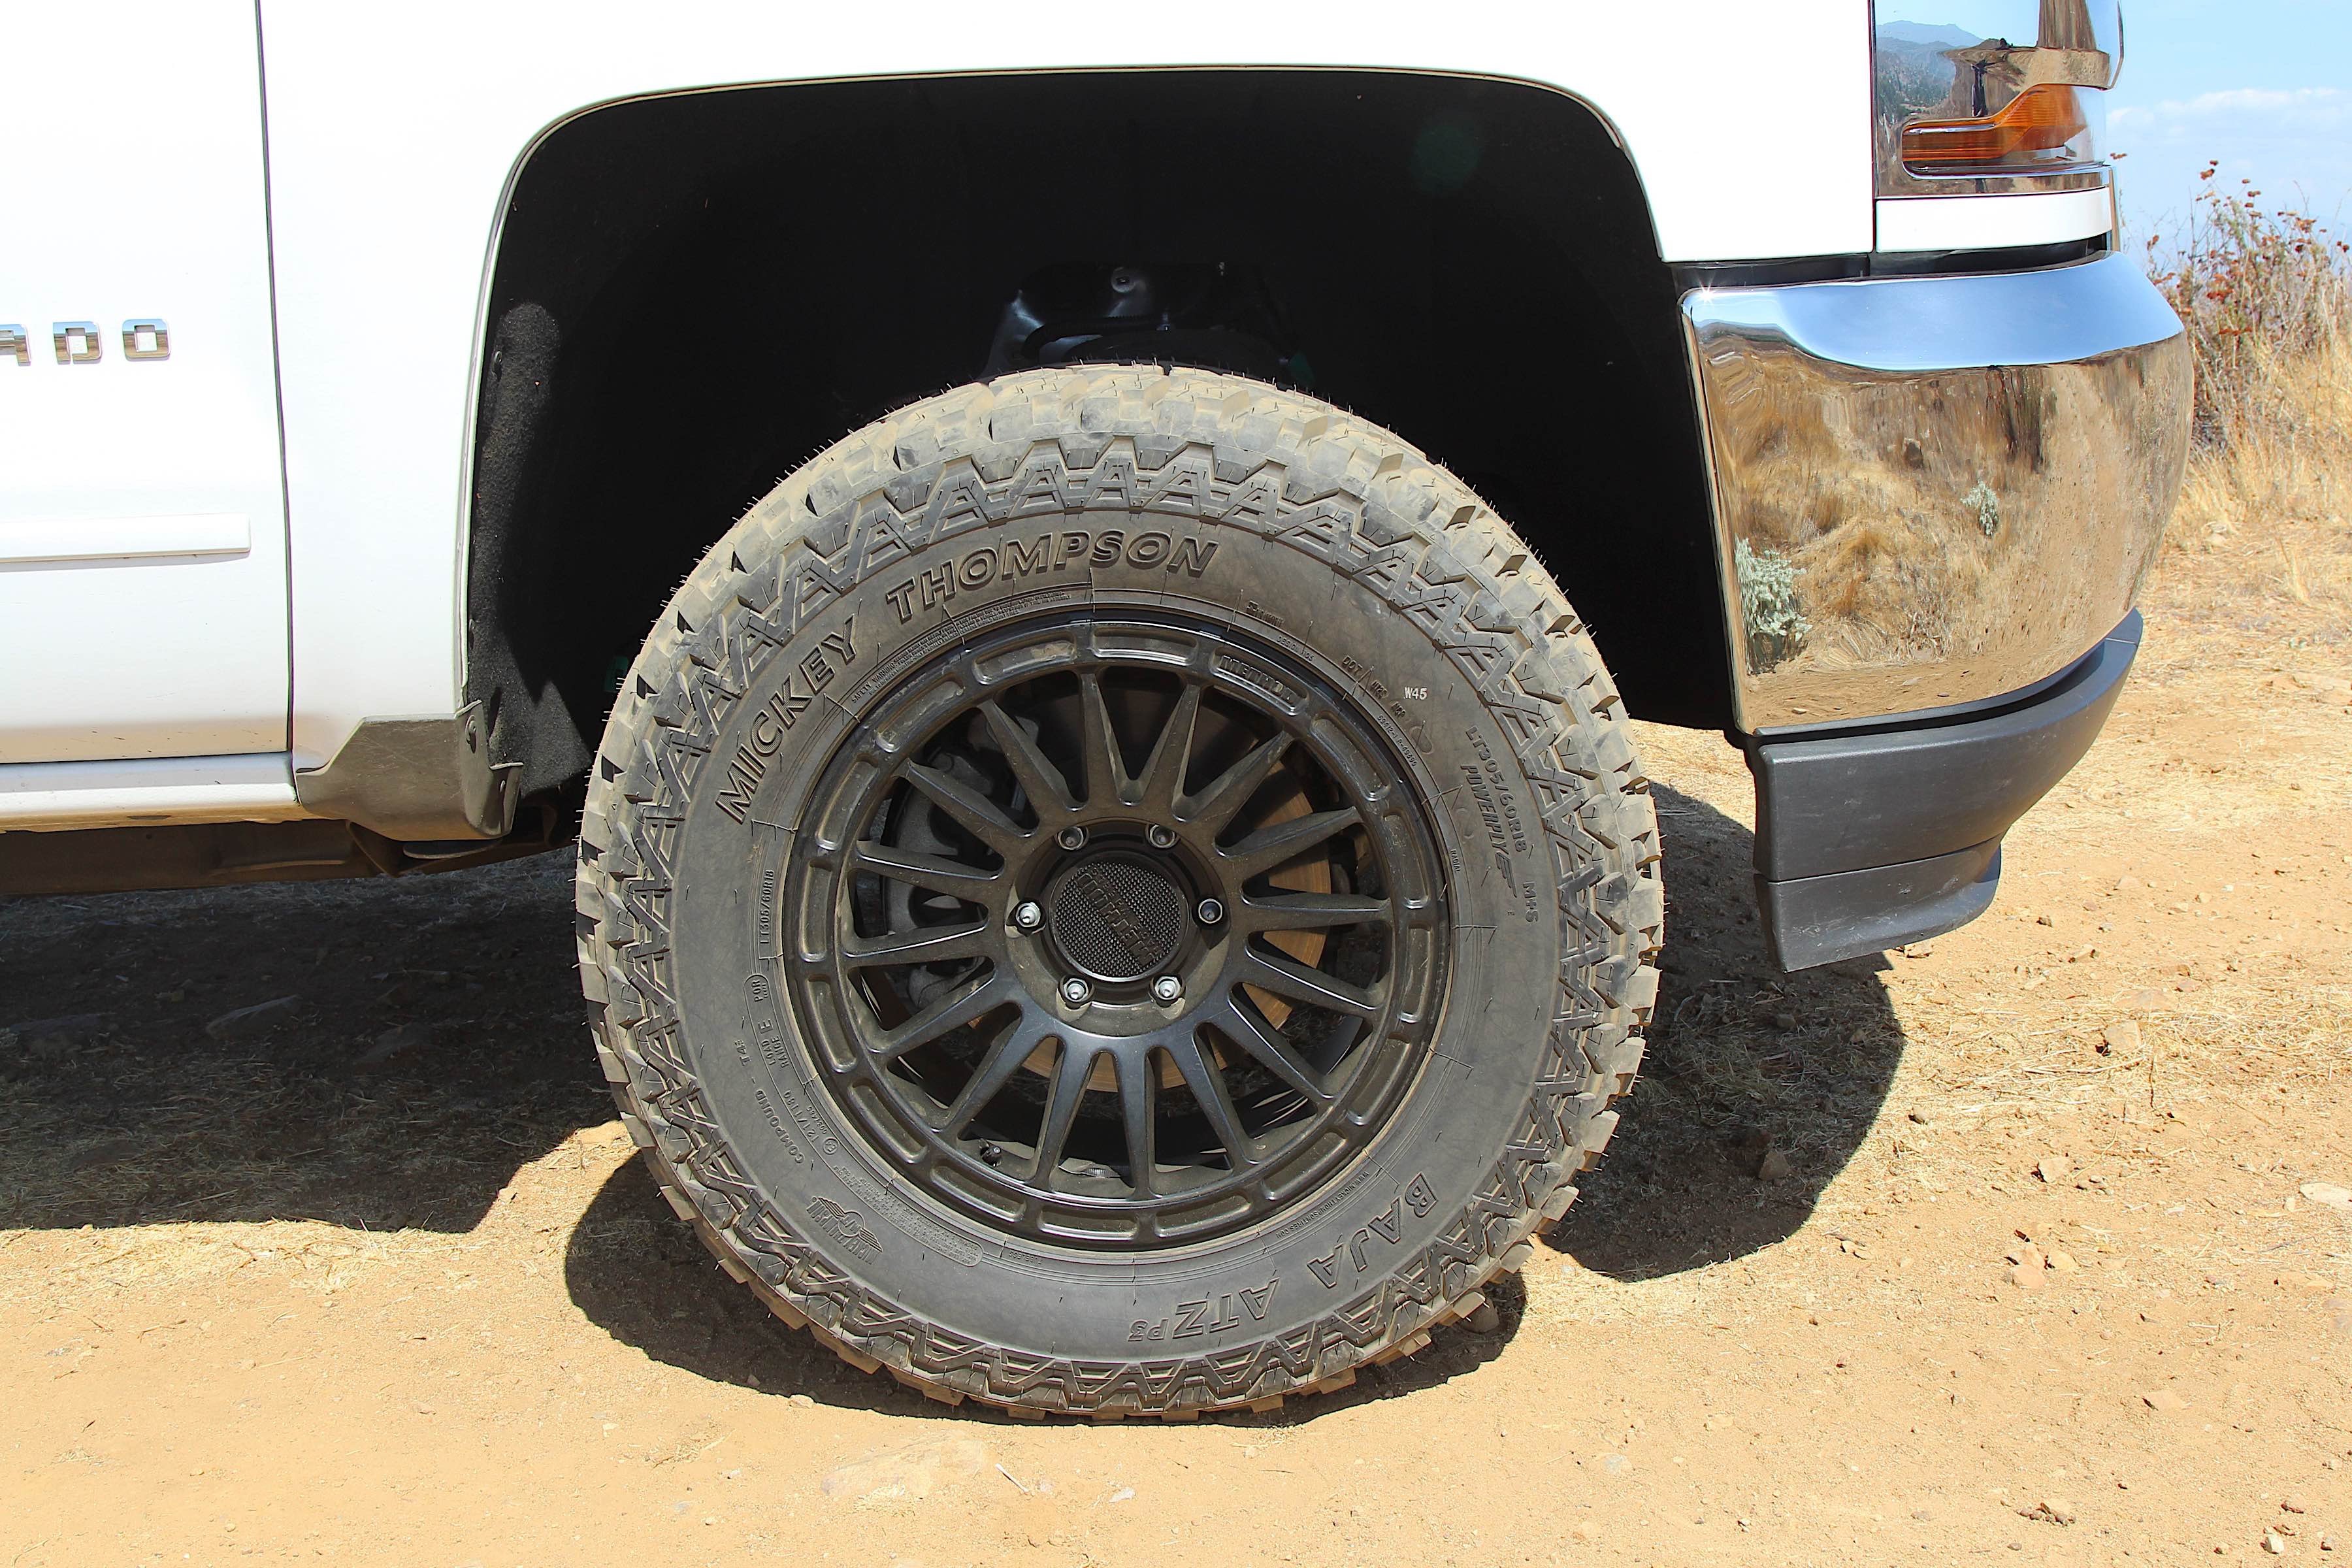
Before (left) comparison to the look after (right) the Daystar Tactical Lift Kit. You can see the added clearance on the top of the tire to the fender.
Overall the Daystar Tactical Lift Kit offered a great way to create some extra clearance without sacrificing the ride quality. It represents a great balance of budget and benefits, but most importantly it gets your rig trail ready. For more information on Daystar and to find the right product for your vehicle, be sure to check out their website.