When it comes to our trucks, we don’t want the run of the mill parts or the same thing as everyone else. In most cases, we want to be unique. Different wheels, different tires, different exhaust, whatever it may be, there are ways to separate yourself from others. When it comes to suspension, MaxTrac Suspension is far different than others.
Their lift kits have been one of the industry’s hottest items and they have extended the coverage of these kits to the 2014-2019 Ram truck in 4-inch and 6-inch systems. In fact, we’re going to cover the installation of one of these sleek new kits along with a pair of the industry-leading forged aluminum radius arms too. By upgrading your ride to a kit like this, you’re upgrading the looks, the performance, and extending the longevity of your trucks suspension.
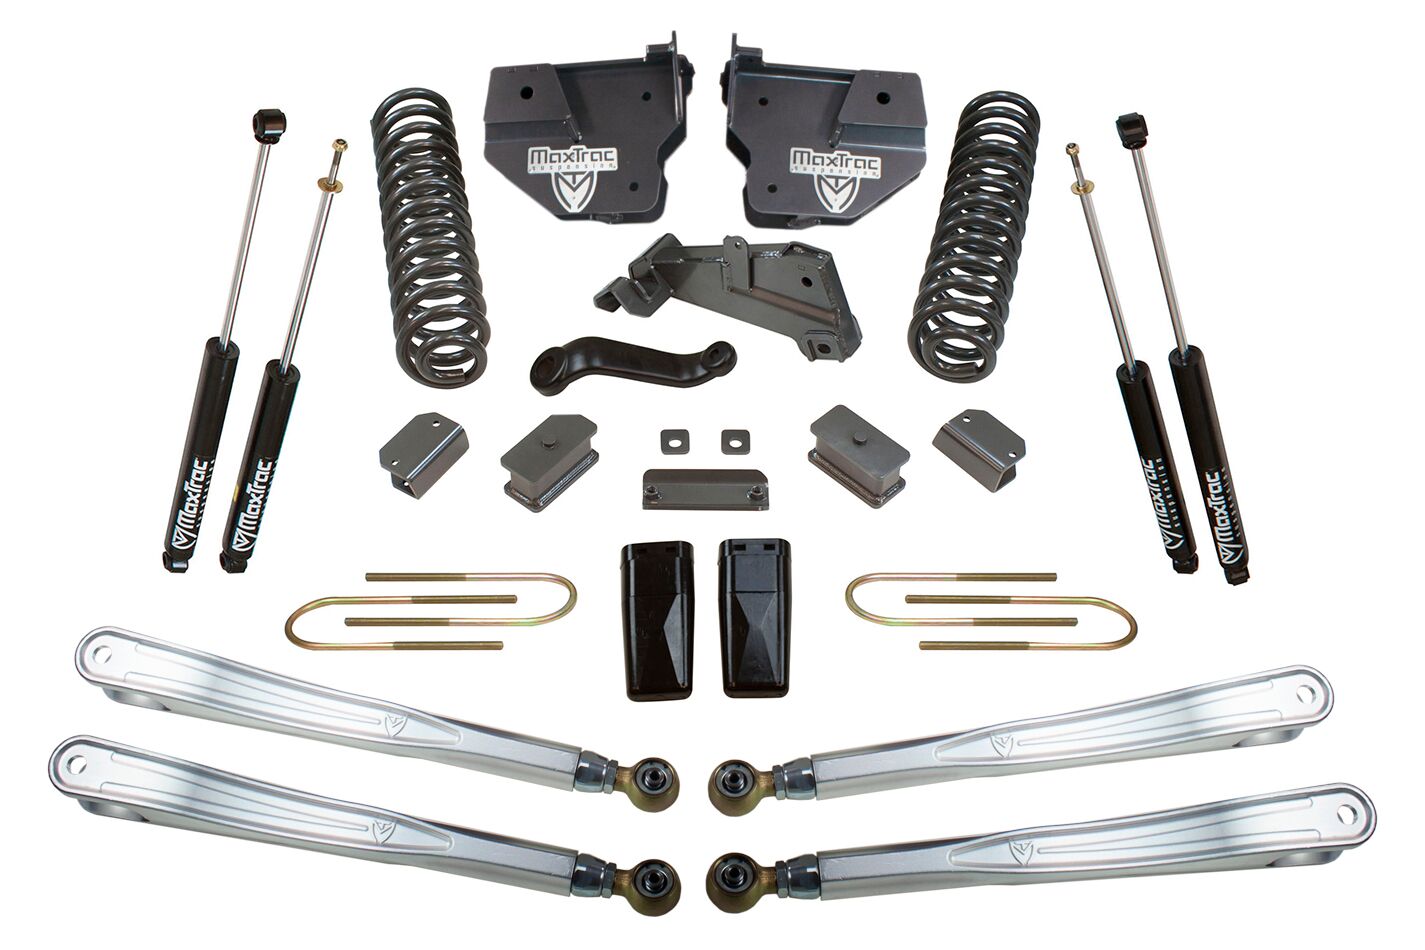
Looking at all of the parts included in these kits, it’s clear from just looking at the contents that MaxTrac isn’t your ordinary lift kit. They wanted to make something that stood out.
We caught up with MaxTrac Suspension Operations Supervisor JJ Simpson on discussing these kits. “As we have slowly expanded into the four-wheel-drive market, we have found that there are a lot of big-name players who have a large variety of kits covering a broad range of platforms,” Simpson said. “We have chosen a path of listening to our current customers who have been the ones that have made Max Trac what we are today.”
Simpson continued, “Here at Max Trac Suspension, we pride ourselves on being a company that focuses on quality, customer service, and price point. Because of this, the development of our kits focuses on simplified designs, with fewer components, that are easy to install. We strive to make kits that shops and retail consumers can install with relative ease.”
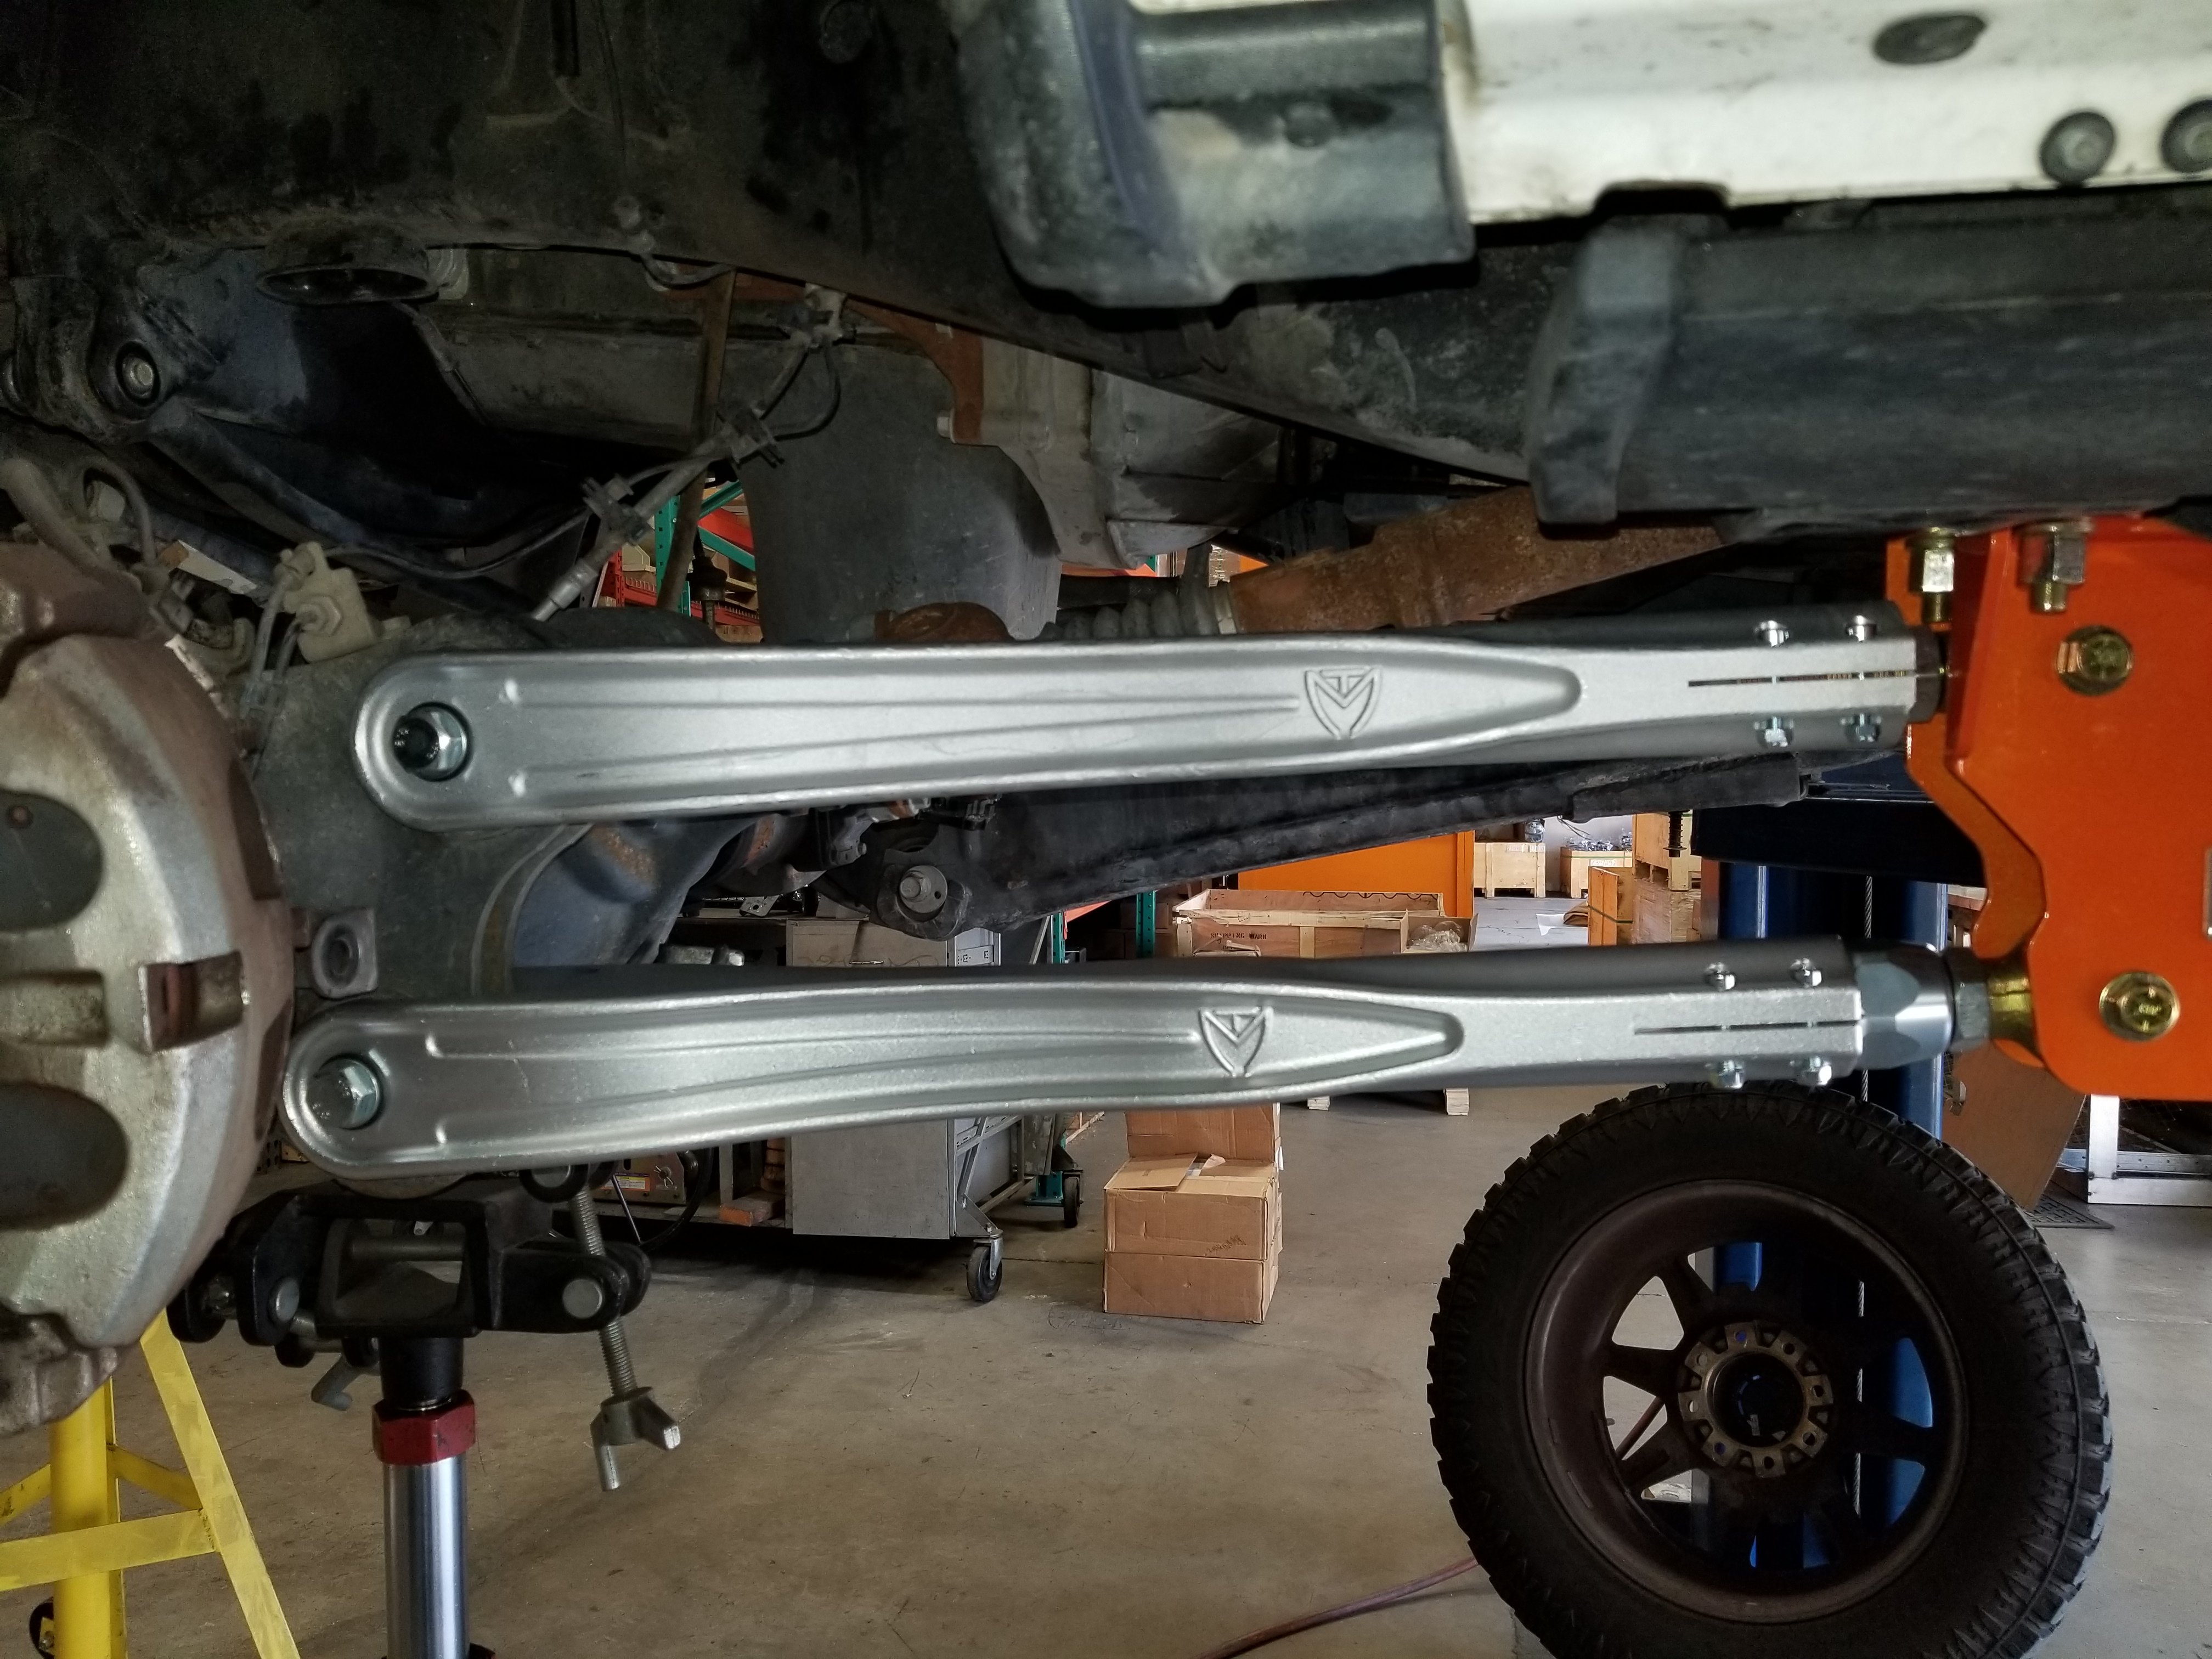
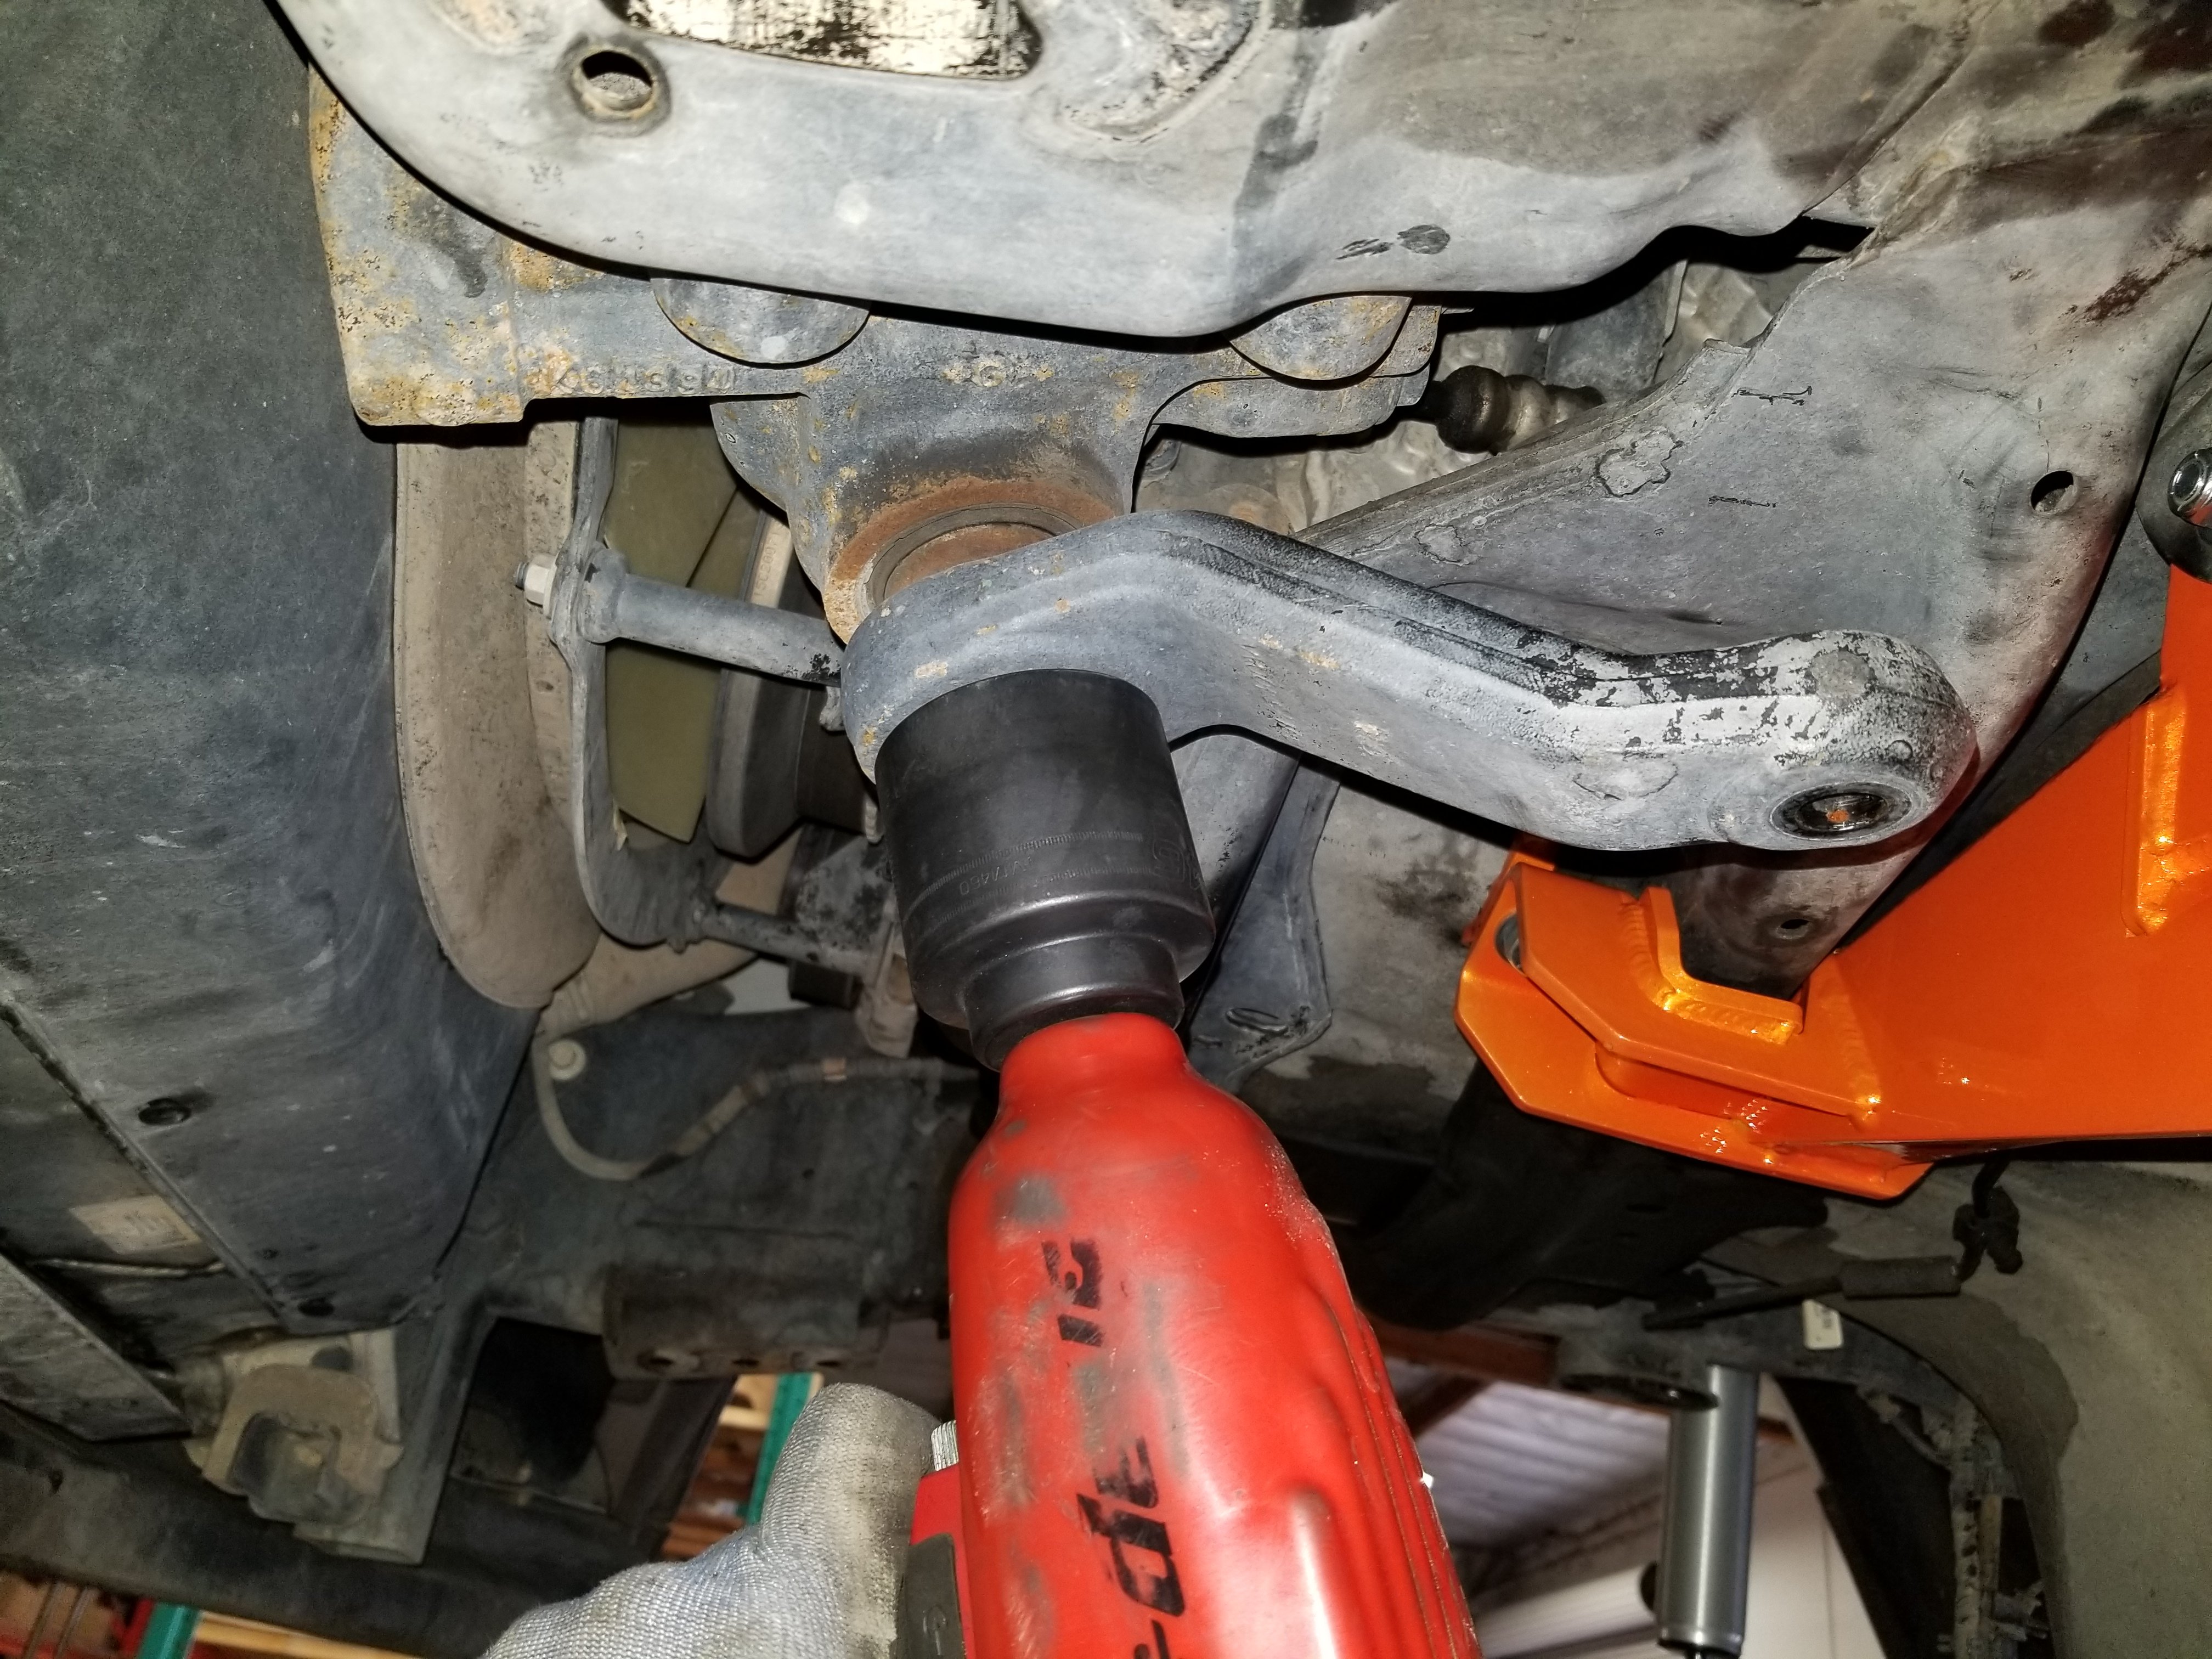
Unlike other kits on the market, these forged aluminum radius arms are about as eye-catching as it can get. One thing the aluminum construction is capable of other than pure great looks is the necessary strength to handle the constant movement and vibration these heavy trucks encounter every single day. Not to mention, these things weigh nothing compared to the factory parts.

Another great feature these items offer is the on-the-fly adjustability. When you’re making your caster adjustment on a truck, you’re normally having to pull these arms completely off, make your adjustment and reinstall and check. With MaxTrac’s game-changing design, you can literally make your adjustments intact. If you’re hiring someone to install this for you, this will not only save you time, but it will also save you money.
“A key feature in the design of Max Trac kits and components is making them so that they are easy to install and if needed, easy to adjust. Although we provide the appropriate lengths for people to adjust the links to for our 4-inch and 6-inch lifts, two other factors came to mind,” Simpson said. “The first factor is that some consumers may already have a lift on their trucks and are now looking to upgrade to our four-link system.”
Simpson continued, “If their lift is anything but exactly a 4-inch or 6-inch lift, adjustability of caster will be necessary and having to unbolt the link from its mount can be a time consuming and frustrating process. Second, one alignment setting is not always ideal for every vehicle, so having the ability to fine-tune caster, again, without the time consuming process of removing the arm, makes adjusting a painless process.
Aluminum Radius Arms Adjustable On-The-Fly
These forged aluminum radius arm kits are available for all of the American diesel pickups makes including the Ford and the Rams and are offered in many different versions. By different versions I mean they are set up for non-lifted trucks all the way up to the eight-inch lift kit system.
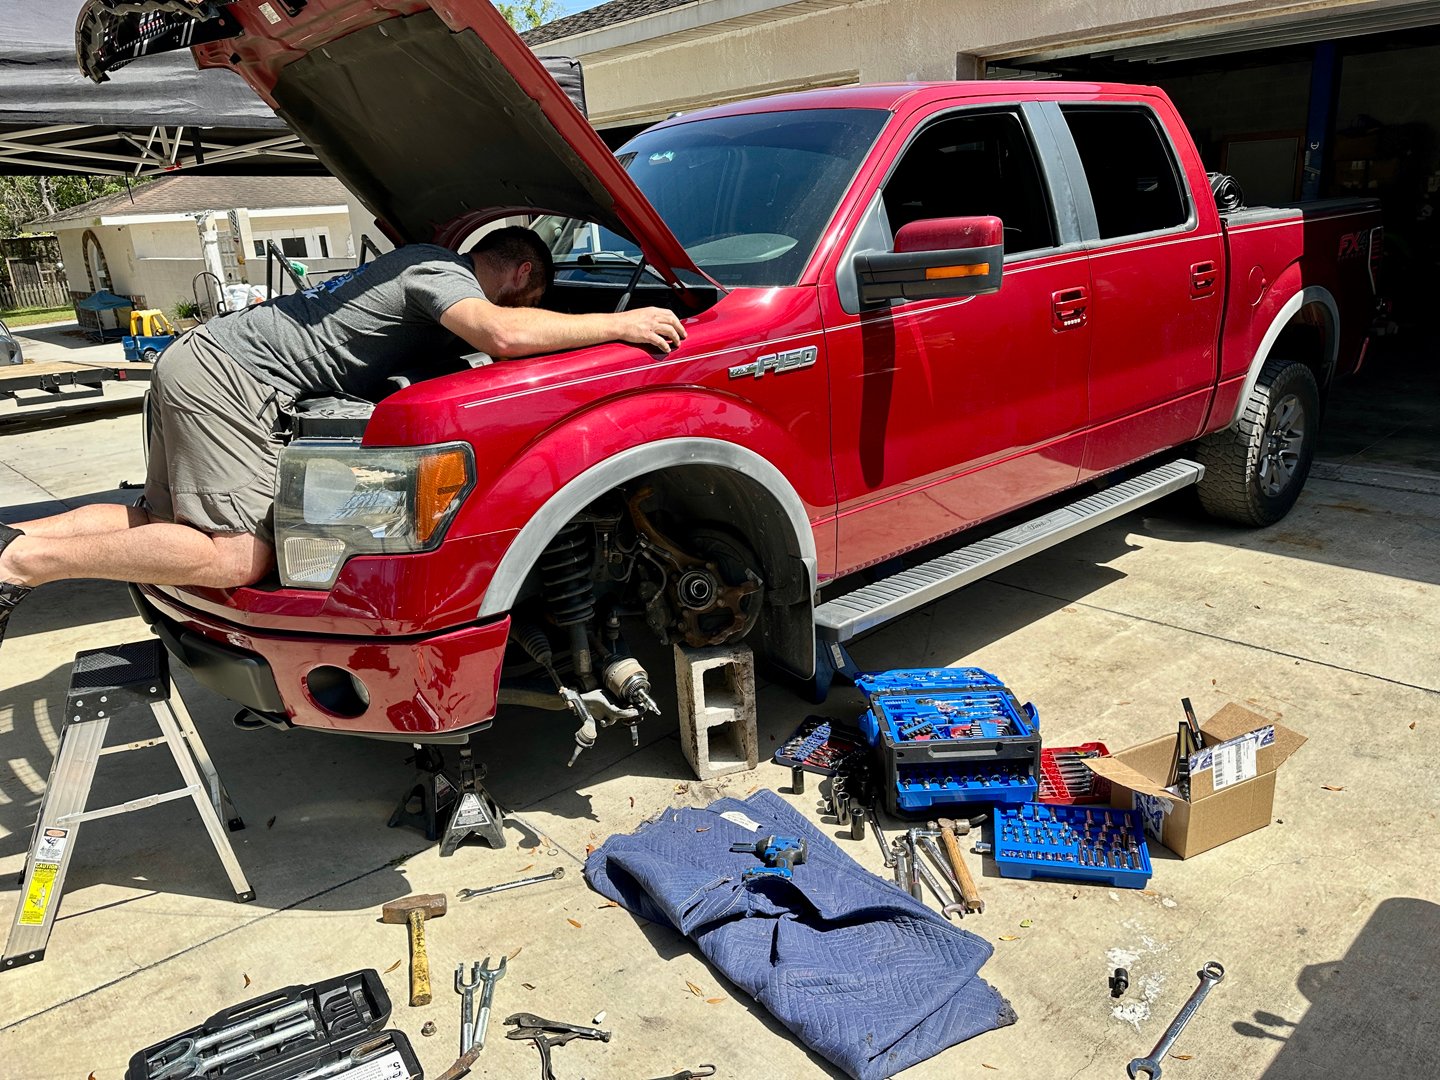
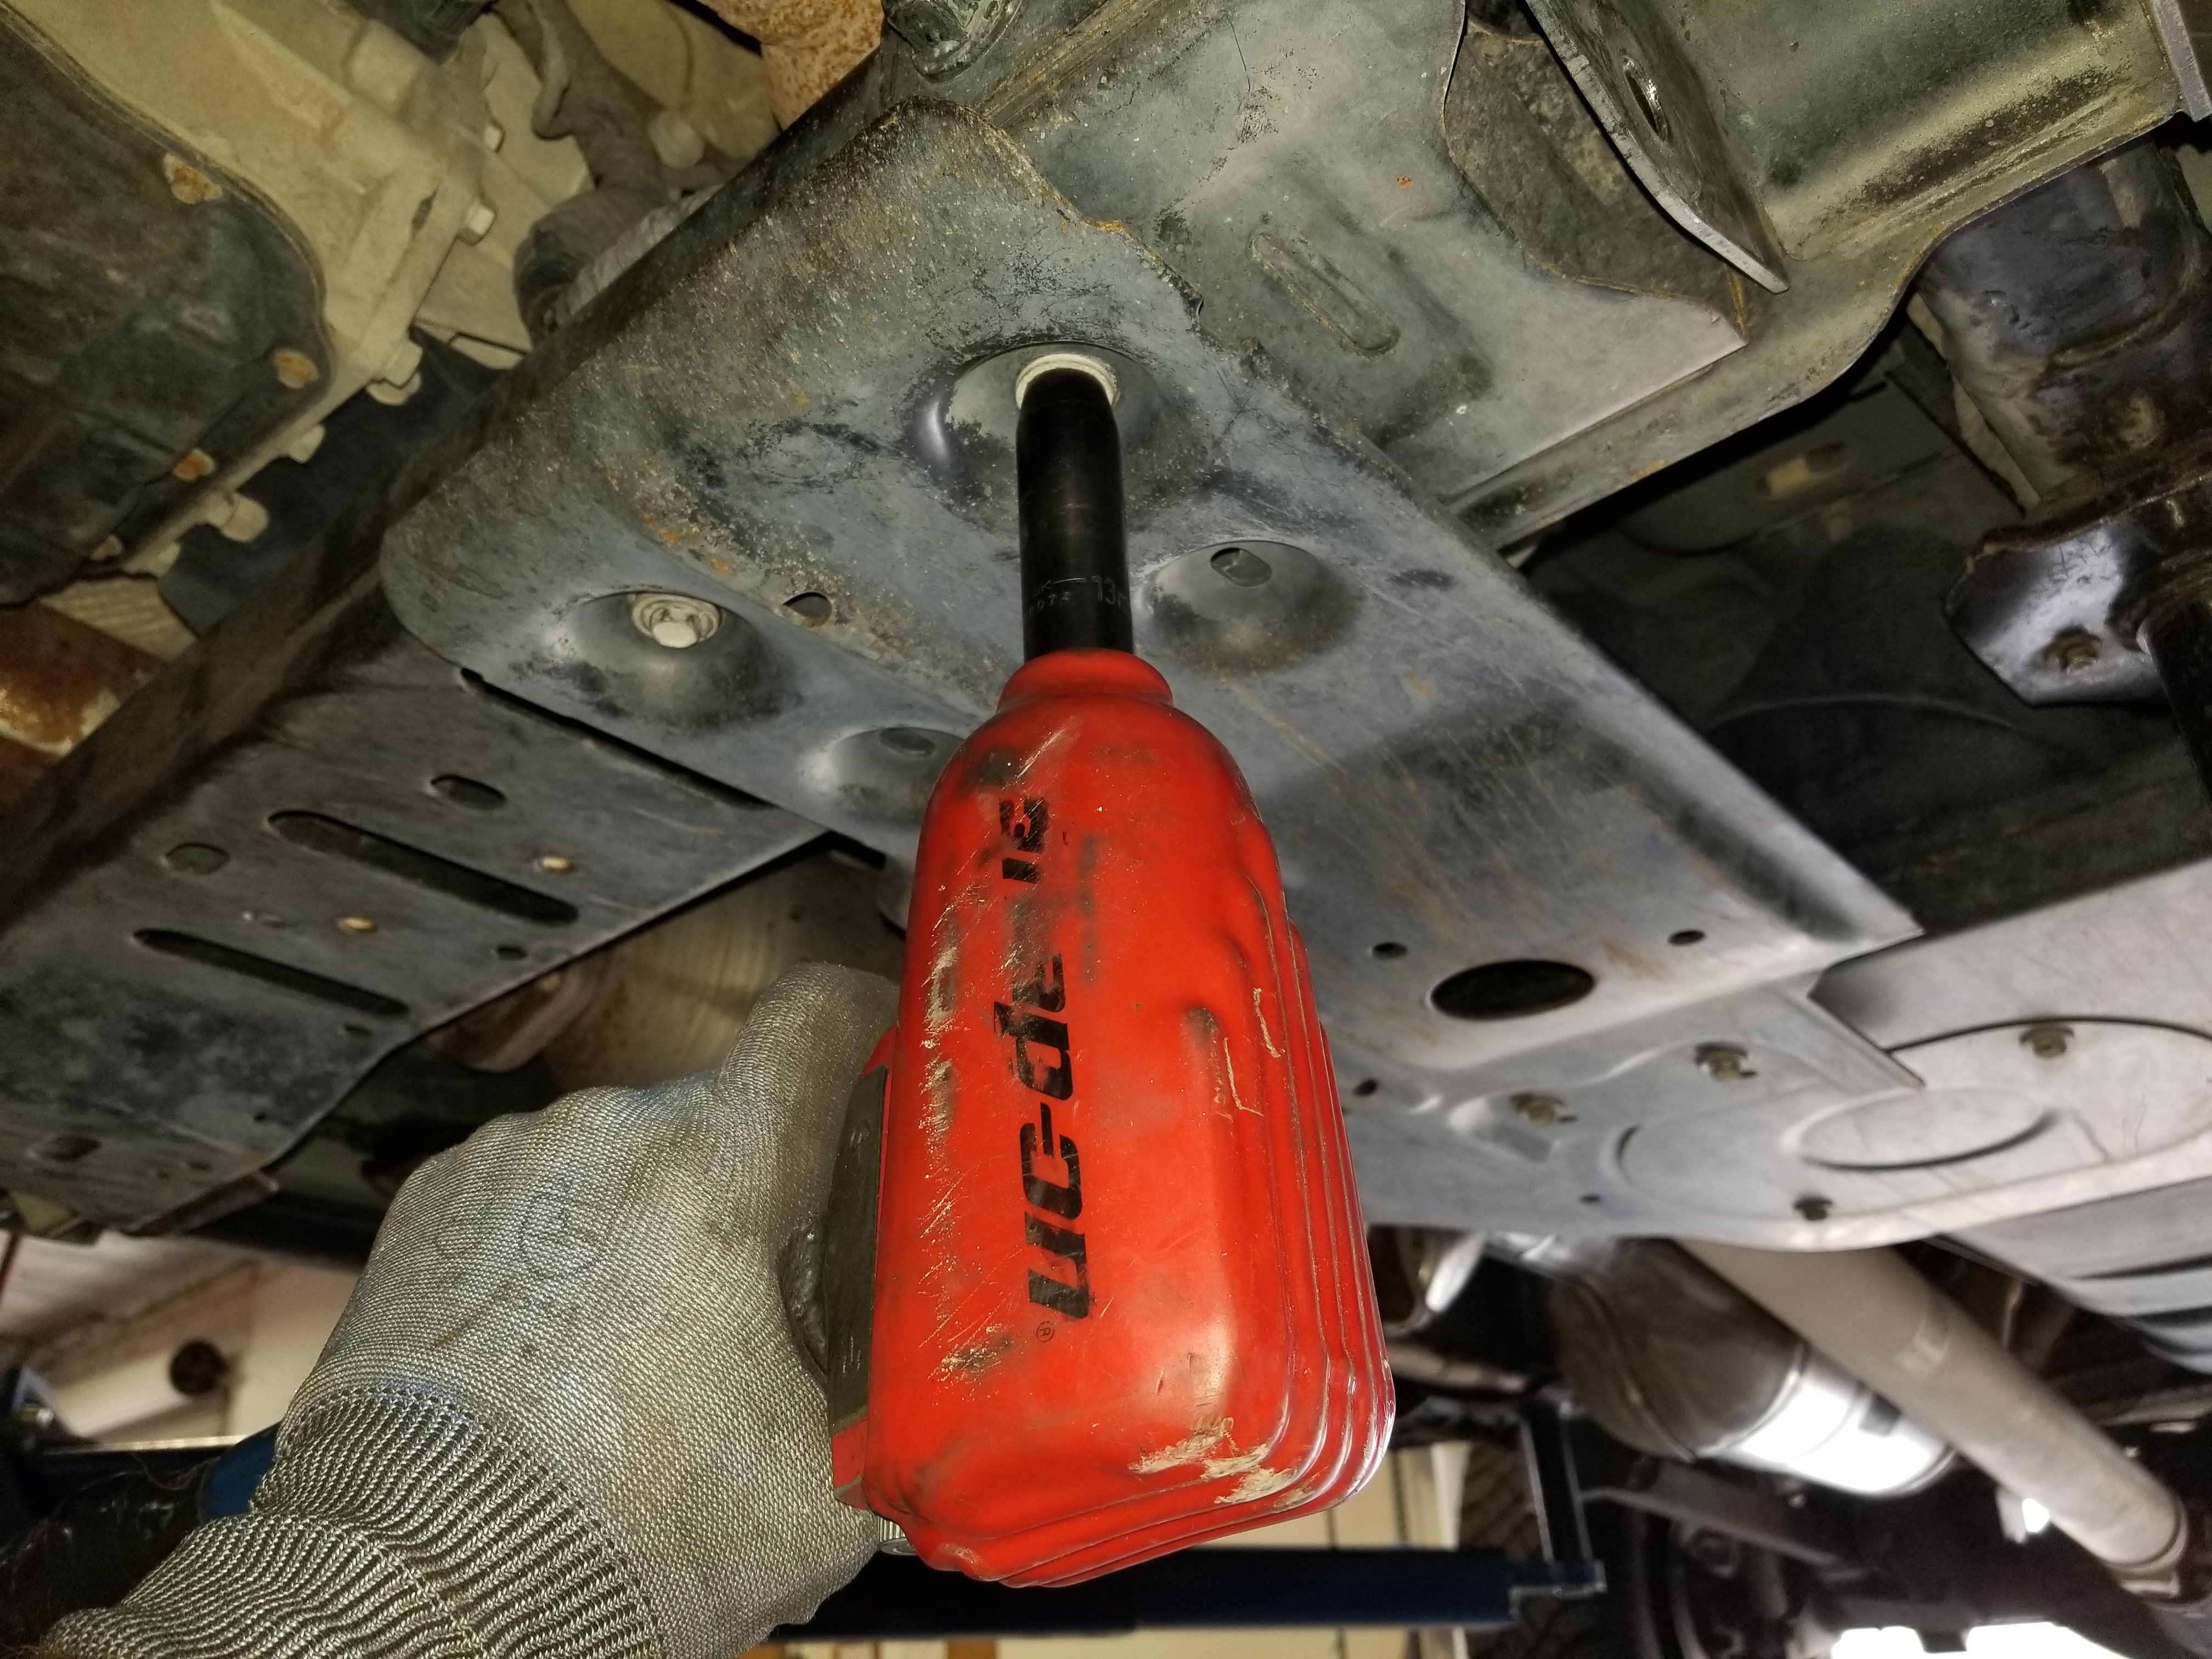
Installation of a kit like this will certainly be more than your little Sunday project. But, it can be done with the proper tooling. Before you do start an install like this, there are a few things to remember. MaxTrac stresses that having the factory service manual on hand is recommended, always secure and properly block the vehicle prior to beginning, always wear safety glasses when using power tools or working under a vehicle, and any modification you make to the parts WILL void the warranty associated with that part.
With the truck on a lift, you will raise the truck up off of the ground. This will take the stress off of the suspension and allow it to hang. If you’re doing this on the floor, floor jack the truck up by the front axle and support the weight of the truck with jack stands on the frame rails. Once the truck is safely supported, you can lower the front axle and suspension down by lowering the floor jack.
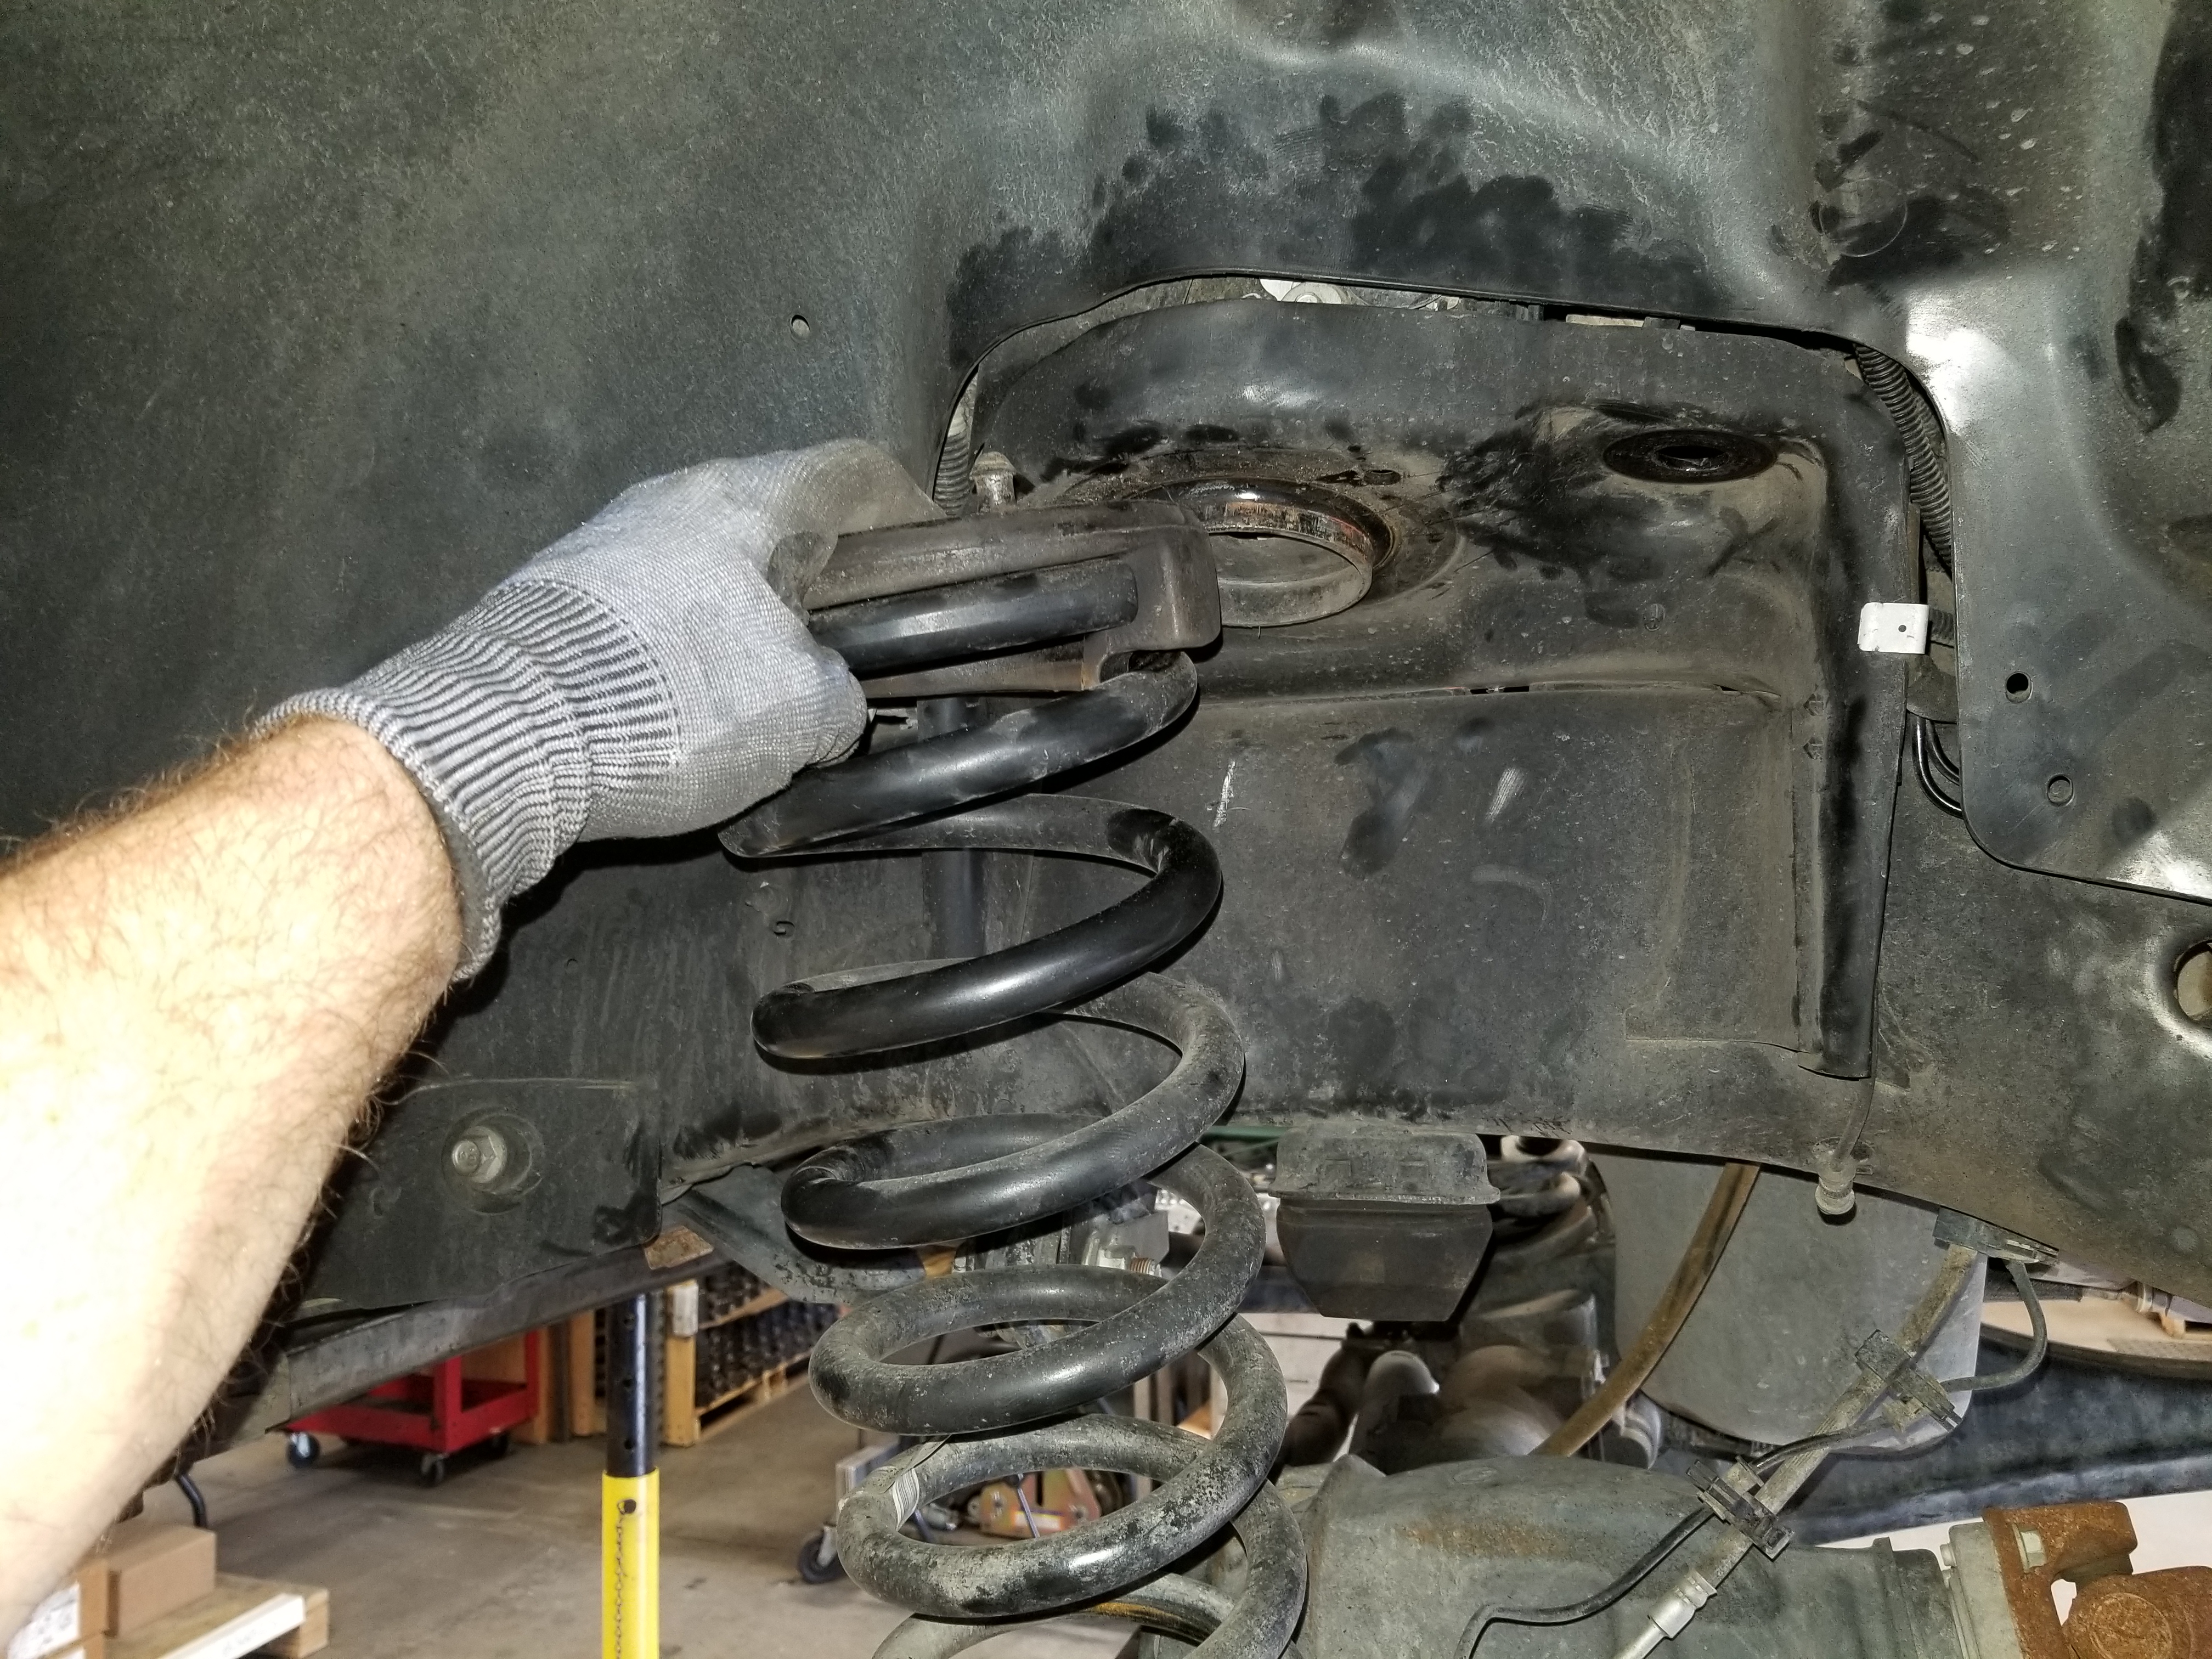
With everything correctly supported, you’re safe to begin removing factory parts to make room for those new MaxTrac upgrades. For starters, you can remove the sway bar from both of the end links and frame rail on both sides and remove out from under the truck. Up next, you’re going to need to remove the shocks and coil springs.
To do so, you’re going to have to put pressure back onto the axle on the driver’s side and remove the hardware from the top and bottom and remove it. With the shock removed, you can lower the suspension down once again freeing up the coil spring. Once you have removed both the isolator and coil spring, you’re free to reinstall the shock for suspension support during the rest of the install.
When you’re done with the driver’s side, you can repeat these exact steps on the passenger side but remember to reinstall the floor jack to the driver’s side of the suspension when you’re done. With the suspension free, you’re good to go on removing the necessary parts to replace the radius arms on the truck.
With the radius arms removed, something that needed to be done was the measuring the length of them from end to end, center to center. By taking this measurement, you’re determining how long your new MaxTrac aluminum arms will be. Again, even if you’re off a hair on the initial measurement, the unique, adjustable rod end on the aluminum arms make it easy to hone in on that correct length when installed on the truck.
The OEM parts you have removed really don’t hold much of a candle to the new.
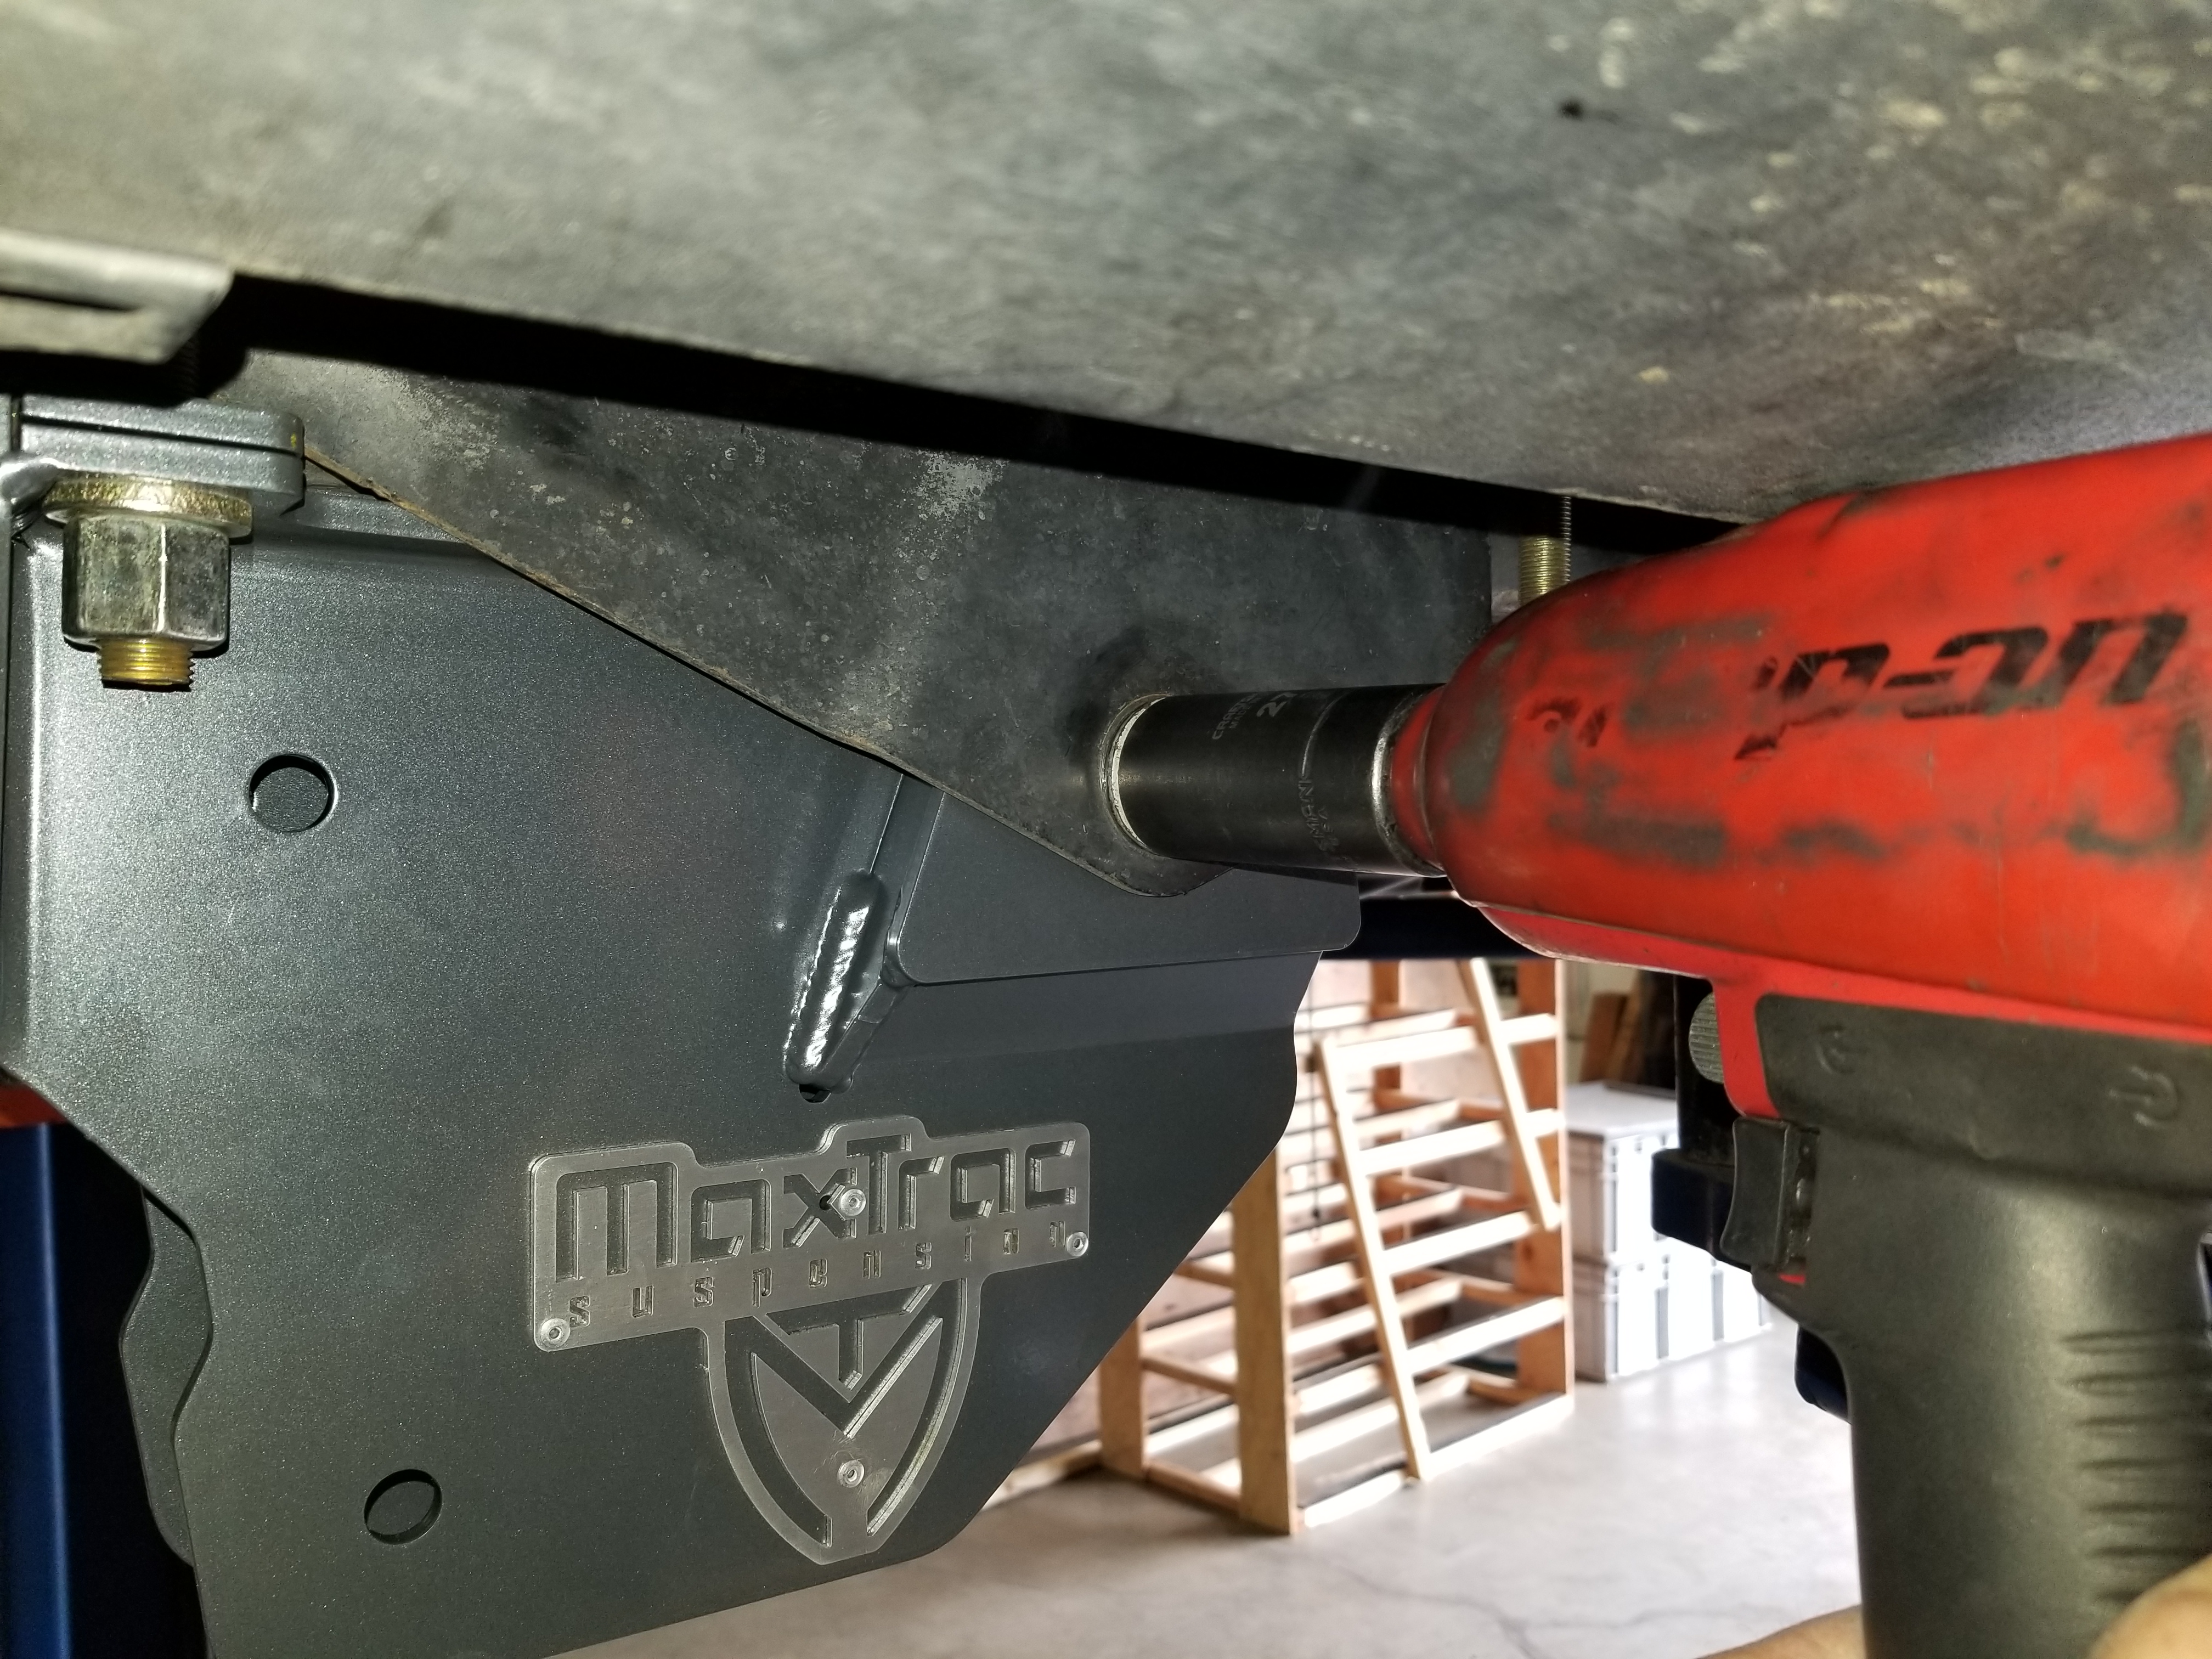
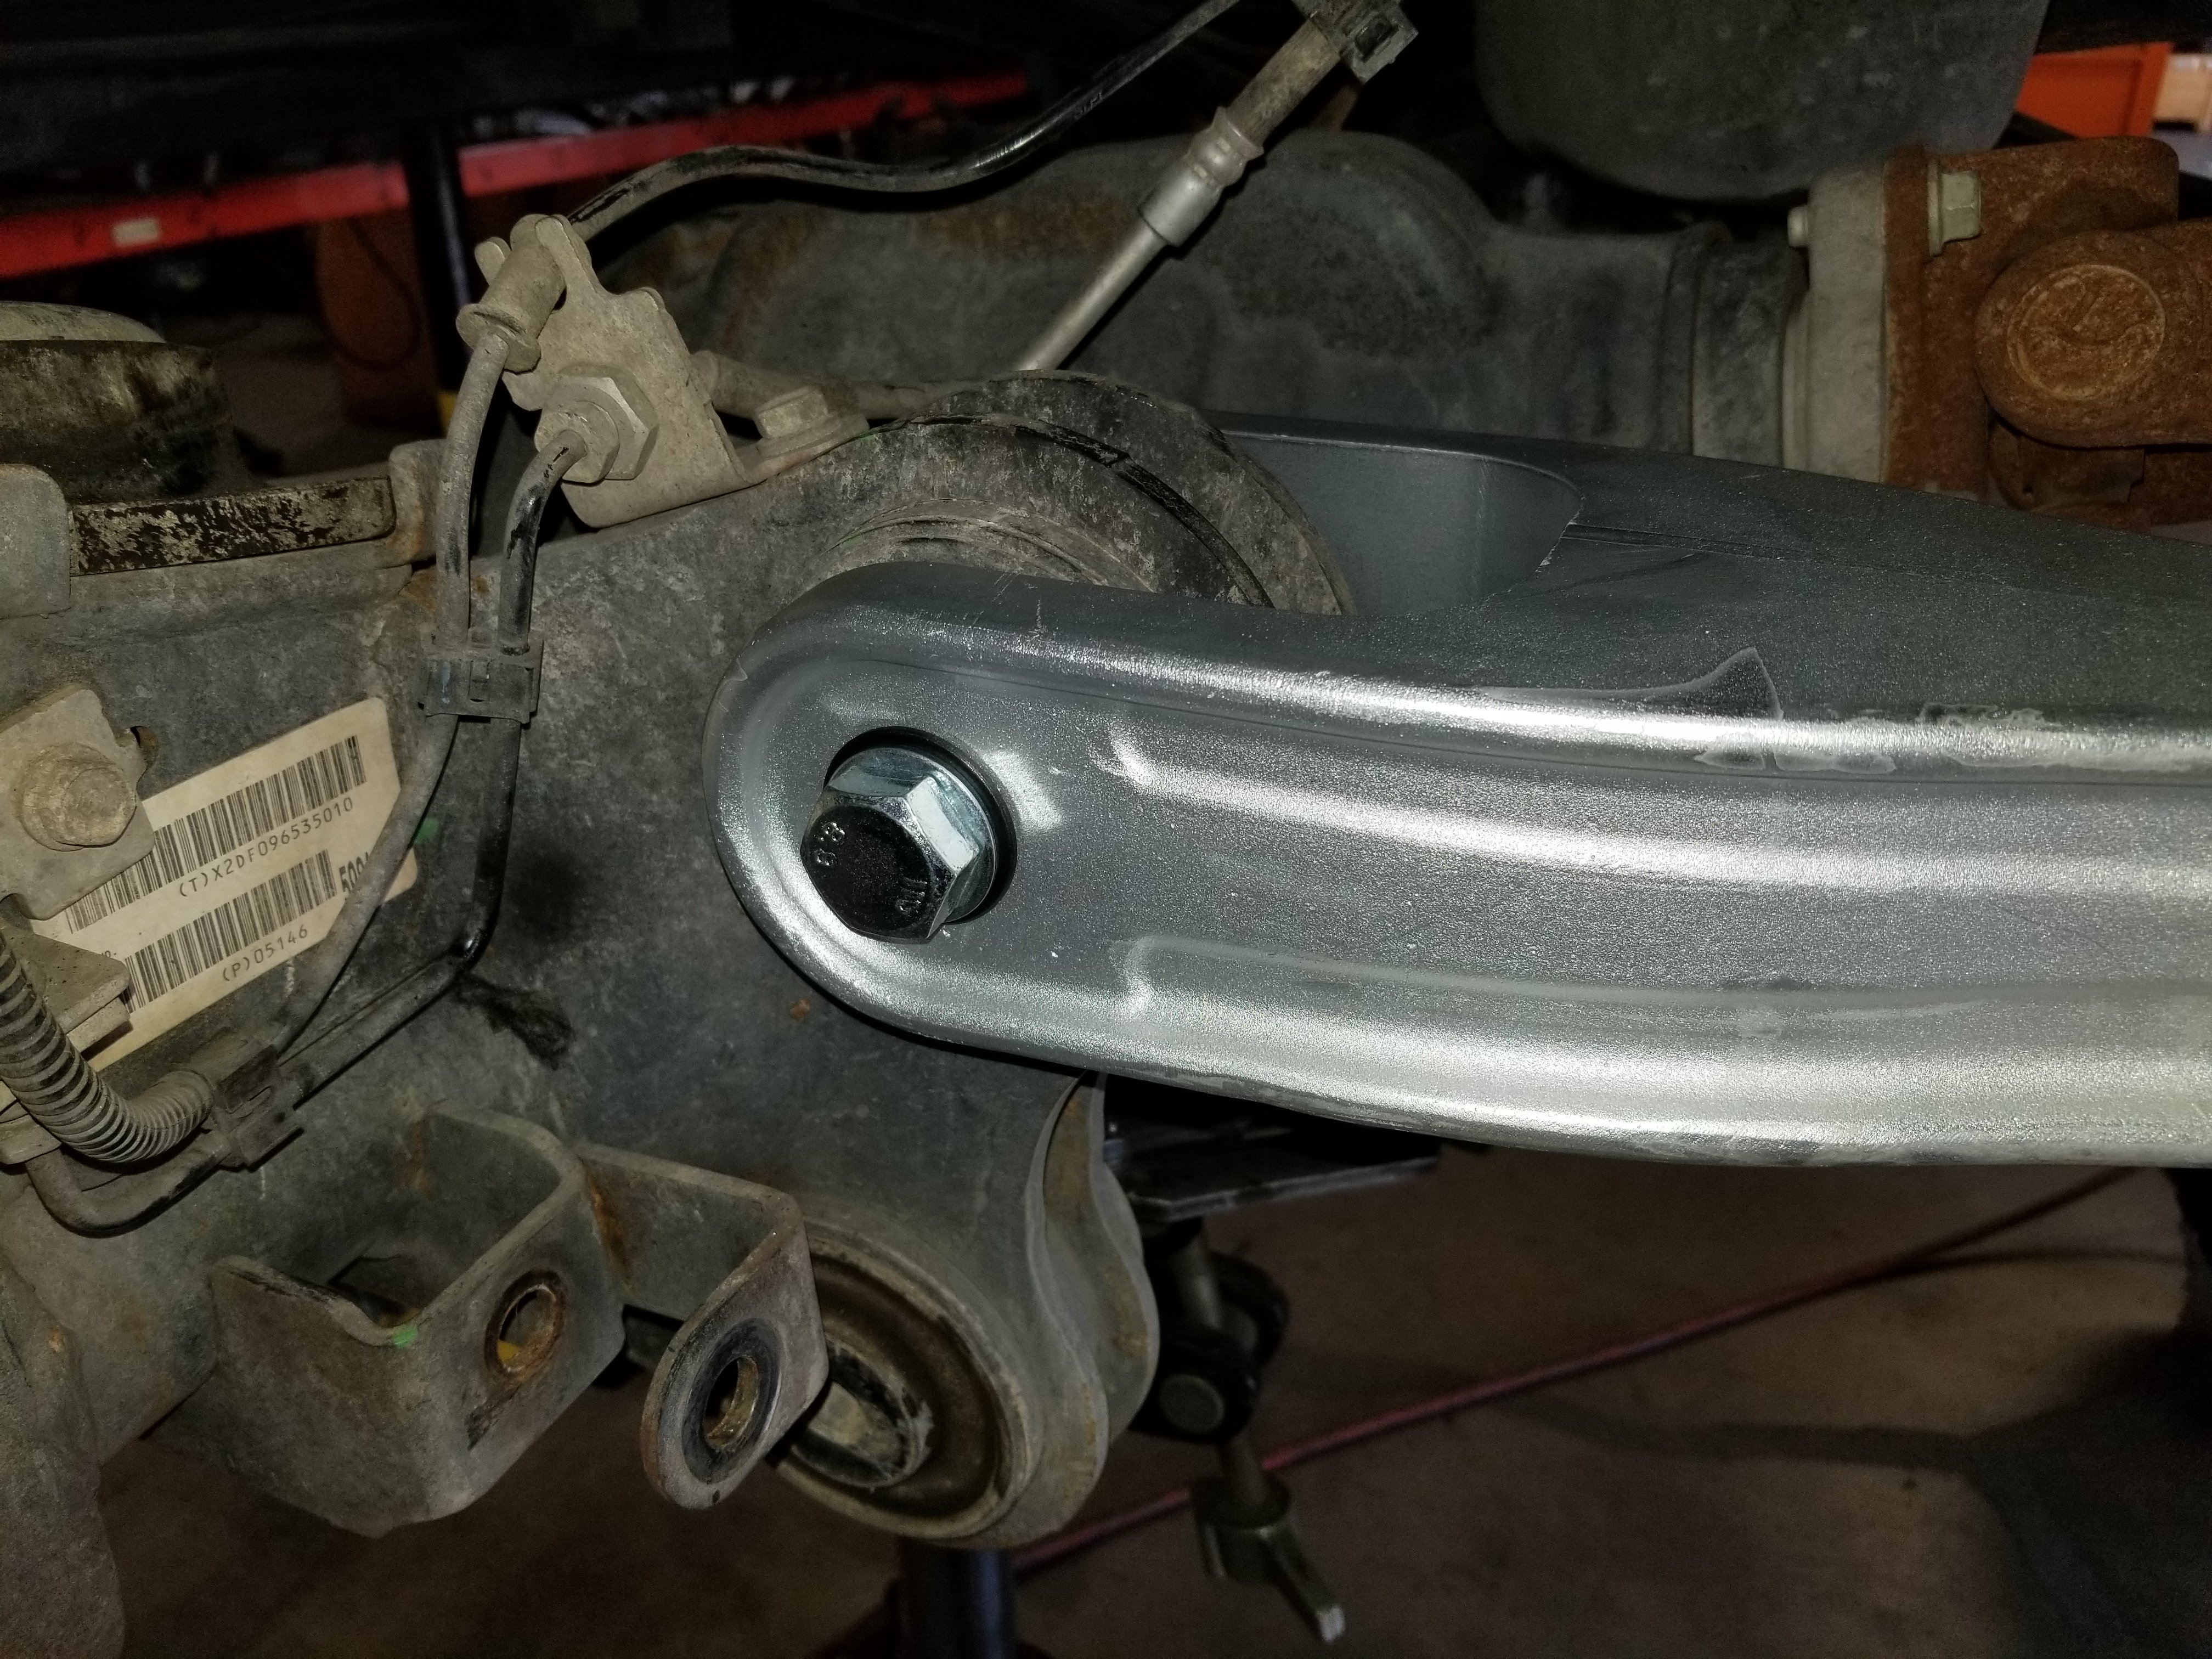
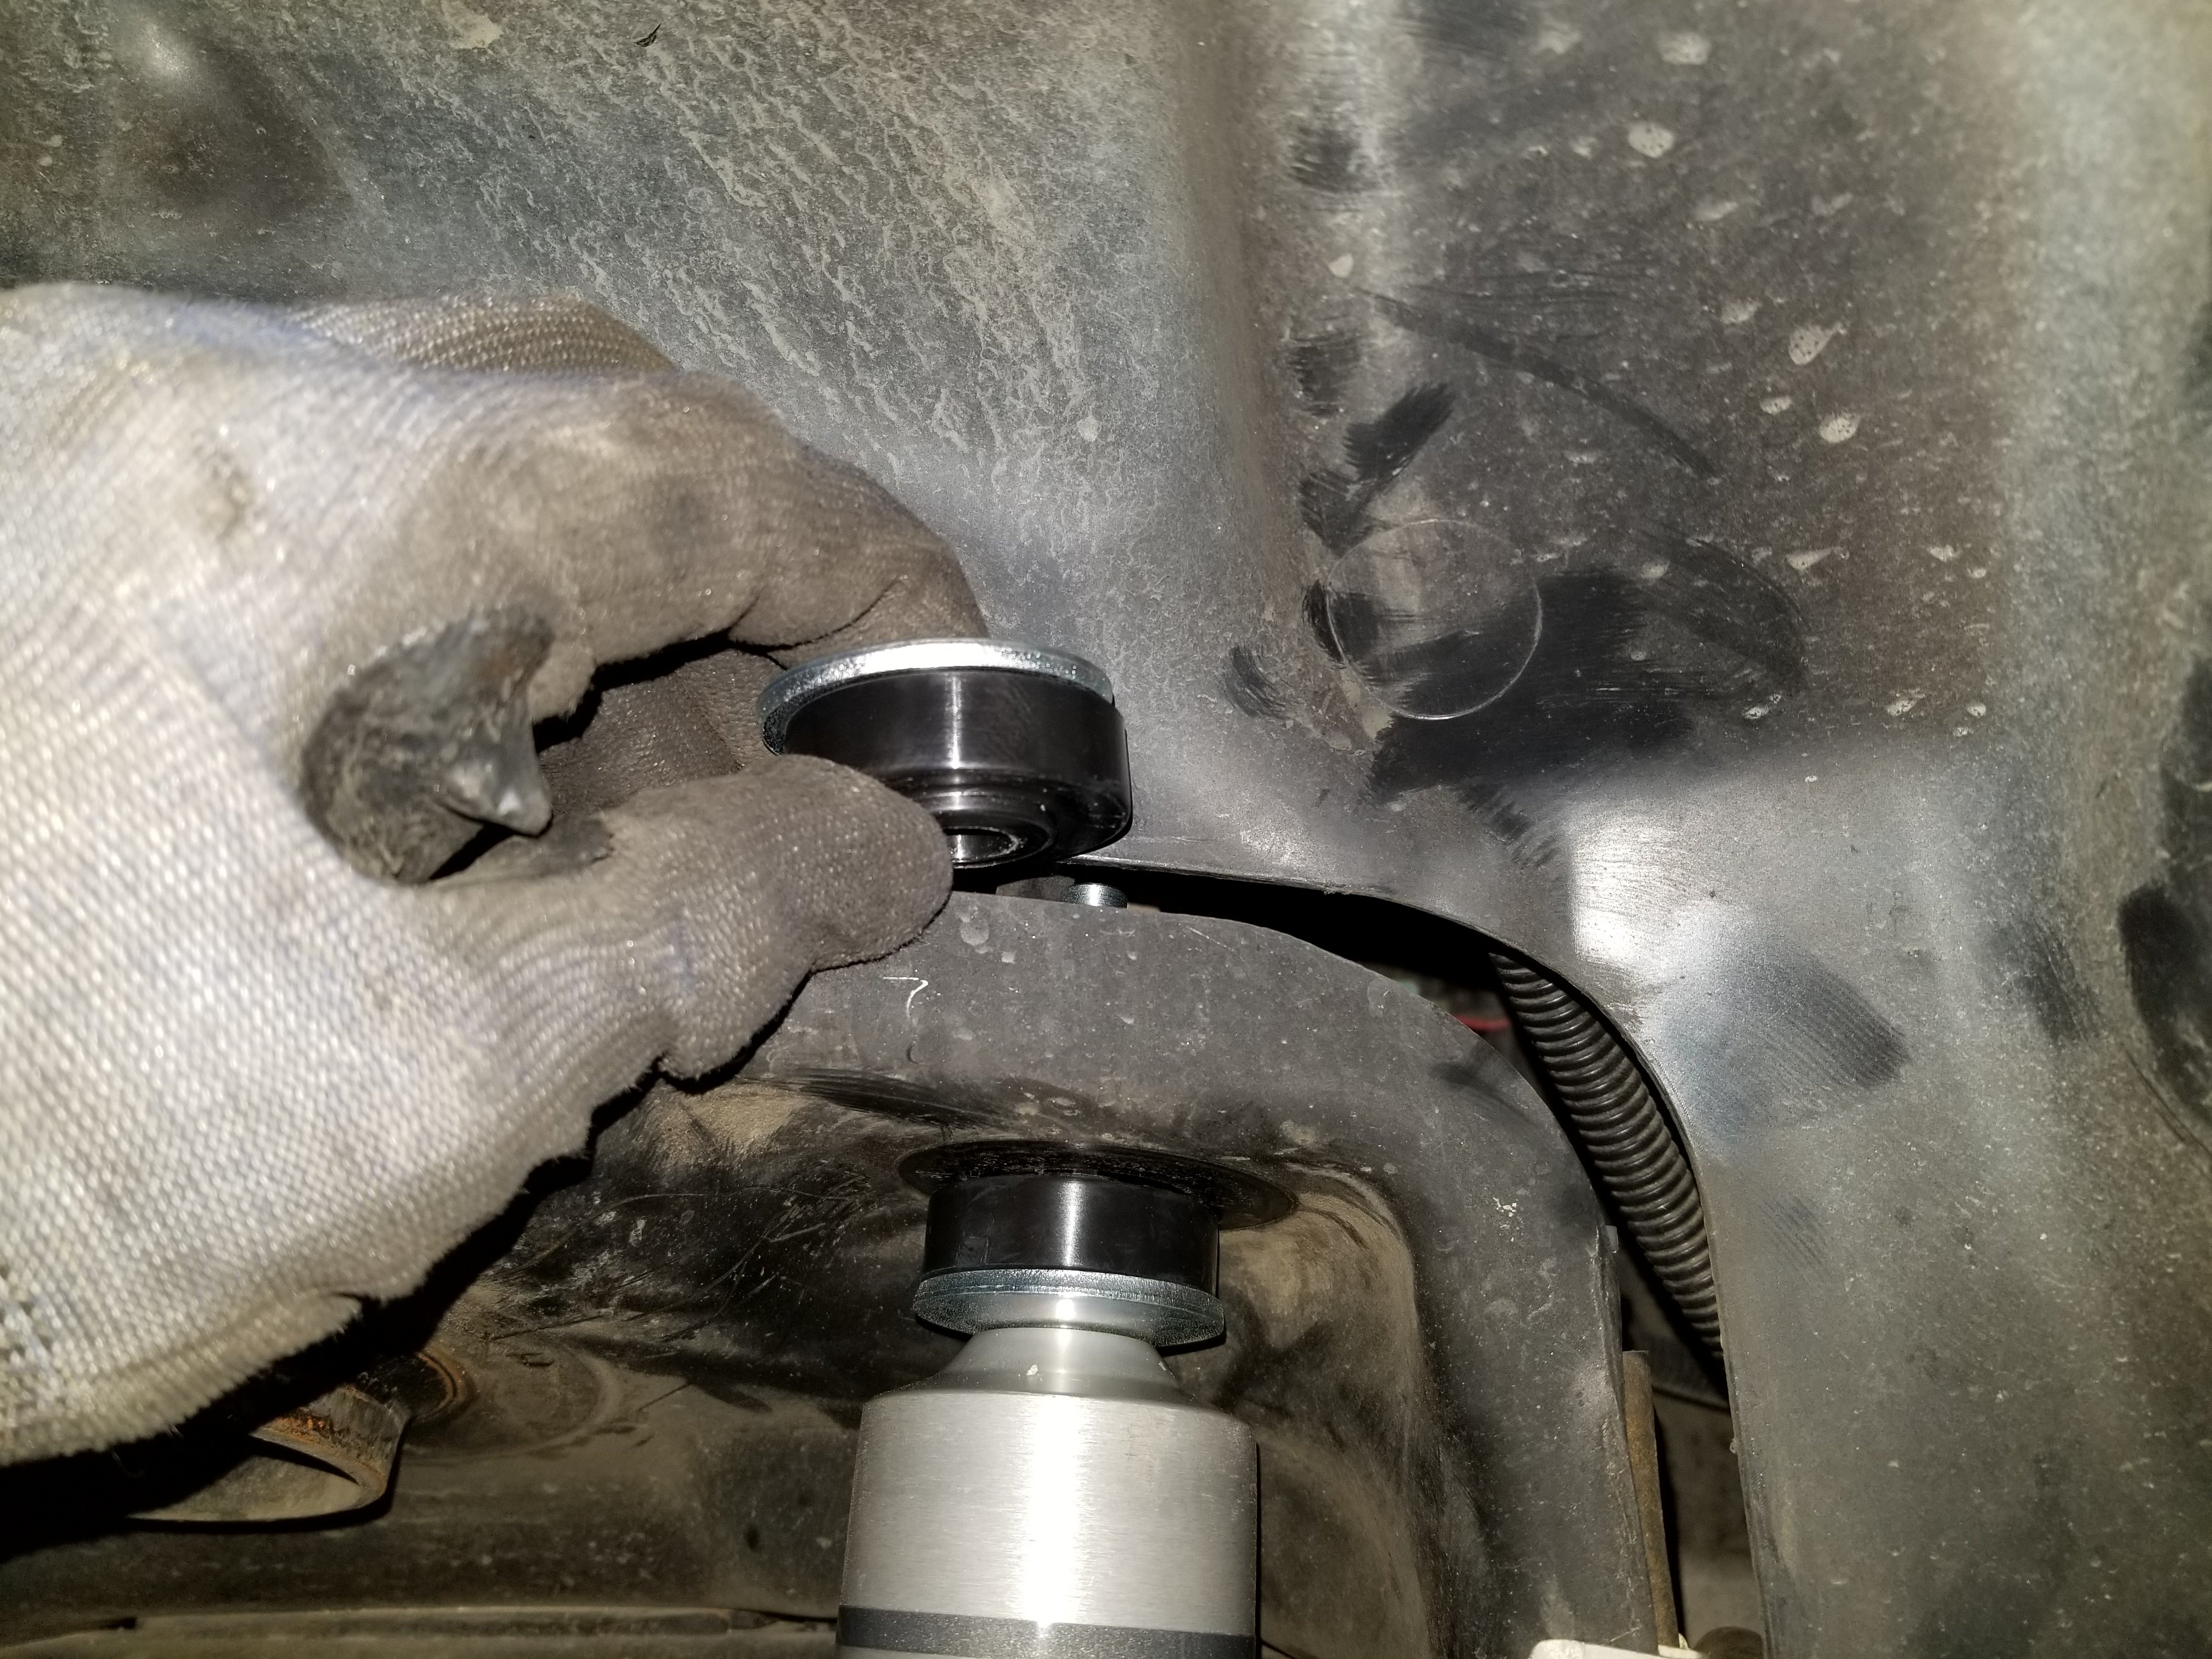
Before you can install these, up next is the brackets they attach to. You can now slide the radius arm drop down bracket up into the factory mount and loosely attach it using the factory bolt and the supplied hardware. Once you have tightened the brackets securely, you can now torque these bolts to 100 ft-lbs of torque.
With the brackets secure, you can now install your aluminum radius arms to the bracket. If you’re installing a four-inch lift kit, you need to use the upper hole on the bracket. If you’re upgrading to a six-inch lift kit, you need to use the lower hole instead. You have one side on back attached to the axle and you can repeat these steps on the opposite side while leaving the bolts not completely torqued down.
Four Link System

In the meantime, we’re done with the radius arms and we’ll move onto the four link system. To begin, you need to remove the skid plate under the truck and set it aside for reinstallation later on. Insert the driver side four link bracket into the factory radius arm bracket and attach it using the factory bolts through said bracket and the supplied hardware at the U-Bolt.
Slide the cross member bolts into the new bracket and start the nuts. Now, you’re free to tighten down the U-bolt first and then the factory radius arm bolt so that the new bracket is pulled tight into the frame. Once you’ve tightened up the cross member bolts, you can now torque the U-bolt bolt to 100-ft/lbs. Using the supplied zip ties, you can attach the fuel line assembly to the U-bolt.
Making your adjustments are critical. Adjust the driver’s side upper link to 28.5-inches and the driver side lower link to 32-inches. The driver’s side links can be determined by the clamping bolts facing outward and the MaxTrac logo being upright. With the adjustments done, you can attach the upper link to the bracket on the frame using the provided 9/16-inch hardware.
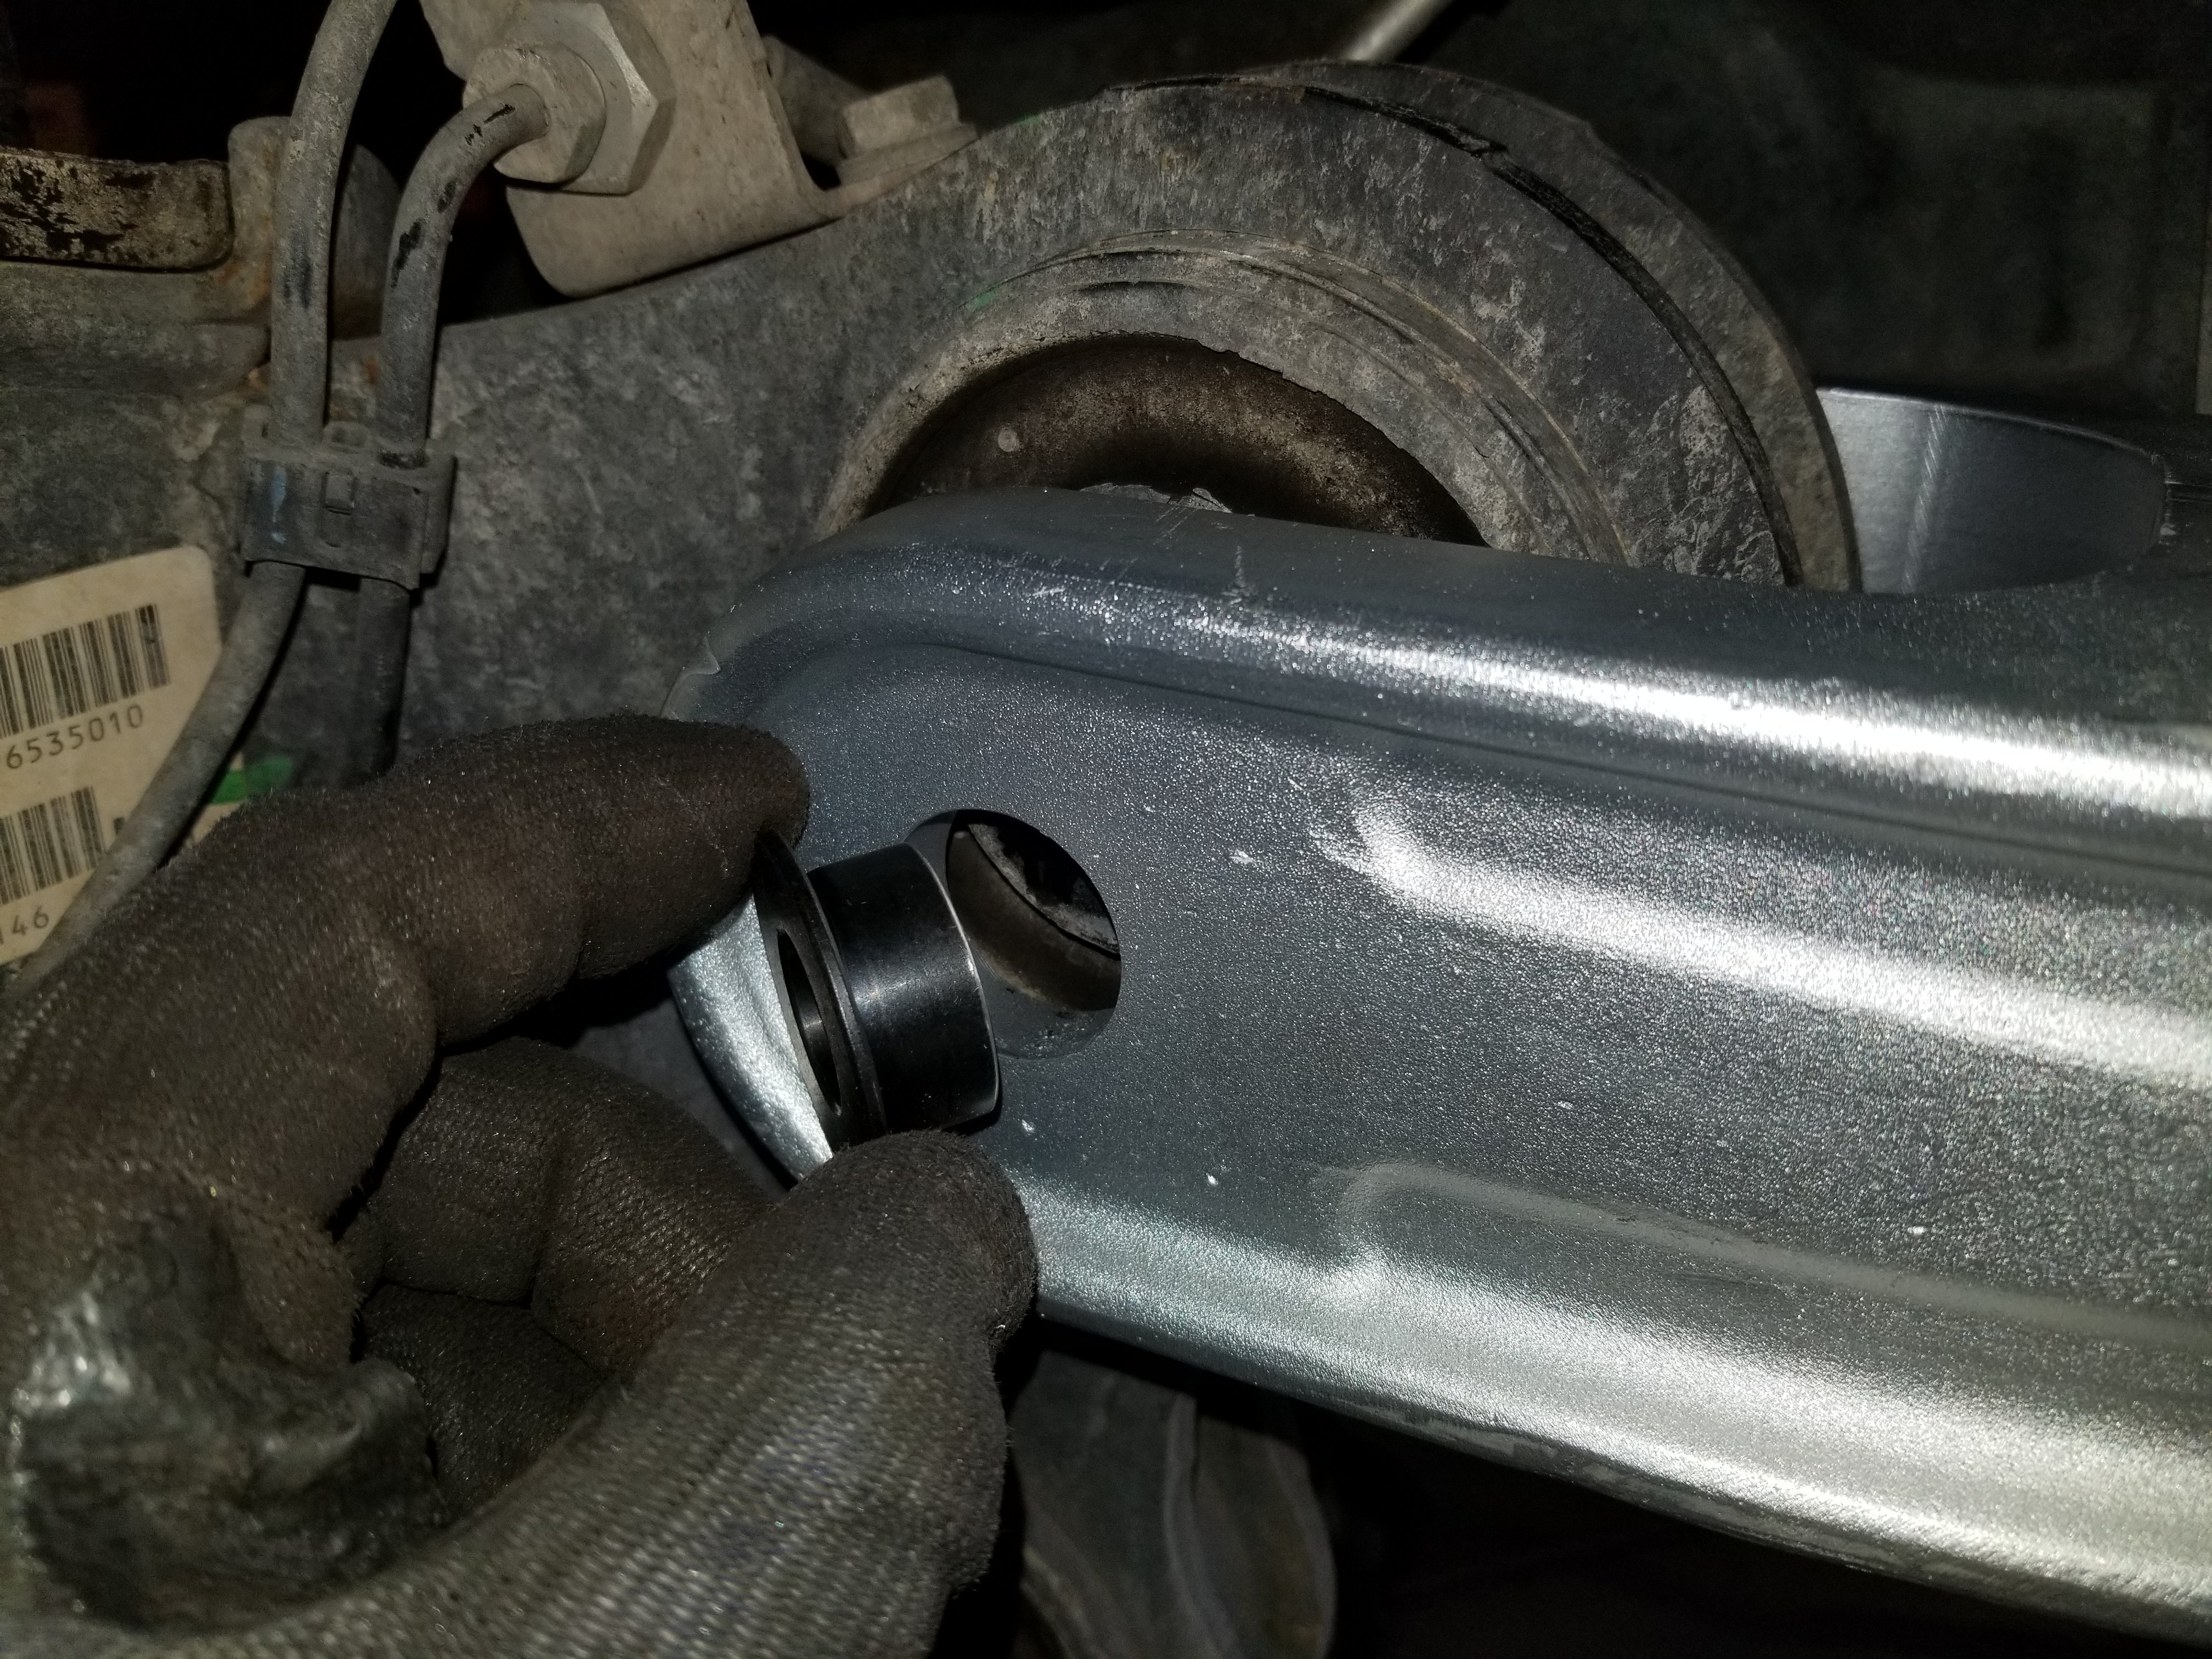
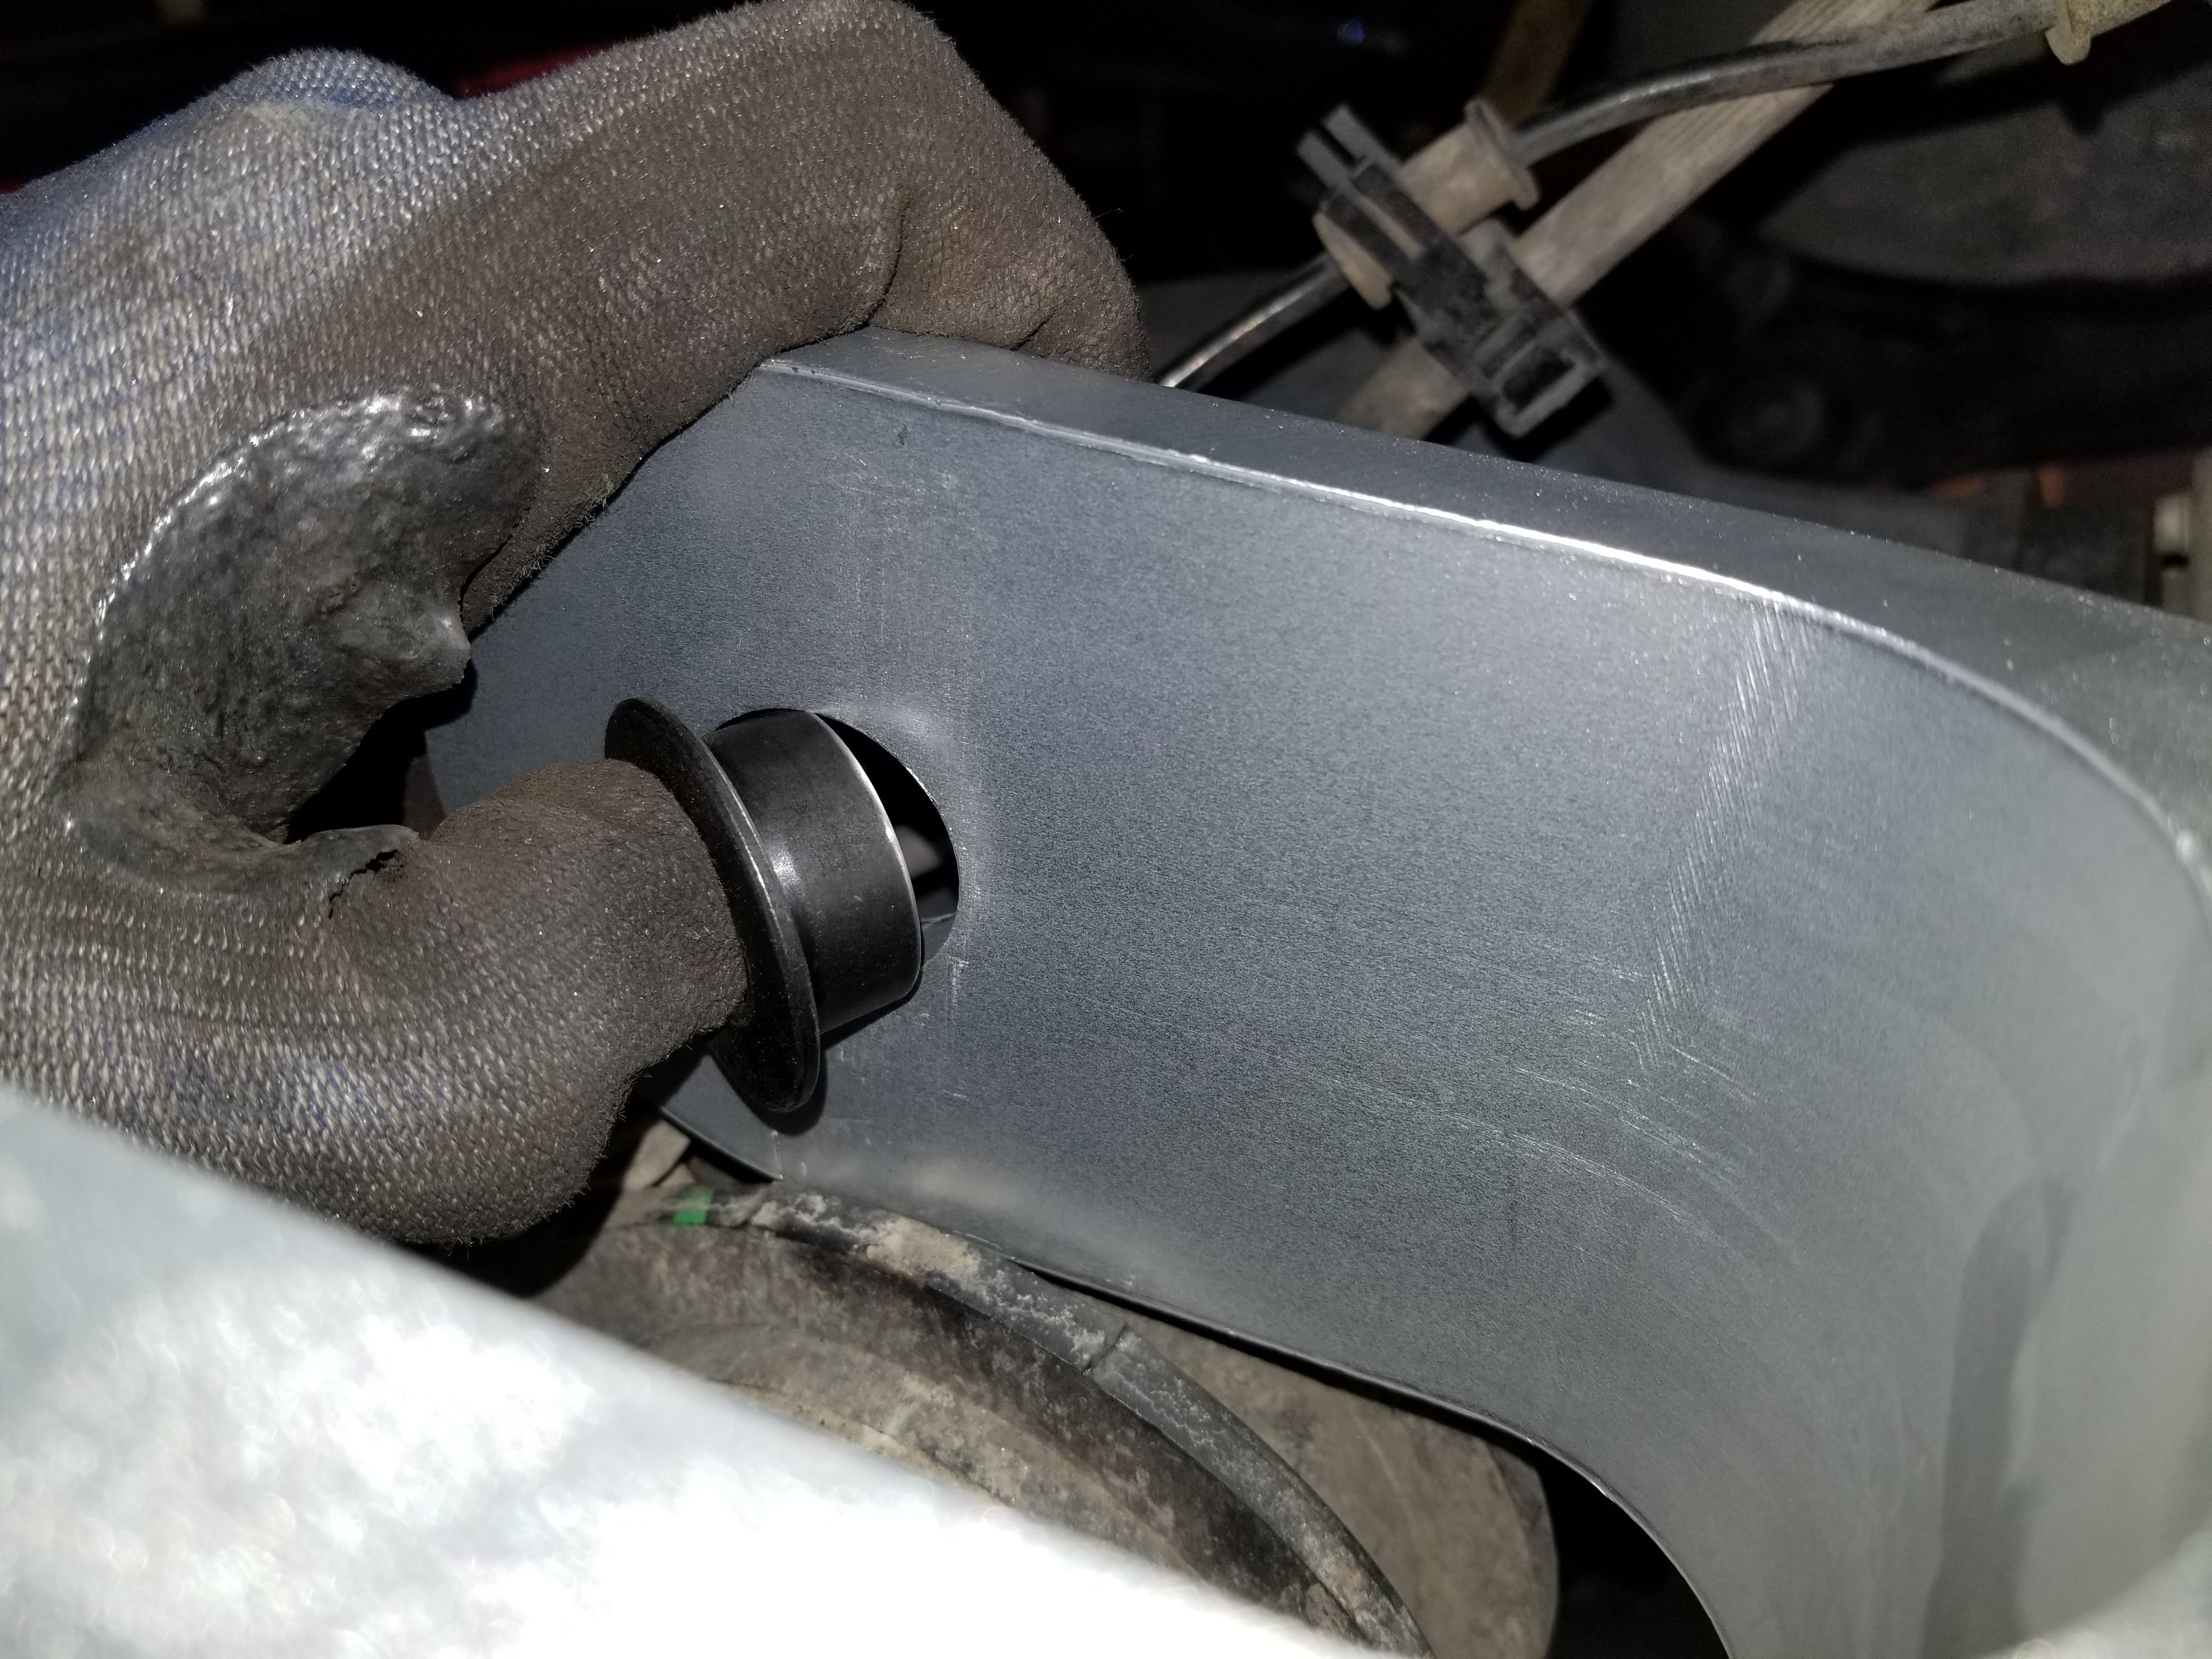
With the provided adaptor spacers, install them into the holes on the clevis side of the link arms. Once spacer needs to be inserted from the inside of the clevis out and from the outside in. Using the provided 18MM hardware, attach the upper link to the axle by swinging it up. Remove the lower bolt from the radius arm on the passenger side at the axle to allow for more rotation of the axle when you're attaching the driver's side lower link.
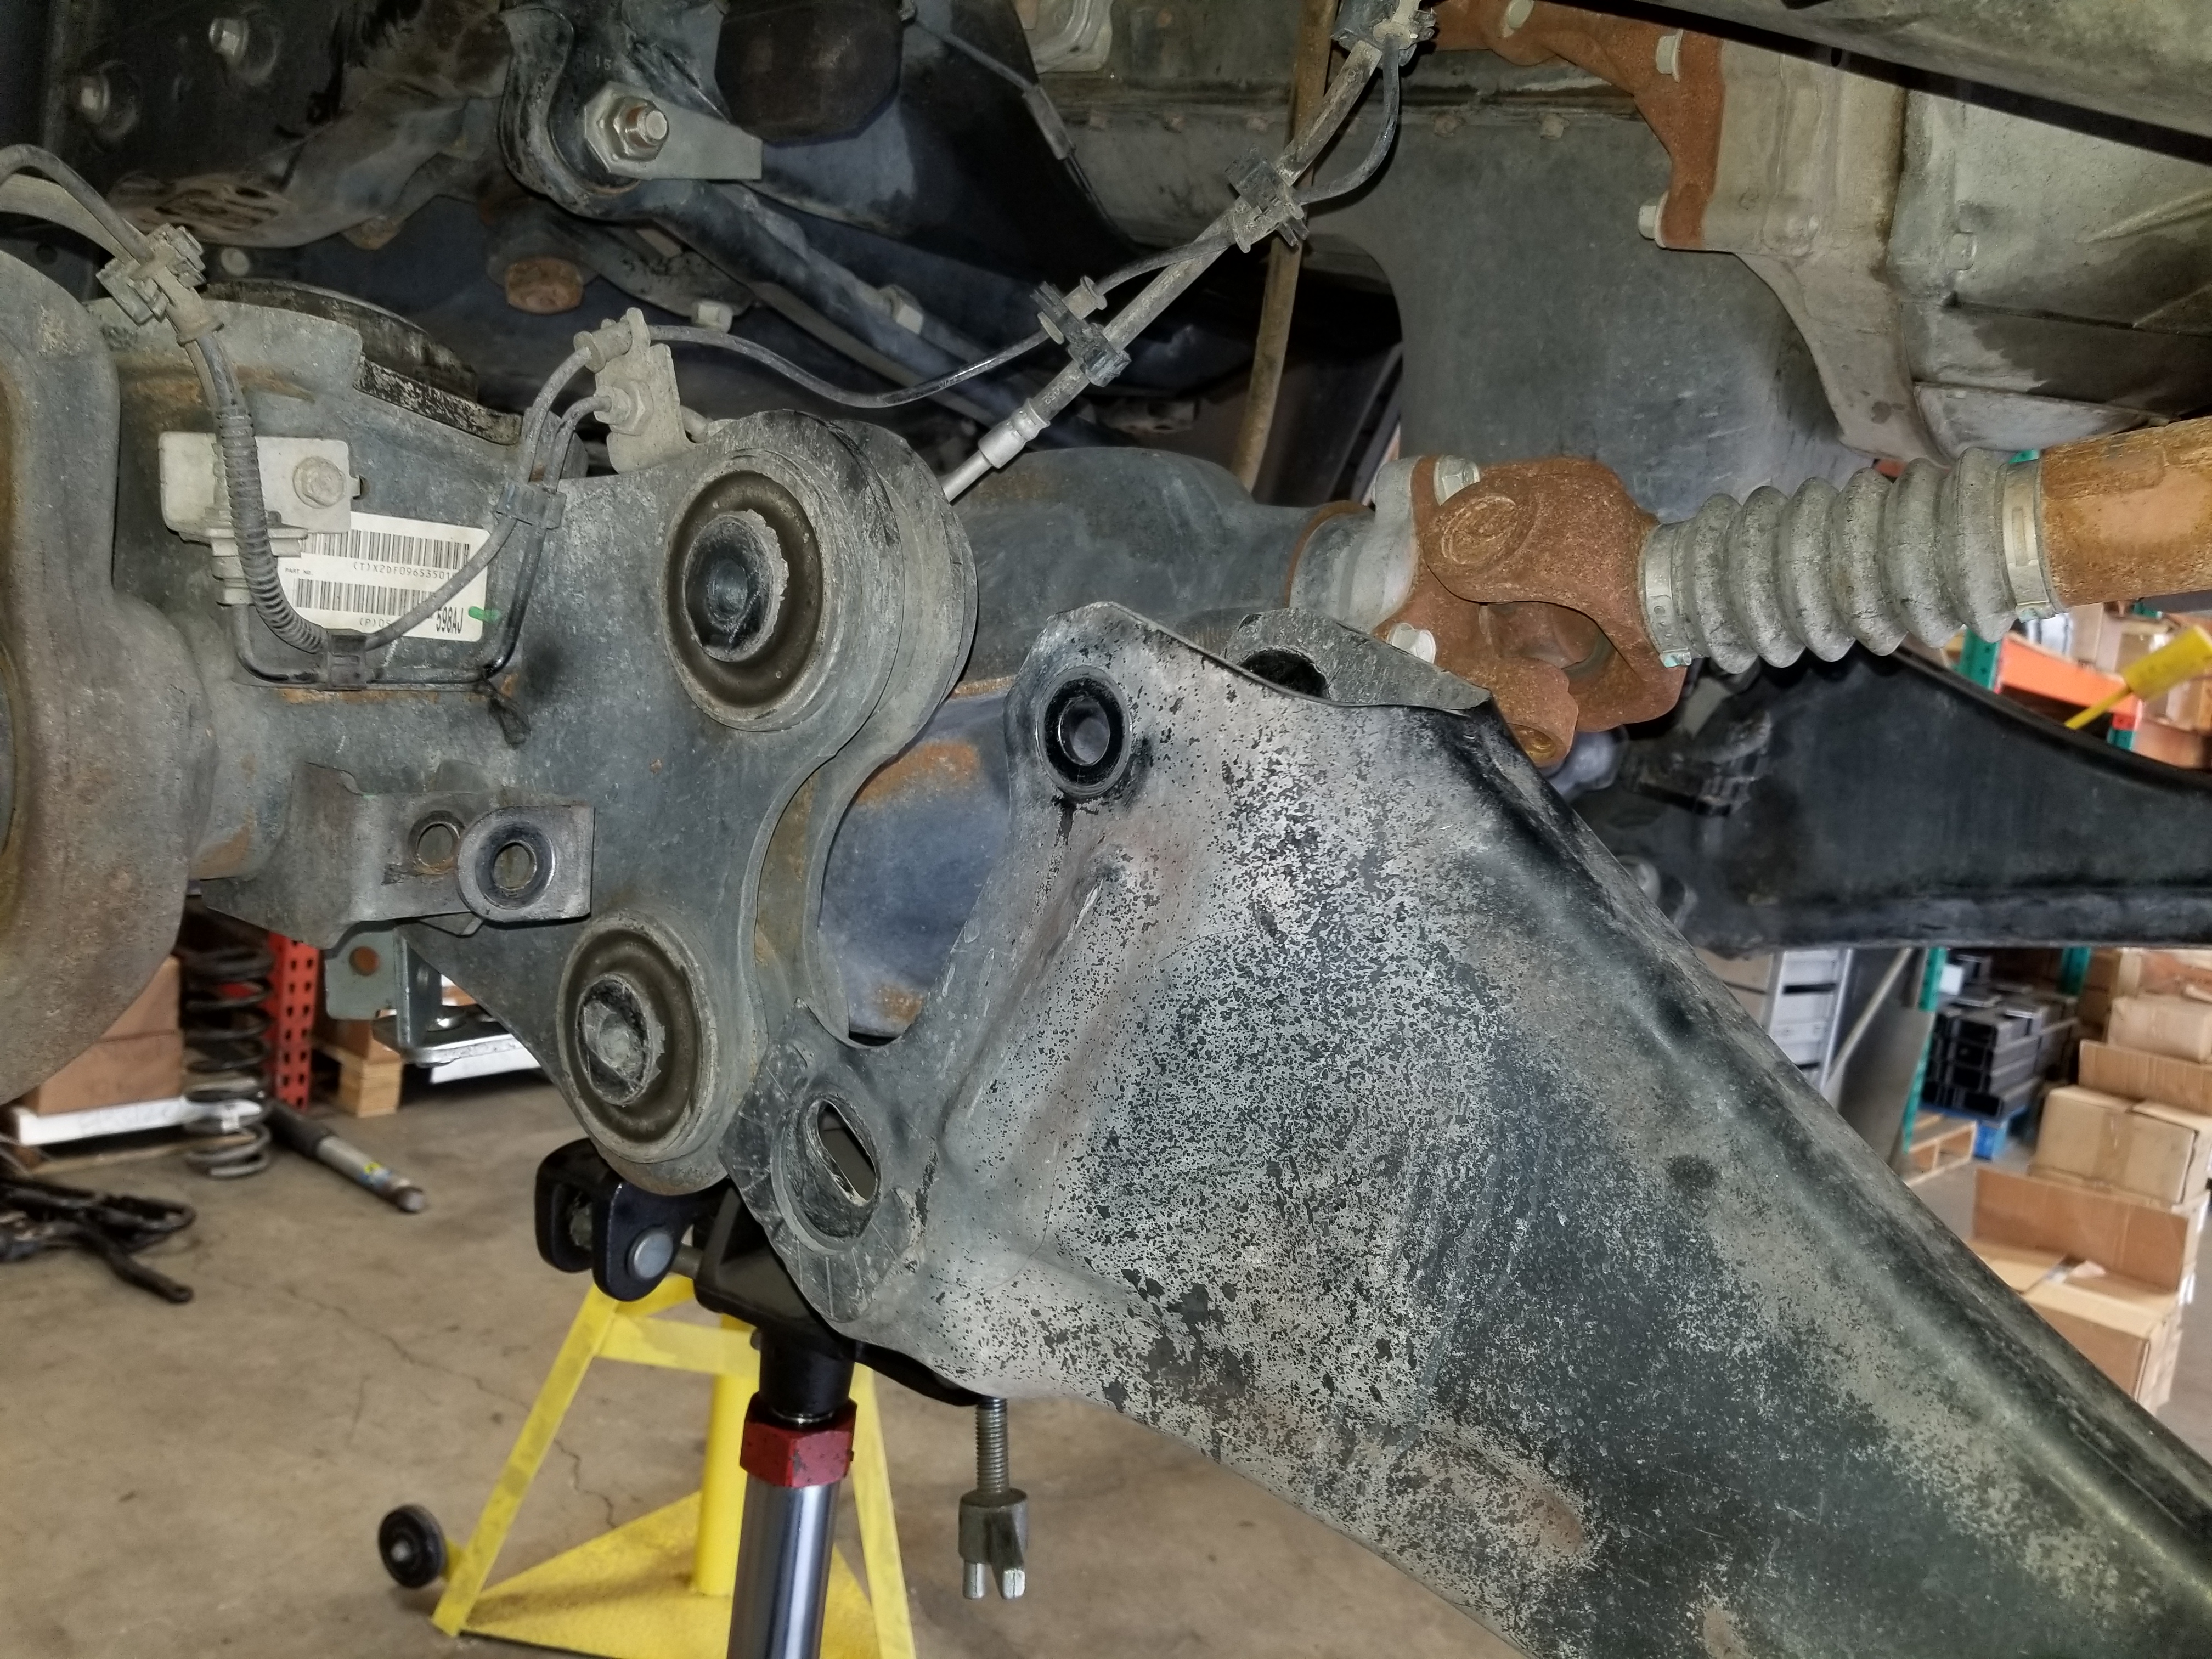
The link connections at the frame can be tightened fully while the truck is in the air but do not fully tighten the link connections at the axle until the truck is on the ground at ride height. Up next, you can tighten up the clamping bolts near the rod end of the links and tighten the jam nuts associated with them. Remove the bolt attaching the track bar to the frame, separate the track bar, and loosely install the track bar drop-down bracket using the factory bolt.
Keep in mind the attachment plate for the track bar goes one way. The angled side of the plate points forward. You can take the plate and slide it between the oil pan and the cross member and loosely attach it with the provided hardware and the from and the rear. Install the rest of the hardware into the plate and tighten the 3/8-inch bolt in the middle. If the holes don’t align for the middle bolt, disregard this bolt.
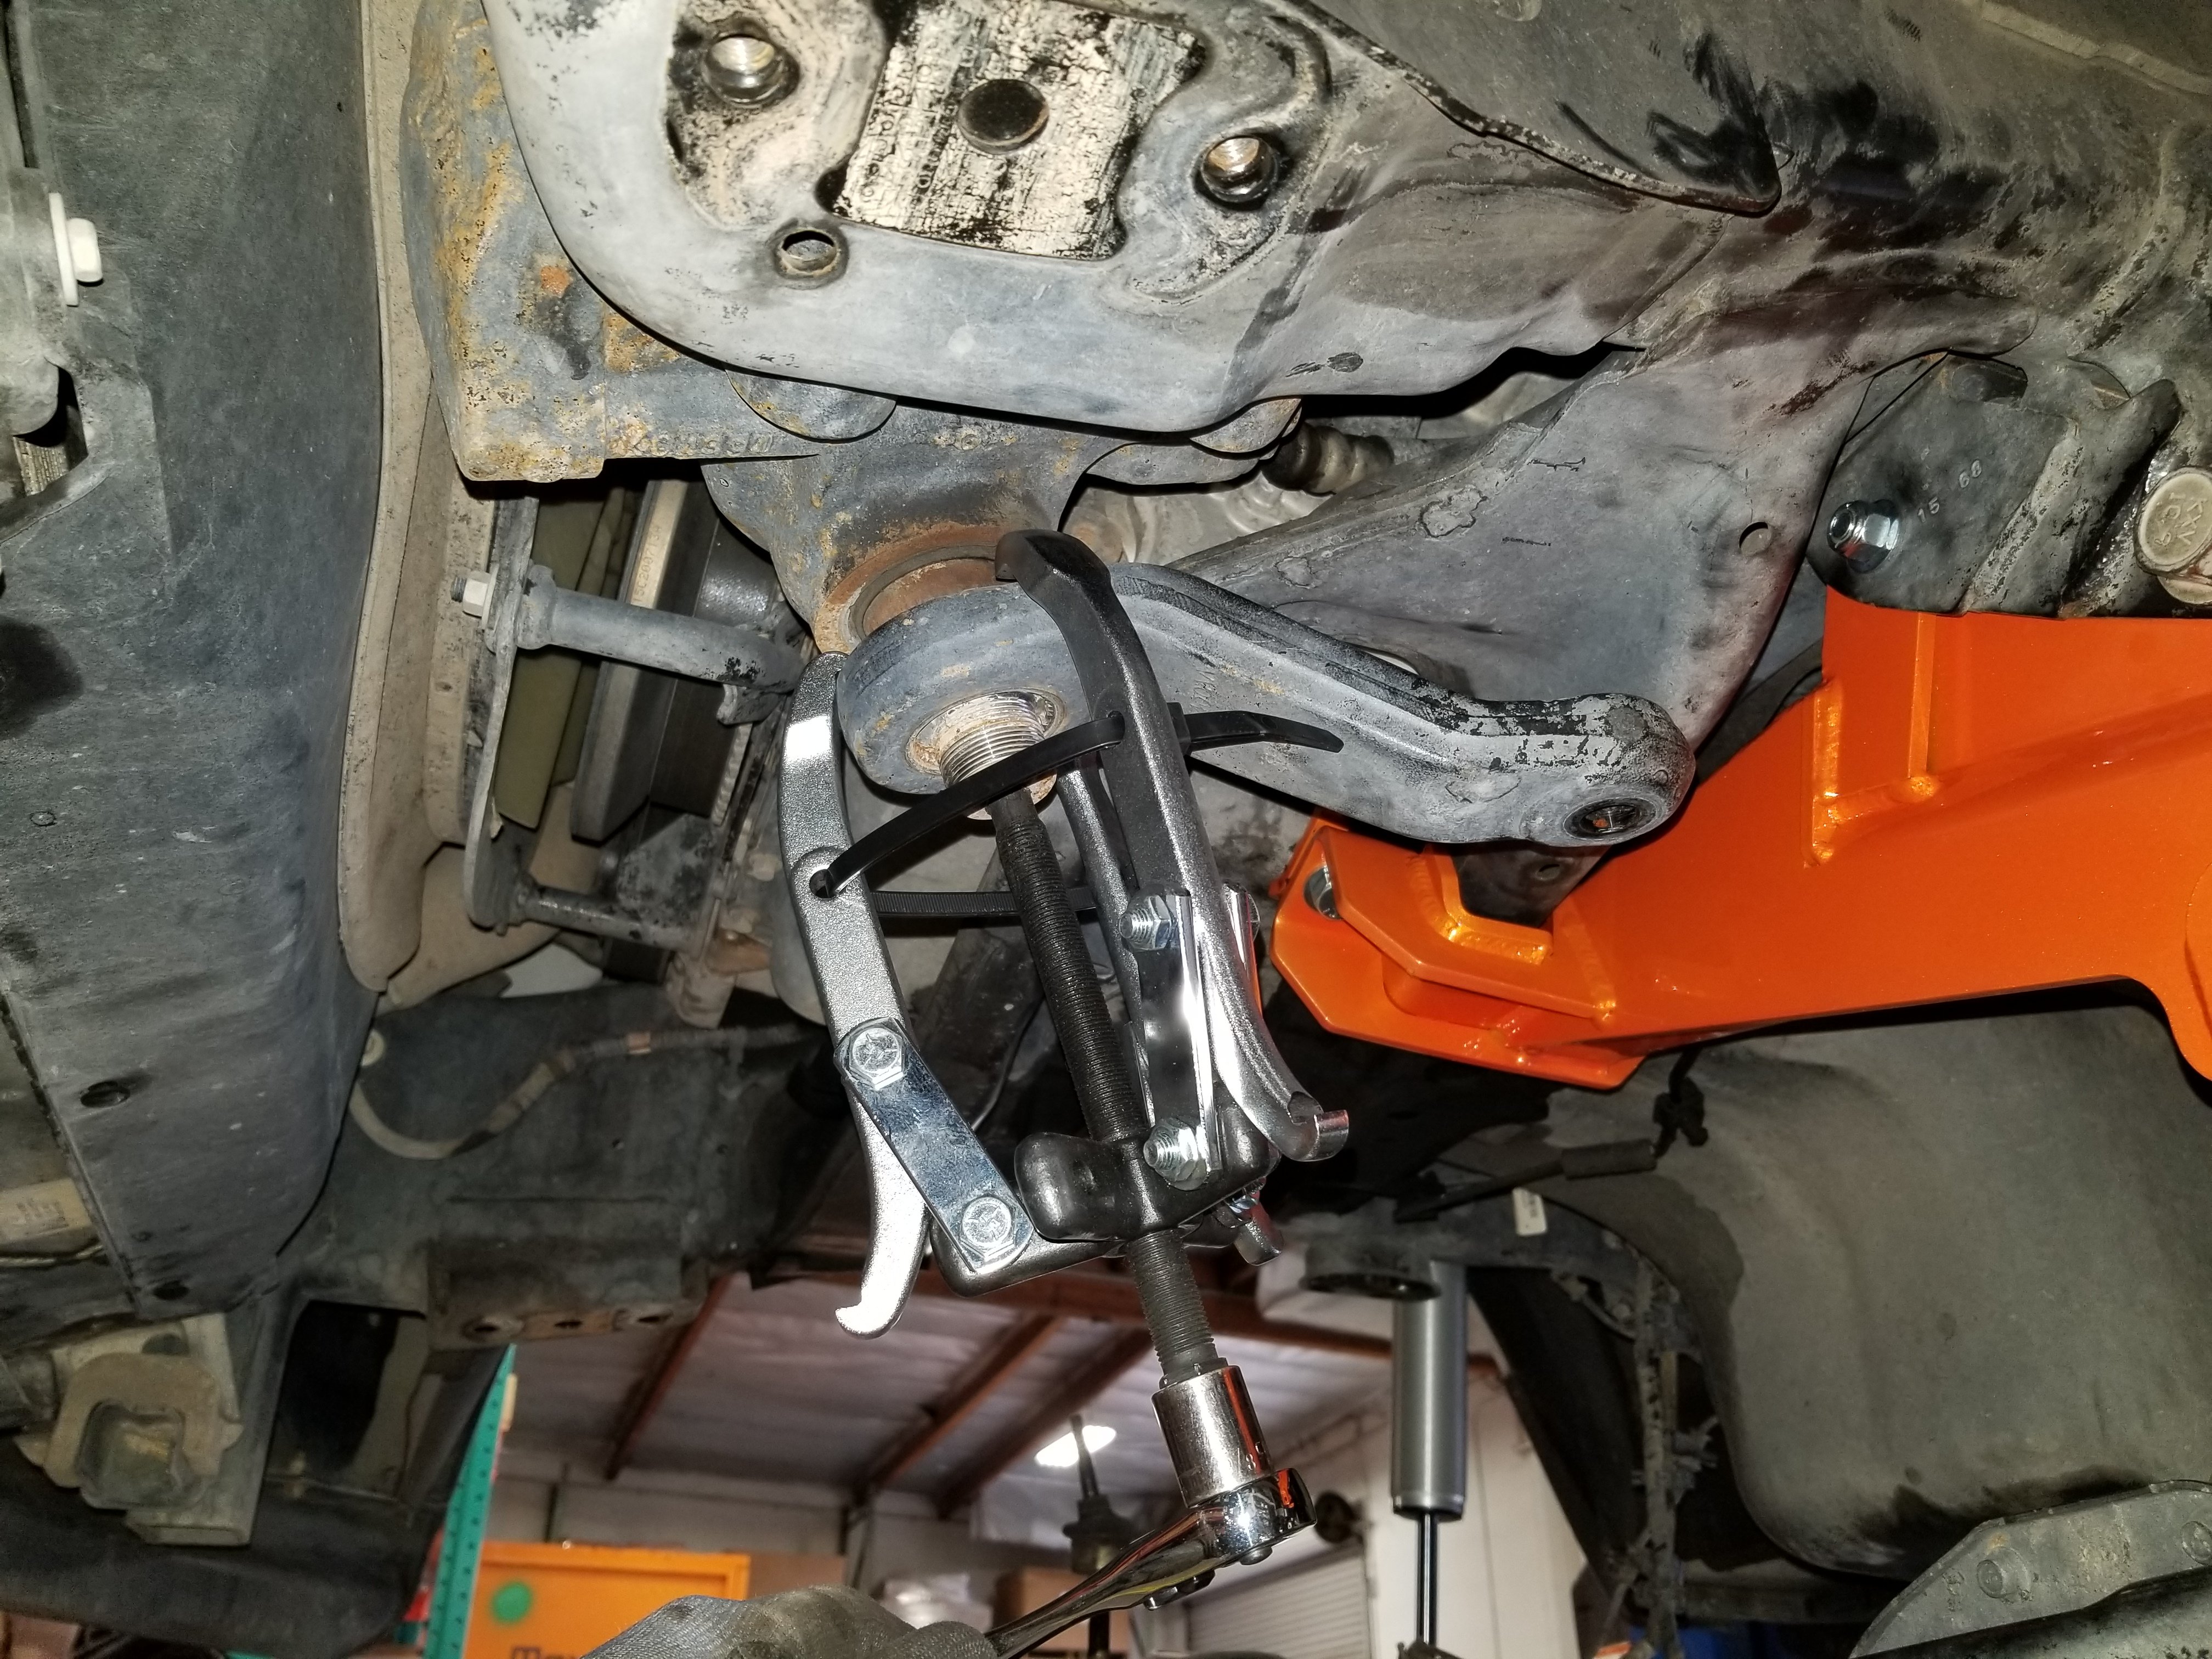
Remove the nut attaching the drag link to the pitman arm and then separate the two. You will need to hit the side of the pitman arm with a hammer right where the joint goes through to break it loose. These items never come off easy. Remove the nut attaching the pitman arm to the steering box and remove the pitman arm by using a puller.
When you have the OE pitman arm off, you can now install the new pitman arm in the same position as the factory one came off but be sure and apply thread locker to the nut beforehand. Now, break the jam nuts loose holding the inner and outer rod ends of the drag link together and completely unthread the short side rod end.
Cut off the end of the rod end where the flat spot meets the threads. The rod end gets flipped when installing into the new pitman arm and this flat indexing has to be removed to achieve this. Thread the short side rod end back into the drag link adjustment sleeve, then install the rod end into the pitman arm from the bottom up, and tighten.
Attach the track bar to the drop-down bracket using the provided 18MM bolt and two offset square plates. The offset hole will need to be oriented to the pass side of the truck for a 6-inch lift and drive side for a 4-inch lift. Install the provided sway bar drop-down brackets using the factory hardware, then attach the sway bar to the brackets using the supplied M10 hardware.
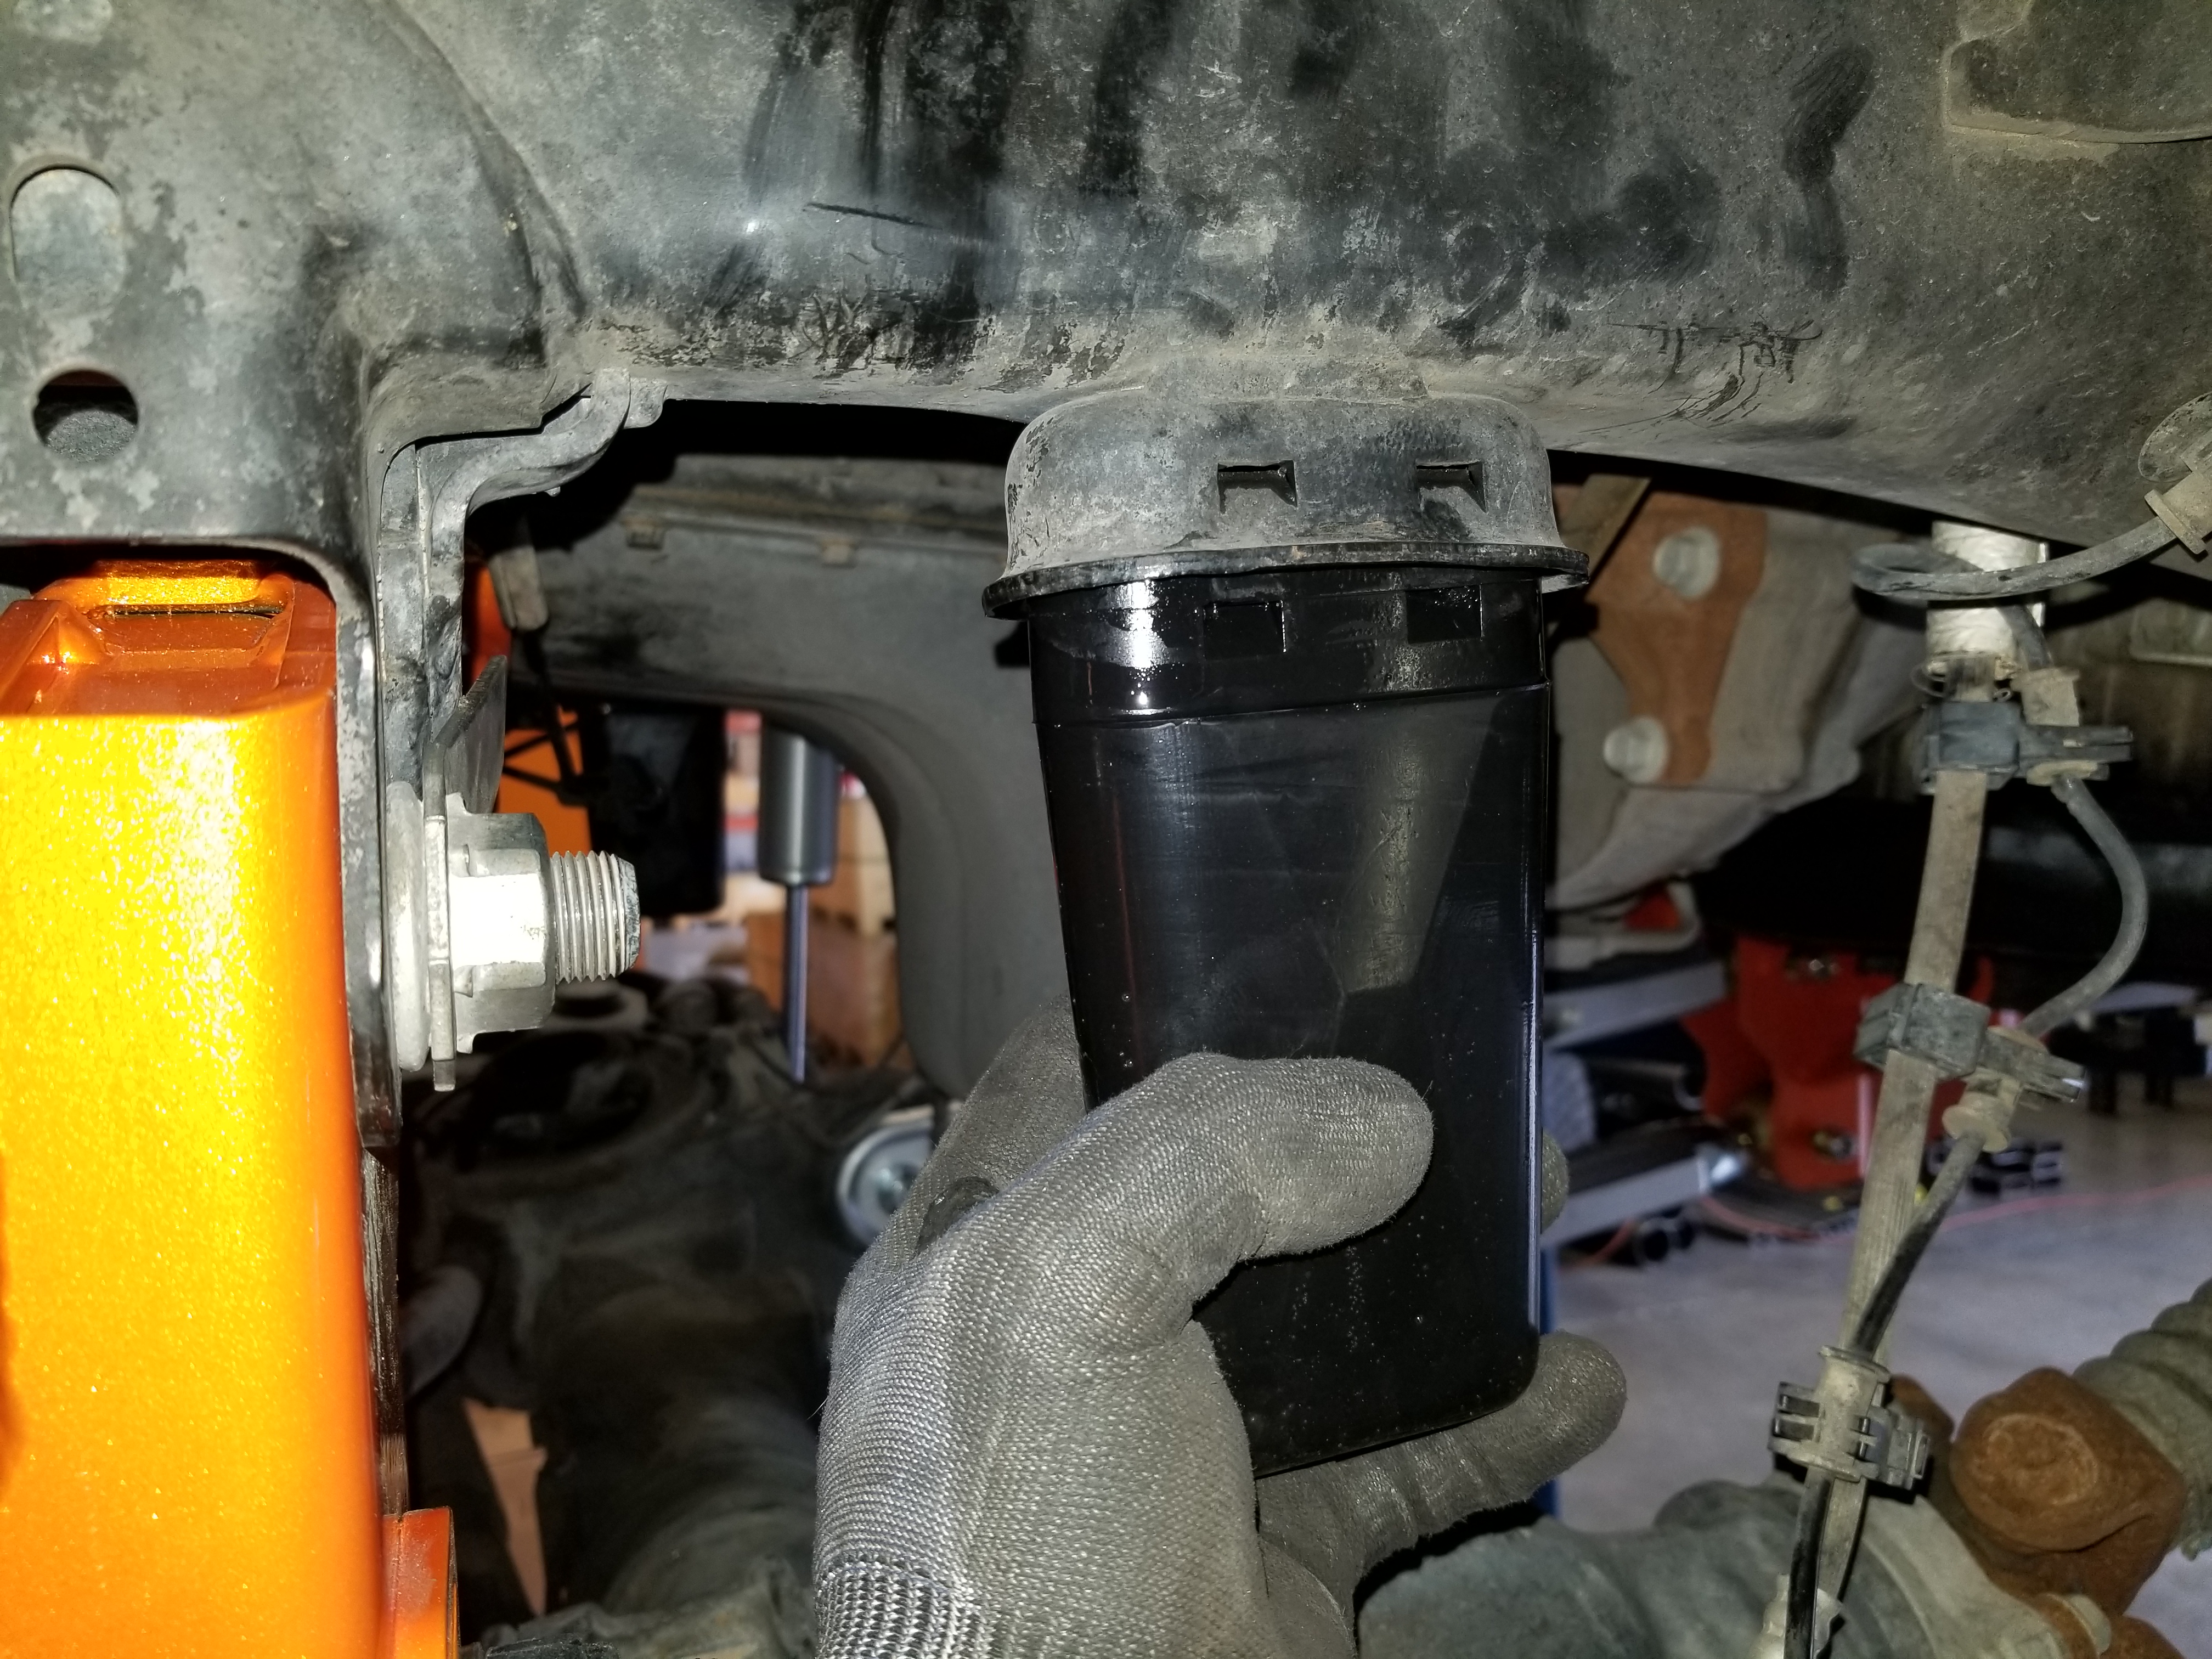
Pop the new, longer bump stops into place.
Place the rubber isolator on top of the new coil and install the coil. Make sure the nipple on the isolator aligns with the hole in the coil bucket then jack up the axle so that pressure is applied. Install the new, longer shocks using the factory bolt at the bottom and tighten.
Then, align the sway bar with the end links on the axle and tighten down both sides using the factory nuts. Re-install the wheels and tires then lower the truck to the ground. Once at ride height, tighten down the track bar to the bracket and the links to the axle. If installing the radius arm lift kit, then fully tighten all of the radius arm mounting points now that the truck is on the ground.
To The Back
The rear will be the most simple part of the install. These instructions will be for a Ram 3500. Lift the rear of the truck up and support it with jack stands under the frame allowing the suspension to free up and fall. Now, apply pressure to the differential allowing you to remove the rear shocks. Next, one side at a time, you can loosen the U-bolts that are holding the leaf springs tight. Once they are loosened up enough, you can remove them.
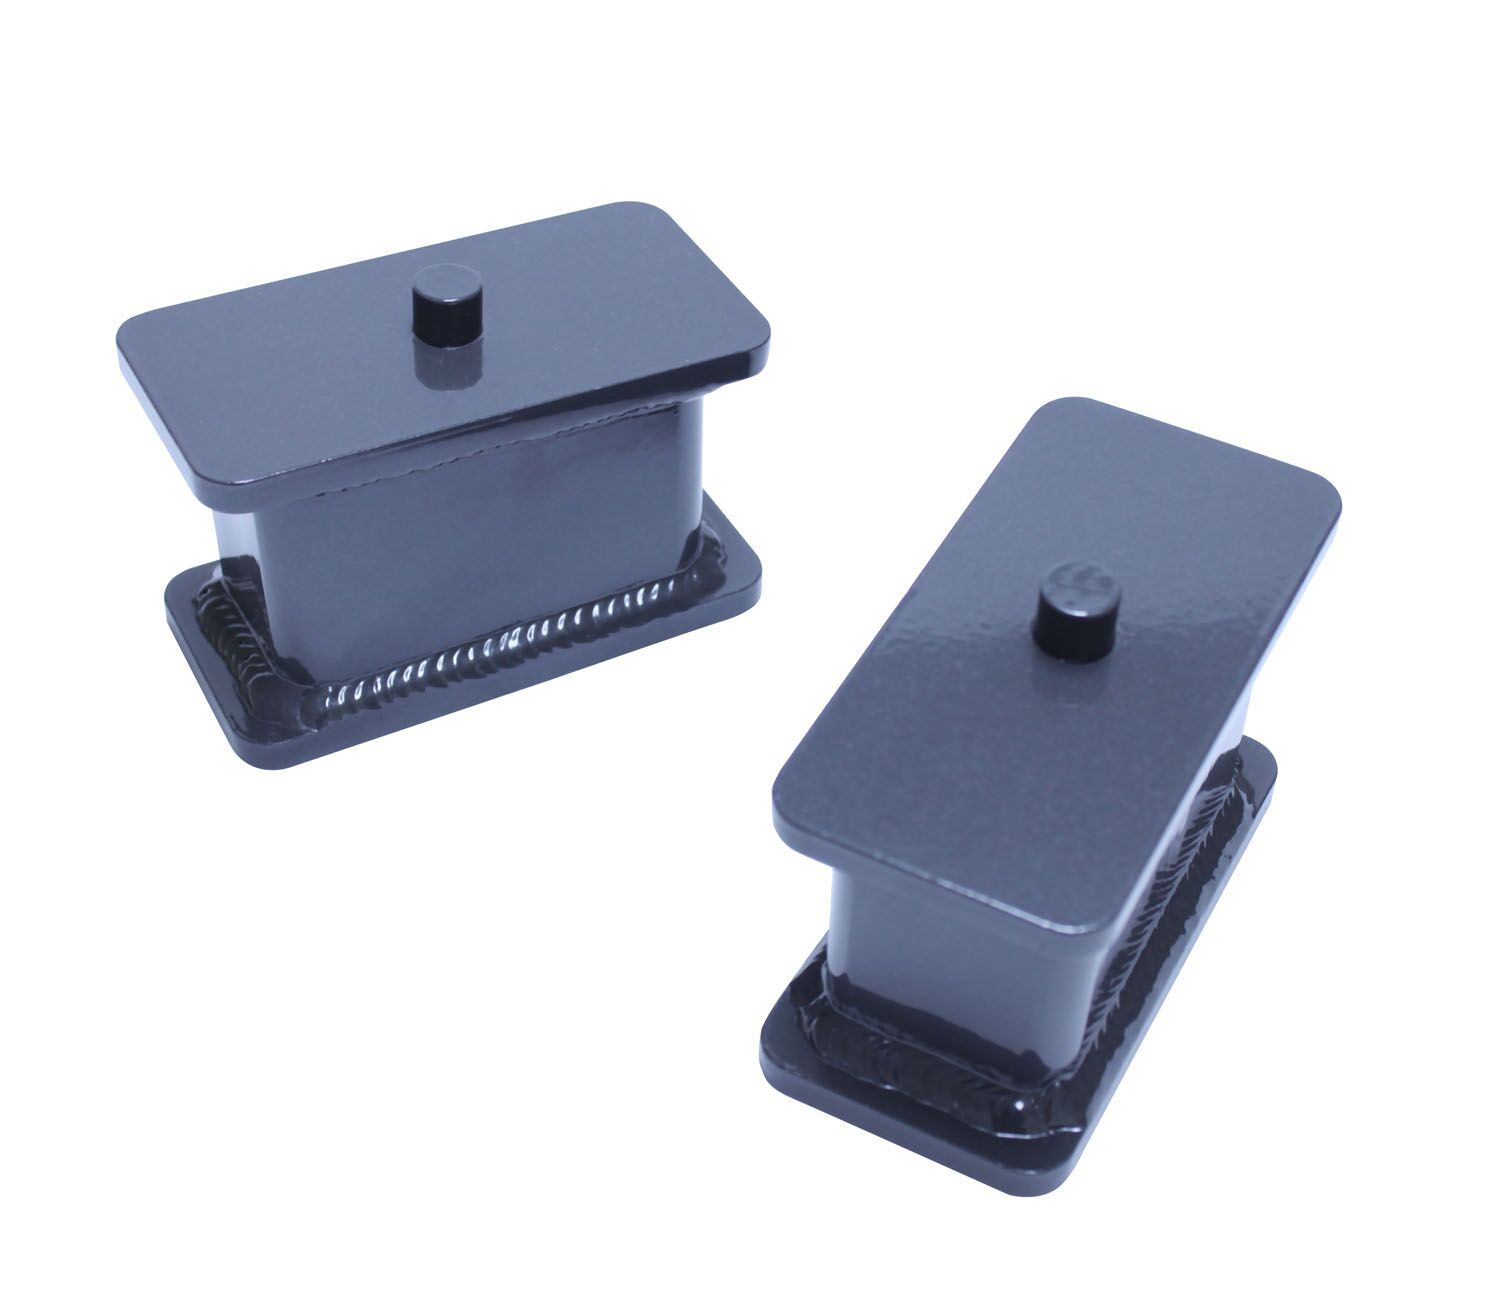
With the U-Bolts removed, you can lower the rear differential making room for the lift blocks. With enough room for the new lift block, you’re ready to put it into place. Align the center pins and jack up the differential pinching the block inbetween it and the leaf spring pack. With both blocks installed, attach the U-bolts back and torque them down to 100-ft/lbs.
Since your new kit came with new shock absorbers, it’s time to show them off. One thing that MaxTrac can’t stress enough is that their shocks are intended to be one way only. The rod end of the shock must be frame and the body of the shock should be at the axle. If you ended up with Fox shocks, they will need to be installed in the opposite of that.

With this lift kit completely installed, one of the first things you should do is go back over and check and make sure all of the hardware is tightened and torqued properly. Then, it’s best if you get a wheel alignment as soon as possible. With the height of the truck different, you’re probably going to need to make adjustments to your headlights to properly light the road. Also, after 500 miles, MaxTrac suggest you recheck all of the hardware one more time to make sure it’s 100-percent.
“Expanding our forged link and lift systems to the 3/4-ton and 1-ton Rams was a no brainer because the demand for lifting these platforms has been spreading like wildfire,” Simpson said. “Unfortunately, we do not currently have plans to cover the older platforms, because demand from our customer base has not presented itself to be very strong. Max Trac Suspension began as a two-wheel drive oriented company that has been slowly growing into the four-wheel-drive world due to outreach from our current customer base. We plan to continue to address the growing needs of our customers as they present themselves, but in a sustainable manner so as not to neglect the platform that we have worked so hard to establish.”
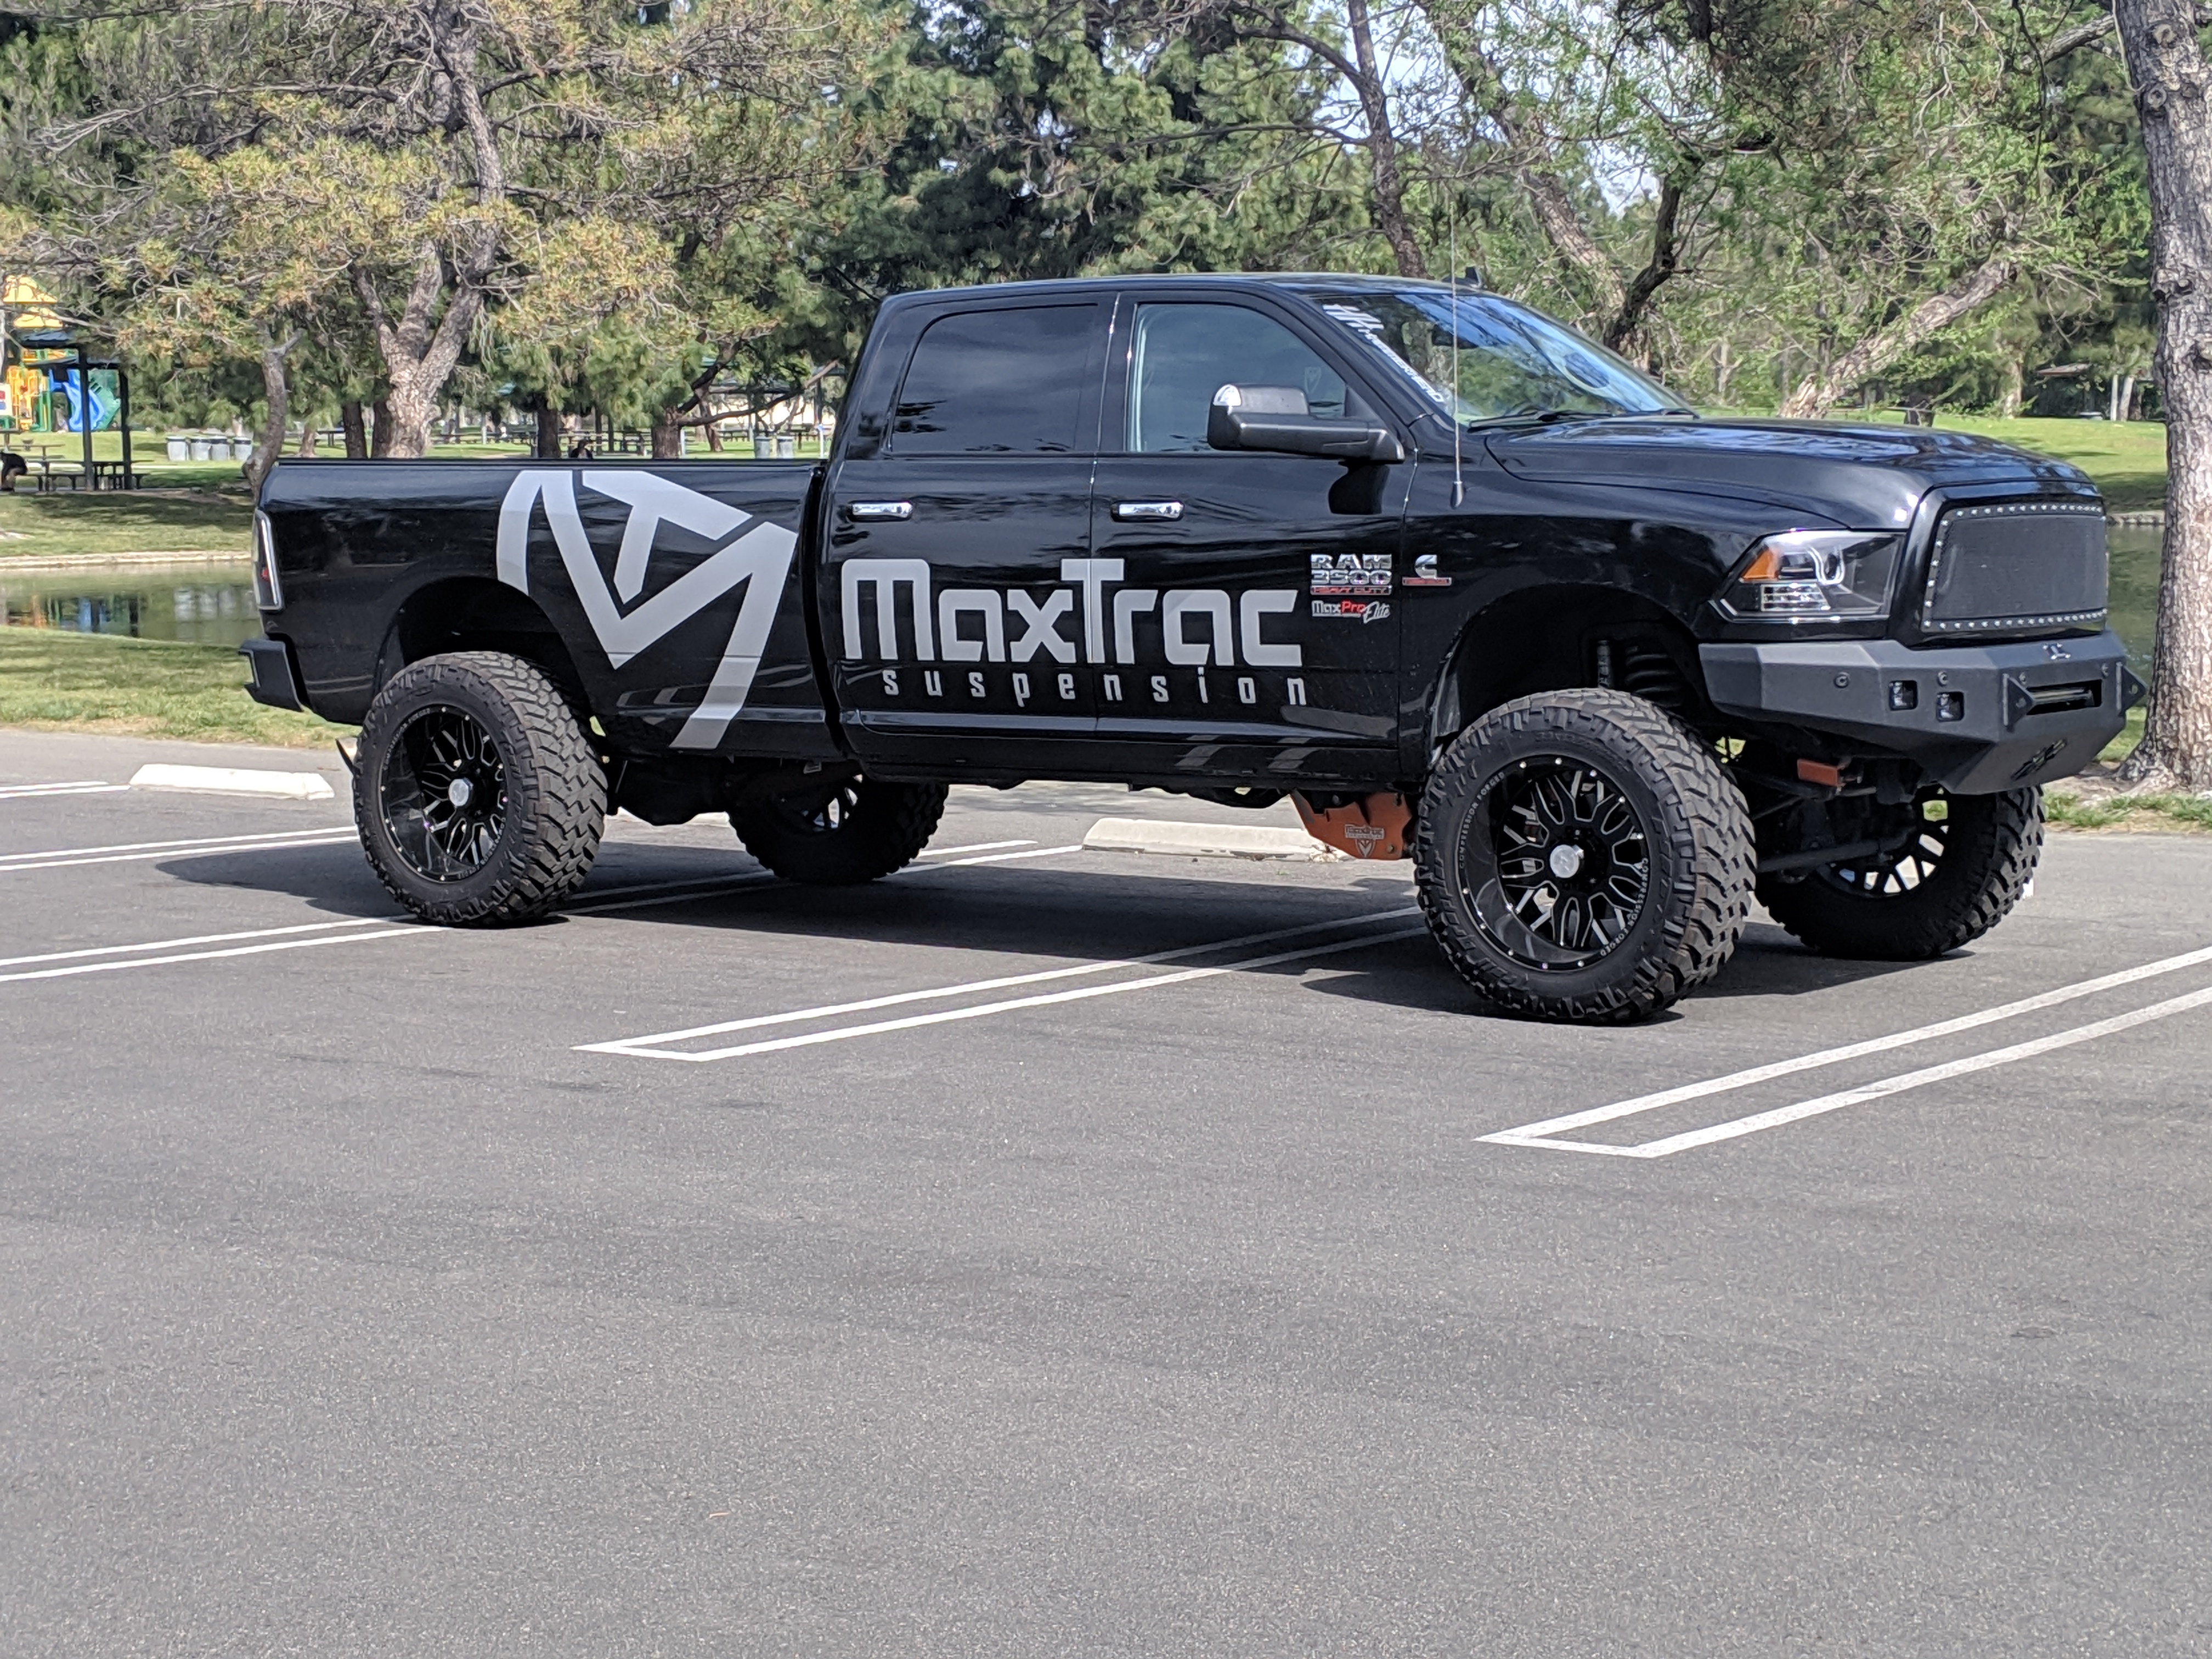
As you can tell, these MaxTrac Suspension kits are no joke. They are not your ordinary suspension system and it shows. These are quality parts that will guarantee your ride a safe and well-performing system for miles to come. If your ride falls under their kit coverage, be sure and check out their website here and get your kit coming. What are your thoughts on these kits features? Let us know in the comments below.