Project Redneck is our sincere attempt at making a TJ that can rock crawl and look rad doing it. We’ve been following the build on Redneck for a number of years, and our latest efforts have brought us to the home stretch. We’re close to the end now, and with it, we’re capping off a build process that has been a ton of fun to follow.
After installing tires, a new windshield, seats, beadlocked wheels, and more, Project Redneck is getting a drivetrain and suspension revamp that will spell the project’s completion. Once that’s done, Redneck will be on its way around the Southern California wilderness, looking for trails and scaling rocks to its heart’s contentment.
Let’s take a little walk down memory lane and look at what it took to get these final components.
Axles And Suspension

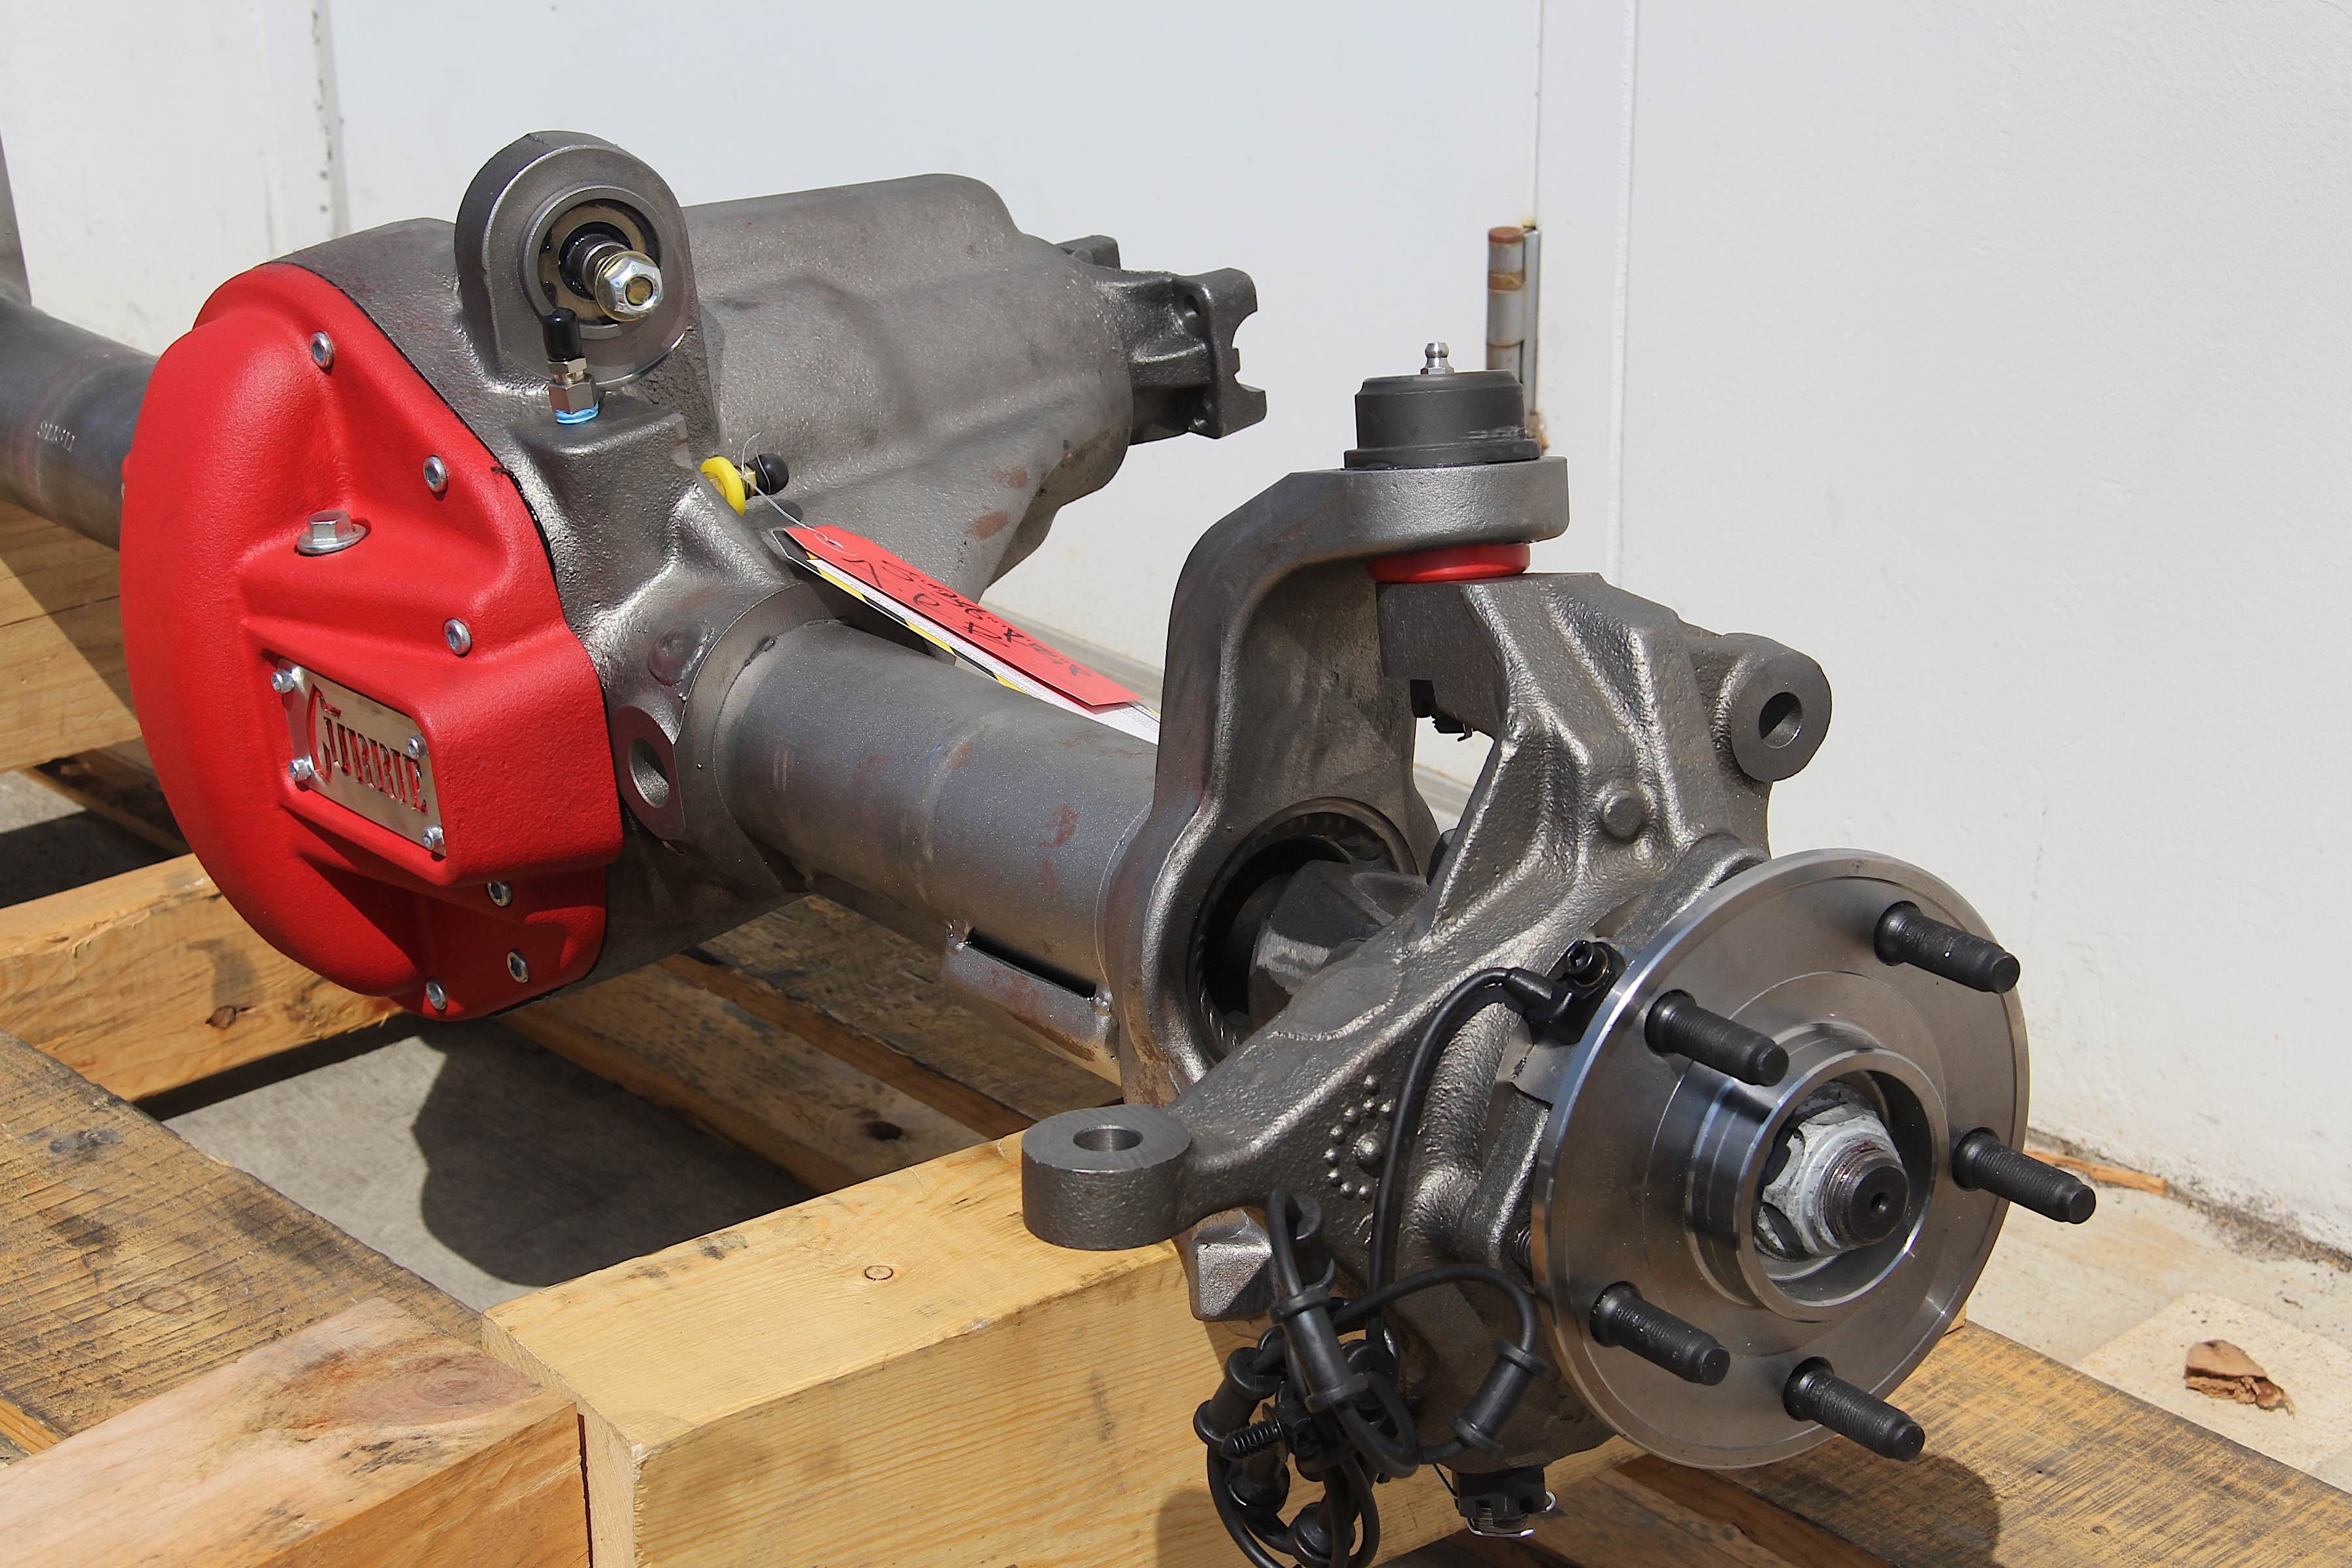
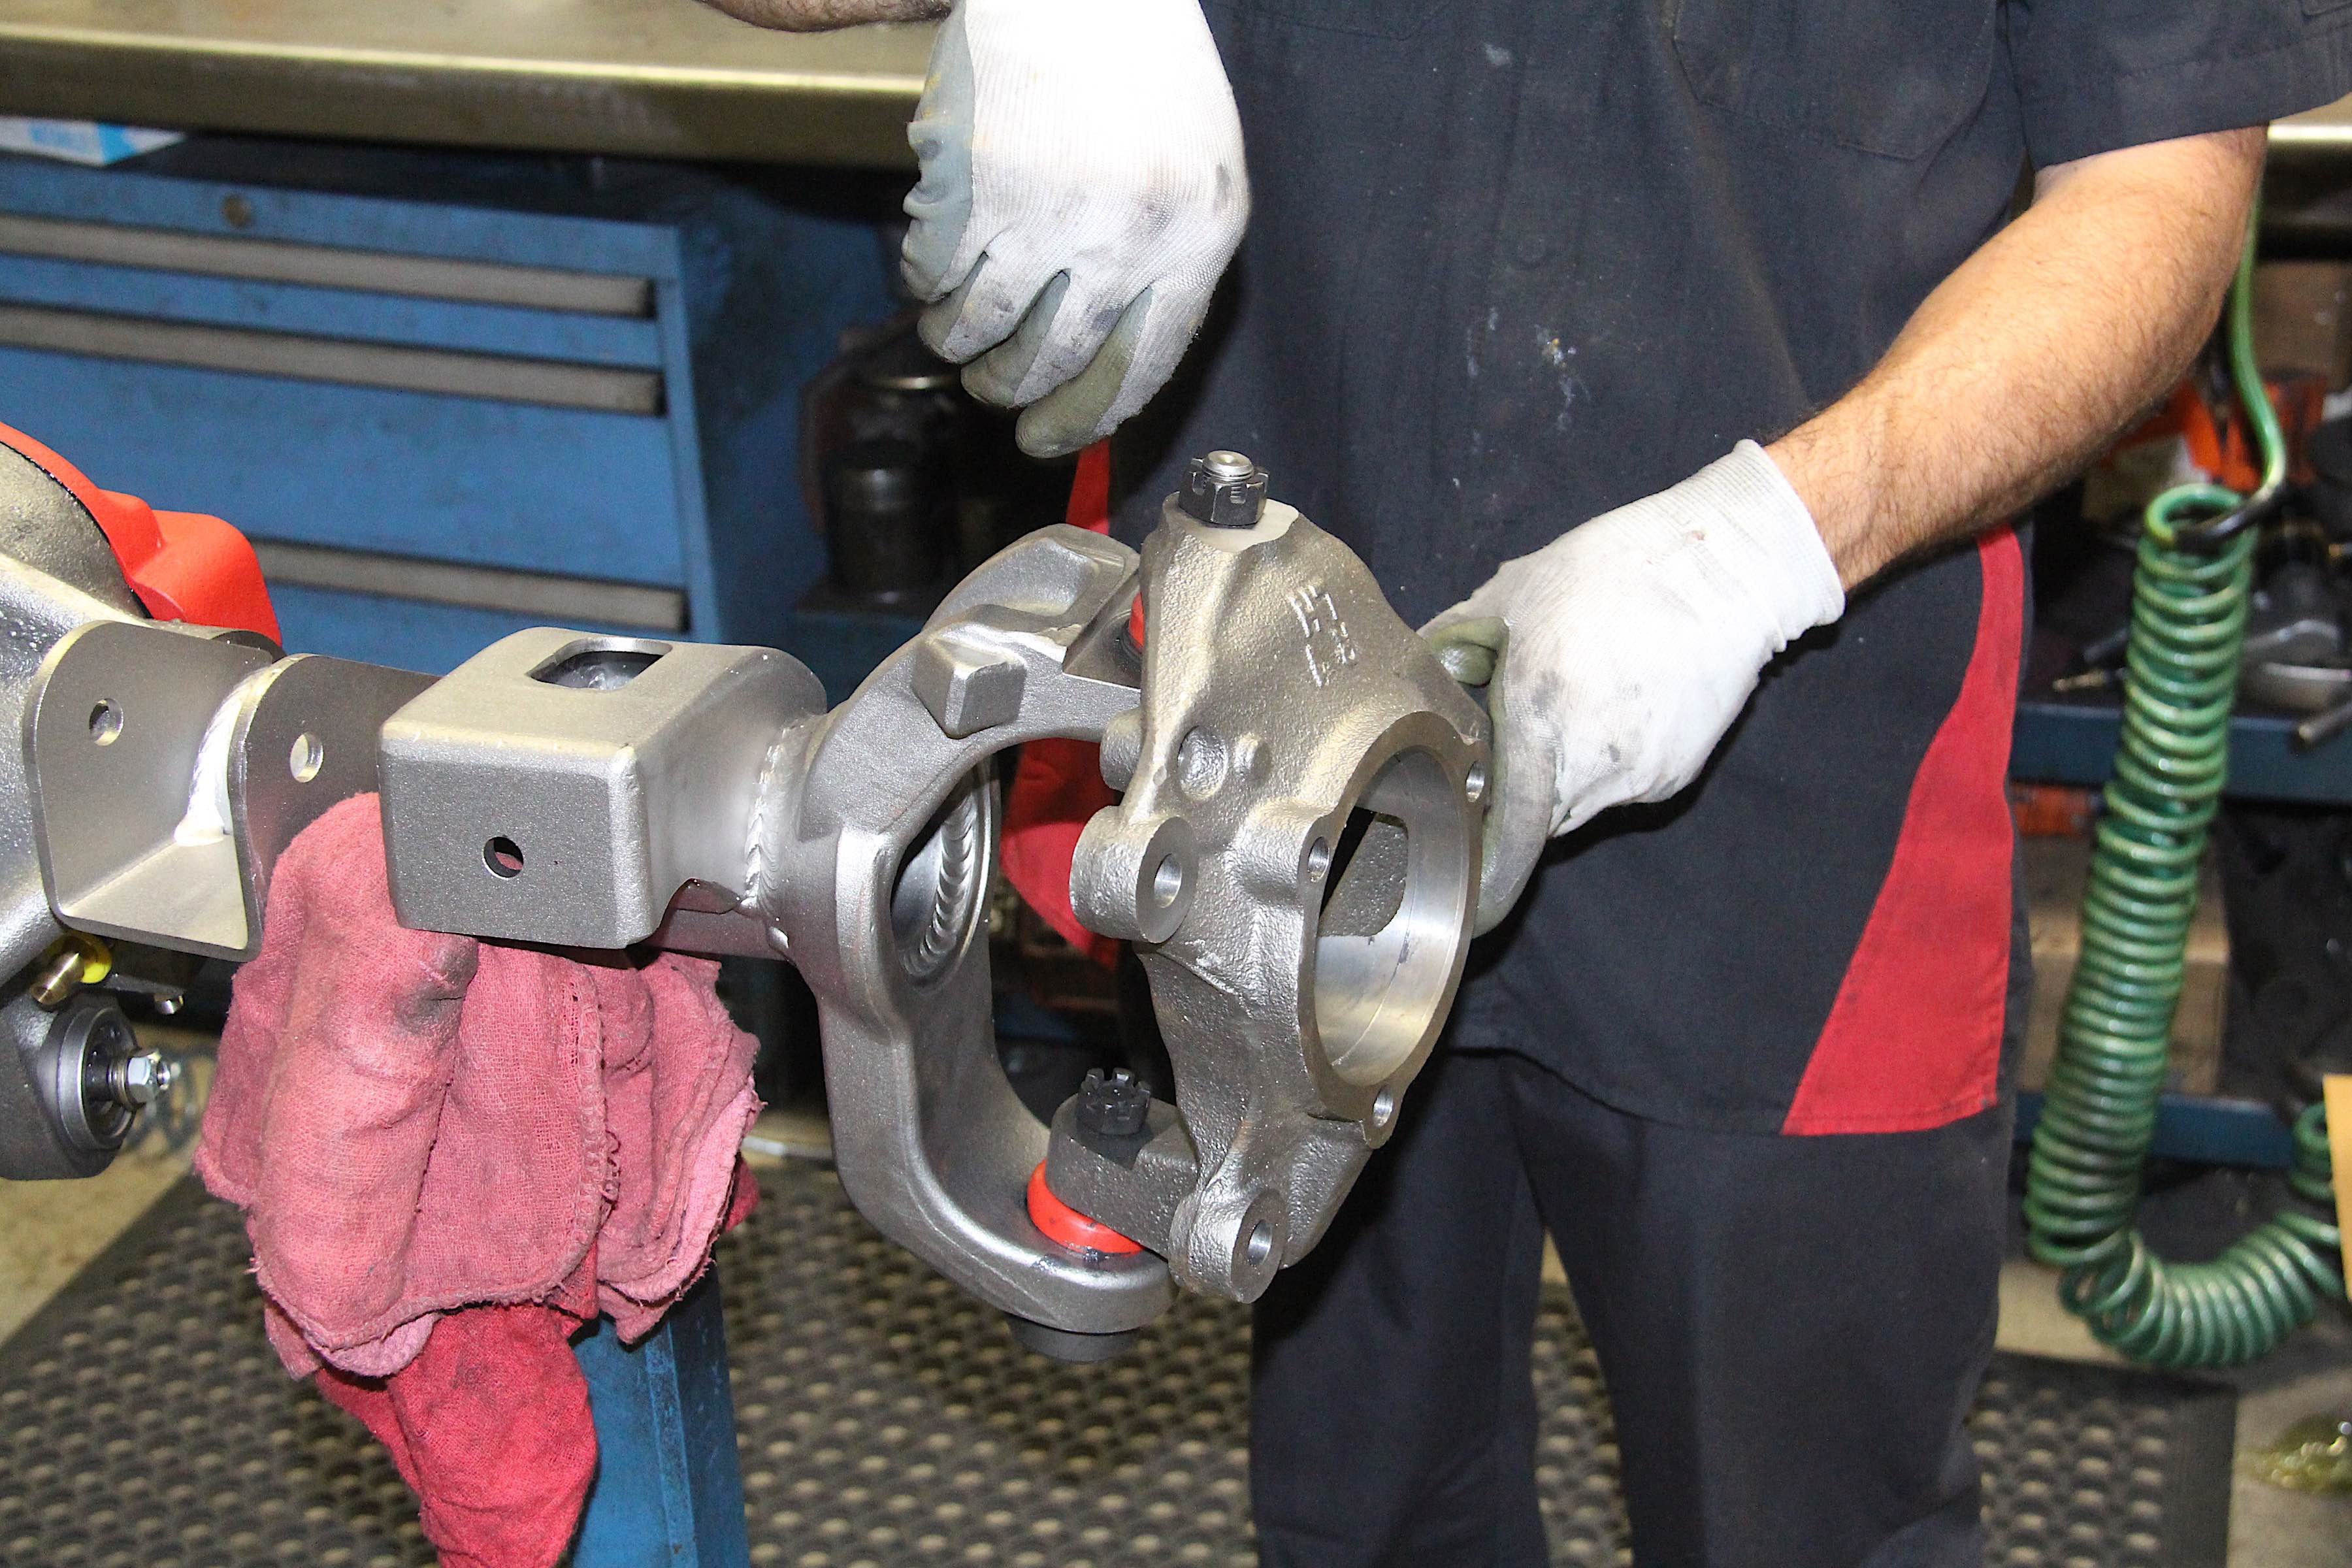
Taking care of the axle housings was Currie Enterprises’ doing, and they did a fantastic job. We got to see these getting put together at Currie’s facility in Corona, California some months ago, and it was a revelation to witness all of the work and detail that went into them.
We used custom Currie axles for the rear (PN TJ-44LPR1) and front (PN TJ-44HPF1). Both were geared to 5.38:1 and were given ARB air lockers (PN 44-ARBH front; PN 44-ARBH35 rear) to assist in off-road traction, and use JK outers. The air lines mounts to the axle were fitted at Currie’s facility, but we’d be doing the rest of the line running and switch installation once we had the axles back home.
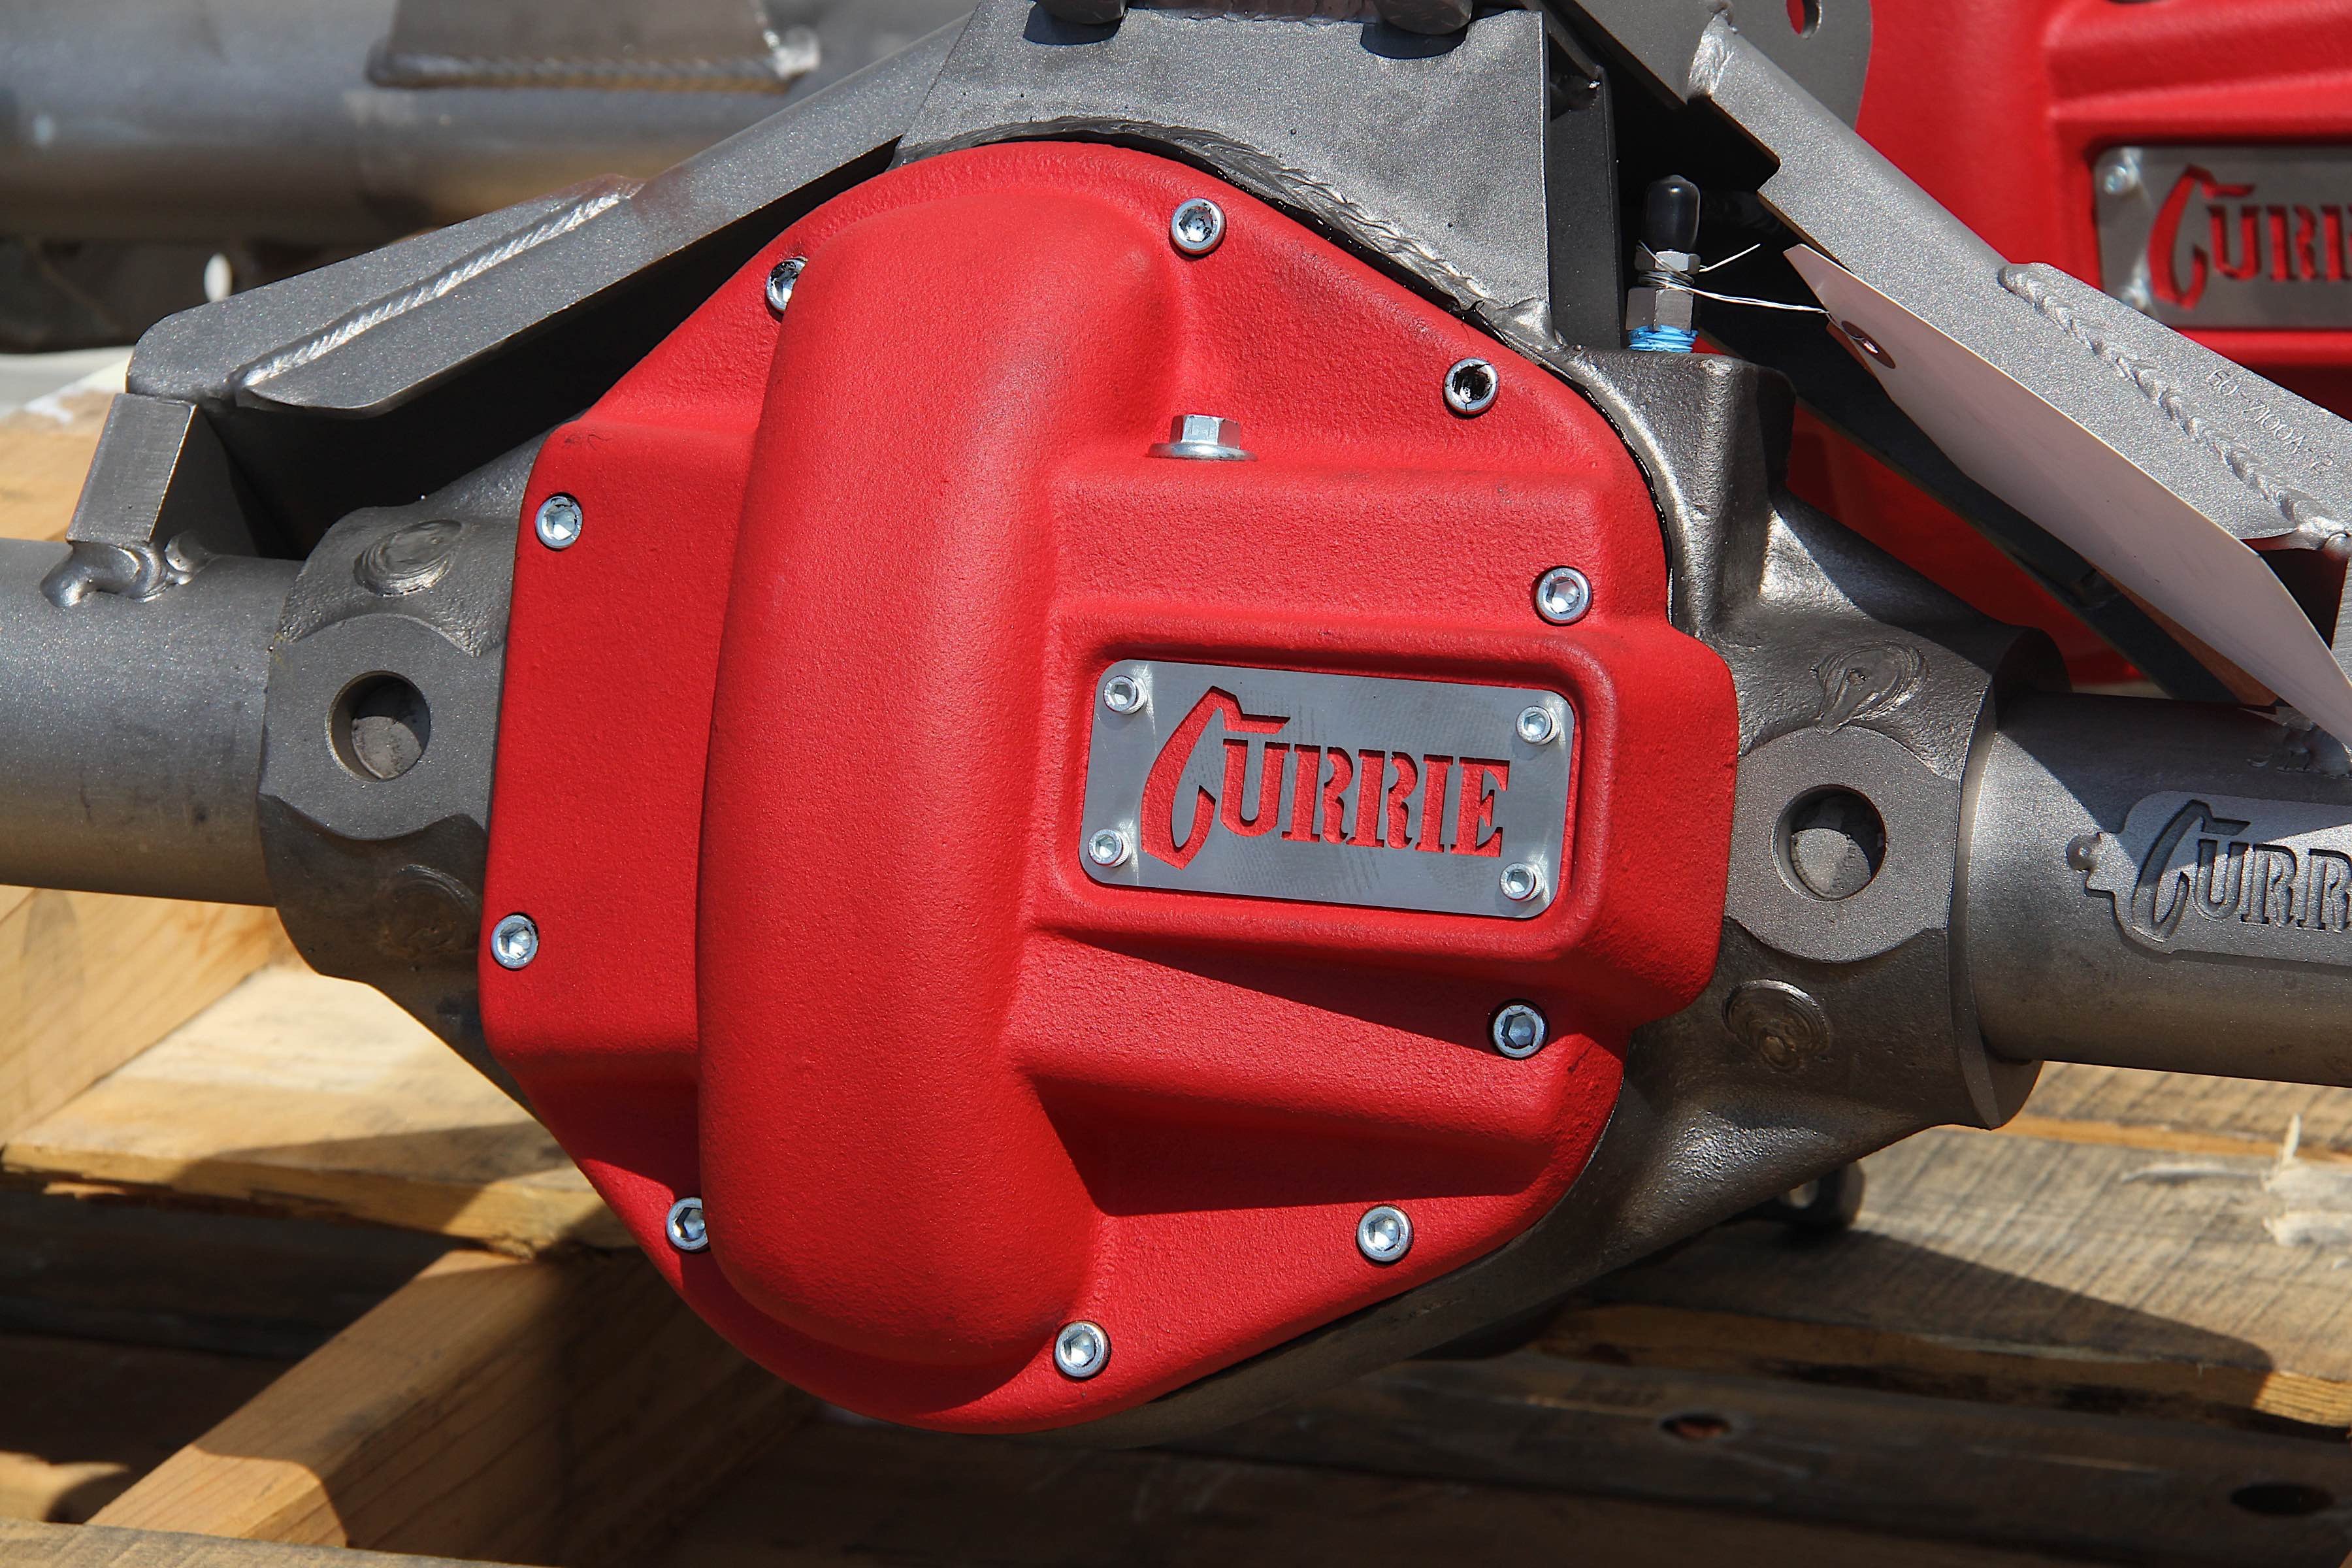
“Currie’s manufacturing facility is chock full of longtime employees, most of whom have been here for decades,” said Currie’s Brian Shepard. “These guys hand build each unit to every customer’s unique needs and specifications. Only premium materials are used to construct units that are of top quality in every way. And when it comes to quality control, we think that’s everyone’s job! Every employee, throughout the entire build process, follows the rule: if you touch it, clean it and double-check the measurements. Currie prides itself on its stellar reputation of customer satisfaction.”


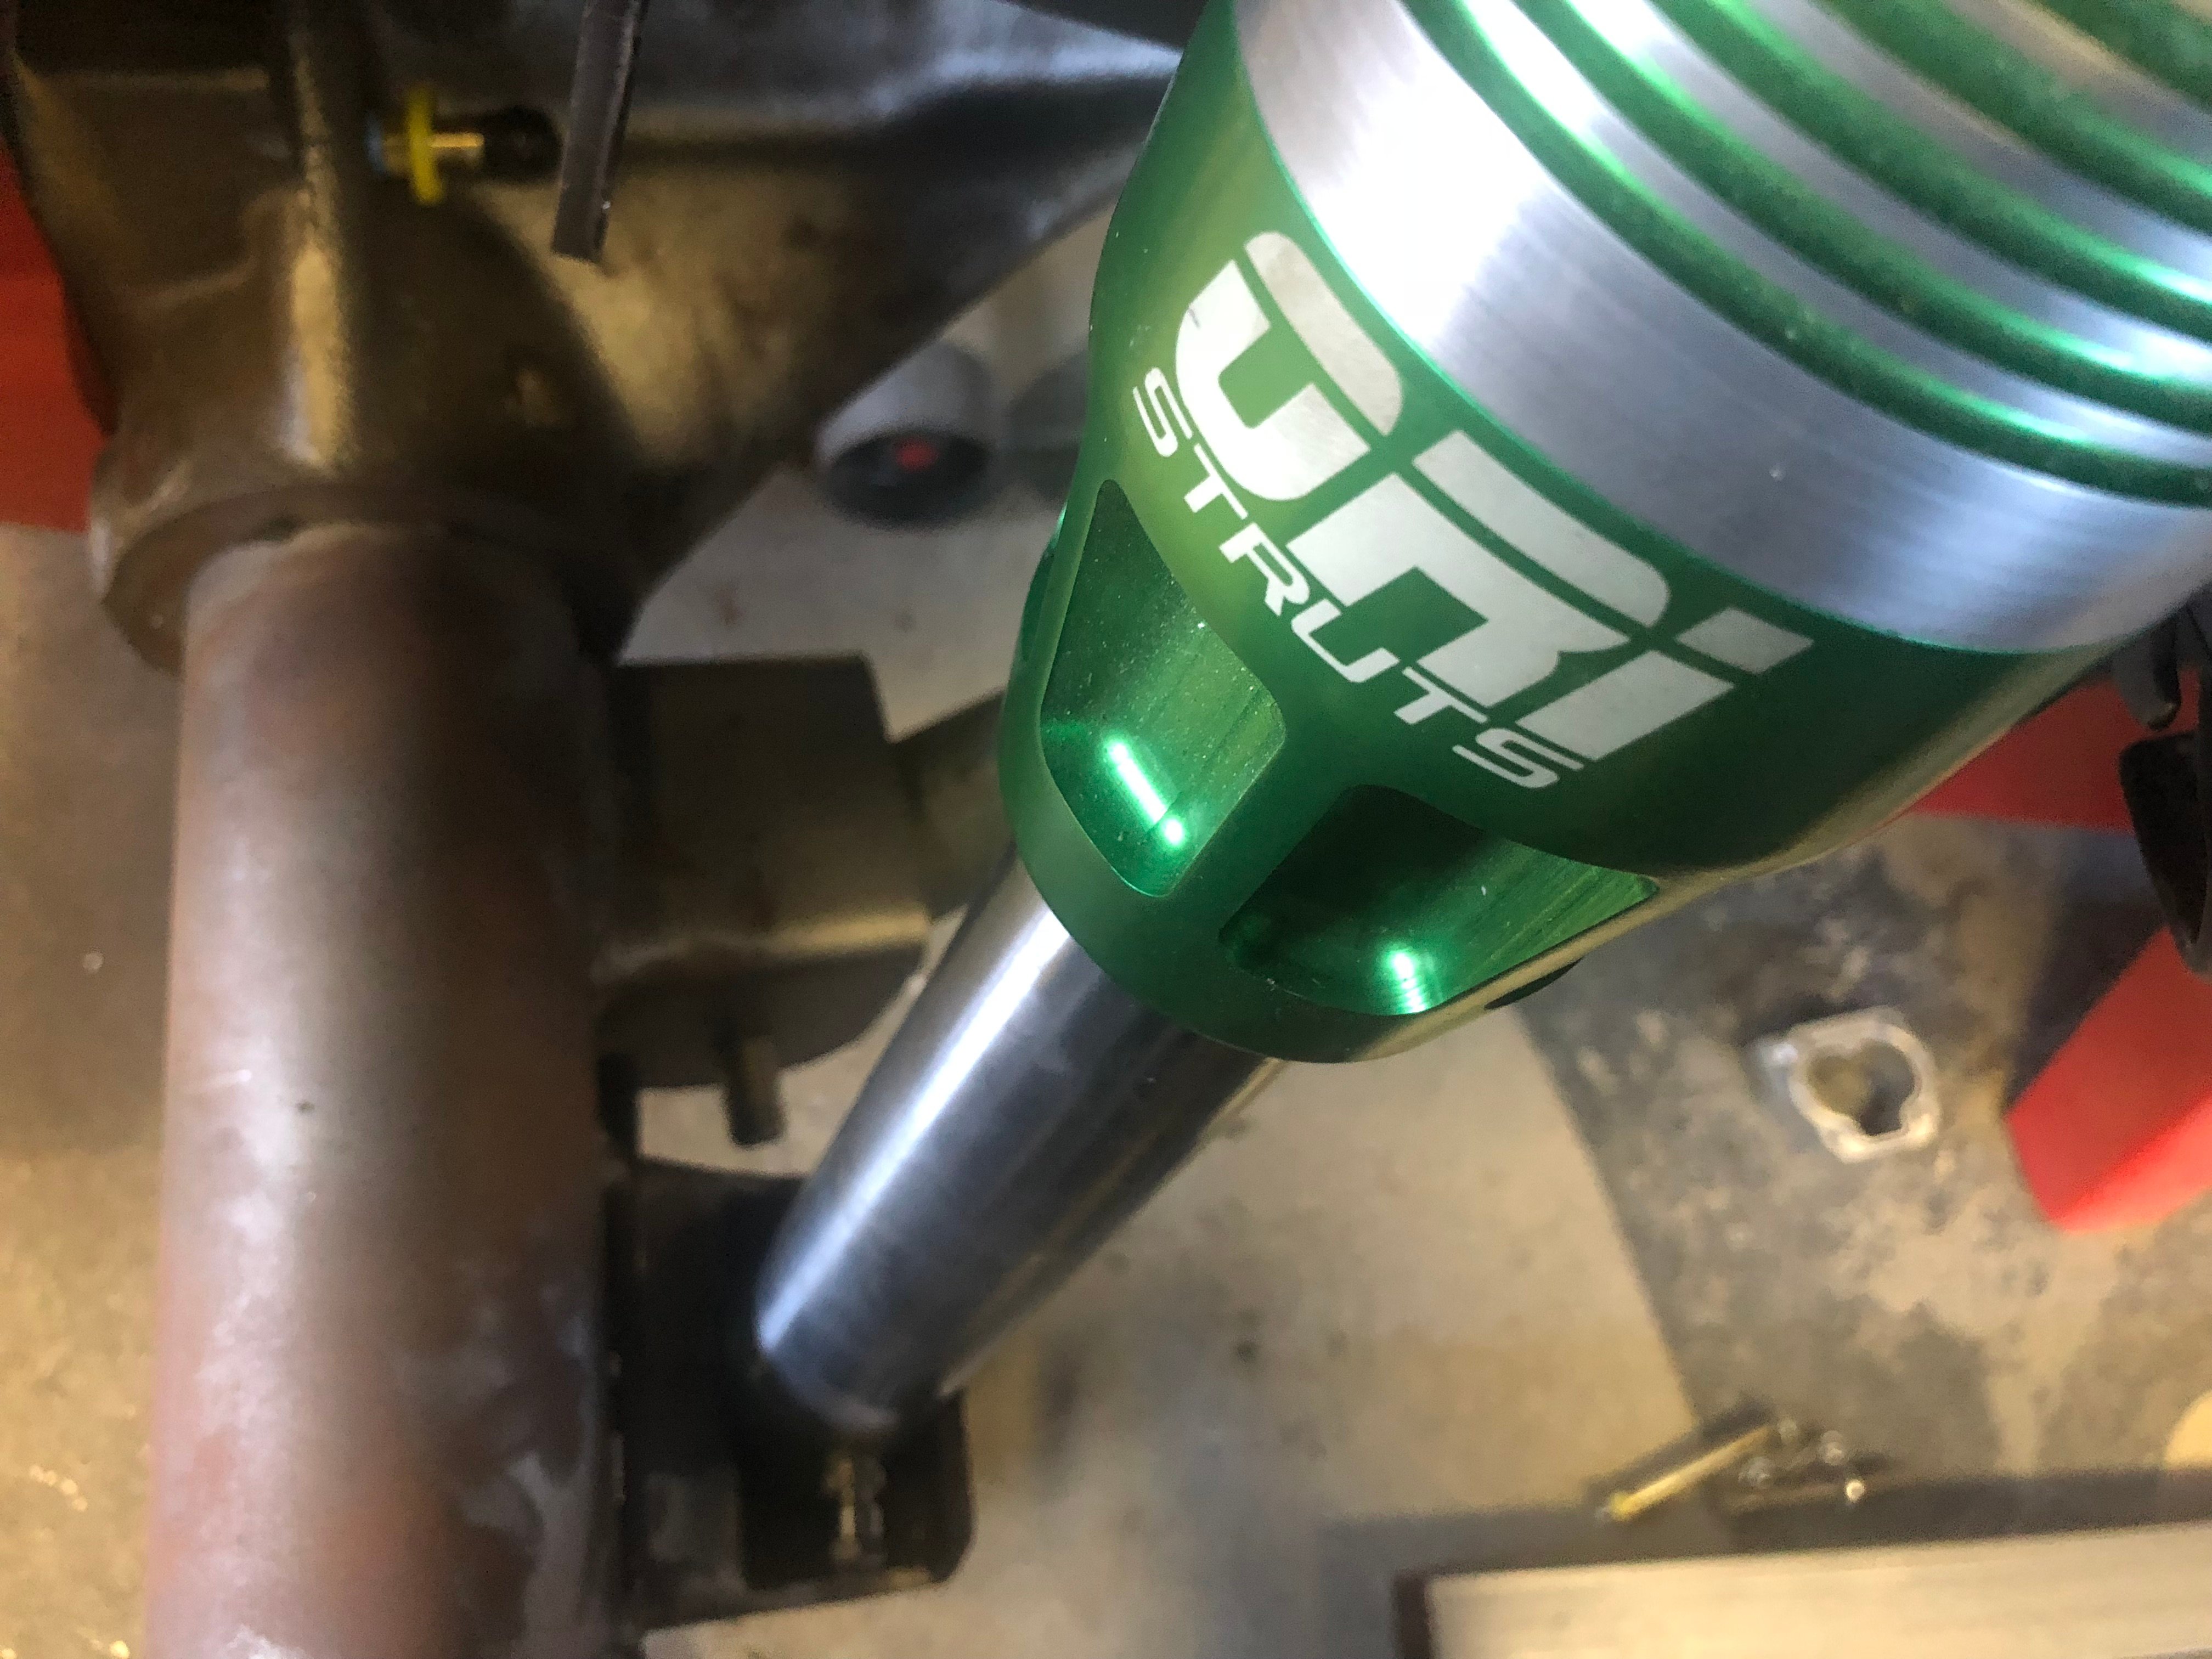
"Our struts have incredible features," said Mark Jensen, president of ORI struts. "It uses Teflon-lined spherical bearings, cooling fins that help dissipate heat, 5,000-psi seals that stand up to extreme off-road abuse, and a wide range of operating temperature: -65 to 285 degrees Fahrenheit. Last but not least, its exterior features an anodized coating that will last for years."
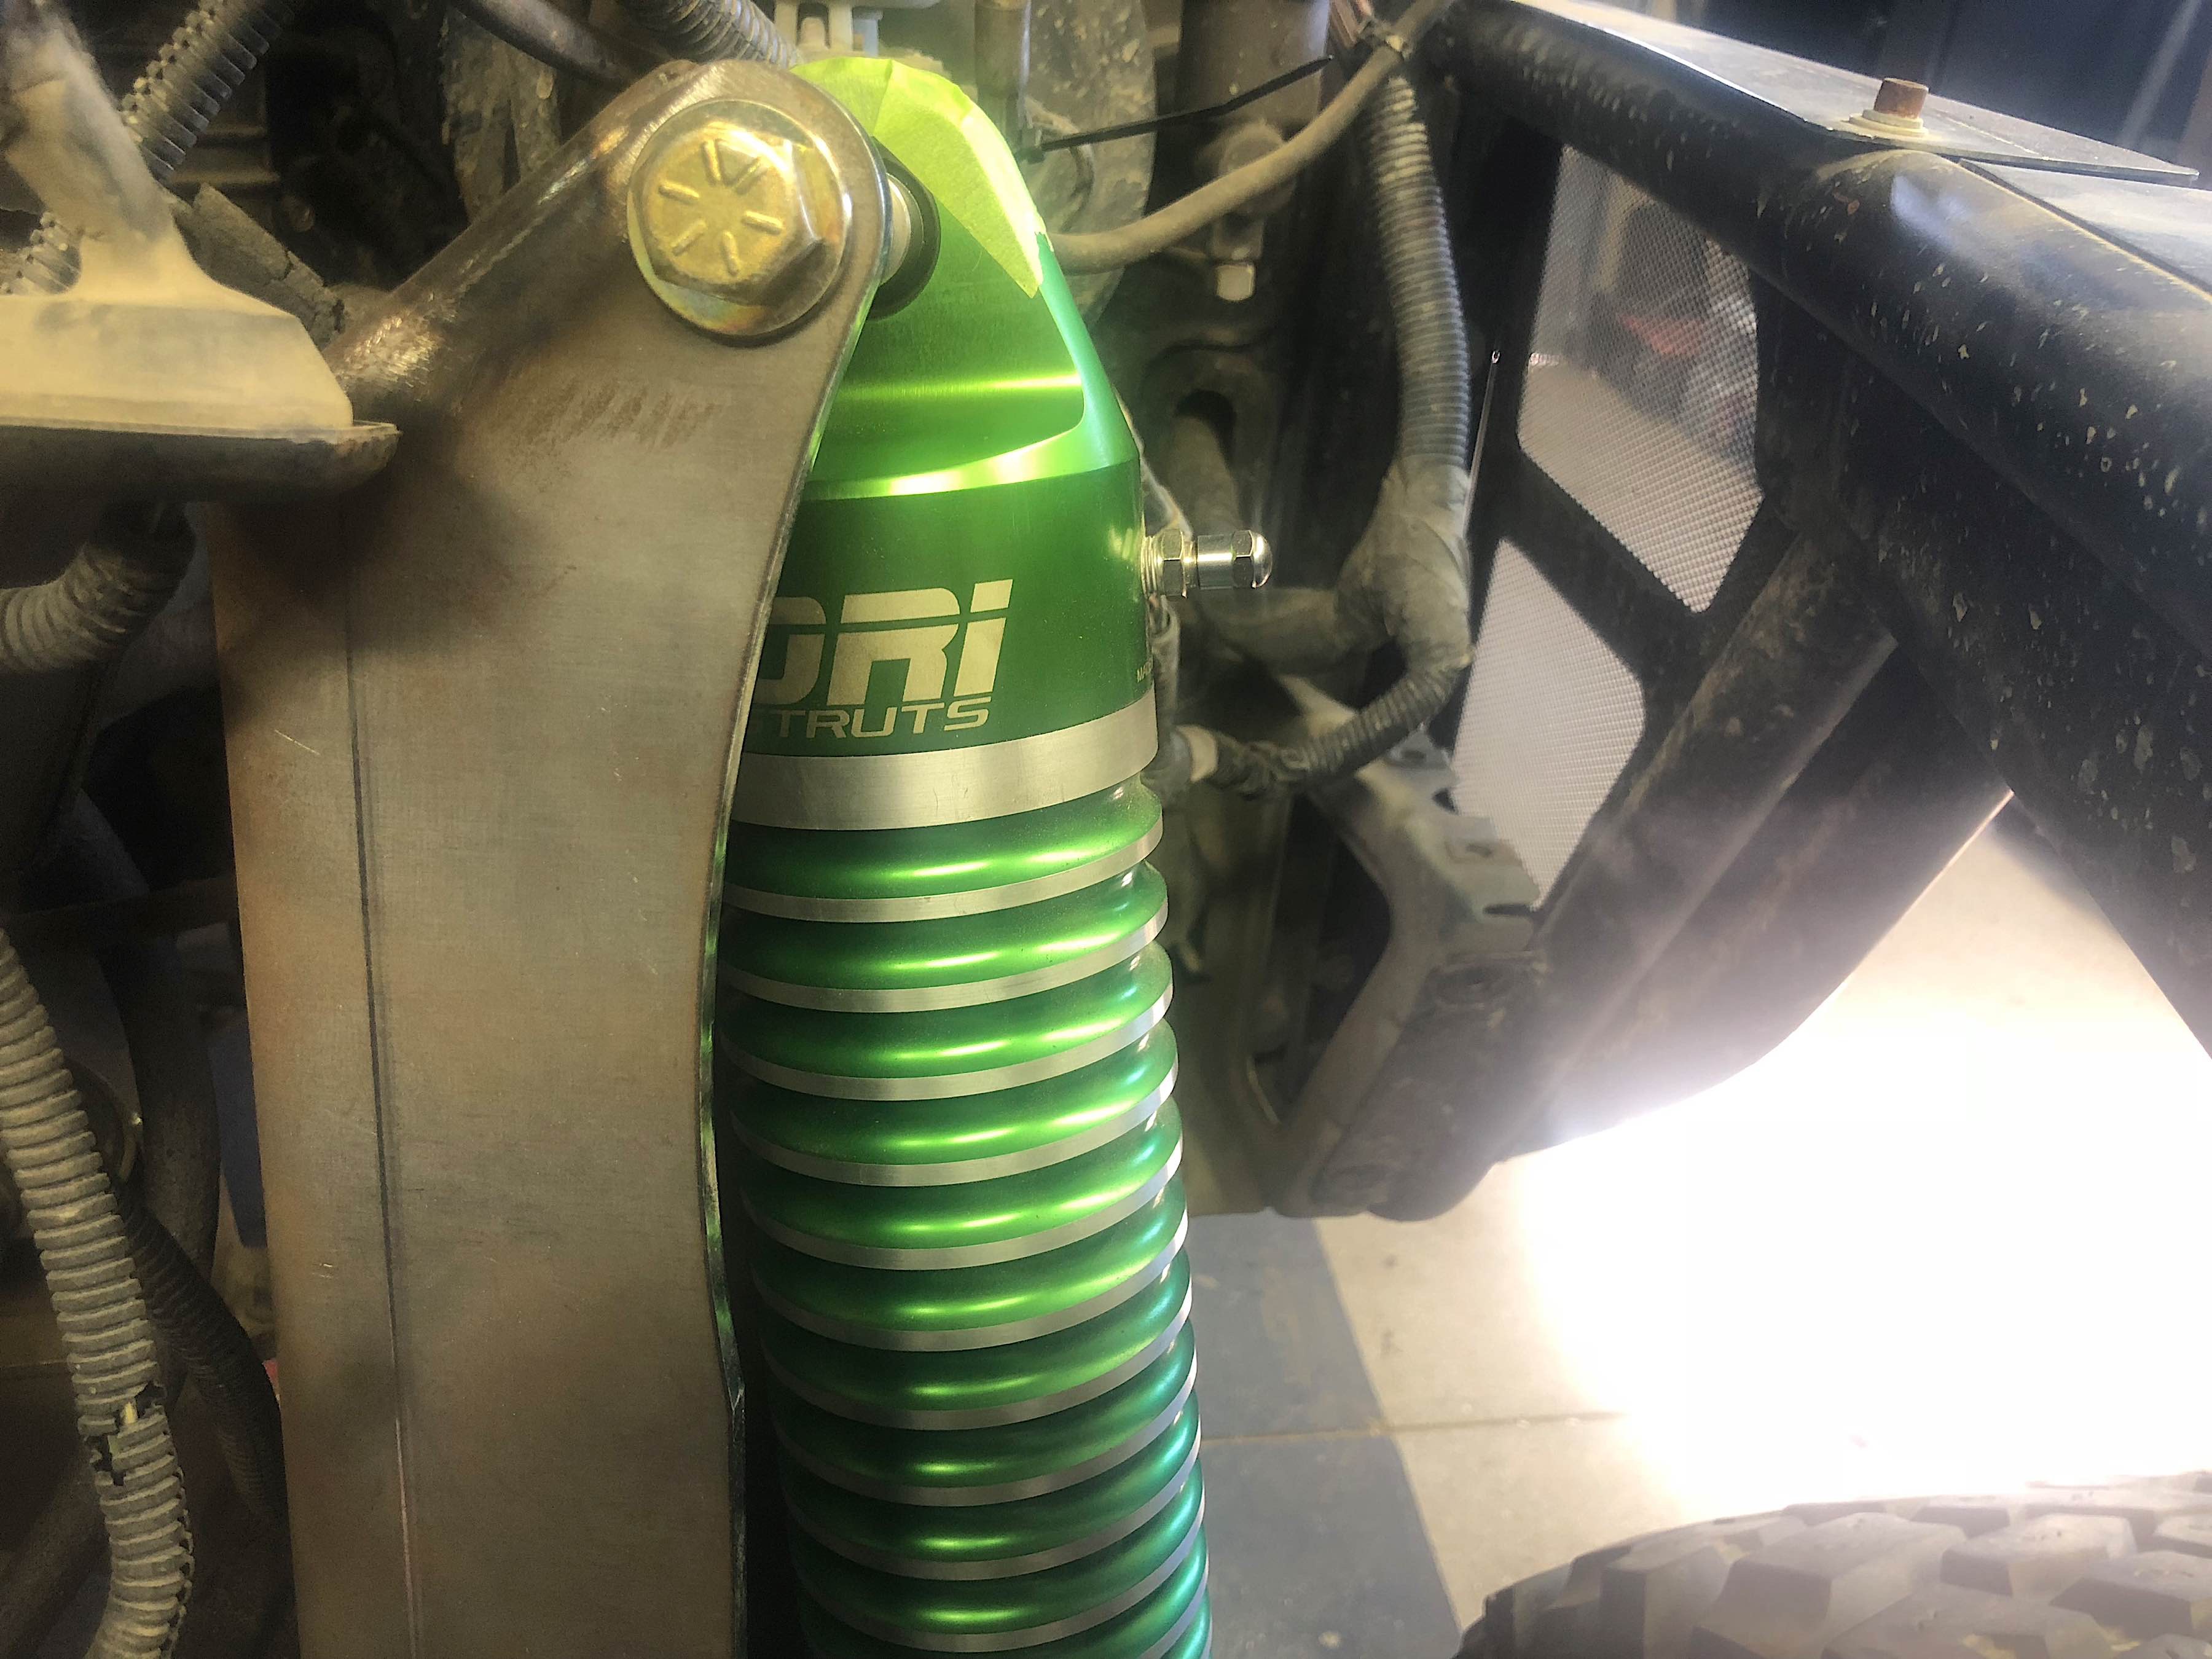
Project Redneck’s suspension, meanwhile, falls upon the ORI STX struts, which we sourced from Jensen Brothers Off-Road. These are the flagship struts from ORI and are gas-pressurized with either nitrogen or air. The amount of capability in these shocks allows them to take the place of multiple suspension components – springs, shocks, sway bars, bump stops, limits straps – and combine them all into one.
“We first launched the STX strut in 2011,” said Russell Jensen. “They’re most popular in the rock-crawling and racing community. The STXs can also be upgraded with reservoirs, making them perfect for high-speed desert racing.”
The amount of gas filled inside the strut dictates the compression and rebound speeds. Gas is filled into the top and bottom ends of the strut, which will take care of the early stages of up and down travel. Past the gas, oil starts to flow, and past that, internal bump stops prevent hard bottom-outs or compressions. So determining the right setting on the STX struts becomes one of figuring out the ratio of gas and oil.
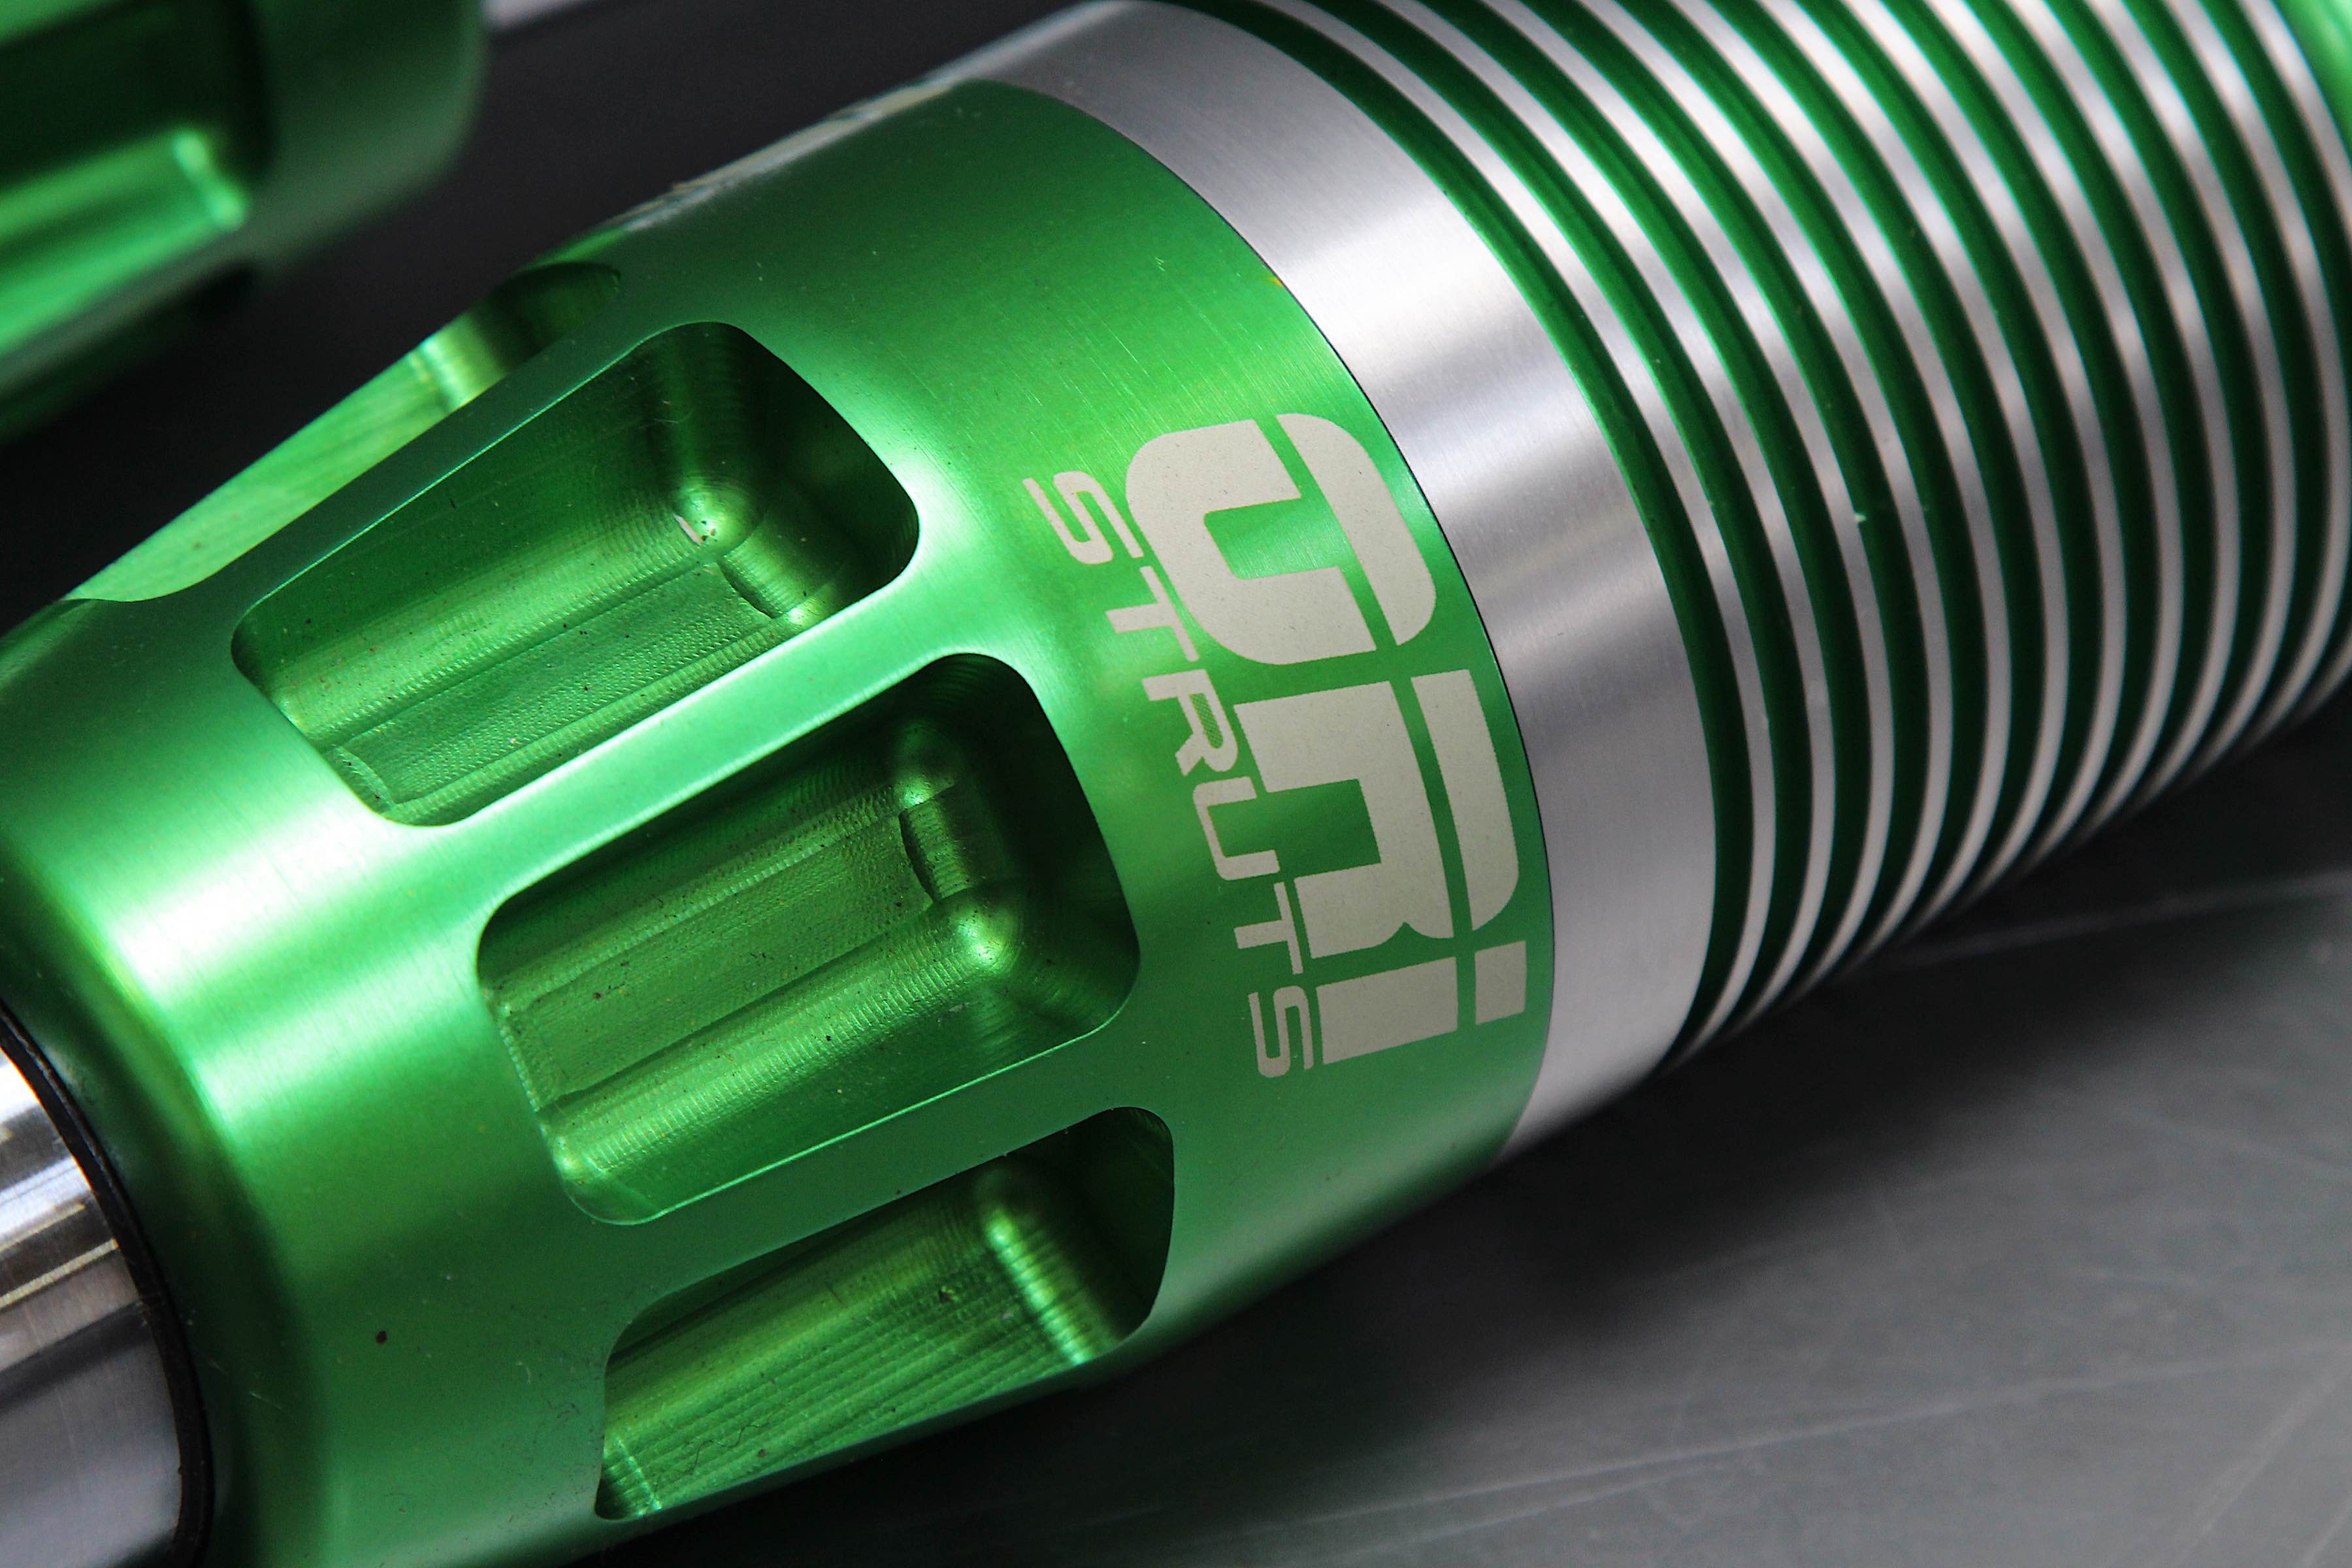
ORI’s president, Mark Jensen, offered some advice on how to get the struts prepared for installation. “The struts come with the right amount of oil in the chambers,” he said. “We charge the lower chamber first, the one down by the piston shaft. We have the struts completely collapsed. I would put 100psi in each bottom chamber at this point. That would be a starting point for tuning. As for the upper chamber, that would depend on the ride height you’re looking for.”
Additional Components
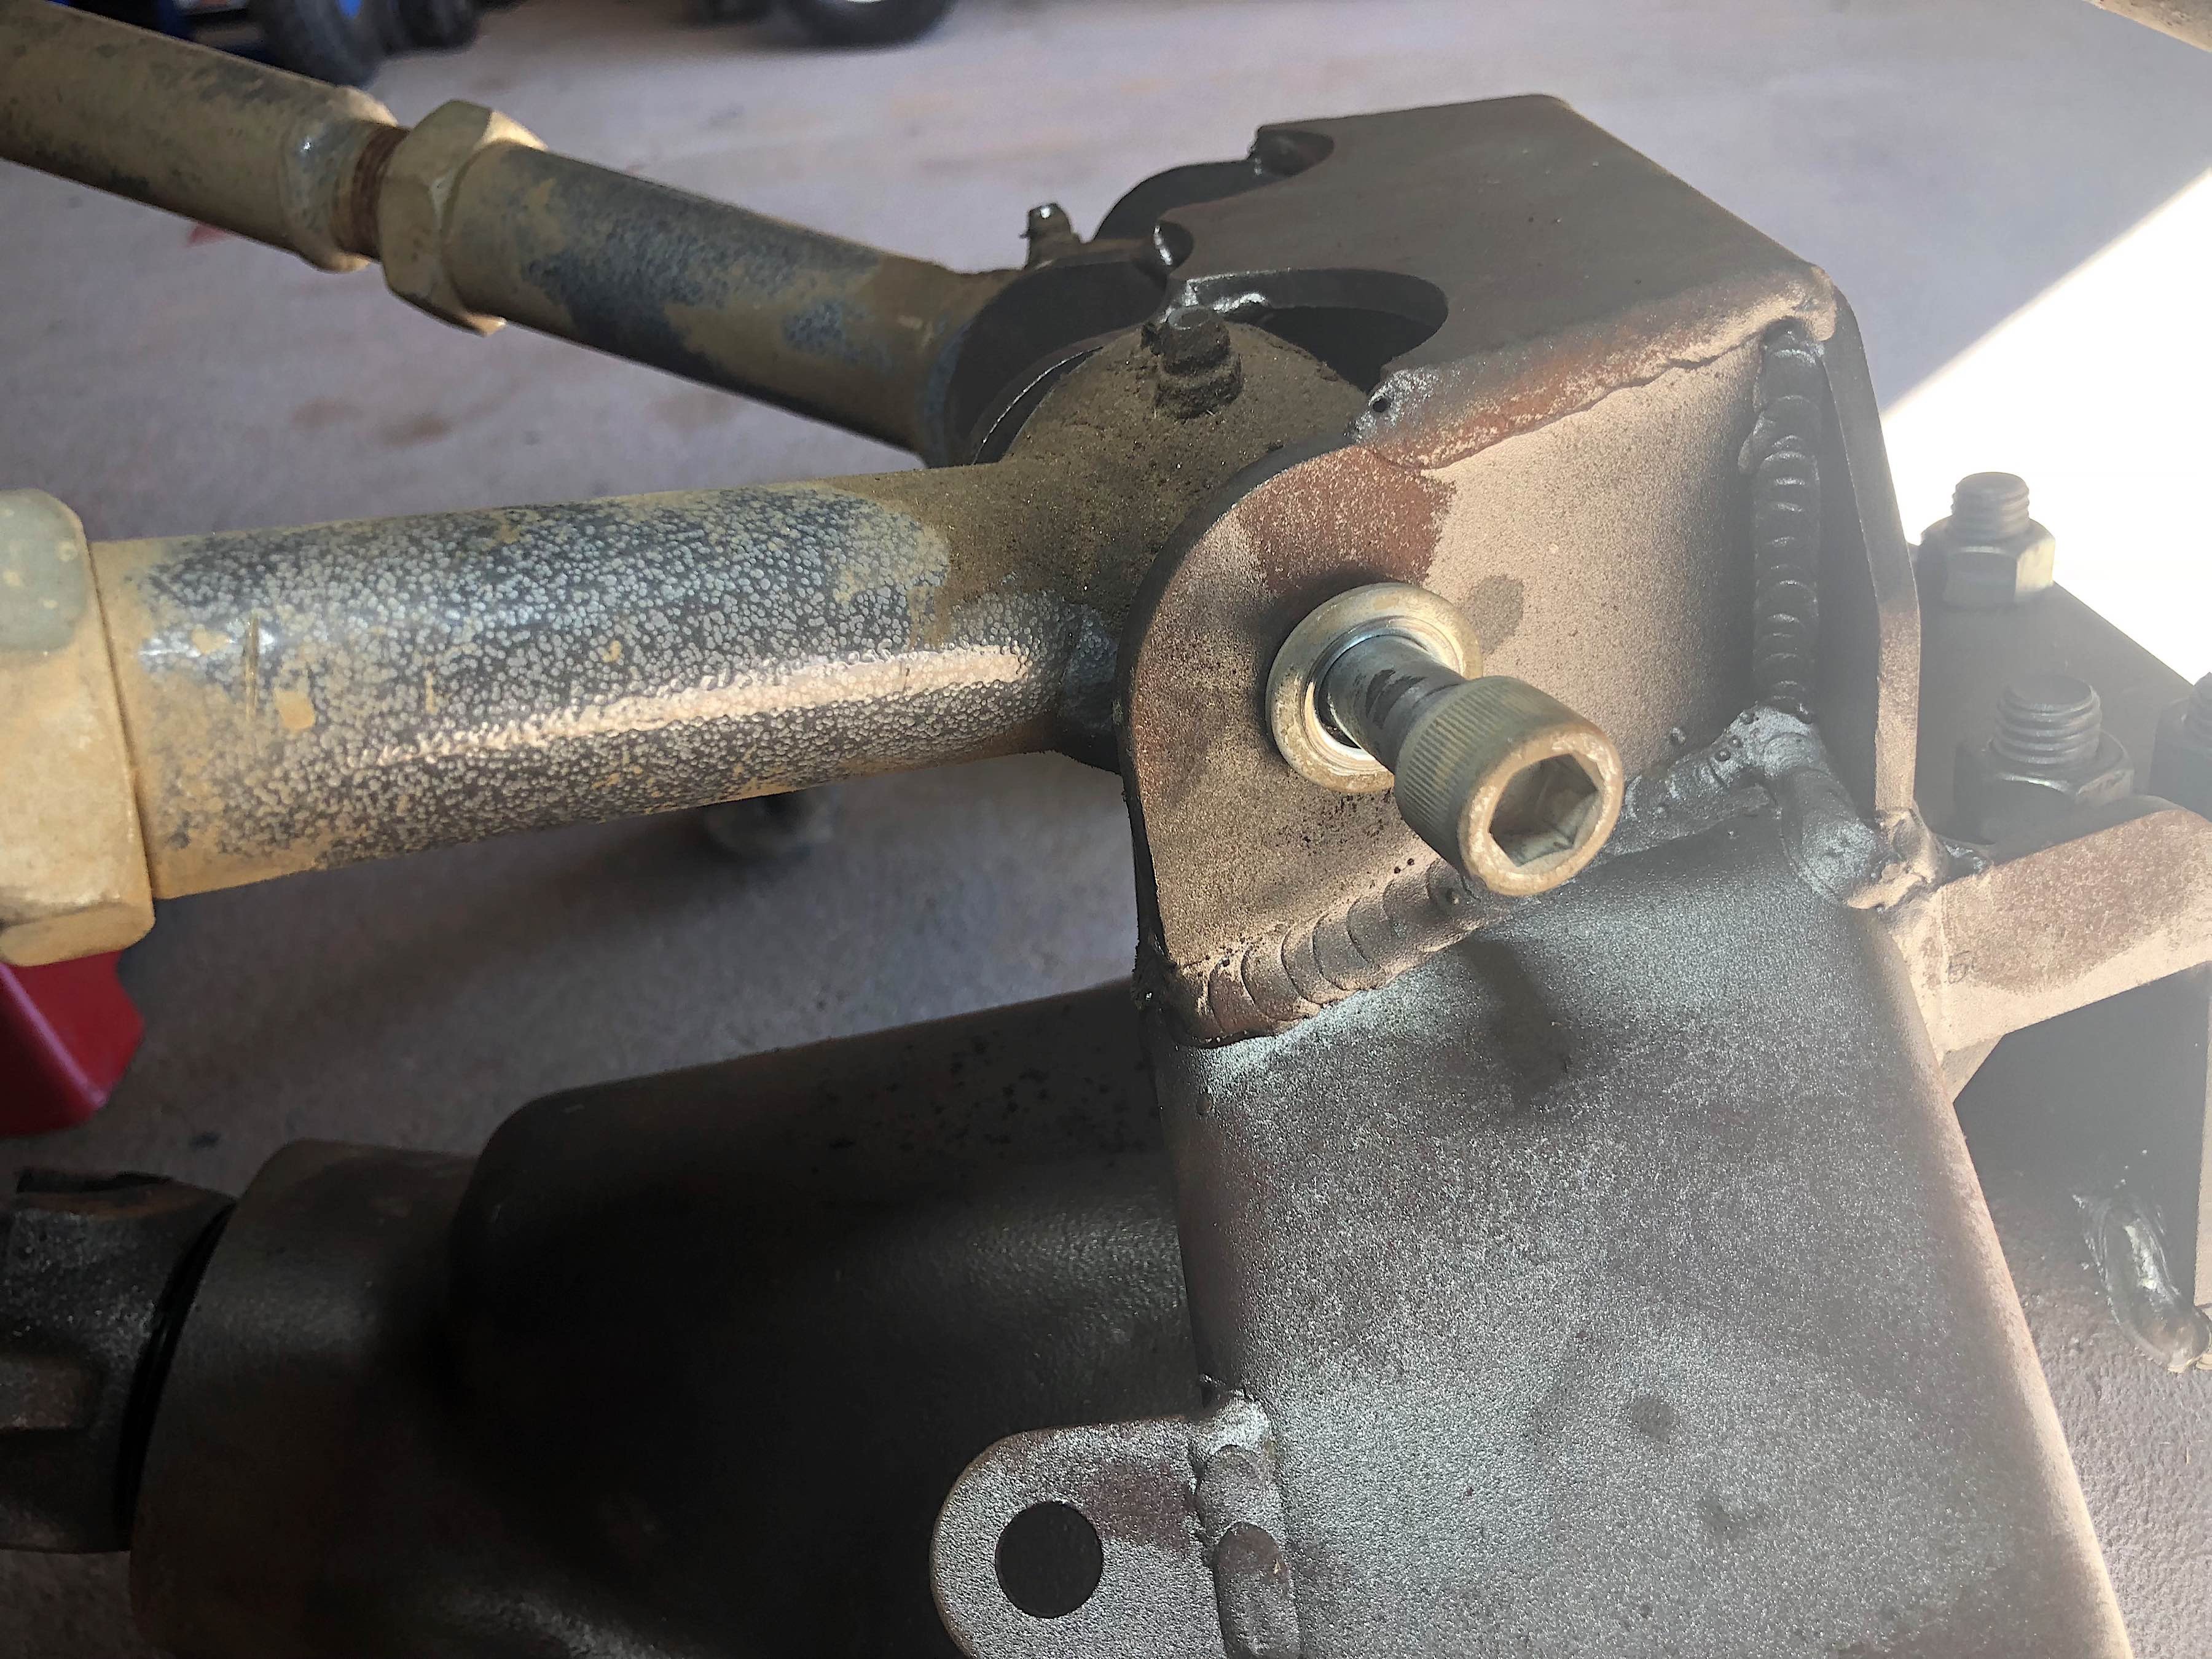
Rounding out the support for the axles were parts from Omix-ADA and Rusty’s Offroad Products. From Omix-ADA, we sourced a number of parts including steering knuckles, brake calipers, brake hoses, brake rotors, ball joints, and more. In short, everything from the knuckle outward was provided by Omix-ADA.
We were excited to get these parts installed, as they represented a big upgrade from what the Wrangler used to be. Instead of sourcing TJ parts, we went with JK parts. The idea was that with disc brakes on all four corners (like a JK has), the TJ could support larger tires. The extra weight of larger tires would also be supported by the surrounding components like ball joints, knuckles, and so on.
Omix-ADA's top-tier parts, from knuckles to ball joints and more, would help make Project Redneck's drivetrain a success.
In learning from Omix-ADA’s Ryan Michael, the takeaway was that parts like the ones we sourced had been the wringer and could be trusted. “We use a variety of methods to test our products, depending on its intended purpose,” he said. “We might do in-house testing, or install it on an employee’s vehicle, or send it out to an independent lab. No matter what, though, if there is a problem during the test, the part is put on hold until we can determine the root cause and fix the underlying issue. Once the issue is fixed, we run the part through the test again.”
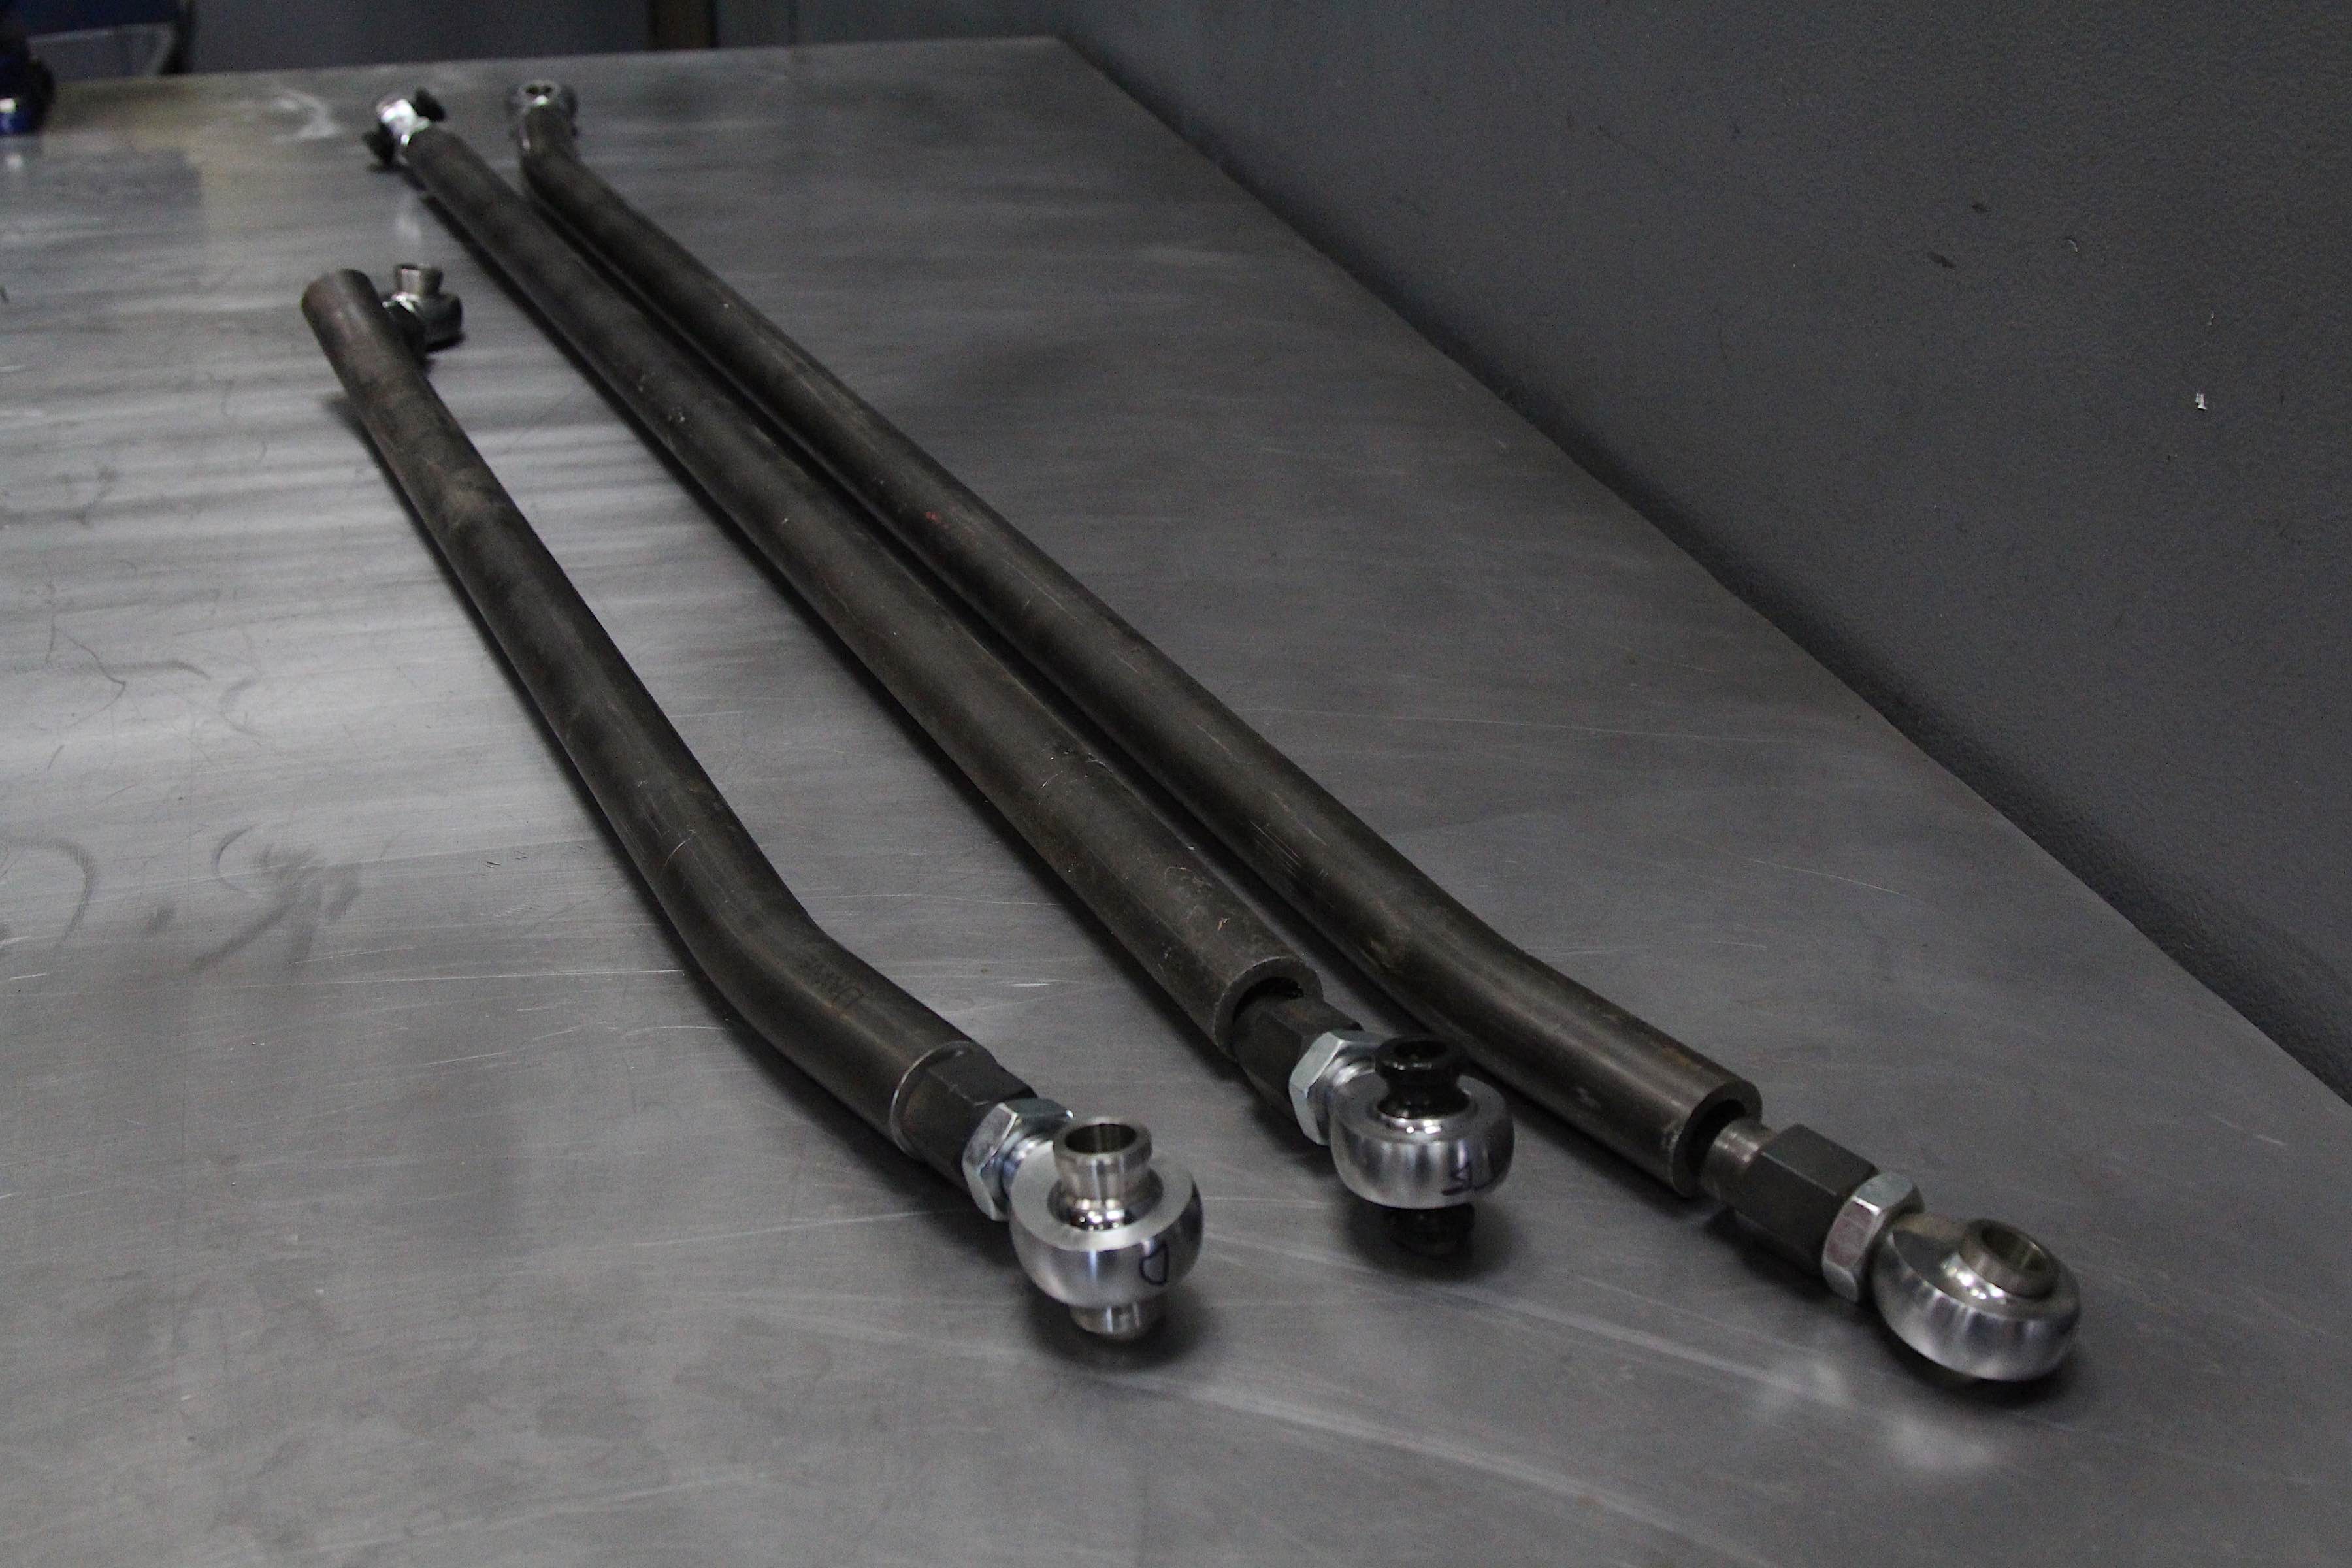
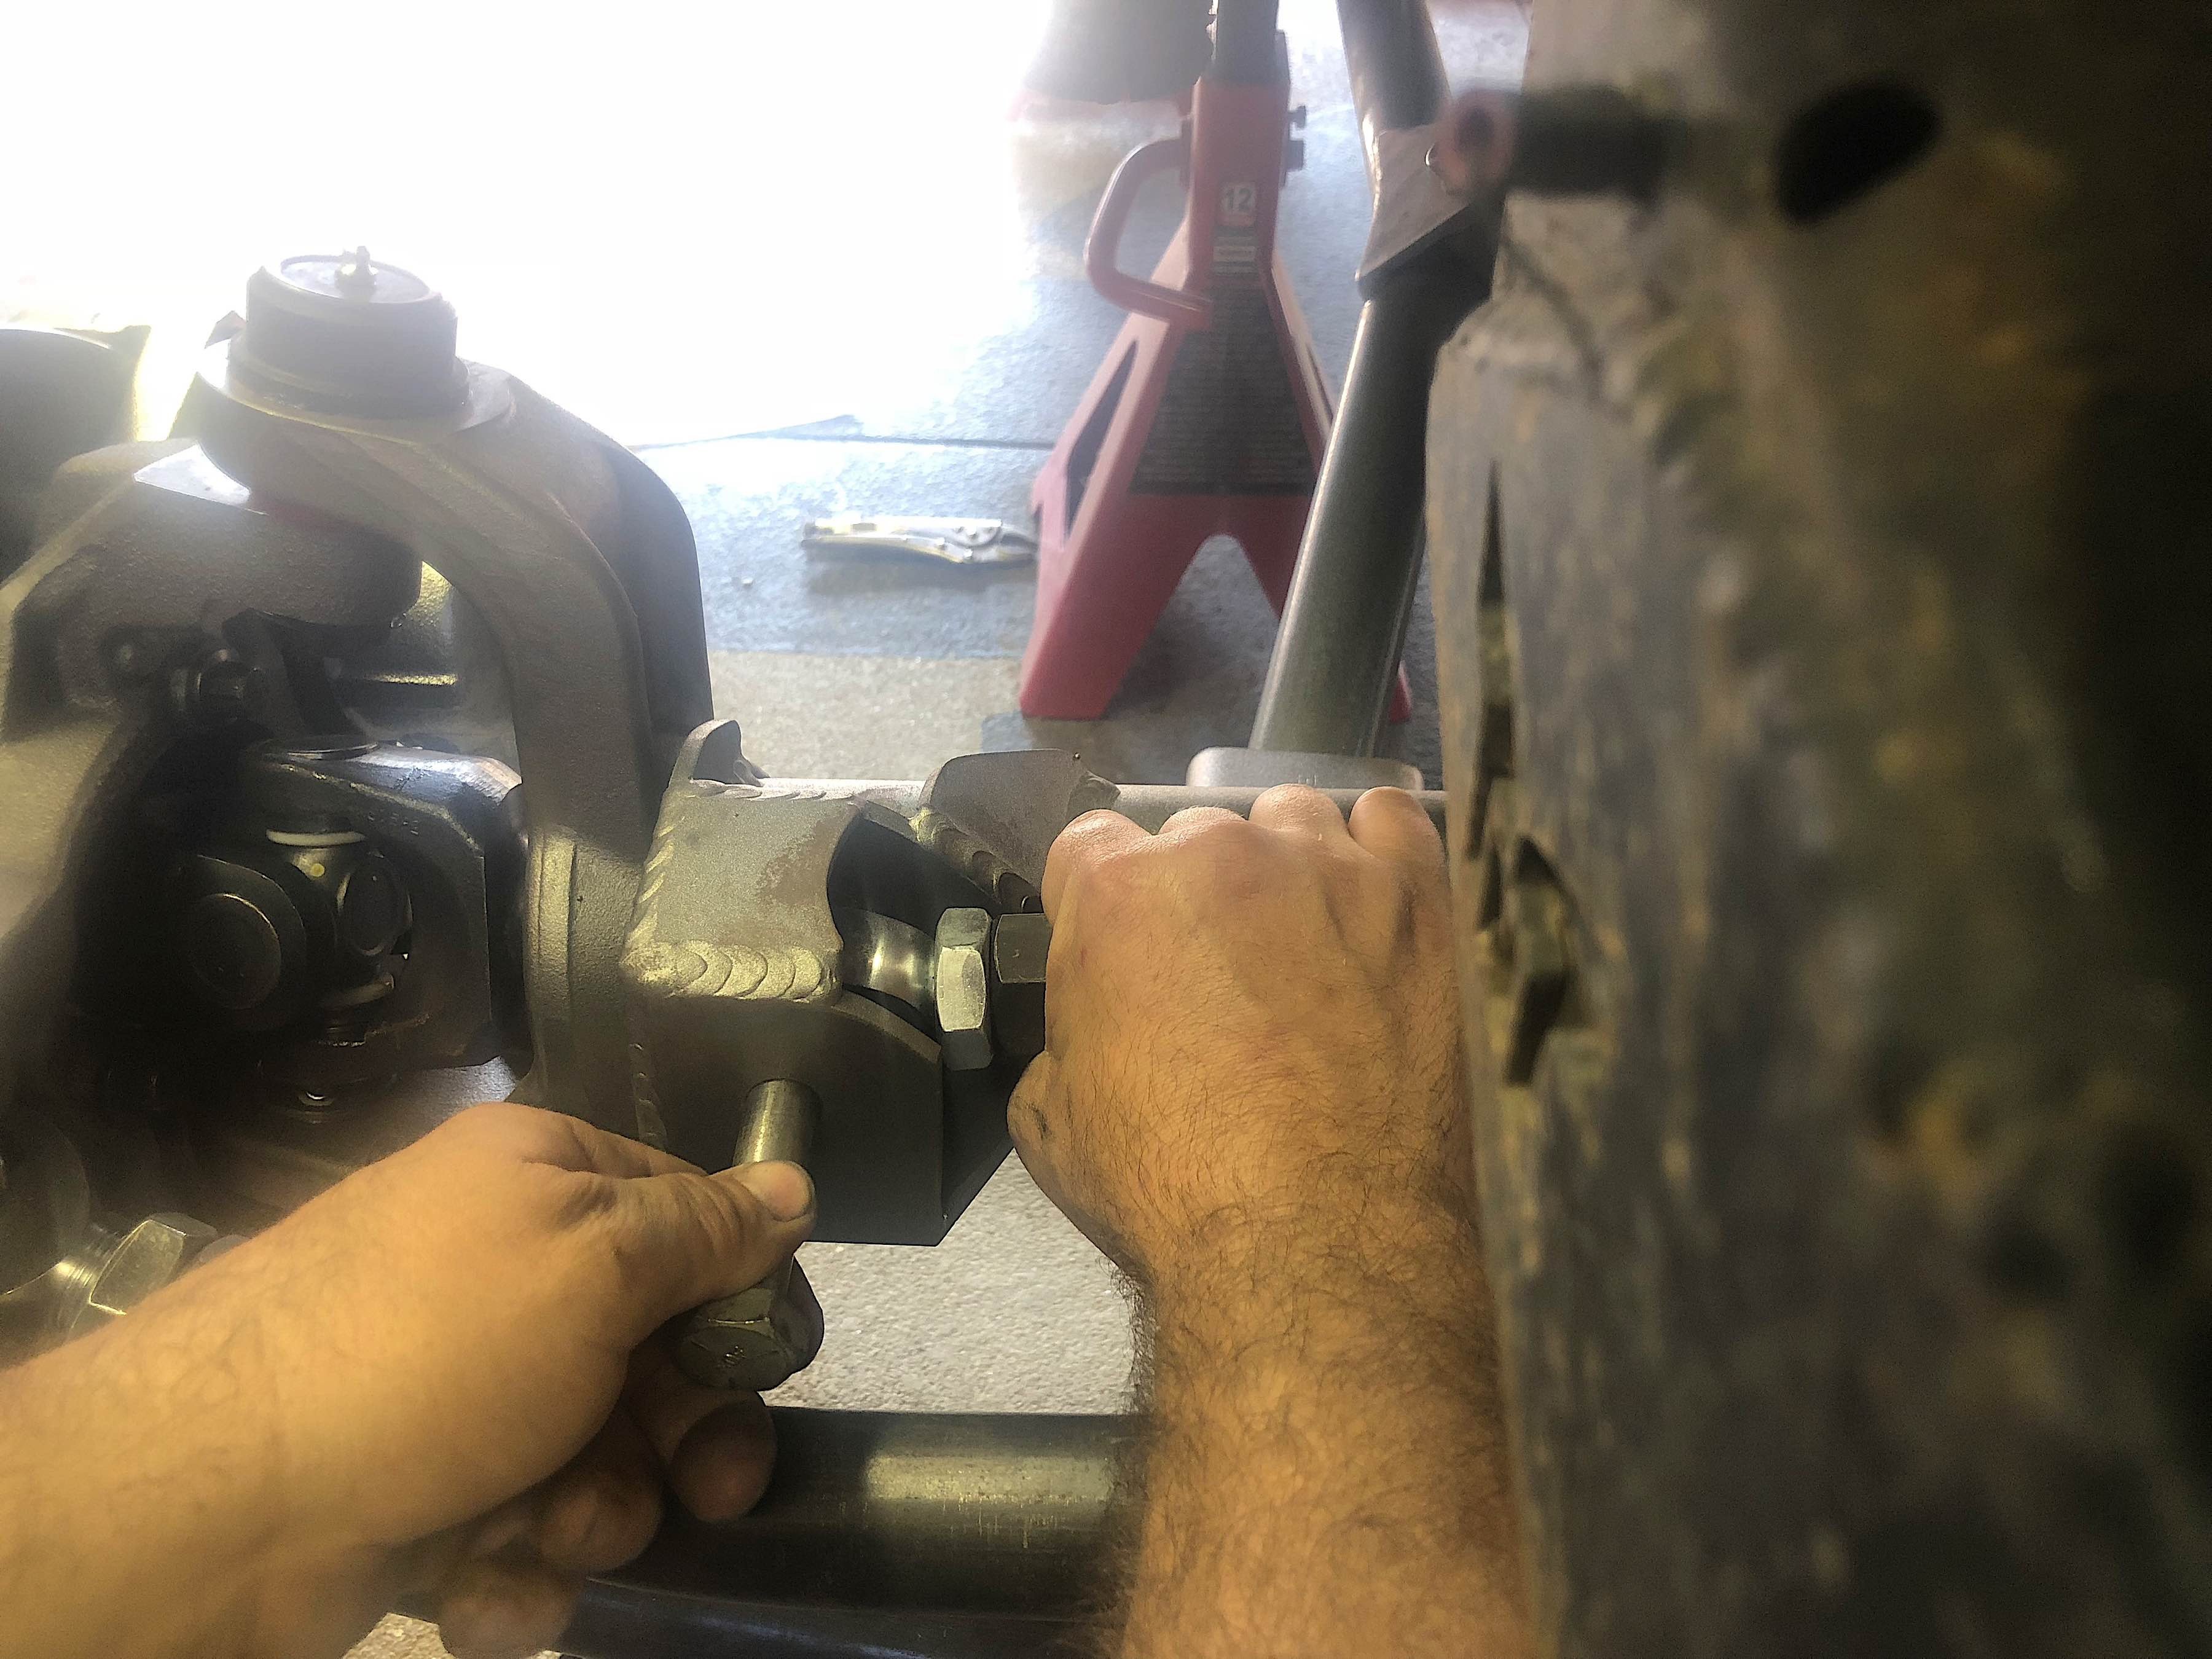
On the steering side of things, we entrusted the duties to Rusty’s Offroad Products. We went for a JK HD replacement drag link (PN RS-DL810-JK) and HD replacement tie rod (PN RS-TR800-JK), as our axles were designed with a JK geometry in mind. These parts would be a vast improvement over the Y-link steering the TJ came with from the factory. We spoke with Rusty’s Tony Megois to find out why.

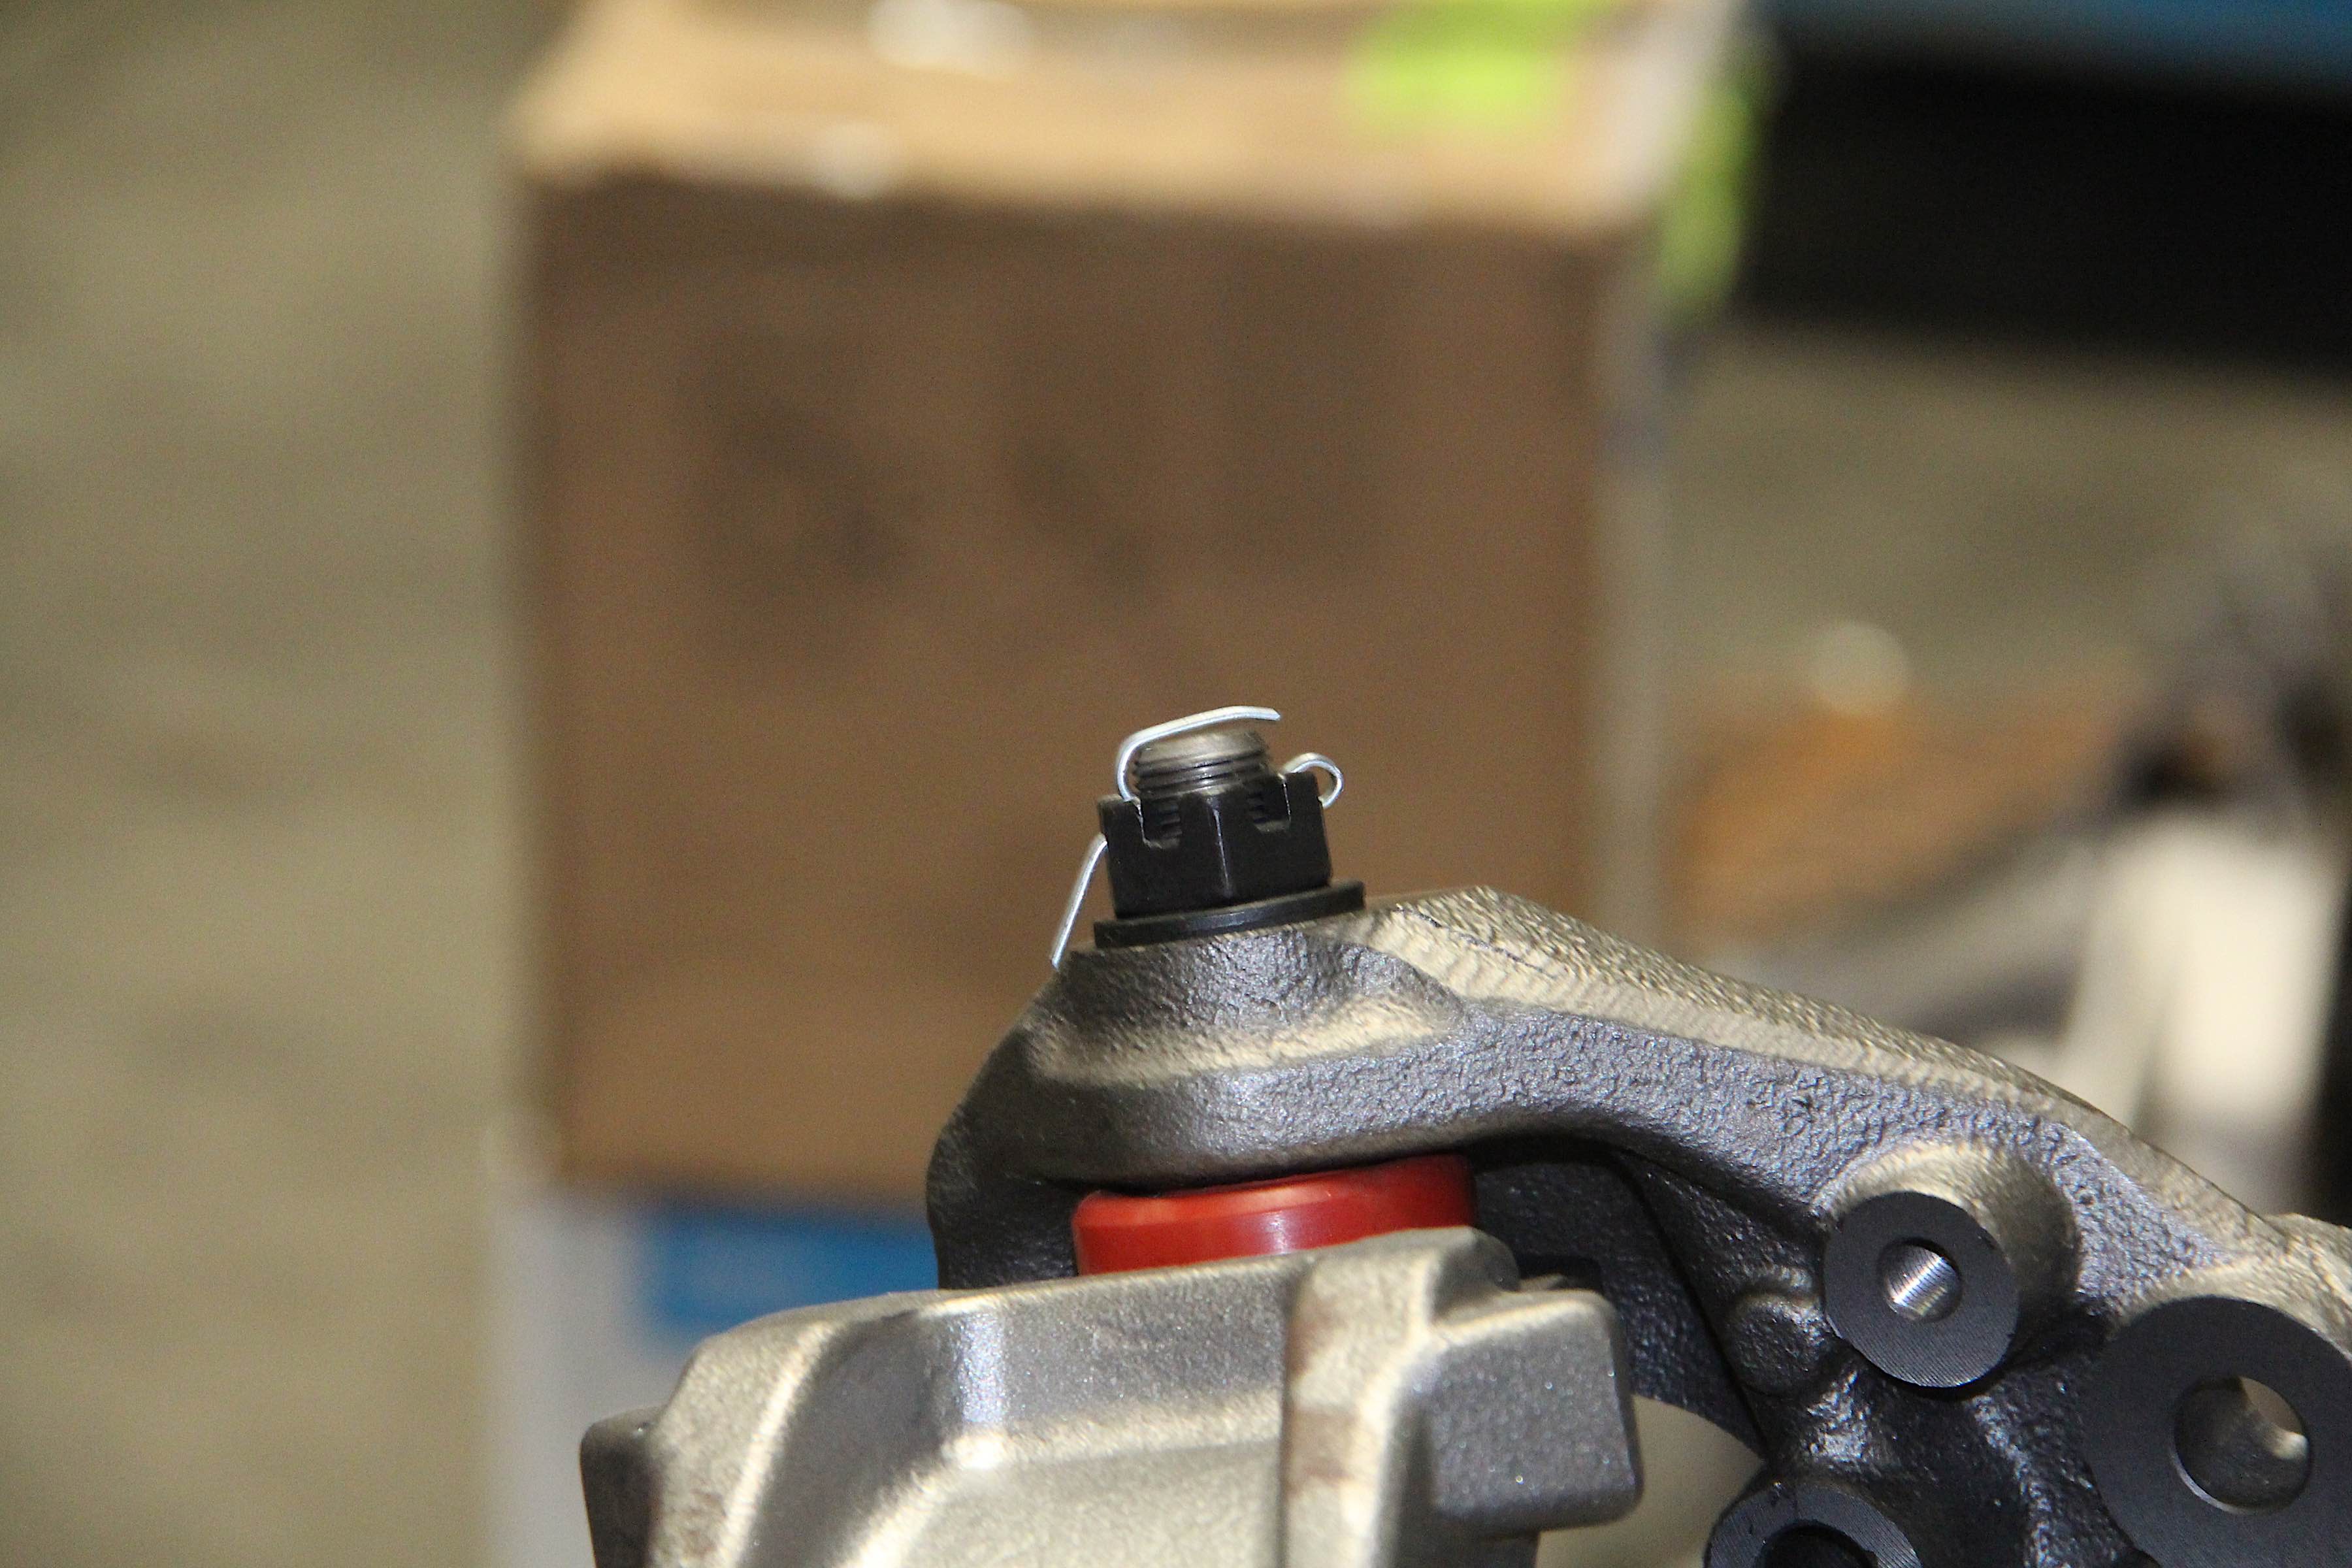
The steering system is courtesy of Rusty's Offroad Products. High-misalignment spacers will let the components cycle up and down during suspension travel.
“This was a steering kit that had been in the works for years,” he said. “Basically, we saw the tire sizes increasing on a lot the JKs and knew the steering was a weak point. We wanted to make a steering kit with no weak points, and with all the suspension links we manufacture, we knew what would hold up to the abuse.”
To that end, Rusty’s went with stout DOM tubing. “We use 1.750-inch-diameter DOM, with a quarter-inch wall thickness,” said Megois.”We did numerous tests in-house, using high-tonnage presses to see the bend point of the steering rod, and on the tie rod ends, we tested them in the real world for 20,000 off-road miles. We never settled for ‘less than’ on these parts!”
Putting It All Together
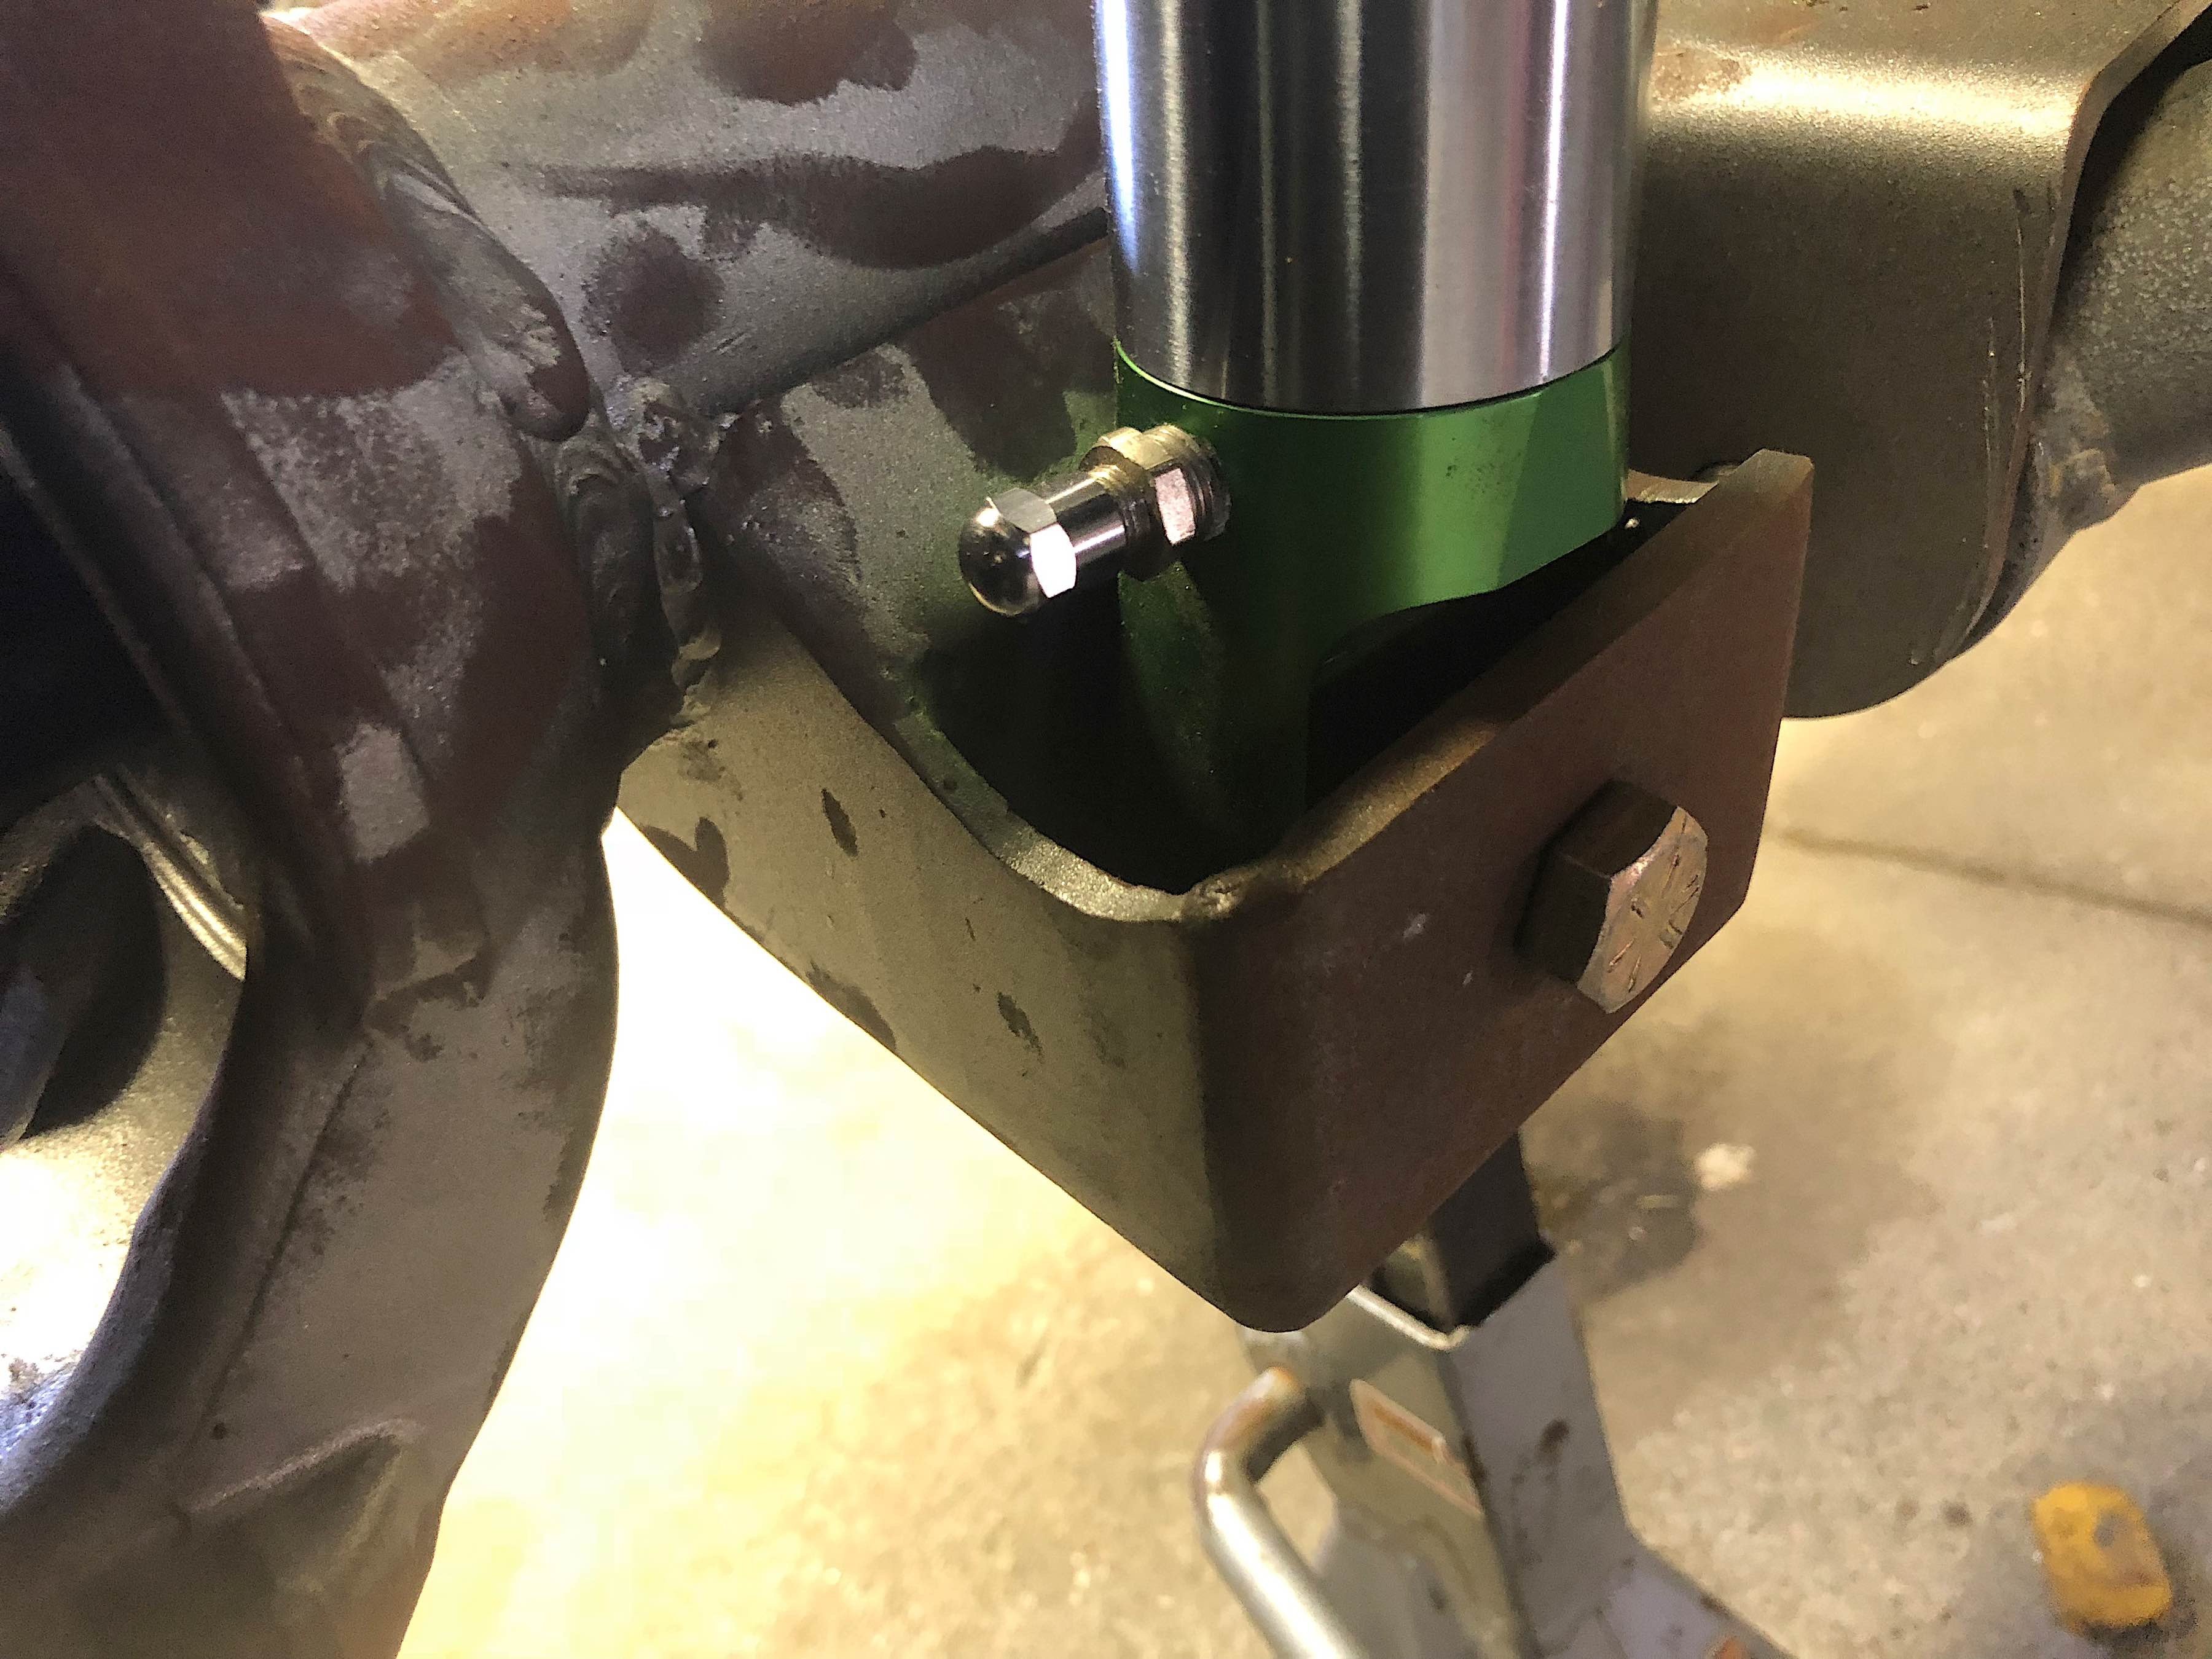
We started in again on Project Redneck by raising the vehicle and placing it on jack stands. We put them along the frame rails to let the axles droop as much as possible. For the time being, we mocked up one of the ORI struts on the axle. It fit perfectly into the shock tabs welded on back at Currie, and showed a good length of piston shaft with the axles drooping.
We then bolted up the control arms in the front and rear. Also, we mocked up the pinion angle (we couldn’t do final pinion angles just yet, as we have yet to get the driveshafts sorted out).
We installed the ORI struts, sans nitrogen. Also, we set a rough pinion angle on the front and rear axles, using the control arms to tweak the angle.
The ORI struts went in next. These just had eyelets that bolted up to the axle and upper shock mount, which we made using fabricated steel brackets. We left them uncharged for the time being; reason being that the rest of the geometry is still up in the air.
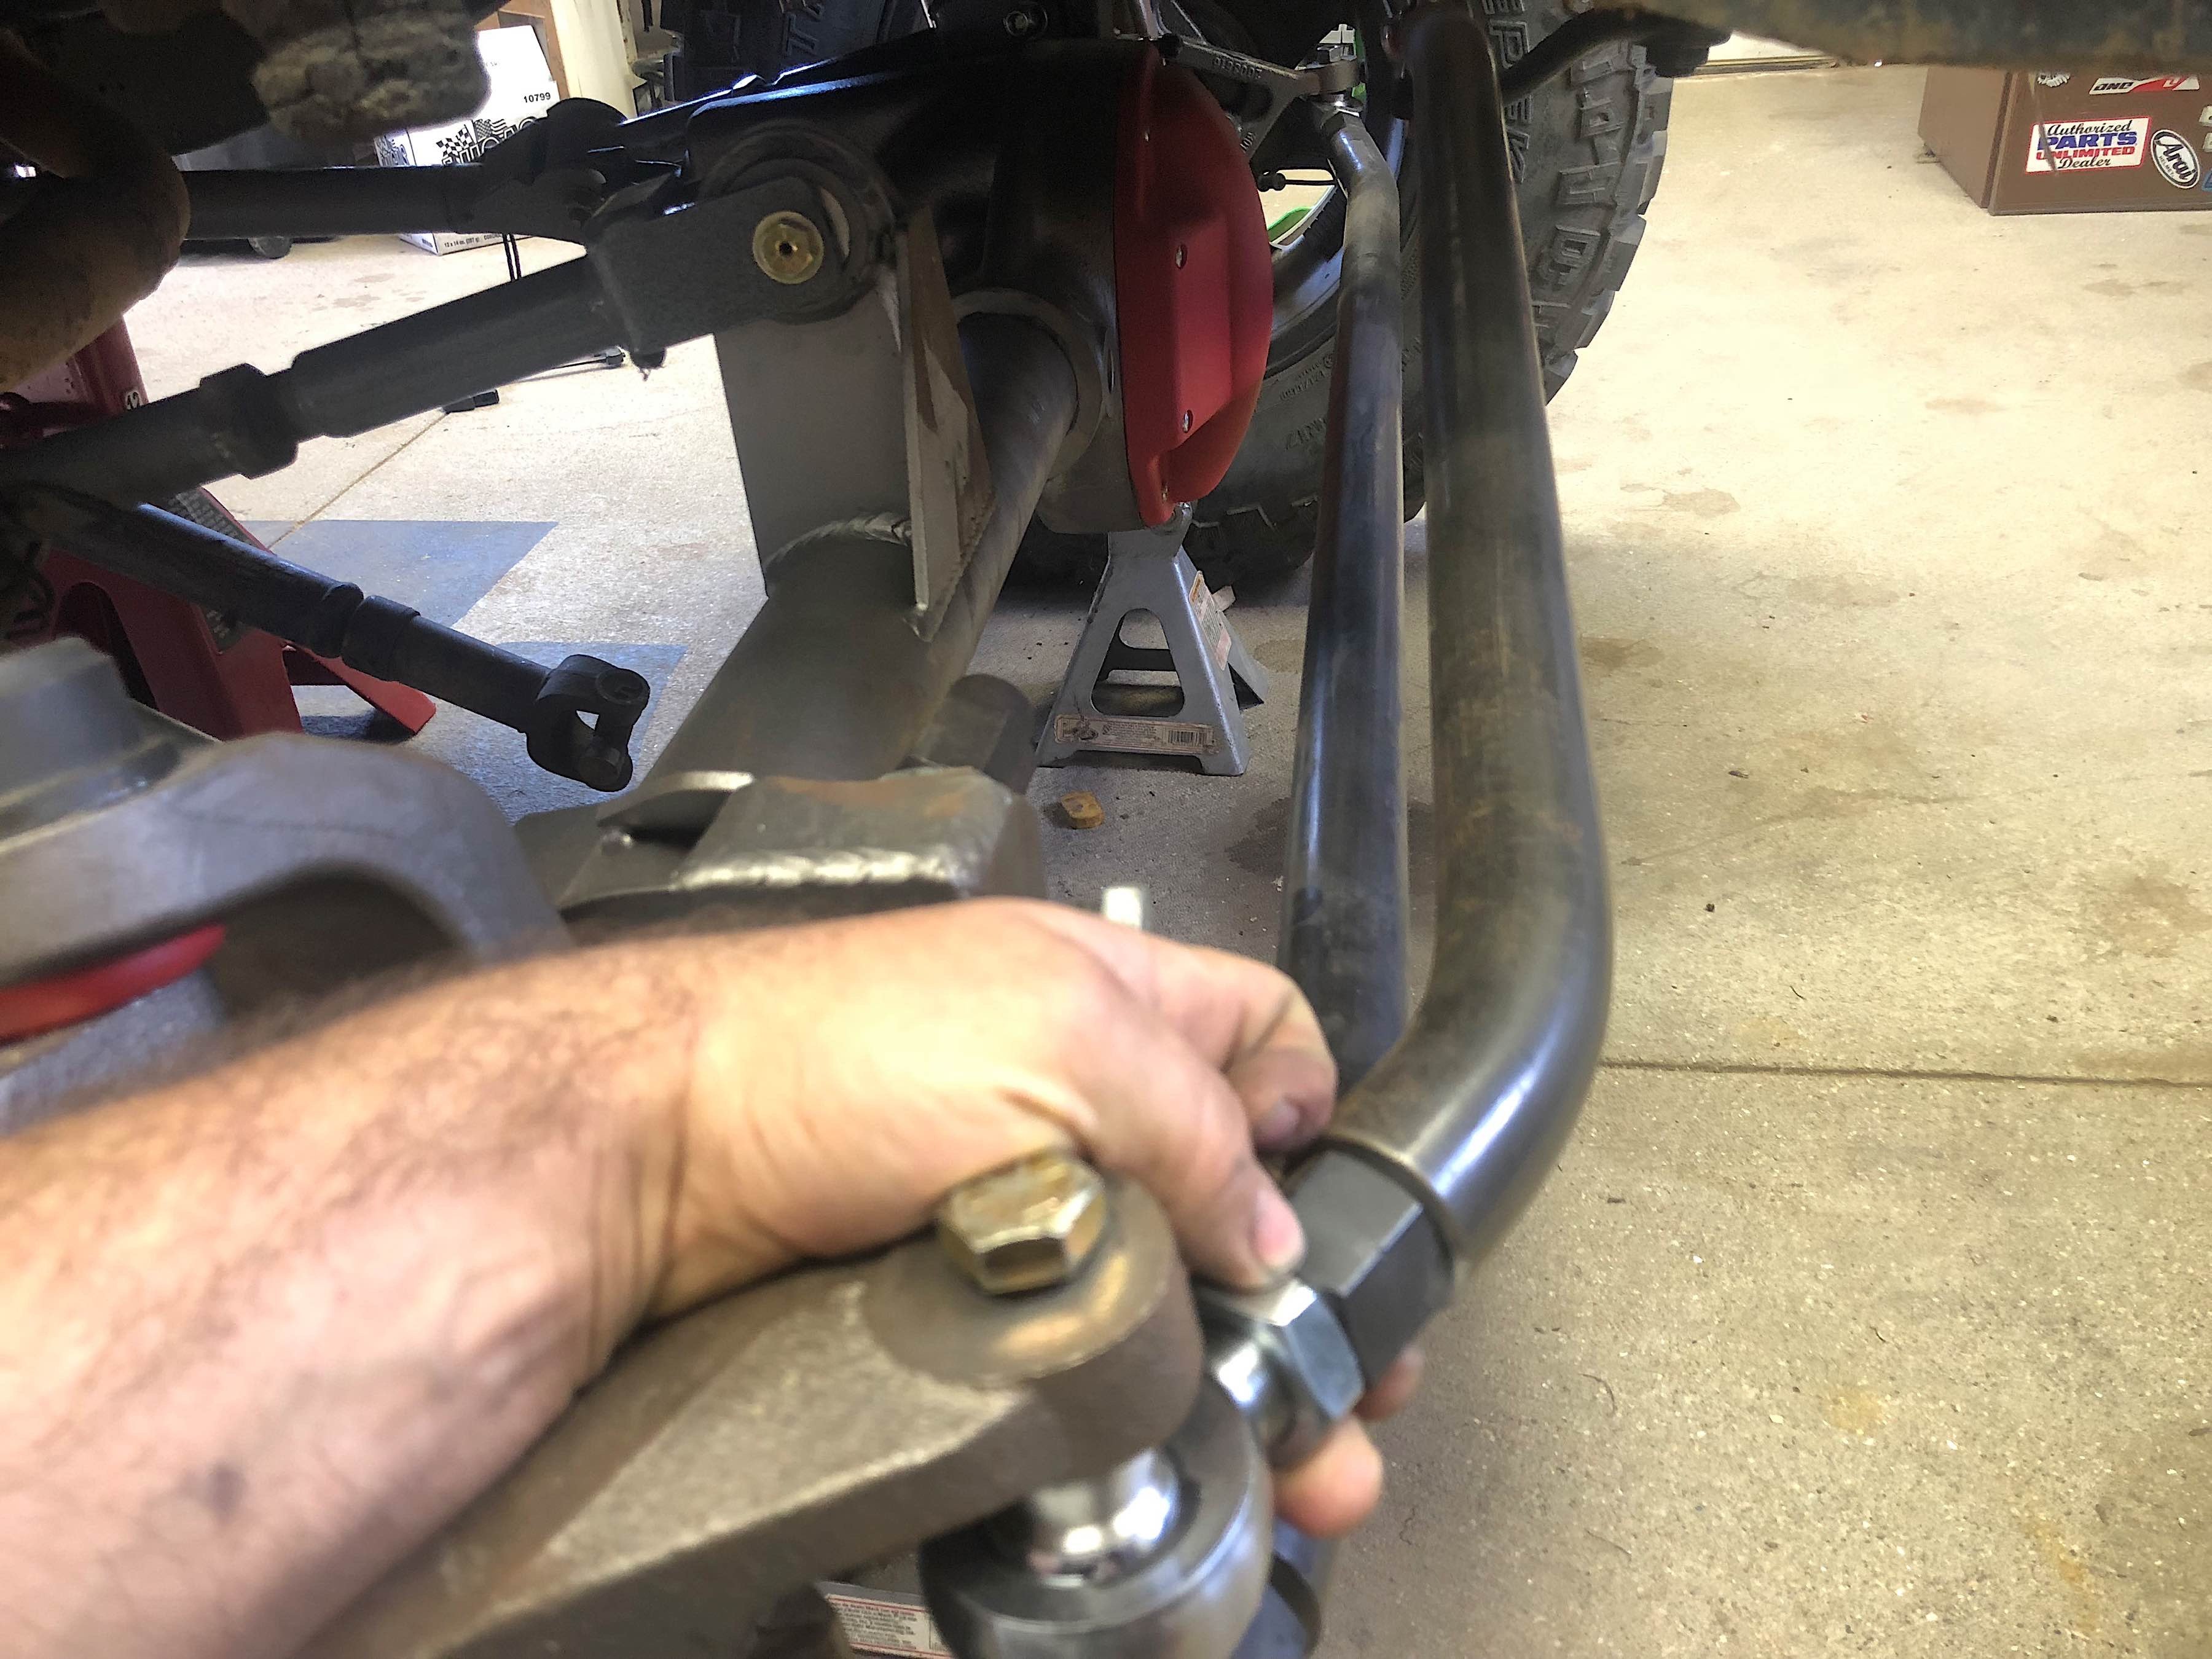

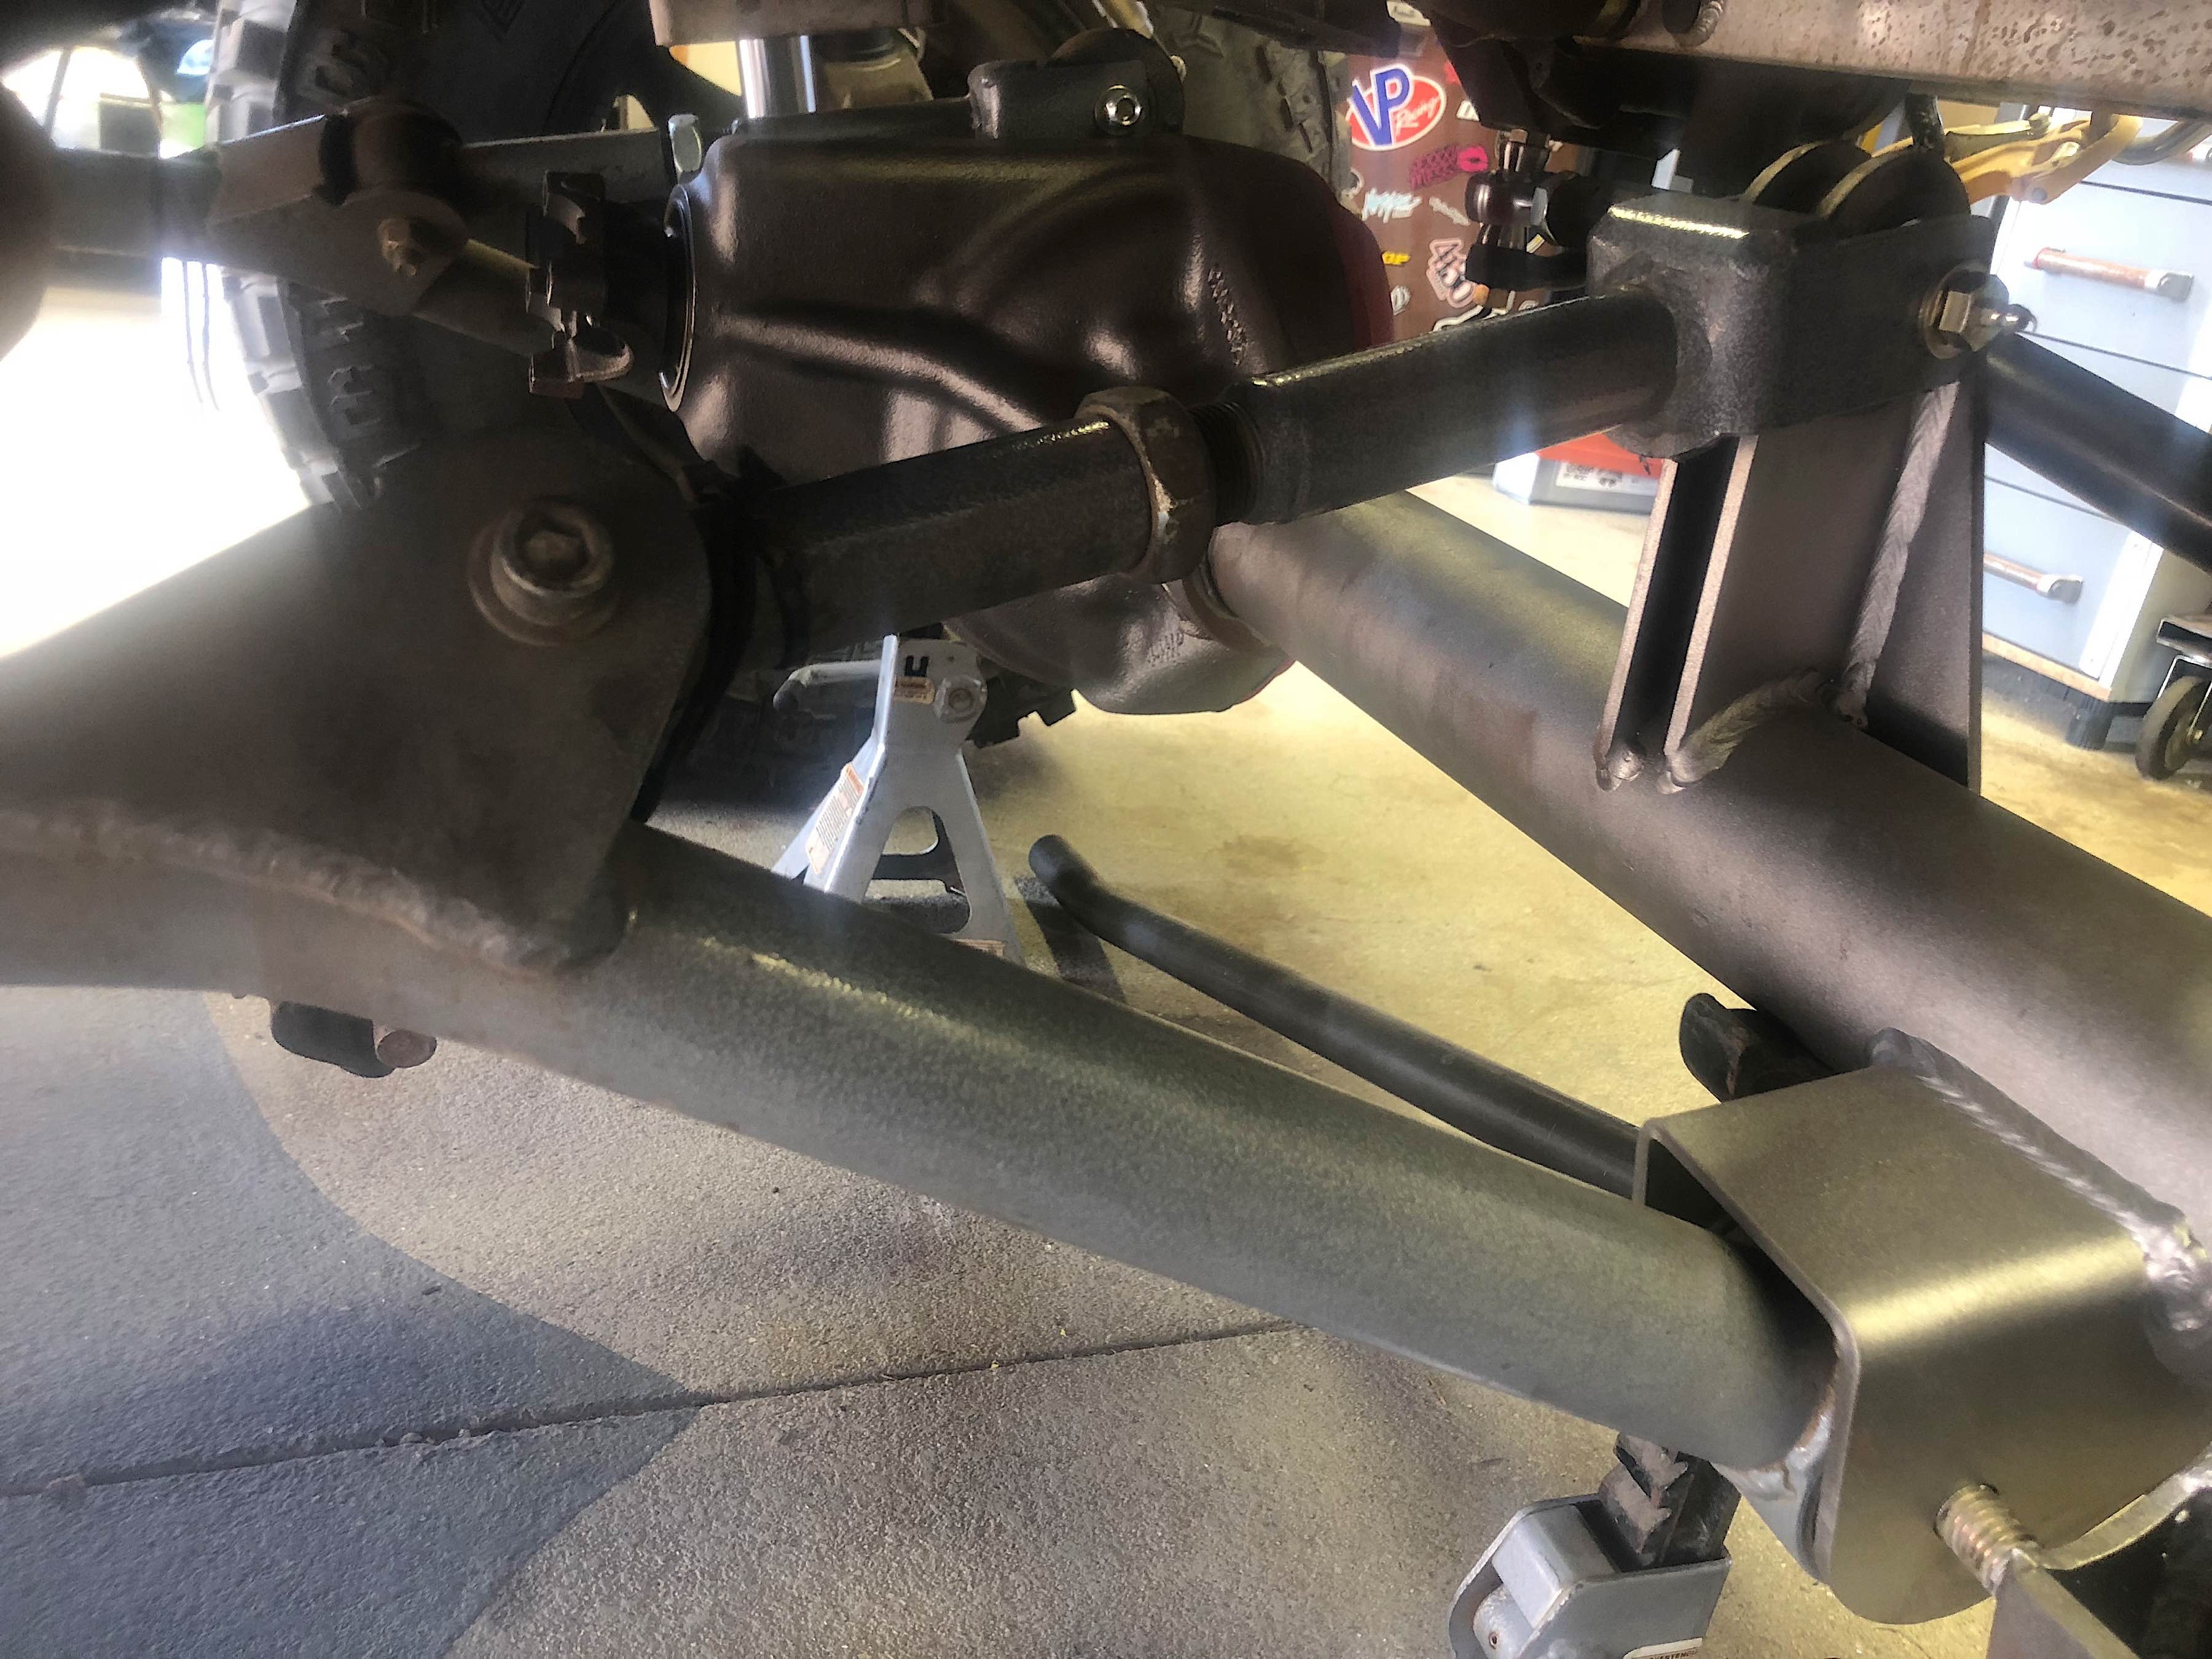
The steering components – drag link, tie rod, and track bar – are installed. The Jeep will still need to get an alignment when all is said and done, but for now, we're satisfied.
Next, we tackled the steering system. Our kit uses a new drag link, tie rod, and track bar to keep everything smooth and rock-solid when things get bumpy. We installed the pieces in order and set an alignment that was eyeball-approved.
Afterwards, we took on the brakes. These simply bolted on to the axles as you’d expect, but these were no ordinary TJ brakes. These were actually JK brakes, using discs on all four corners and having a sizable diameter and brake pad that would help stop bigger tires. This would be perfect for Project Redneck, since it’s running on 35-inch Dick Cepek Extreme Country tires. The calipers bolted onto mounts on the spindles made at Currie Enterprises. We also took care of the brake lines at this point.
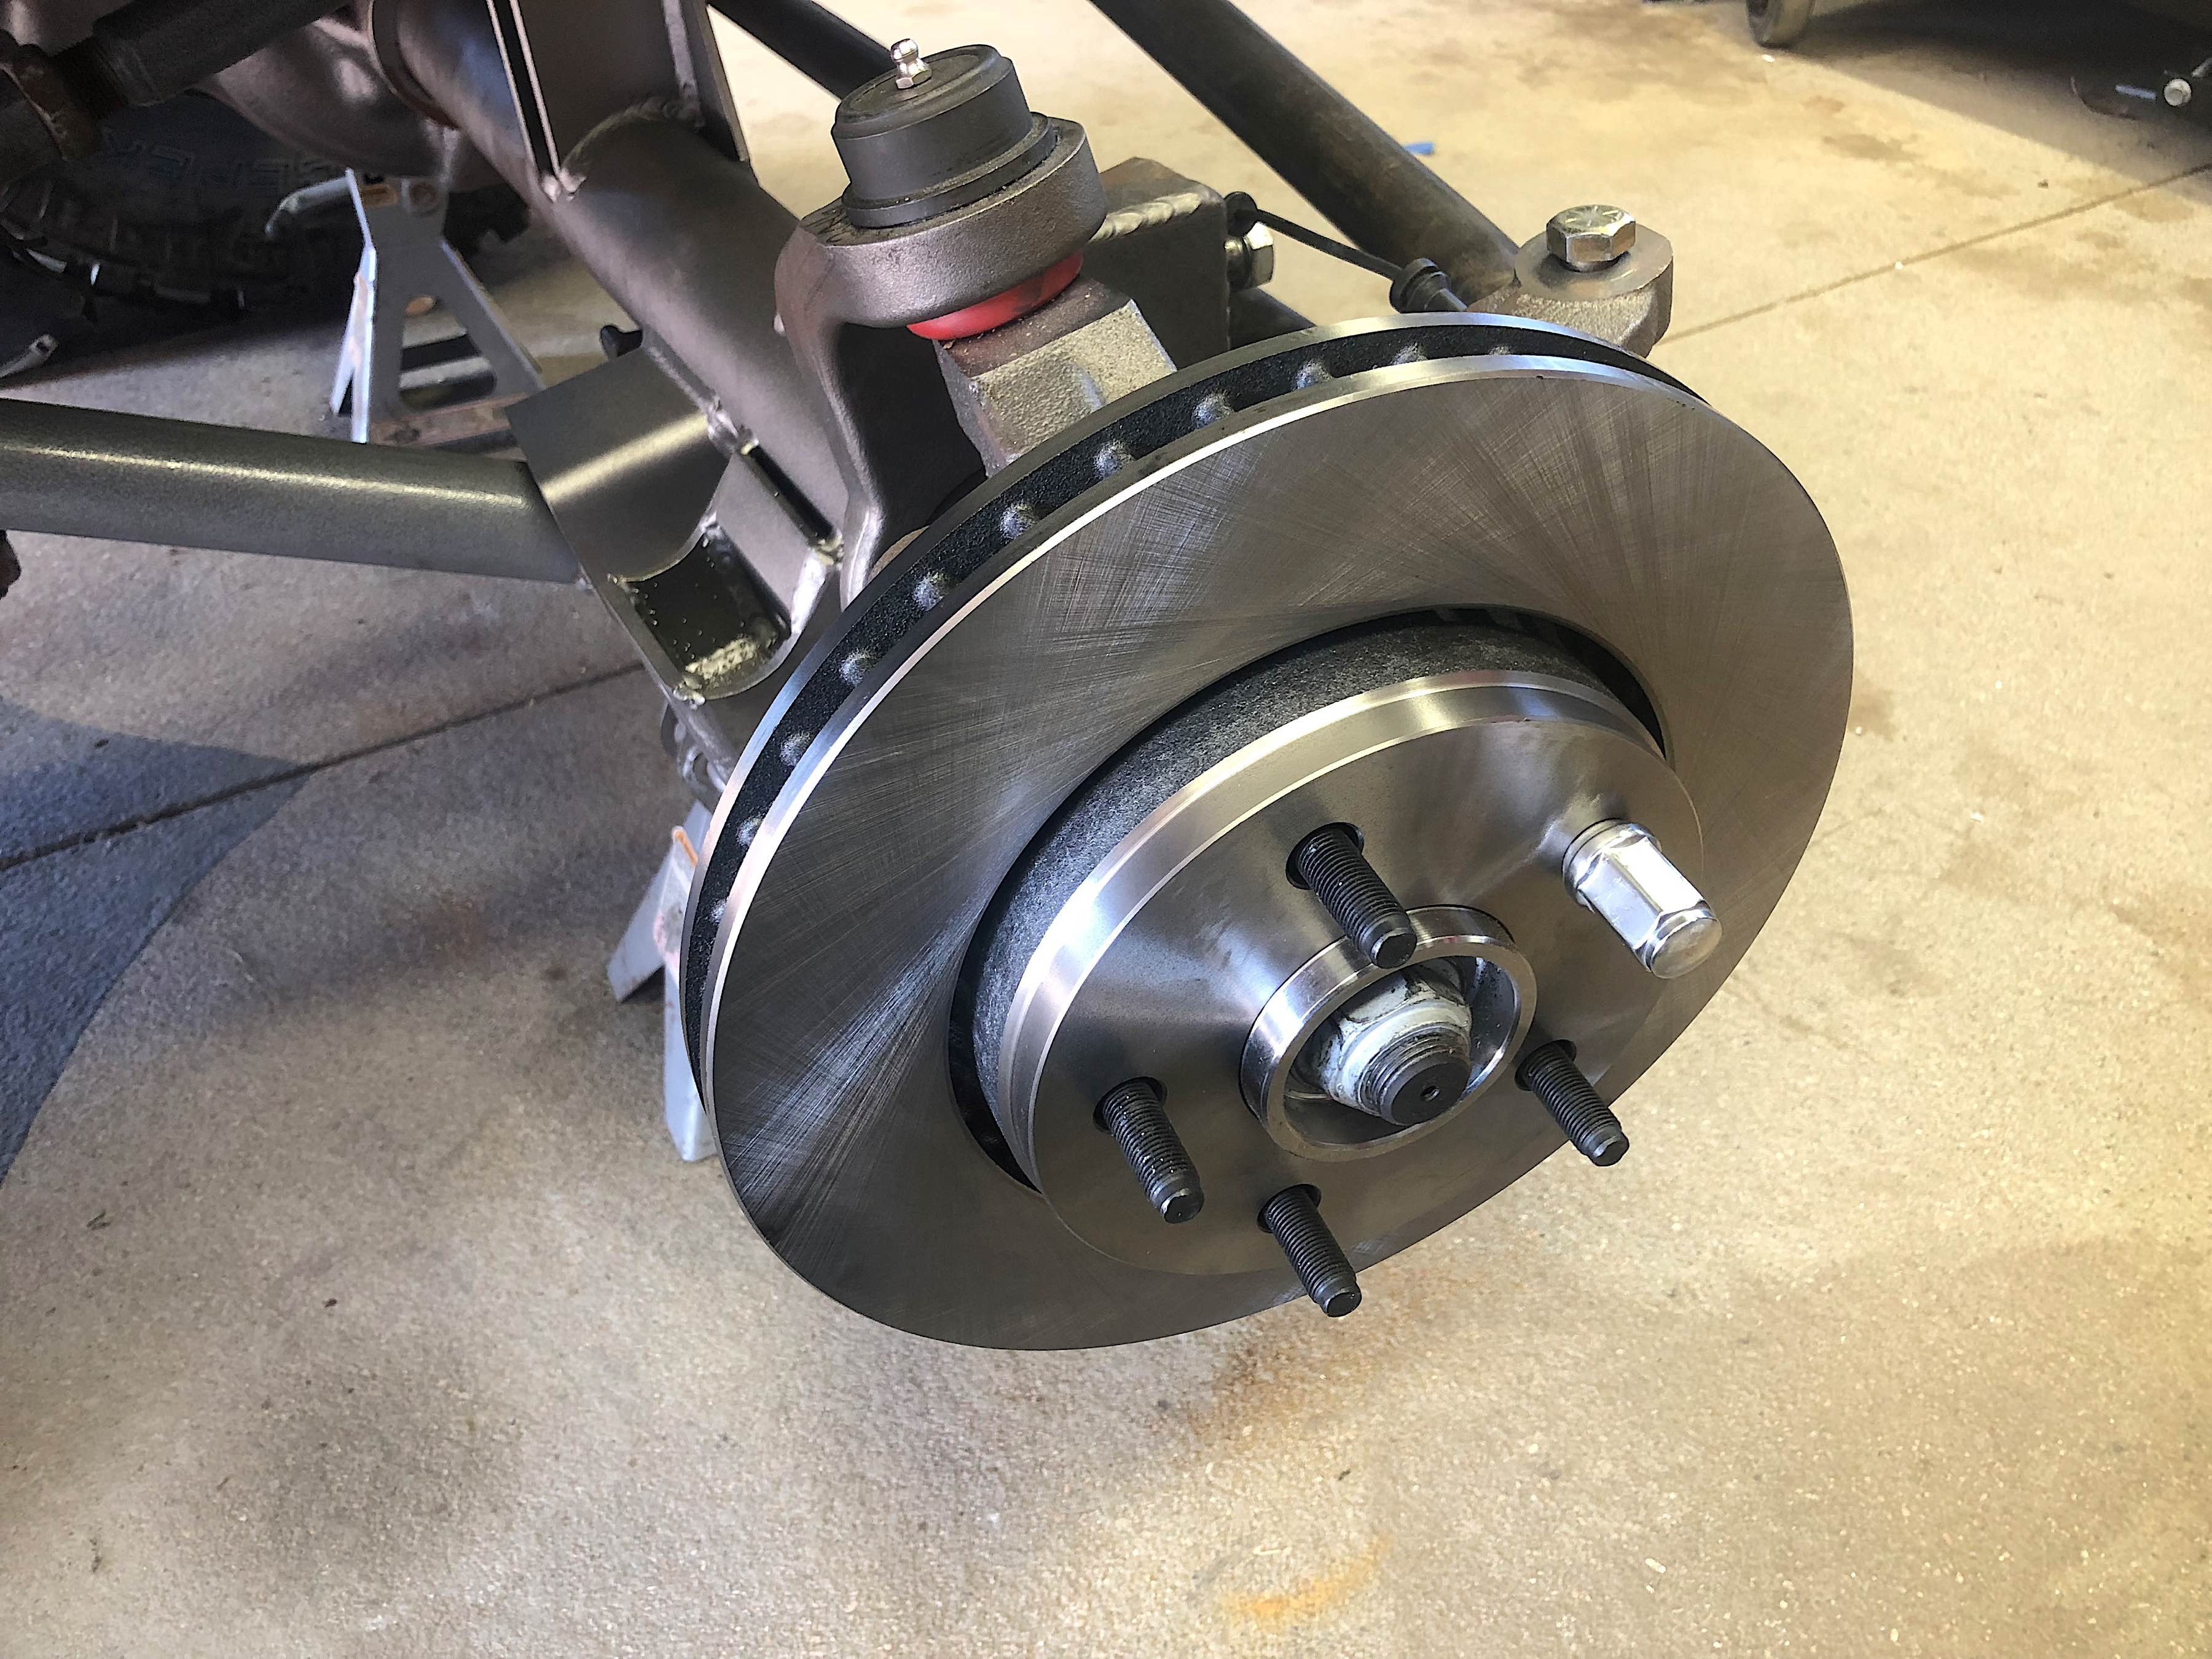
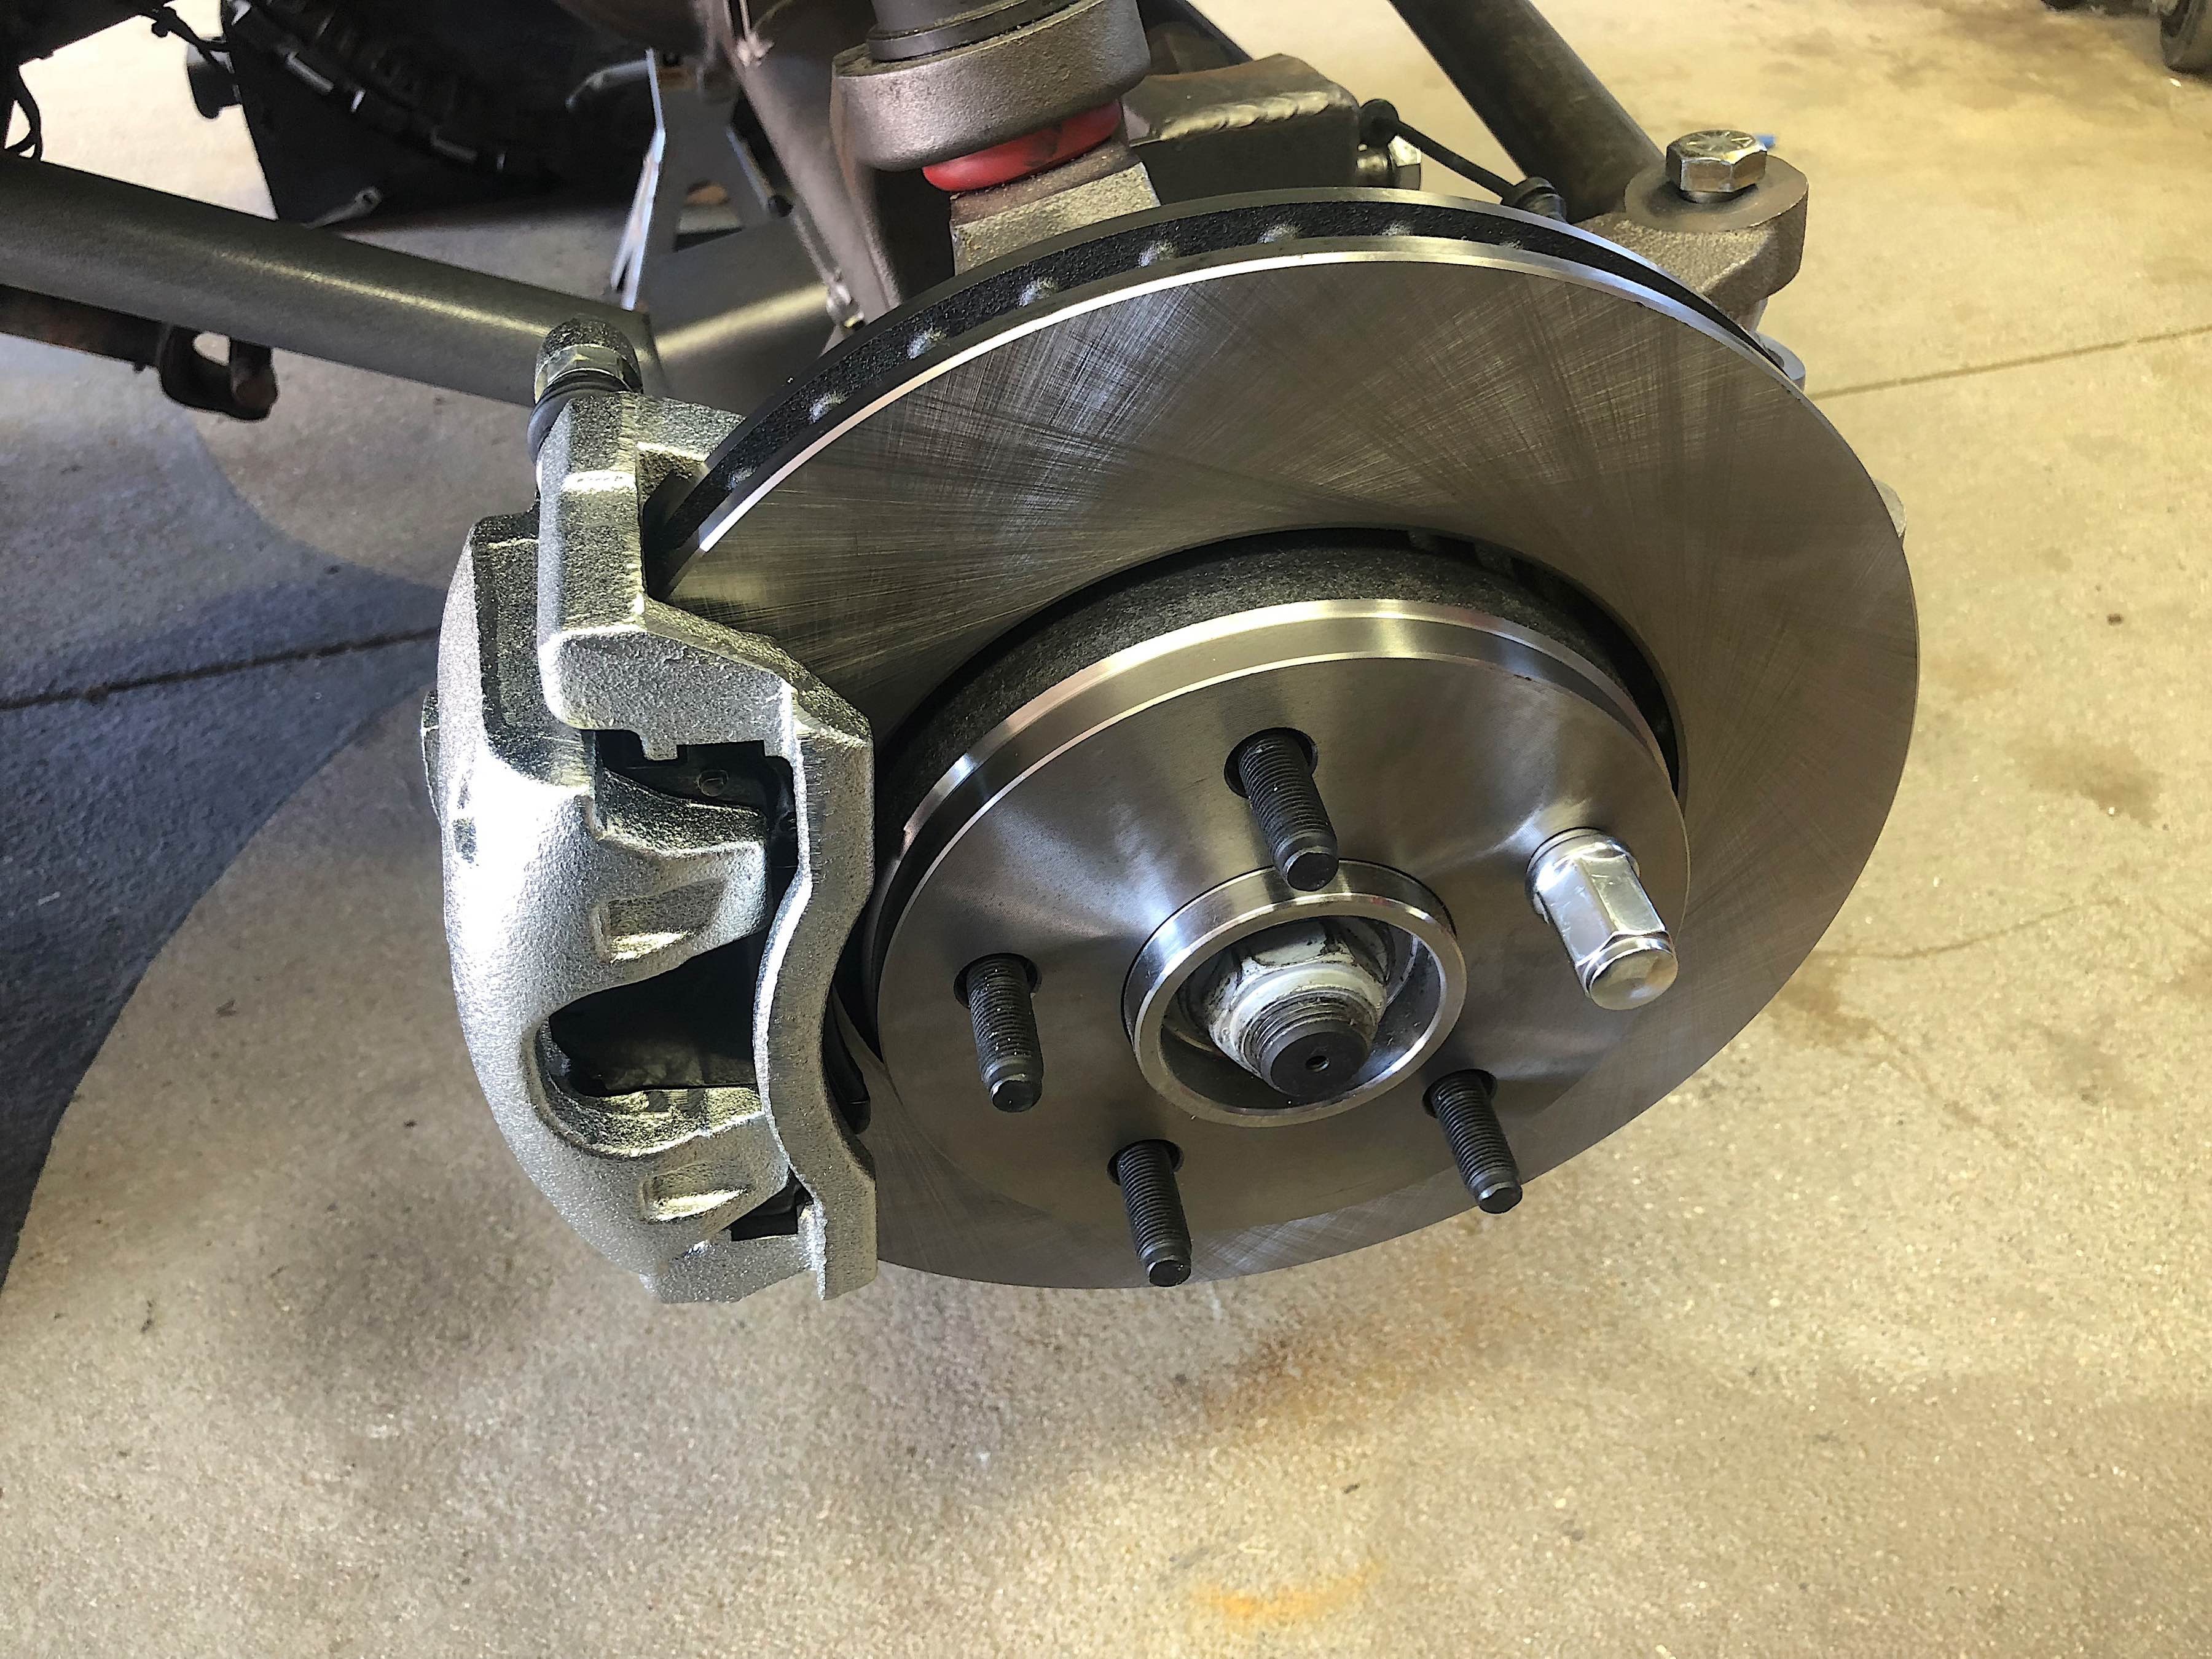
We installed the brake rotors and calipers.
Moving on, we went around the vehicle and hit each of the zerk fittings with fresh grease. If there’s one thing that’s nice to have when it comes to suspension, it’s zerk fittings. They allow for dramatically better service life of the bushings on control arms, steering components, U-joints, and other parts that routinely see lots of movement.

We hit each of the zerk fittings with some additional grease.

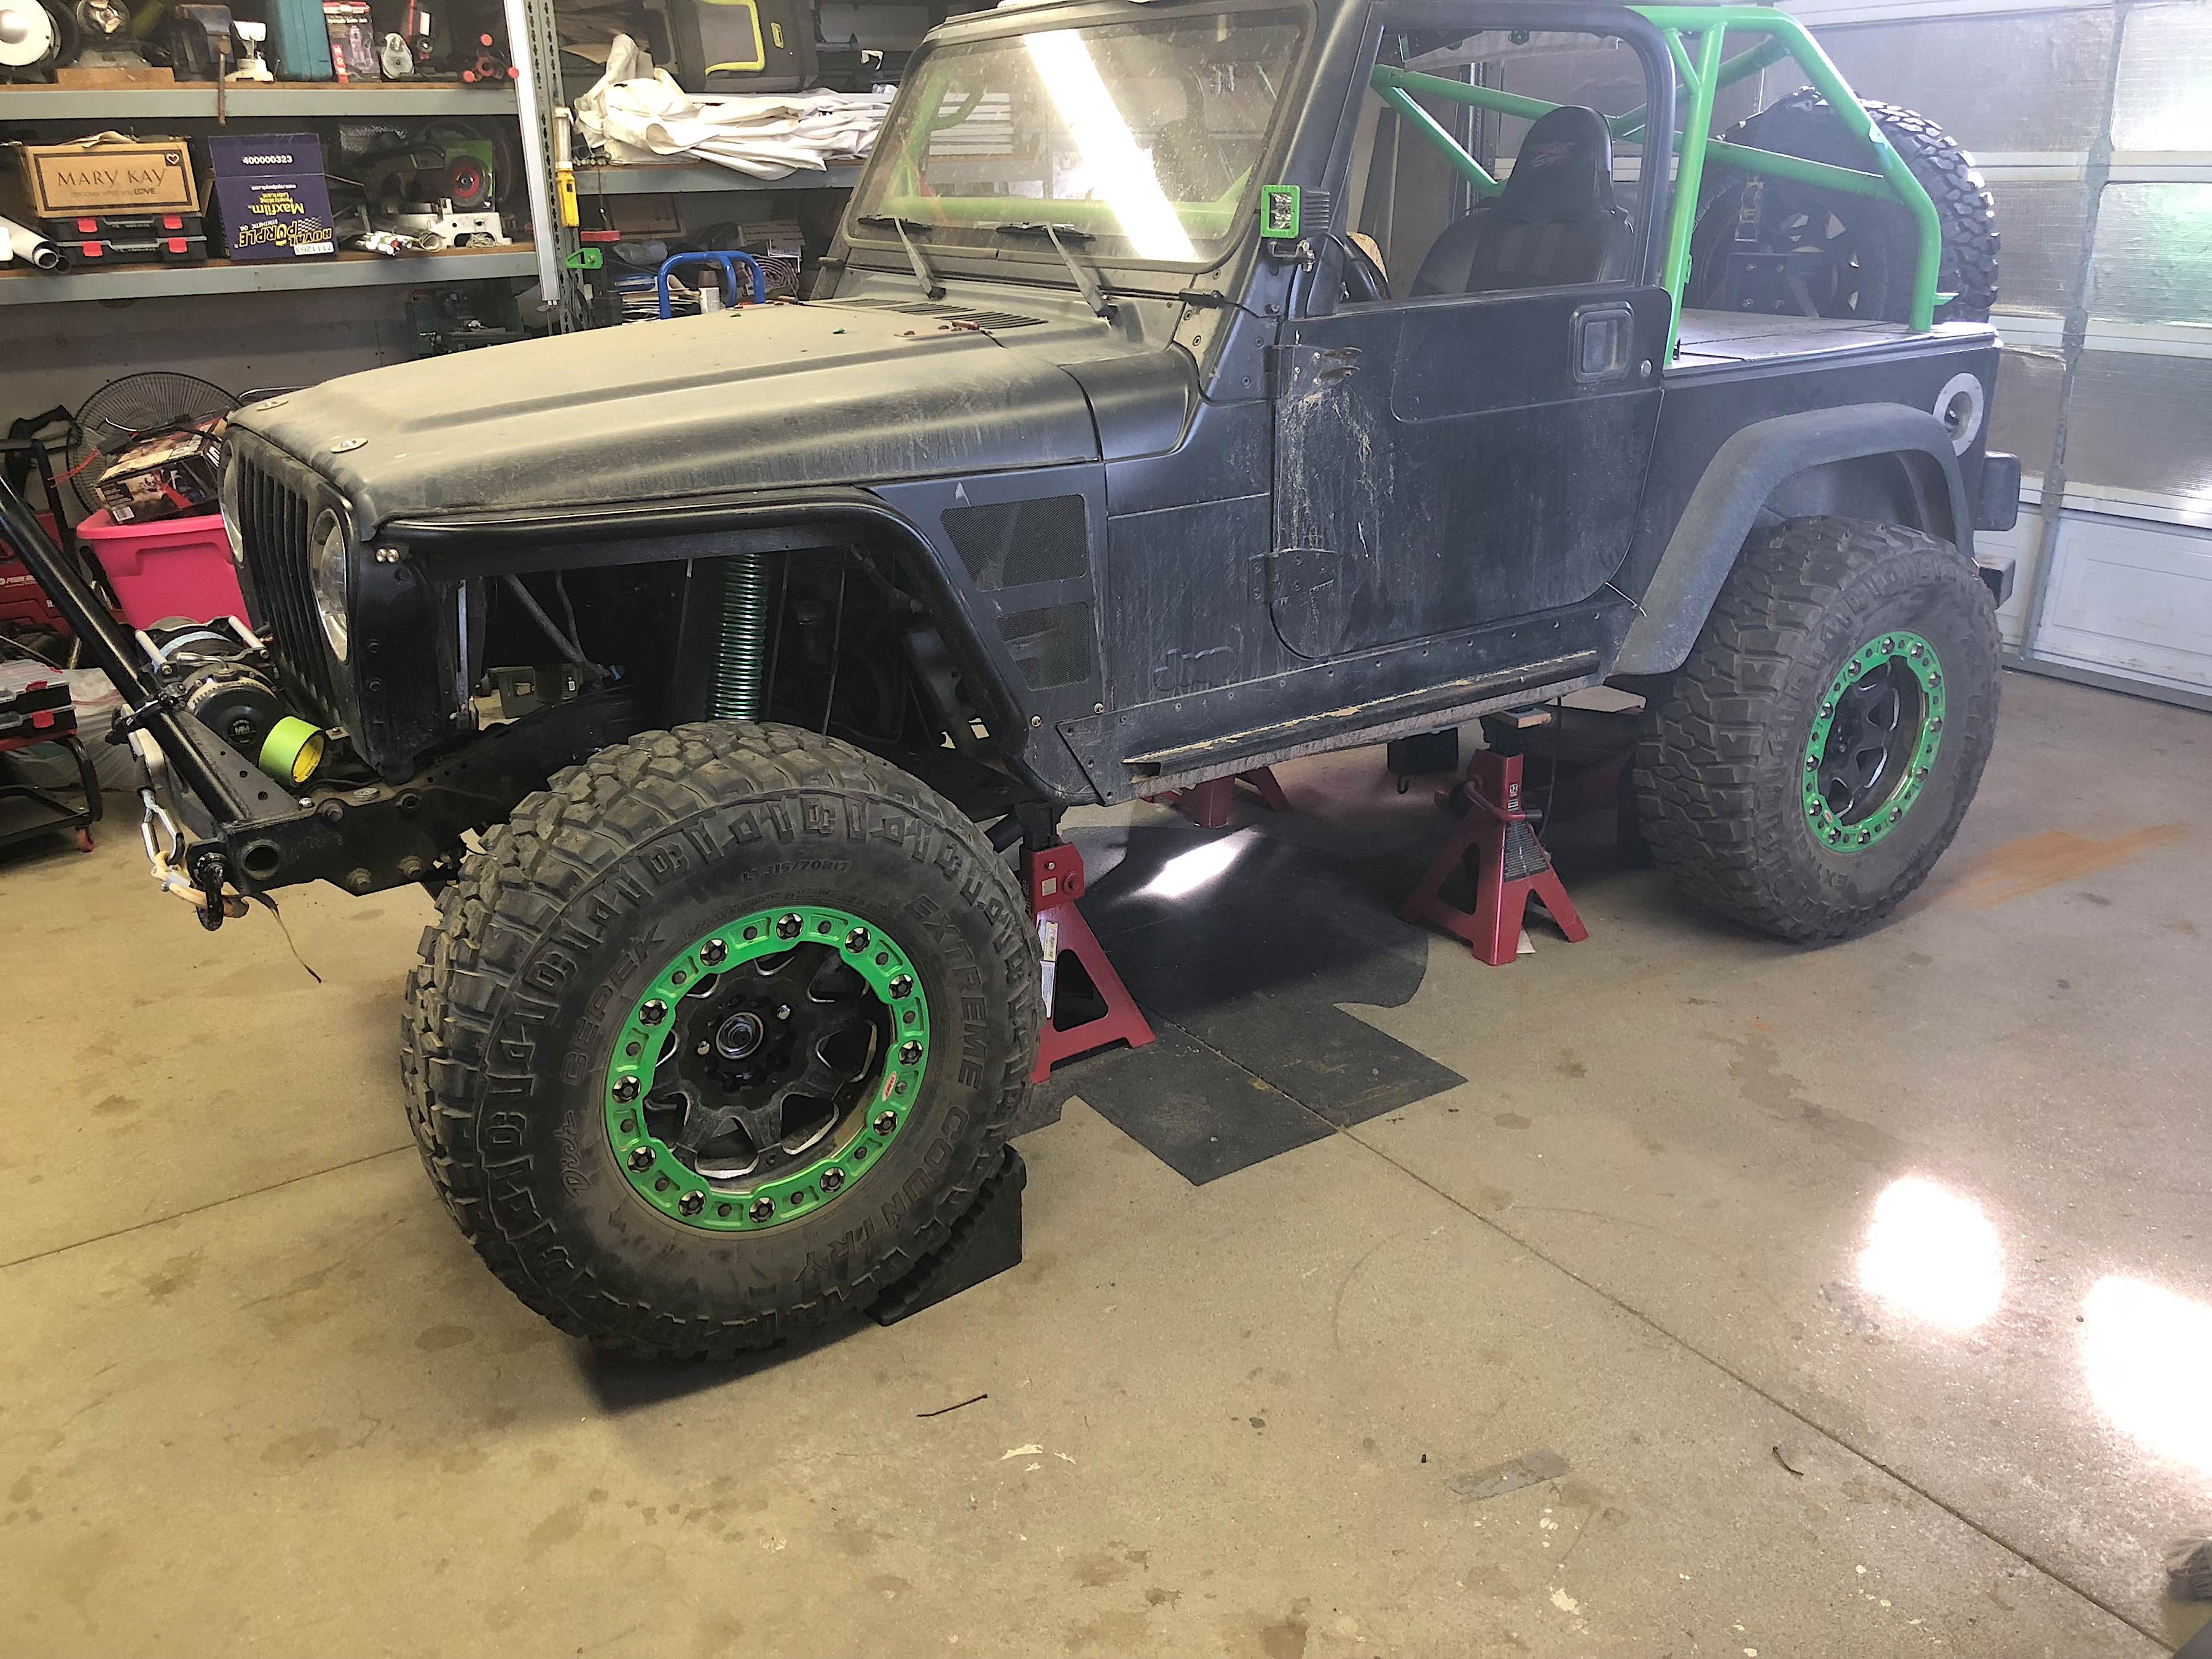
Project Redneck’s wheels and tires went on at this point. We did a bit of clearance check and found the wheels would be fine coming within six inches of the fender. We then filled the axles with gear oil, and called it a day on this phase of the install. There were other things we could tackle in the meantime; namely, the air compressor for the axles’ air lockers.
The big question before we did anything was all about the location – where can we put the darn thing? The compressor’s dimensions aren’t too bulky, and it can fit in a variety of places. But having it somewhere easily accessible and far enough away from road debris made the compartment behind the passenger seat a solid choice.
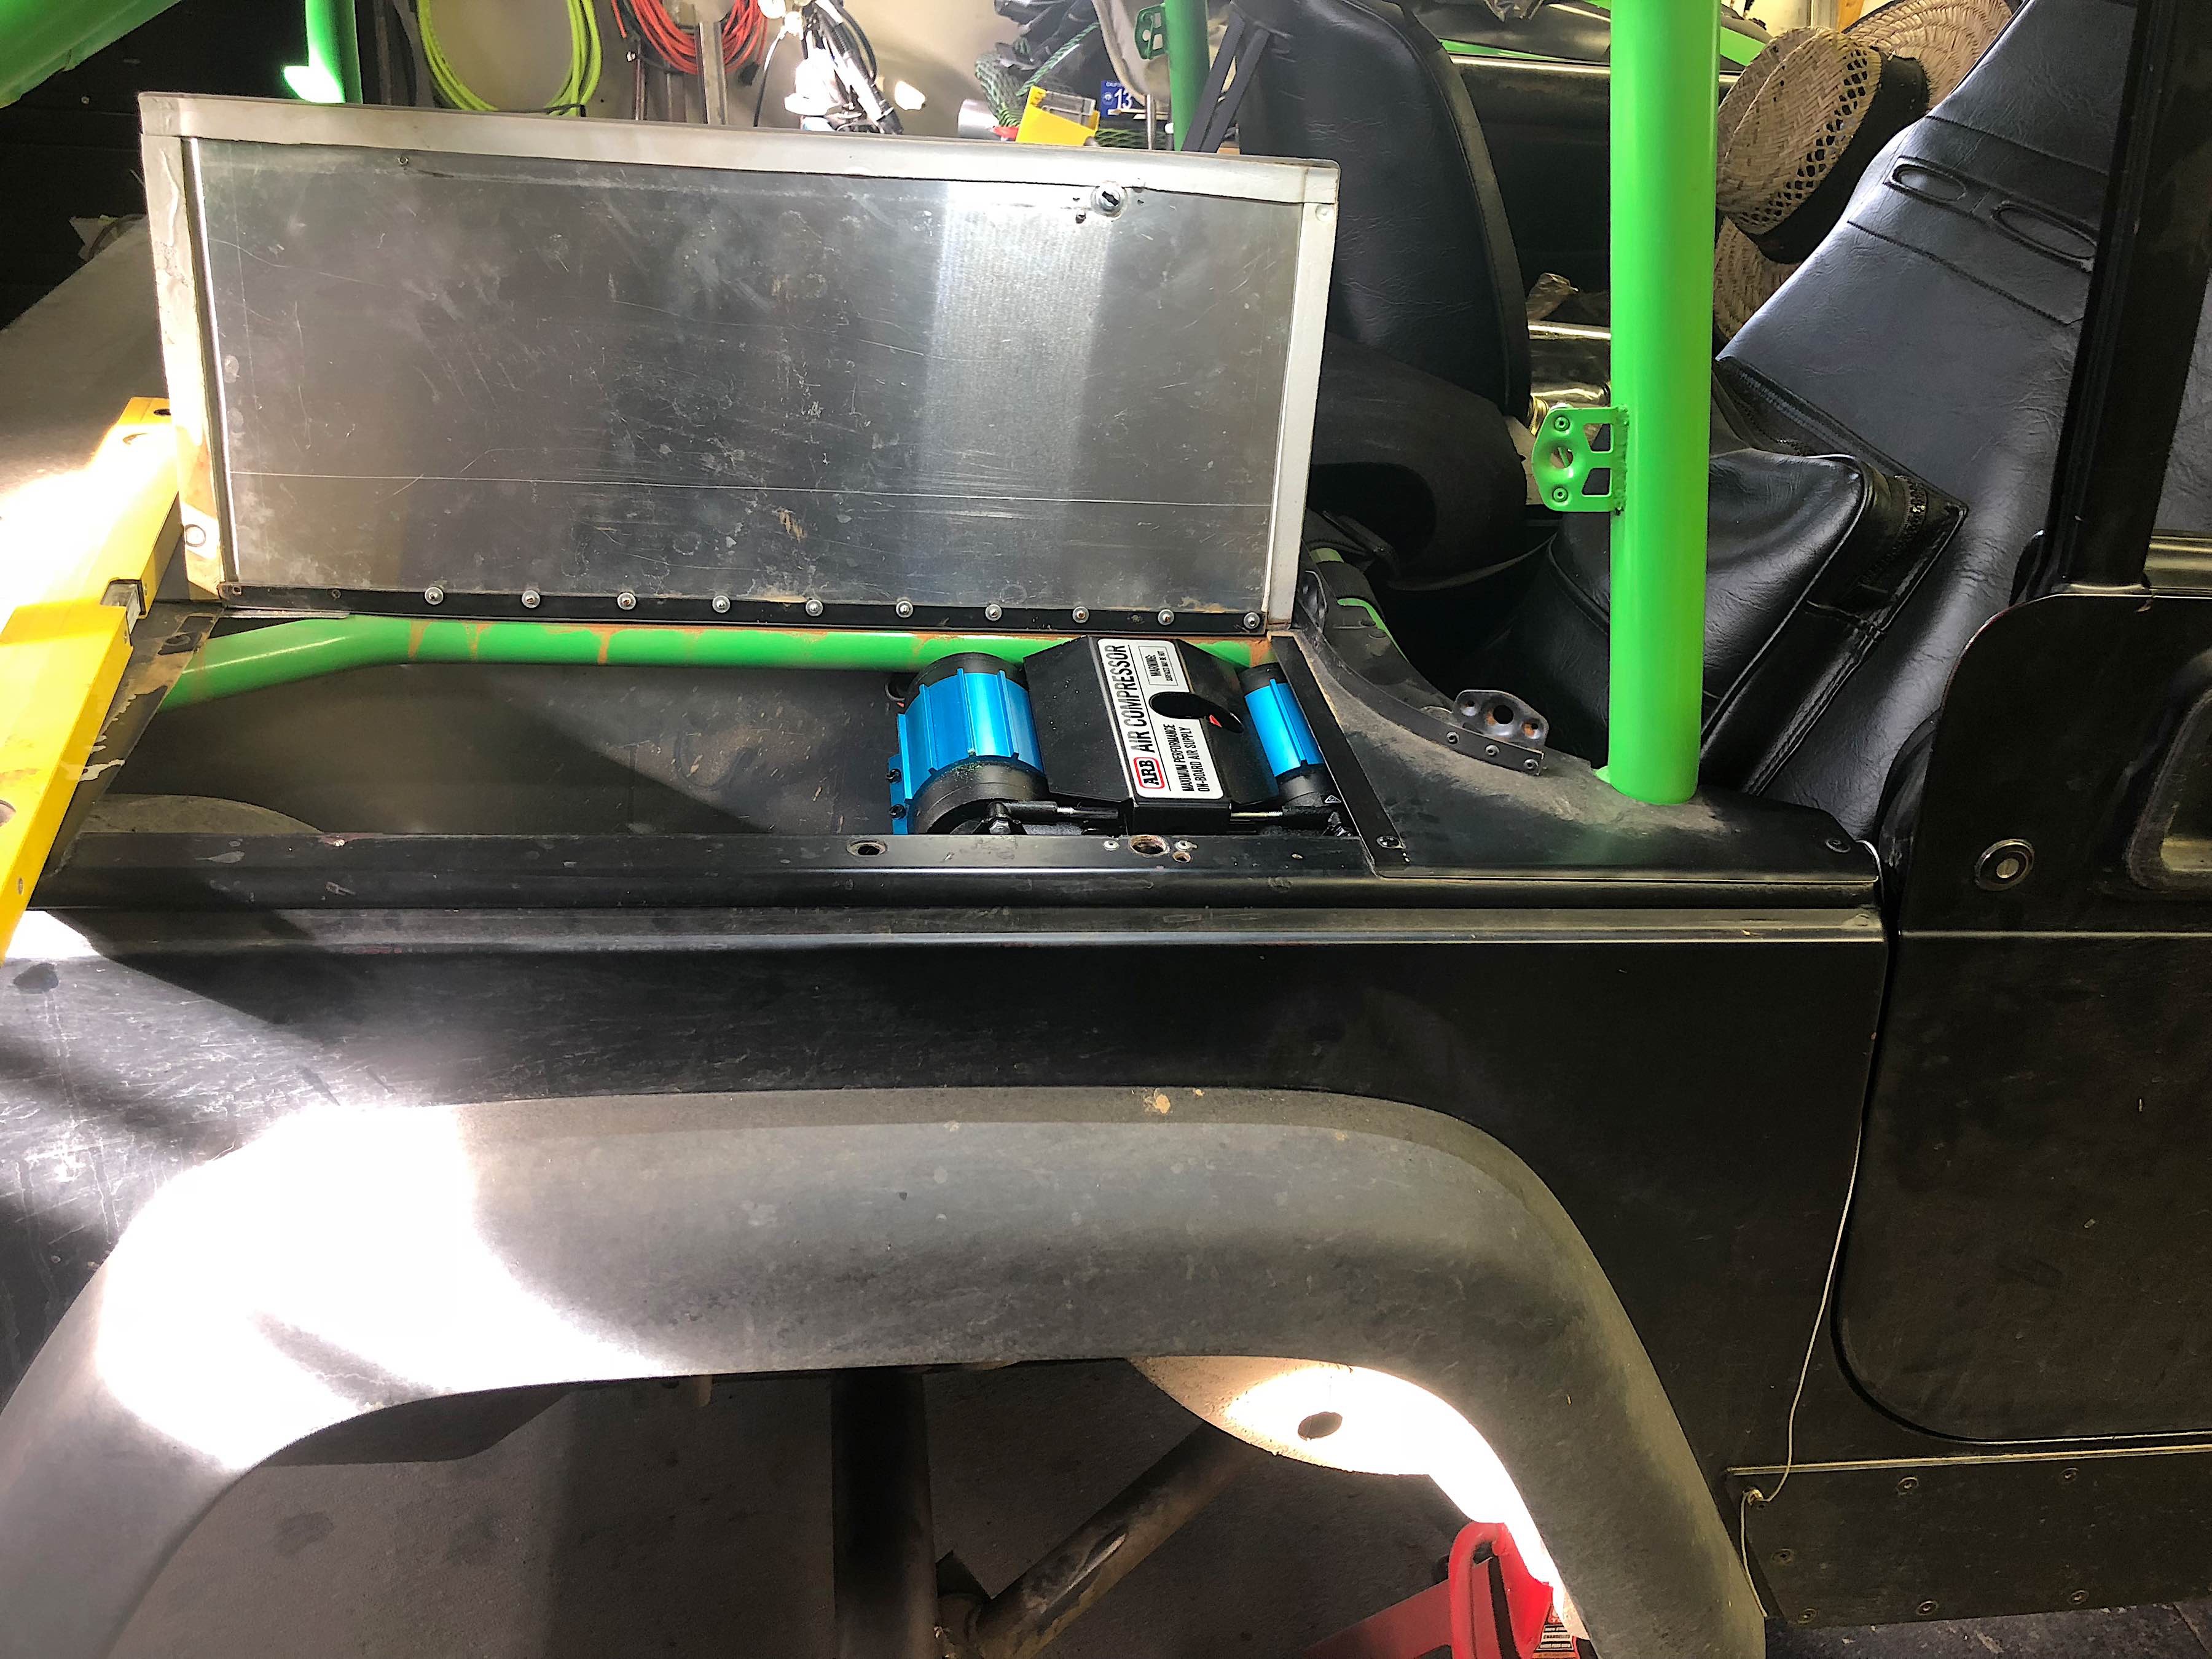
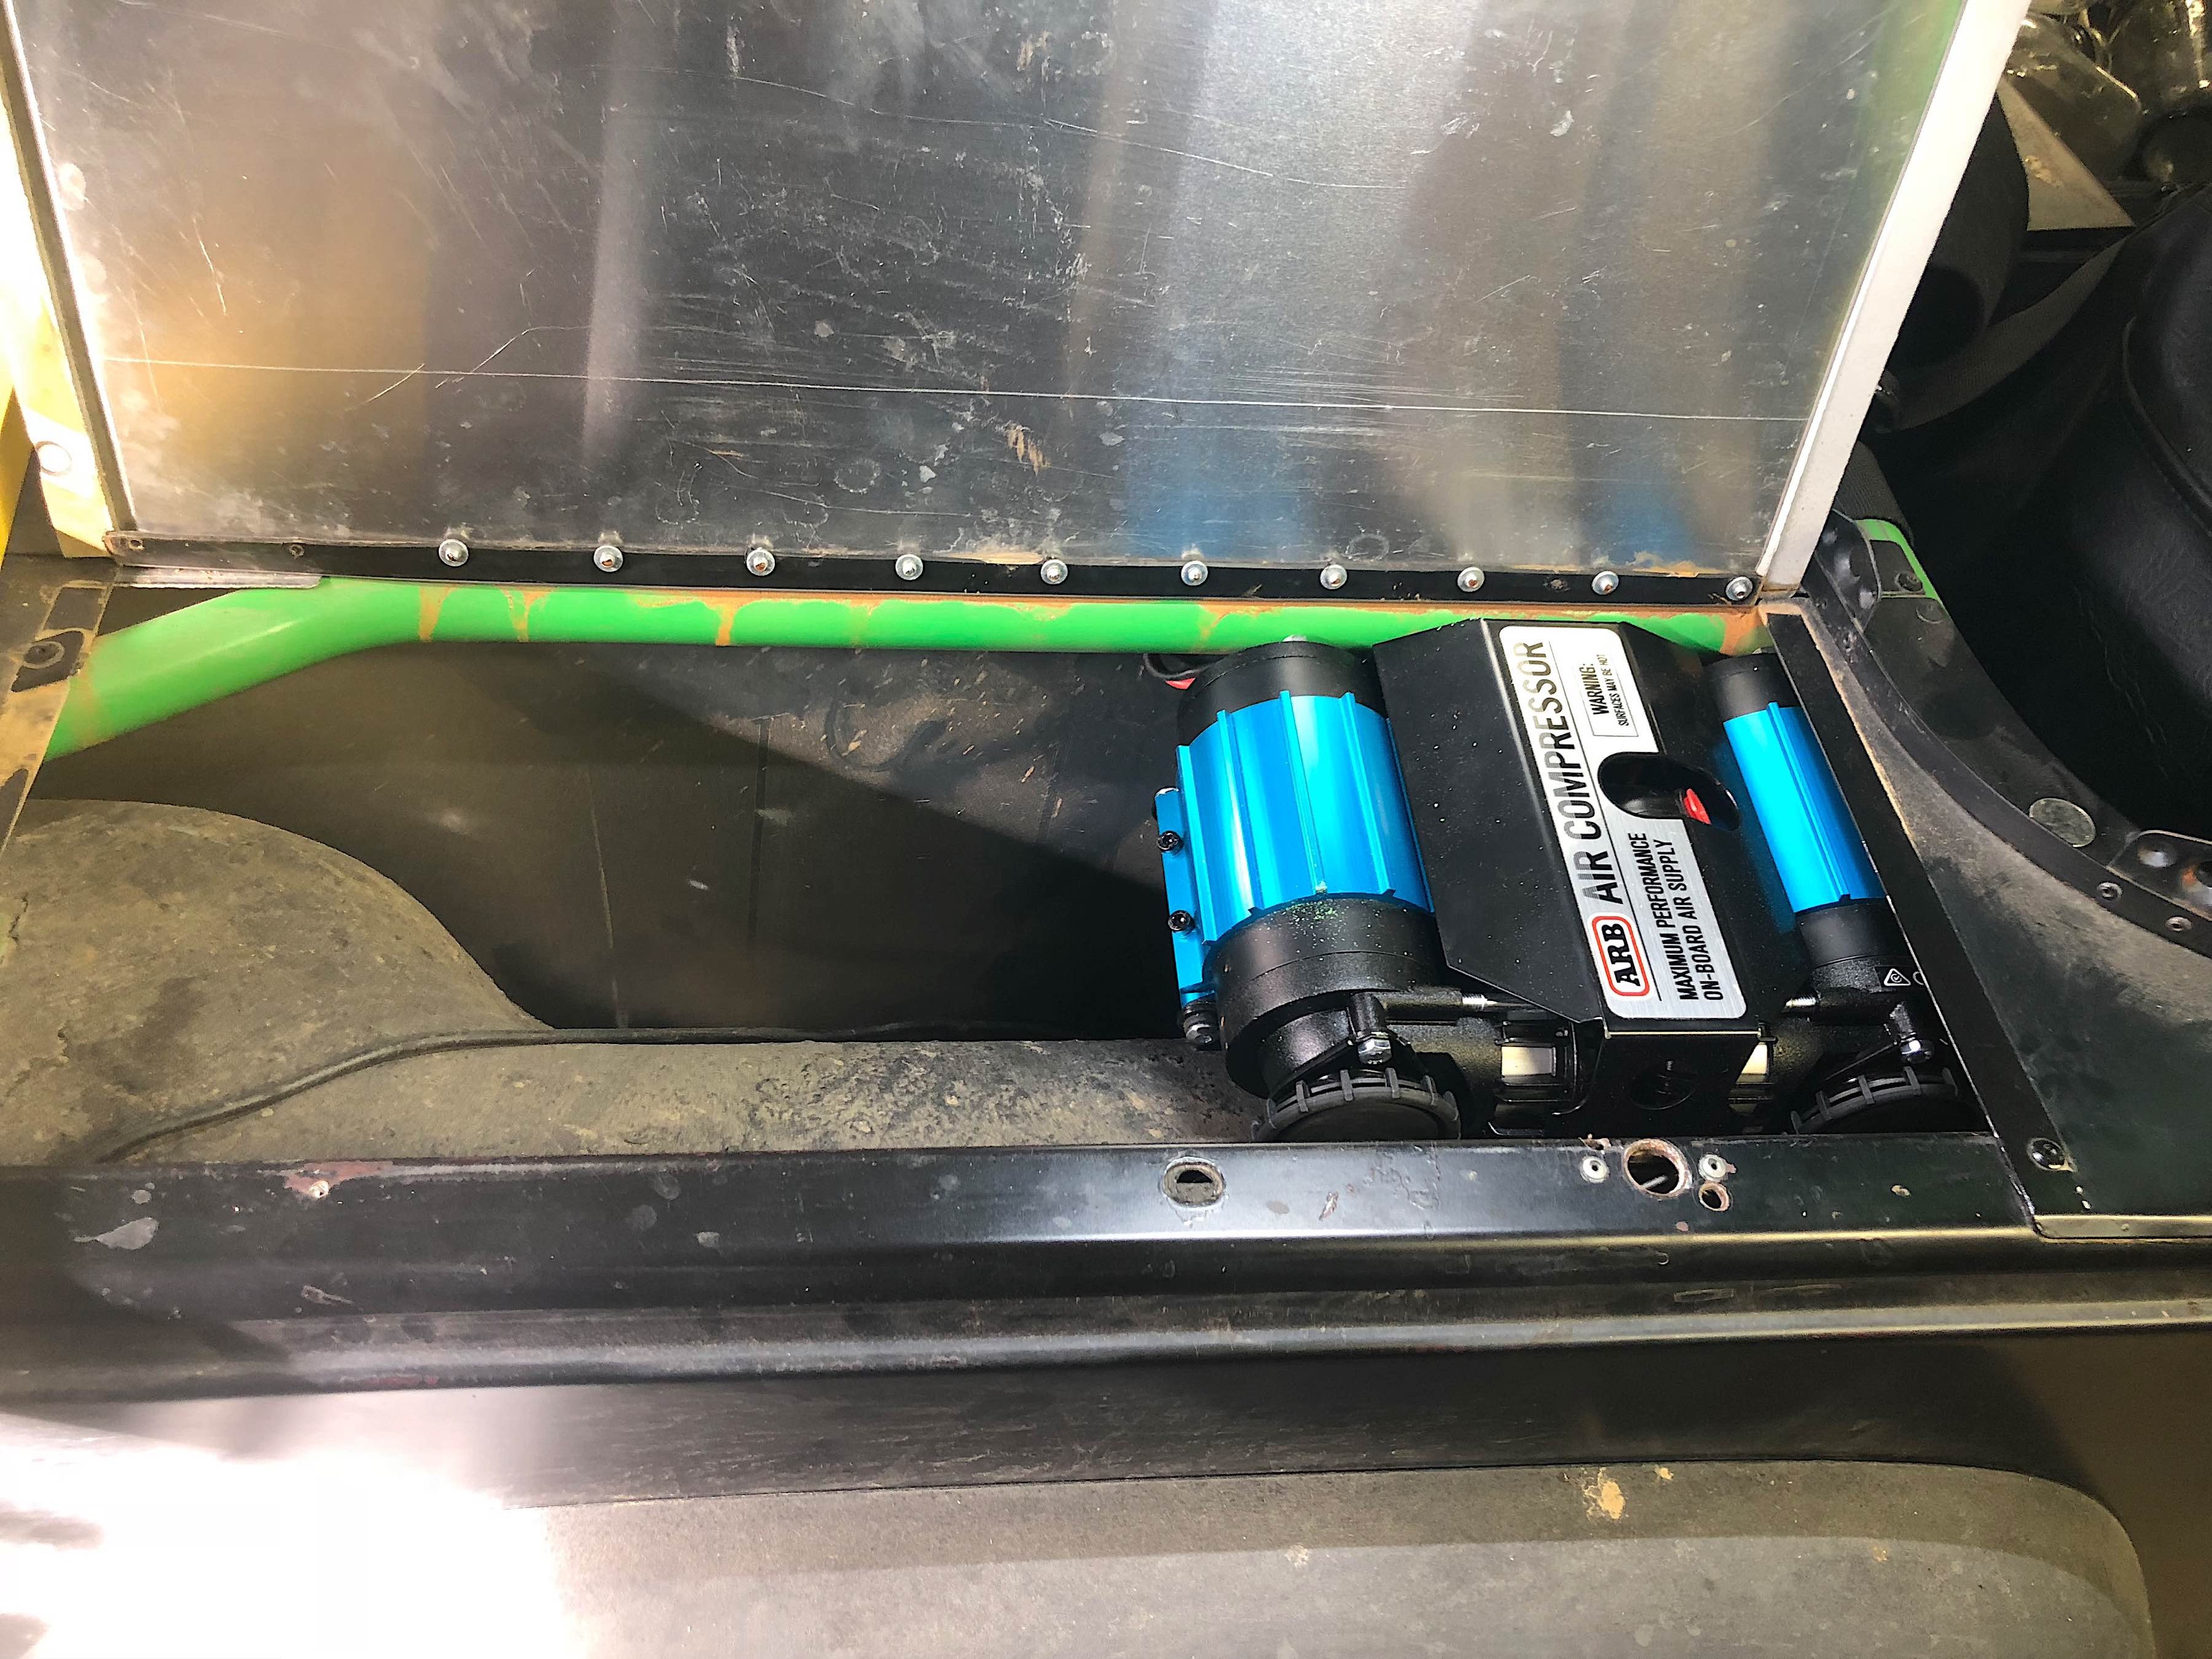
We placed the ARB air compressor in a compartment behind the passenger seat. This would keep it safe and also easily accessible, in case we ran into problems.
We hooked up the main electrical connectors to the wiring harness. We also hooked up the wiring for the switch. As for locating the switches to operate the lockers, that had to be somewhere convenient and within arm’s reach. We opted for the cigarette lighter in the center console.
After working out the wiring and switch location for Project Redneck, we now had to figure out the air lines and fittings. It was important to remember that the axles will see a lot of movement out on the trail, so having a good amount of tubing – and then some – was going to help the air lockers stay connected and functioning. We also made sure to run the tubing in a way that it wouldn’t hang too low, or kink on corners or rub up against sharp or hot spots in the undercarriage.
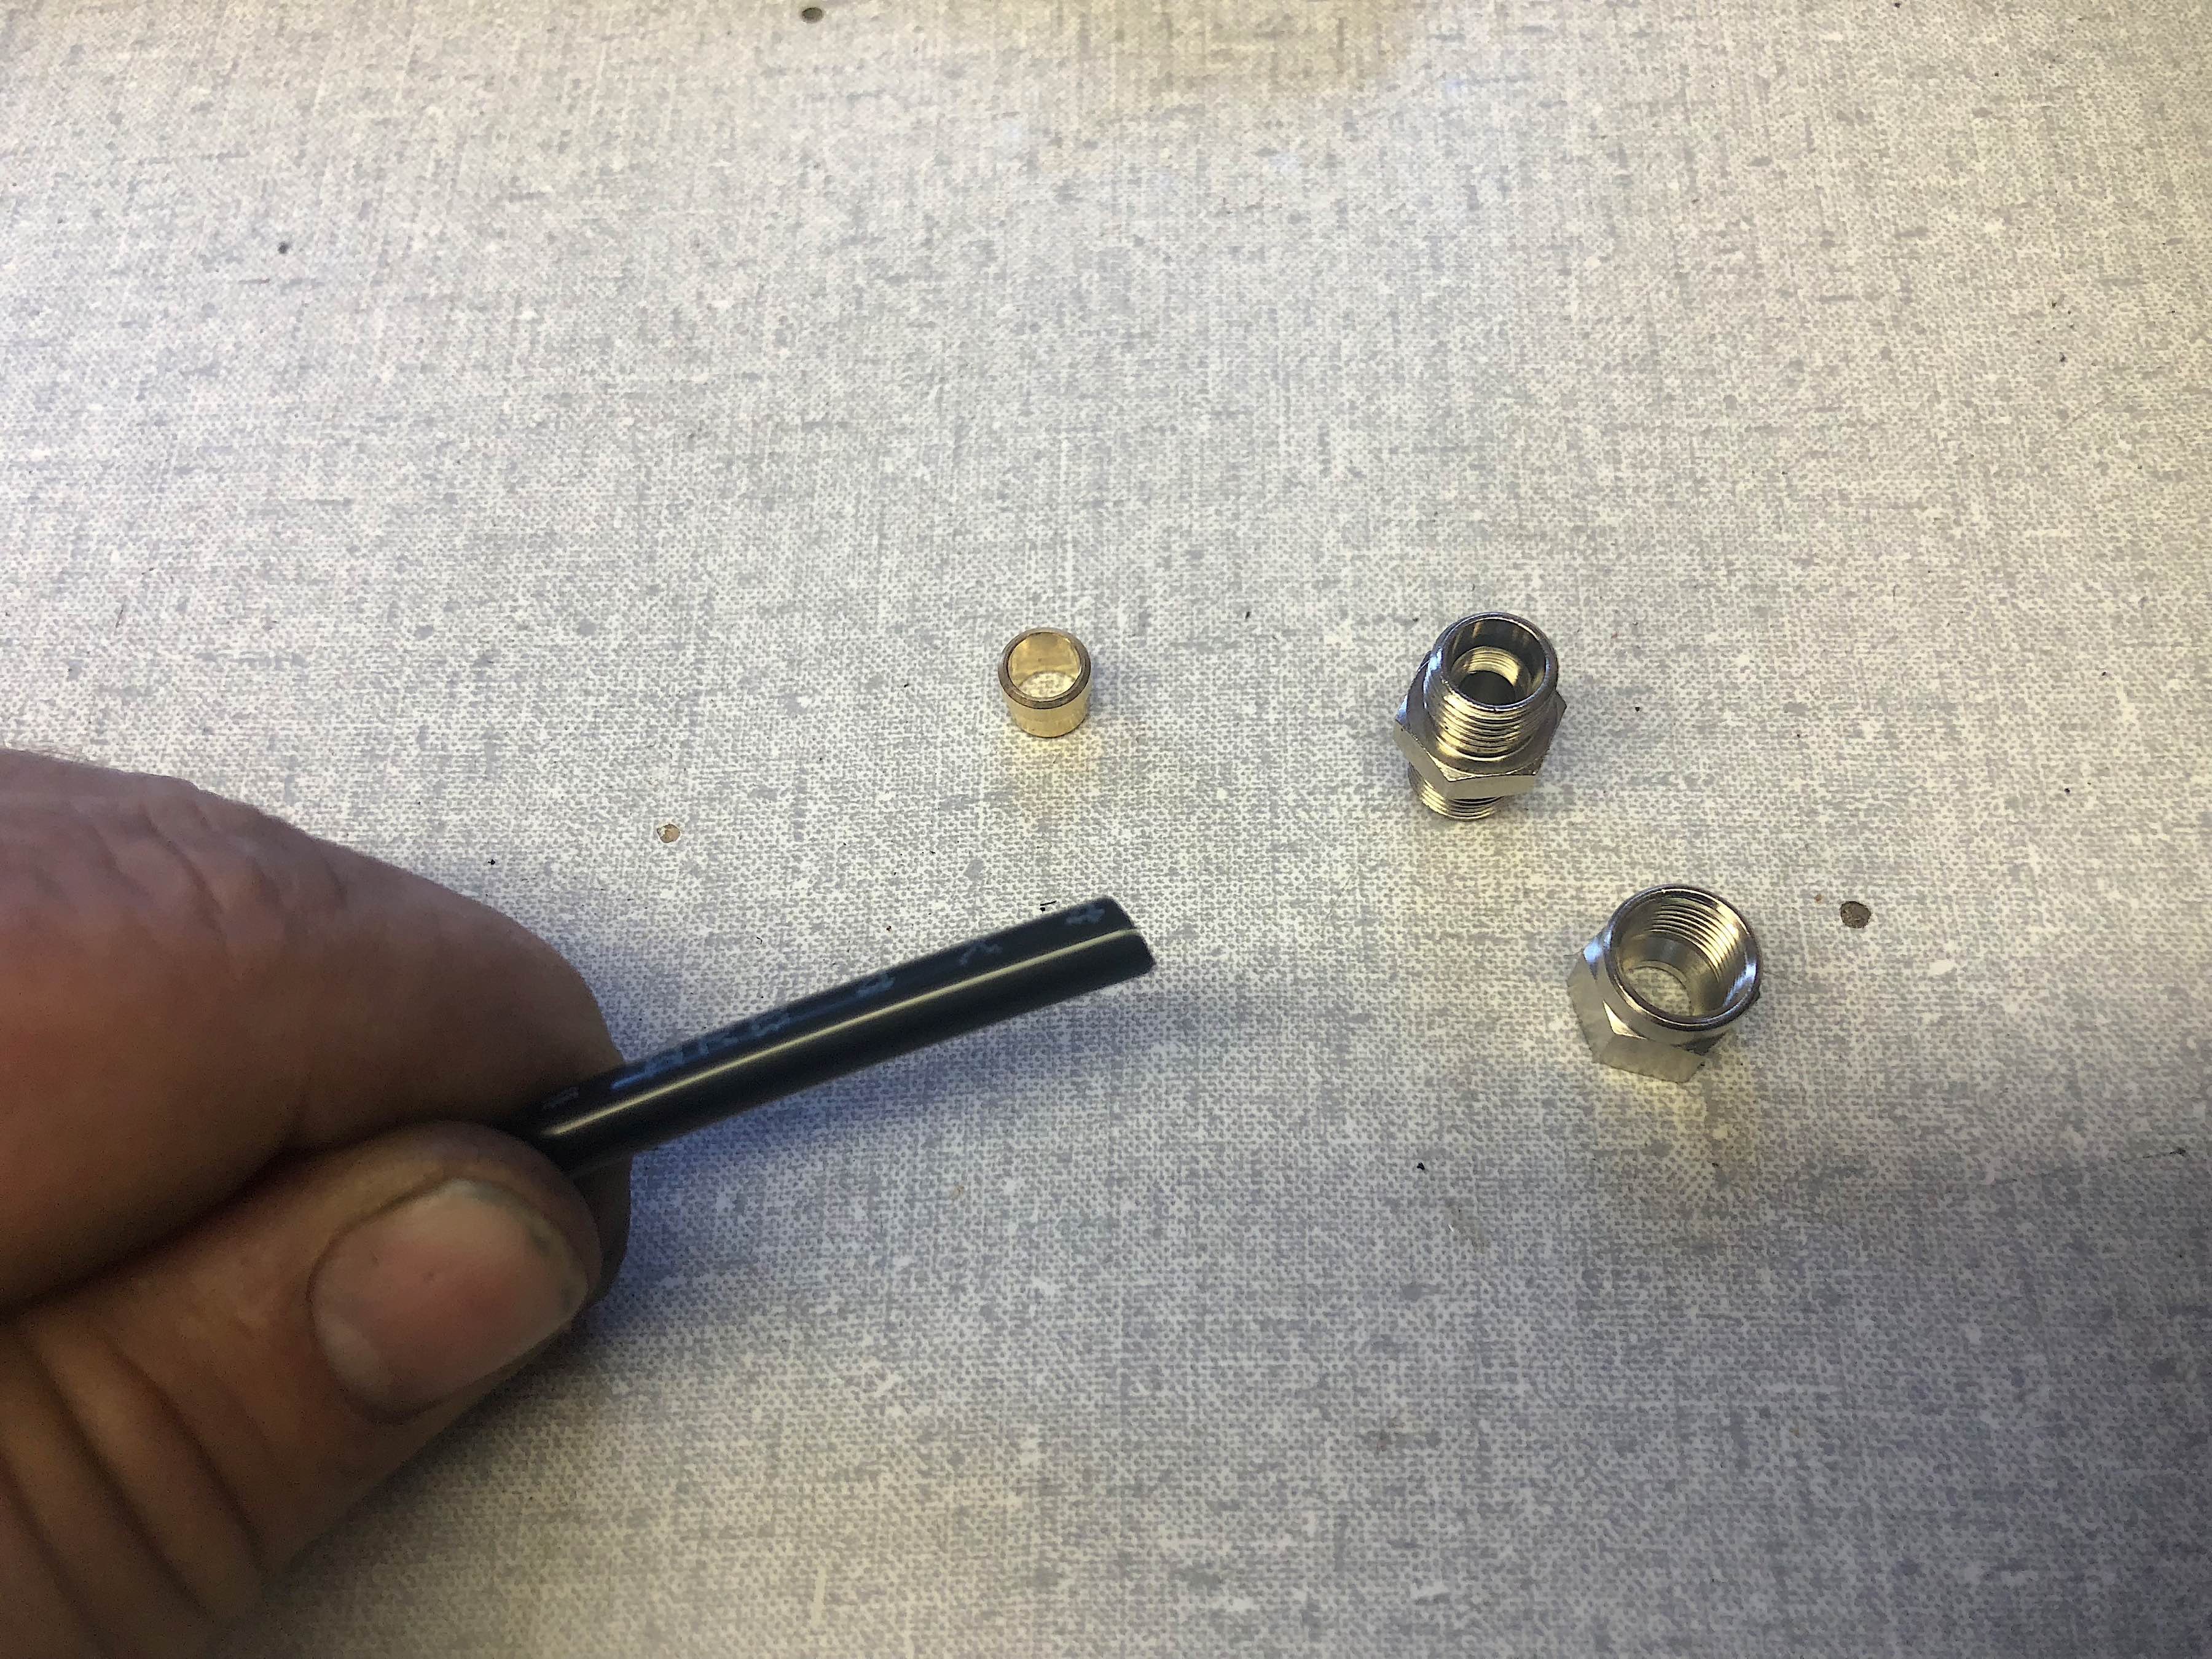
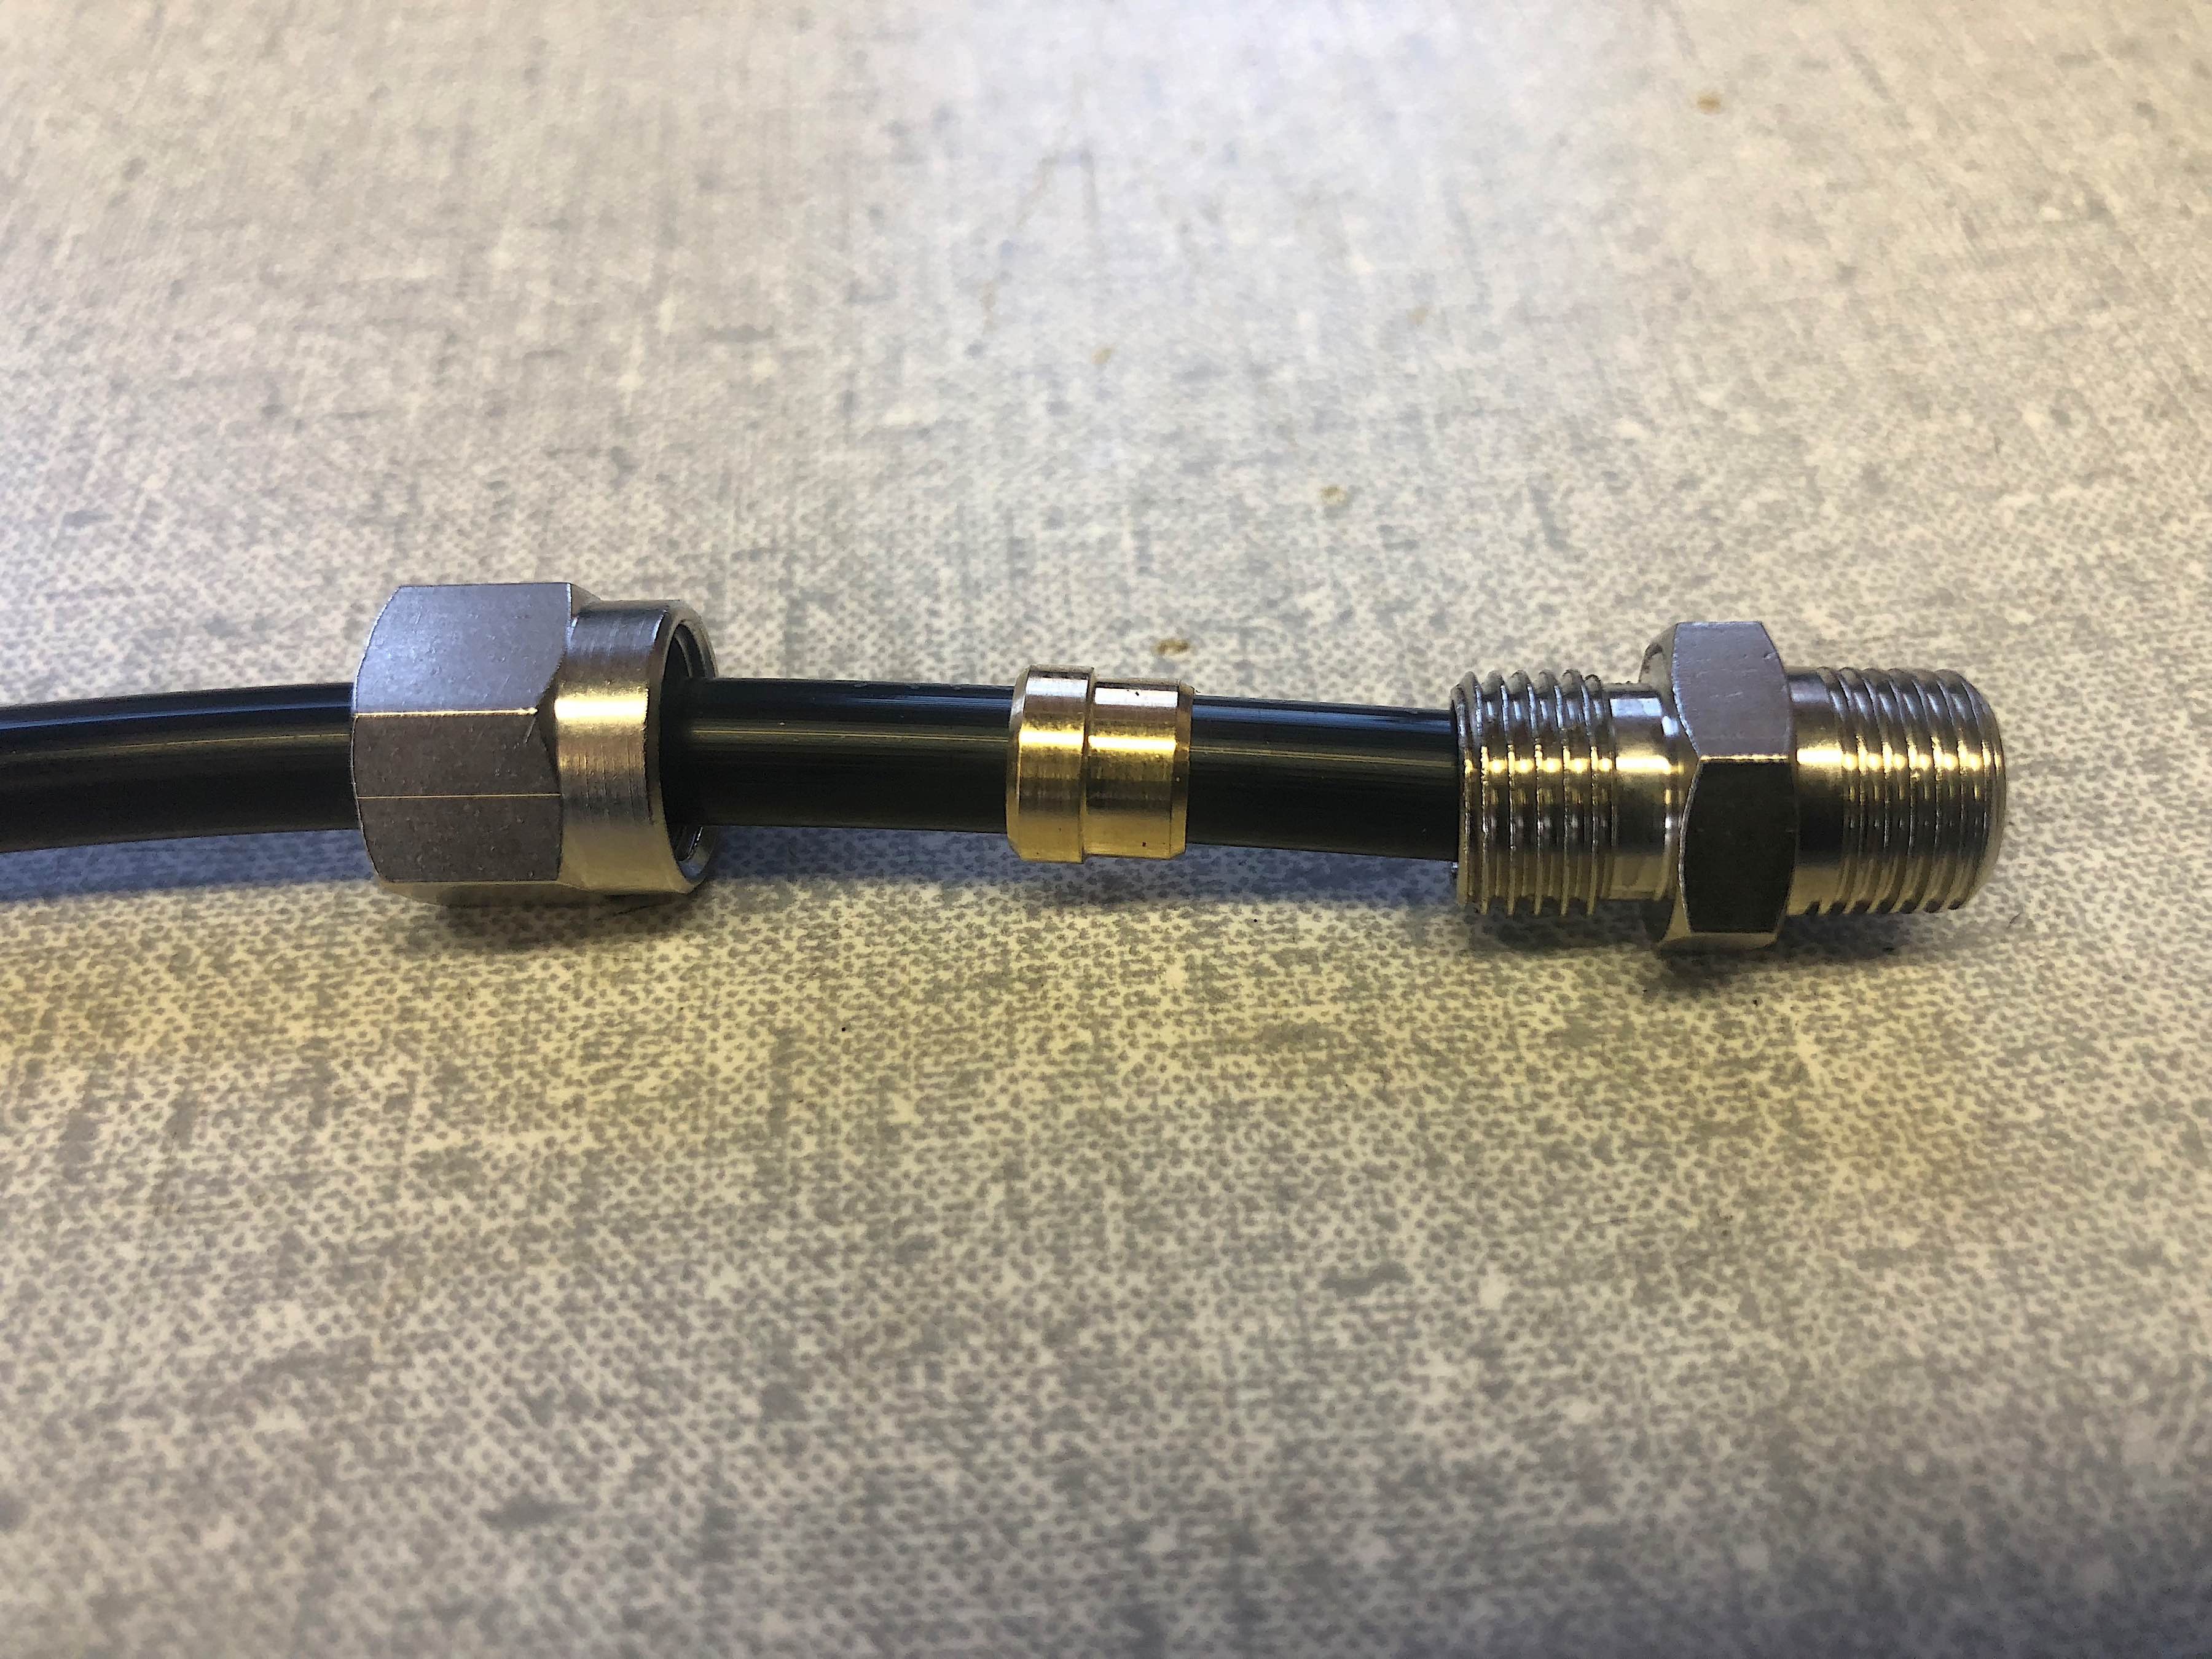

The fittings are assembled and installed into their proper places.
On the tubing, we assembled the fittings that would insert into the compressor as well as the axles. After making a square cut on the tubing, we slipped on the nut, the ferrule, and the bulkhead fitting. All three screwed together and were then installed onto their proper places.
Last but not least, we wired up the power and ground for the switches. These lockers wouldn’t do much good if we couldn’t get electricity where it needed to go. We ran eyelet terminals to a sideways post on the Optima Red Top battery, and put a ground in by running wire to the frame. The circuit was complete, and after a couple of tests, we were satisfied – no leaks, and the lockers were working!

We wired up the power to the lockers and were well on our way to completion.
Next Steps

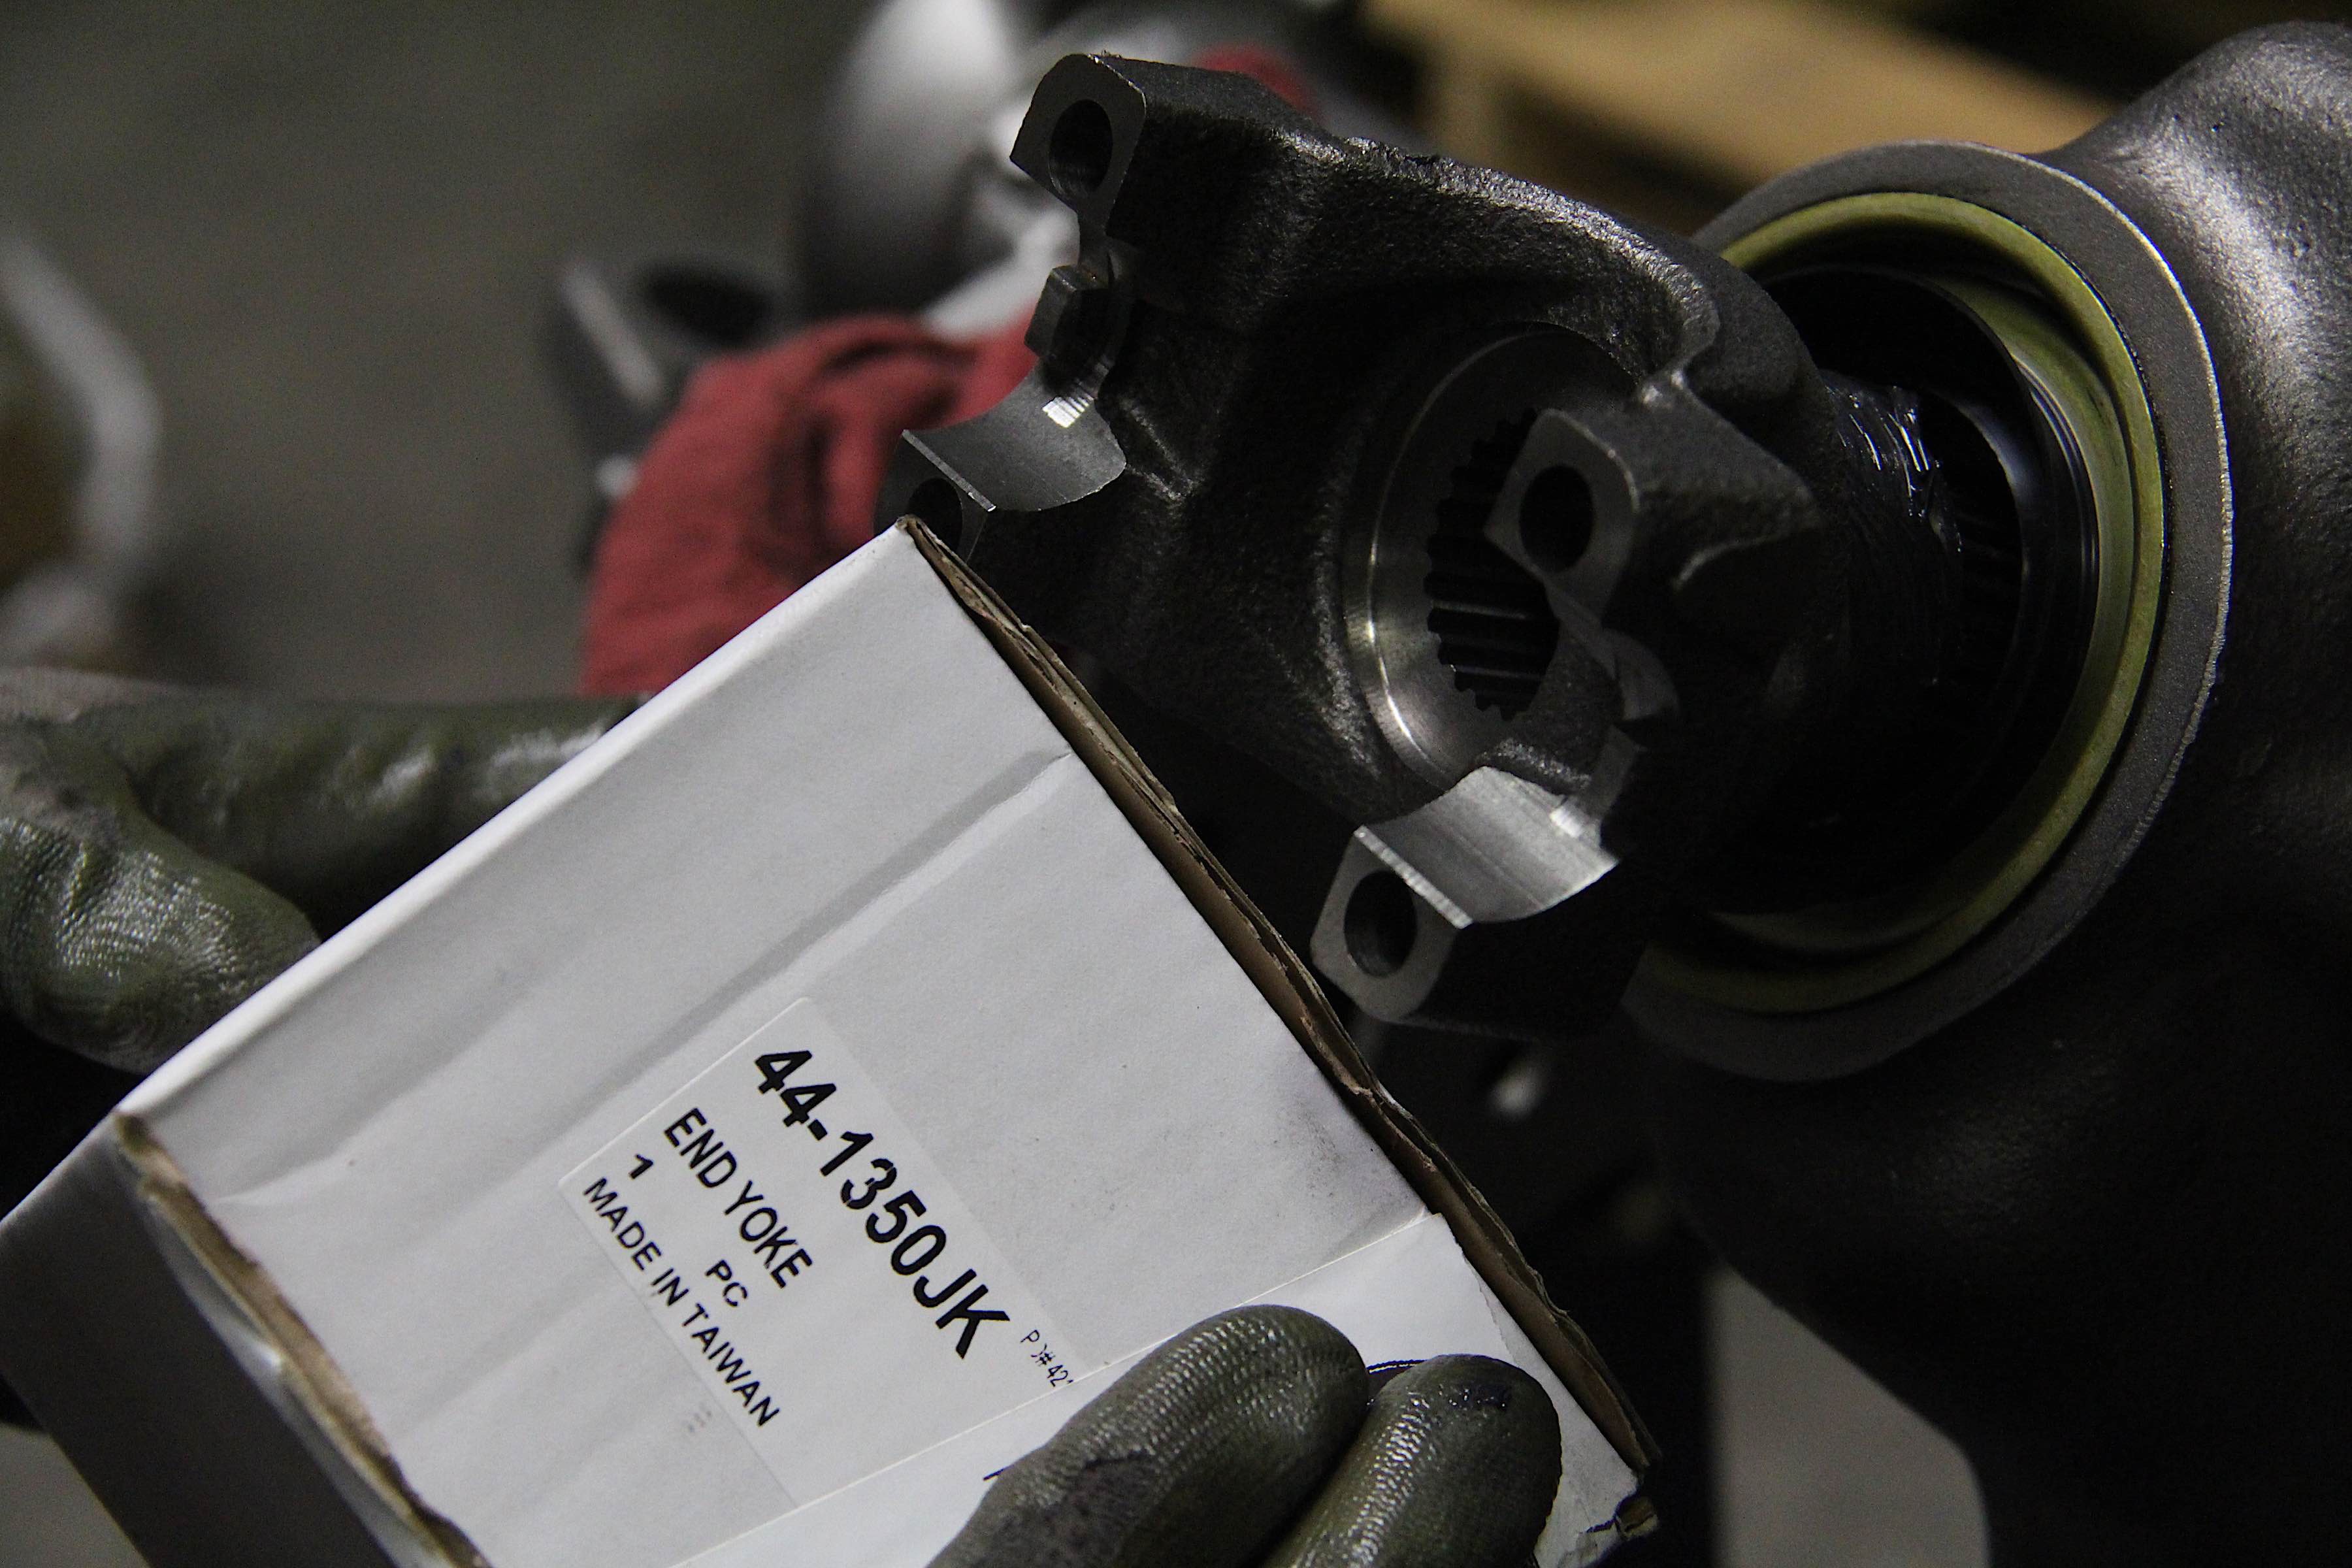
Now, Project Redneck is still firmly in the camp of “project” these days. There are some things that need to get sorted out before the Jeep is back on the trail and running wild; namely, the driveshafts and suspension.
The suspension will be dealt with first, as it is what will dictate the length of driveshafts needed. Project Redneck’s owner, Dean, has been busy with life and family stuff, but his plan is to jack up the Jeep to a height he likes and then charge the ORI struts.

Dean has done some messing around with the struts, using compressed air to pump up the chambers, but when the times comes for installation, he’ll be using nitrogen. “You can experiment with air, but nitrogen has qualities you want,” said ORI’s Mark Jensen. “Shop air has molecules that will make the shock oil foam and cavitate. Shop air will permeate through the rubber seals, in addition to rotting out the rubber. Nitrogen doesn’t do that. So you should always use nitrogen for final installation. Air is simply for mocking up.”
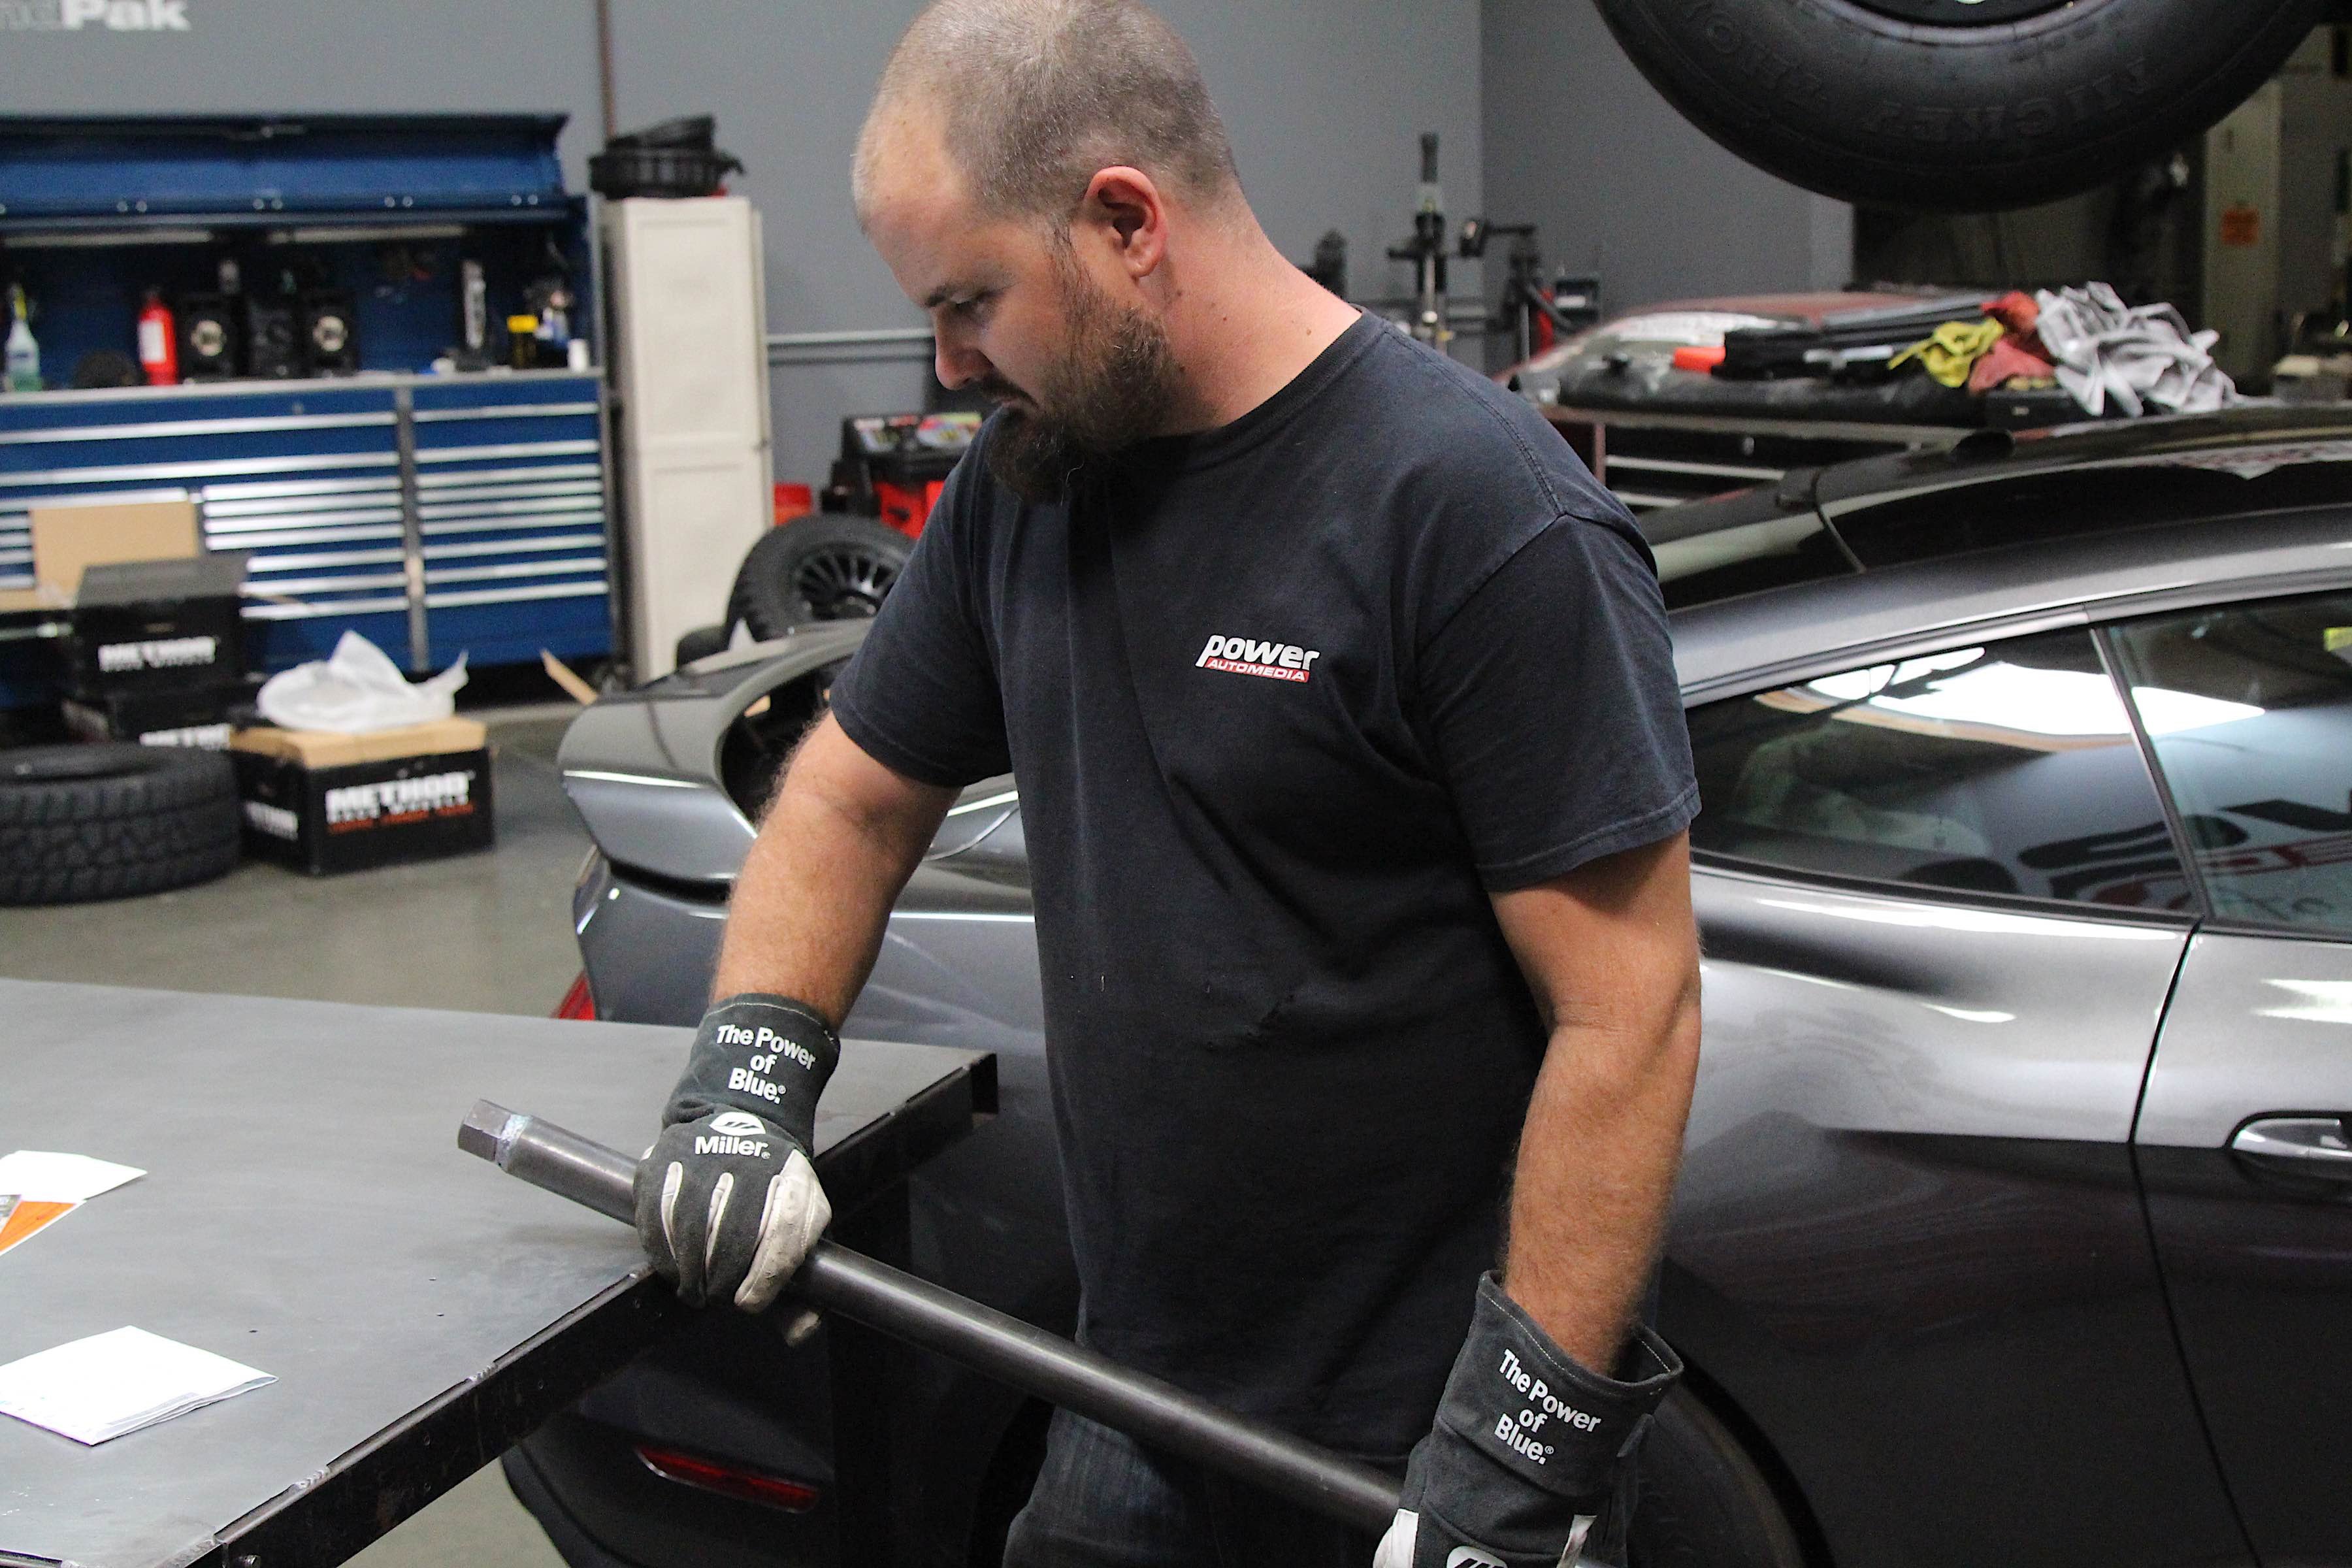
We recently got the steering kit here in our shop, where we did some welding to put a hex-head end on the steering arm. This puts us just a little closer to the finish line as we wait to get the struts charged and the driveshafts made.
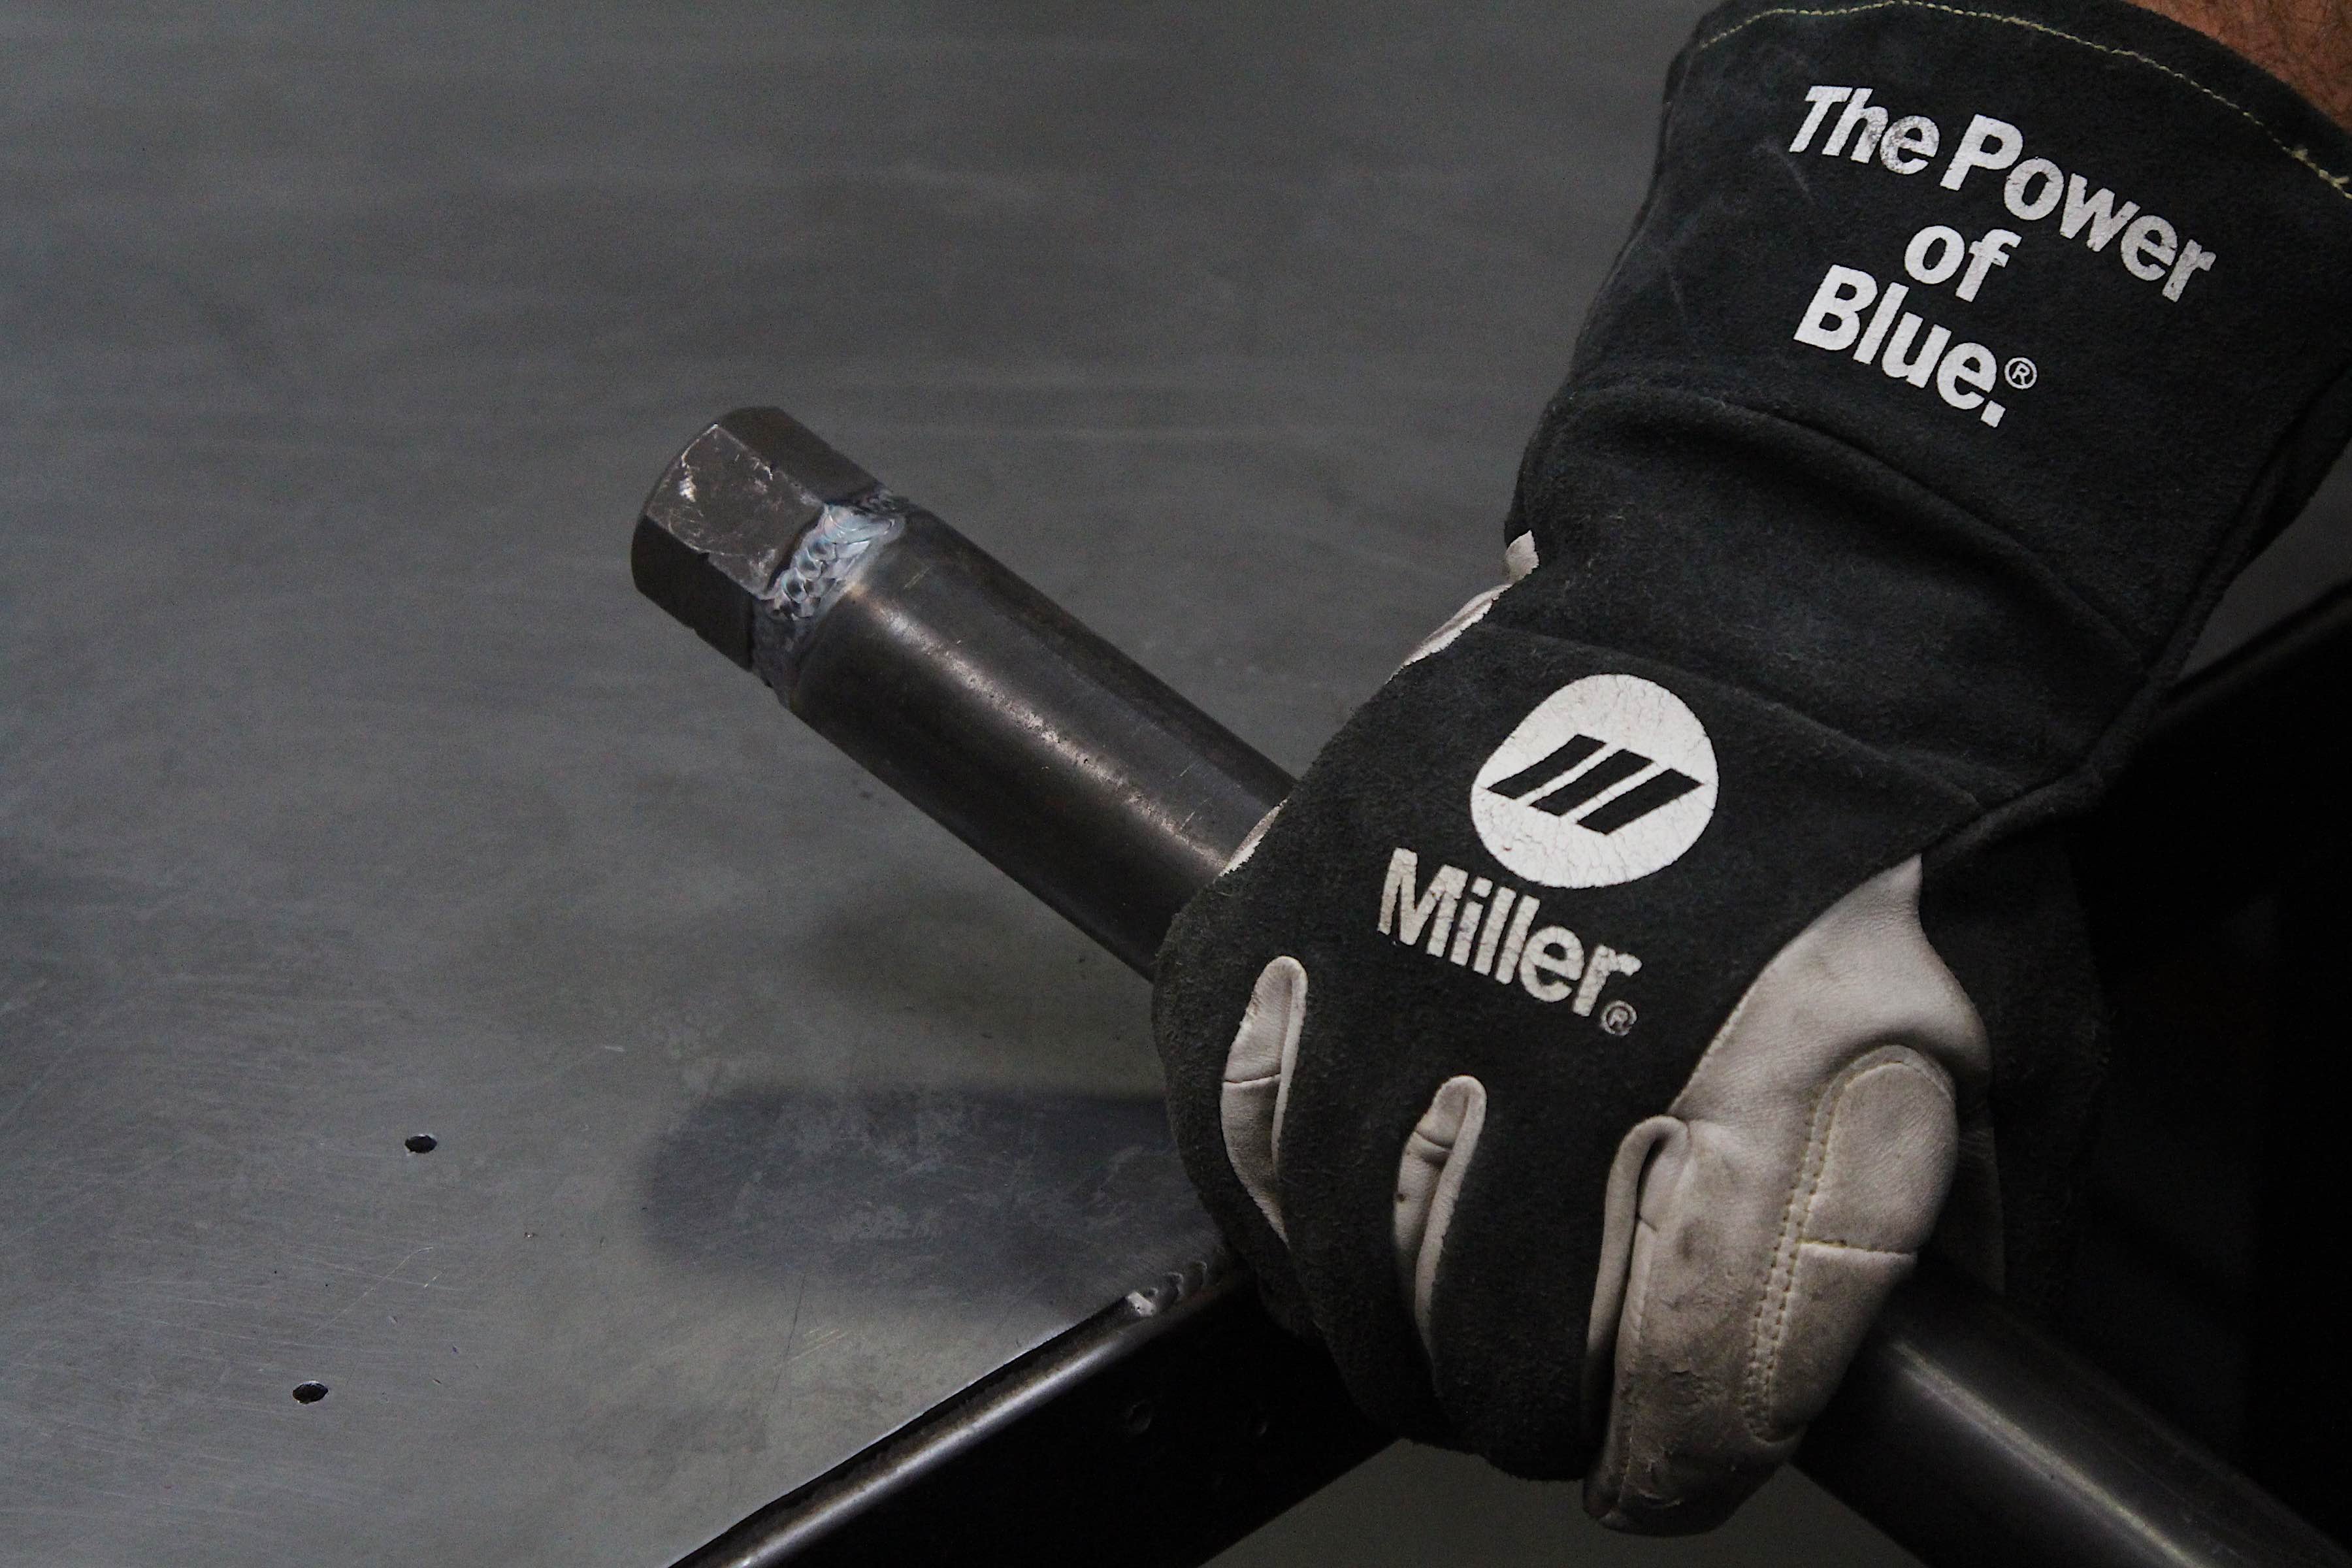
Welded onto one end of the tie rod is a threaded mount for a high-misalignment spacer.
We’re stoked to see how Project Redneck rides and drives once all of this is said and done. In the meantime, be sure to check out more about ORI and Currie Enterprises with the contact information below.