MaxTrac Suspension was founded on the idea of providing the customer with the high-quality parts at a great value. They do that by drawing on their engineering expertise gained from designing and building the full range of suspension kits – lowering, leveling and lifting.
They also keep tight controls on the manufacturing process by doing their fabrication in-house. Their lifting and lowering spindles are made from tough, ductile iron that meets or exceeds factory specifications.

Their steel coil spring spacers are constructed from quarter-inch thick steel plate that is hand-welded by skilled fabricators. When called for, torsion keys are made from forged steel. Everything is designed to perform, and built to last.
A Closer Look At The Kit

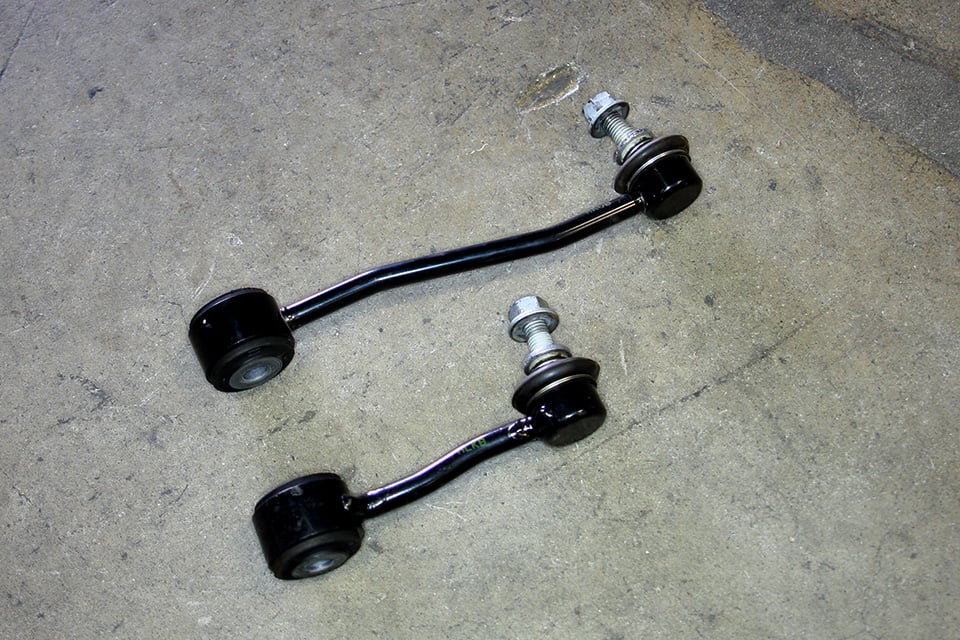
The MaxTrac kit is a simple one, but it delivers amazing performance. One interesting factor of it is the short front sway bar link is discarded, while the longer rear factory sway bar link is used on the front. Brake line mount extension plates are used to allow additional axle travel without stretching the cables.
The new Jeep JL has been receiving rave reviews from those who have had a chance to drive or own one. Capable right out of the box, some would have a hard time making improvements, but not MaxTrac Suspension. Their new three-inch lift for 2018+ Jeep Wrangler JL two-door and four-door models offer a new spin on a new rig.
If you are wheeling in deep mud or rocky desert terrain, you need larger tires to get additional clearance under your differentials. The MaxTrac three-inch lift will allow you to go all the way up to a 37-inch tire with no interference. That gives you a huge advantage when the terrain gets challenging.

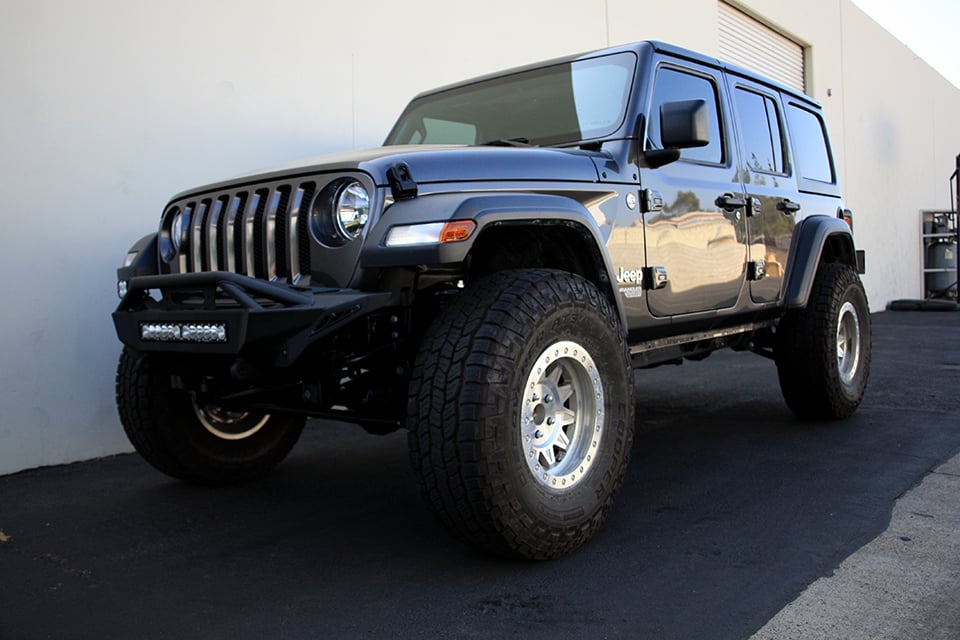
Before – not much to see here. After – ready to go anywhere.
Some rather intelligent thought went into this kit. For instance, the rear factory sway bar links are simply swapped to the front end so you don’t spend unnecessary money re-inventing the wheel. The rear links fit perfectly on the front, and the MaxTrac kit includes longer links to compensate for the three inches of lift in the rear.
The kit can be had with several shock absorber choices, but each level has the same dual-rate coil springs that are precisely tuned to provide the optimum ride quality, lift, and off-road handling for your JL. When paired with the optional Fox 2.0 shocks, it delivers outstanding performance without compromising on-road ride quality.
Installing The Kit
Because MaxTrac kits are designed by true enthusiasts like you that build their own rigs, effort is put in during the design stage to make the installation go as smoothly as possible. The JL kit can be installed with no exotic tools. You will need only simple hand tools and a 7/16-14 tap that can be found anywhere.
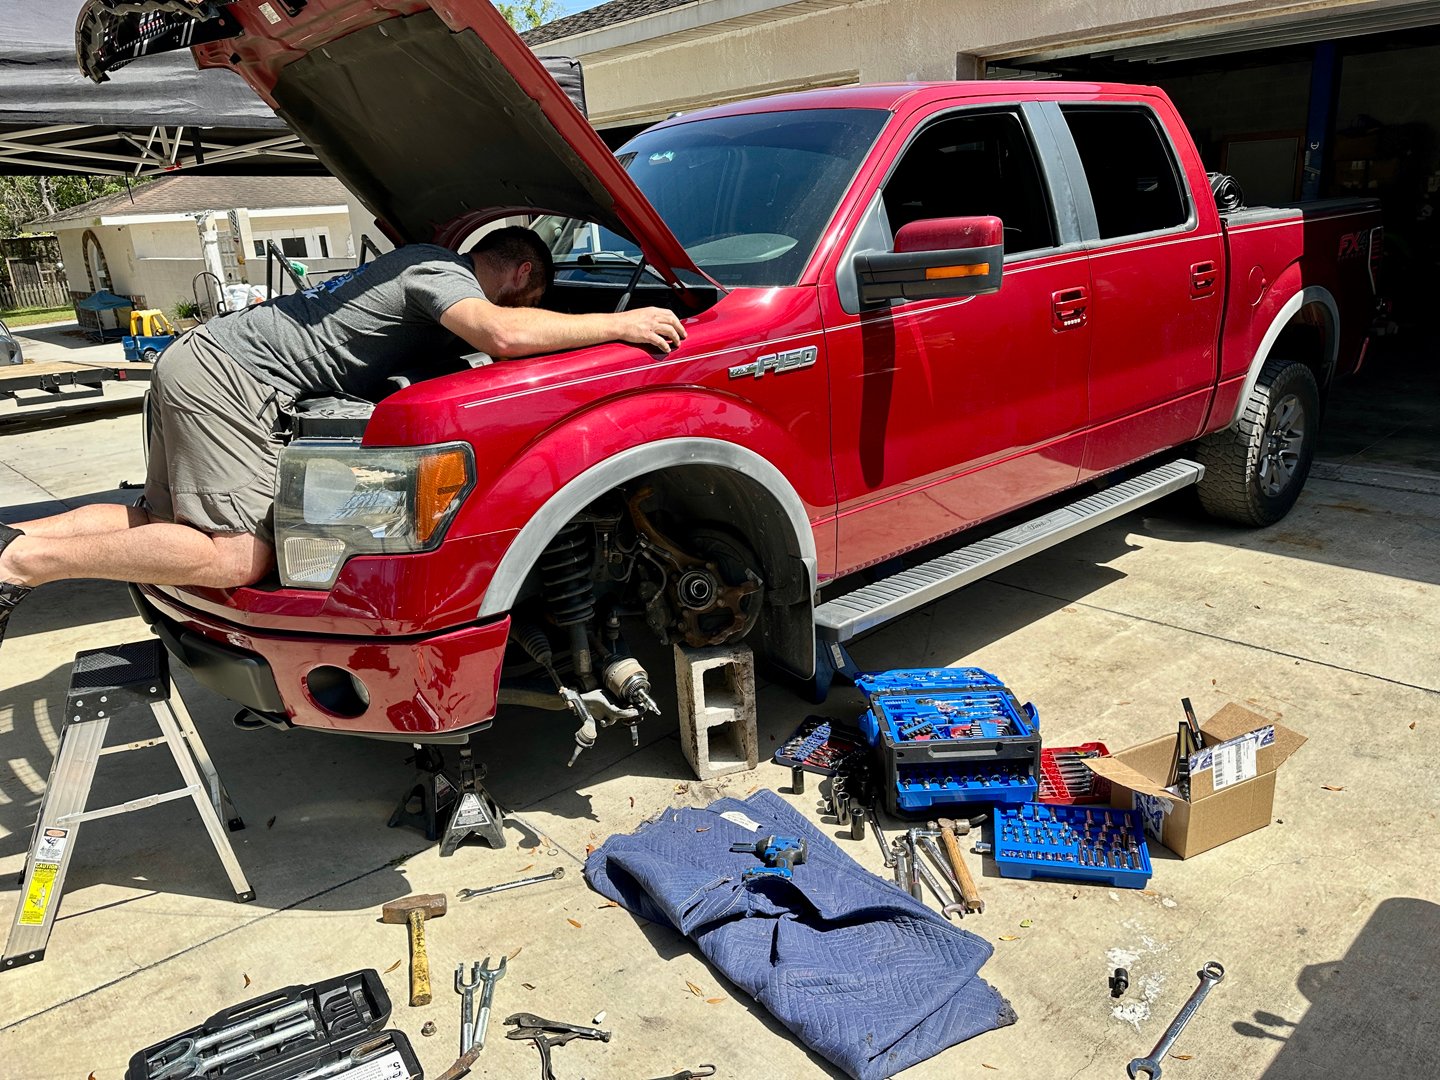
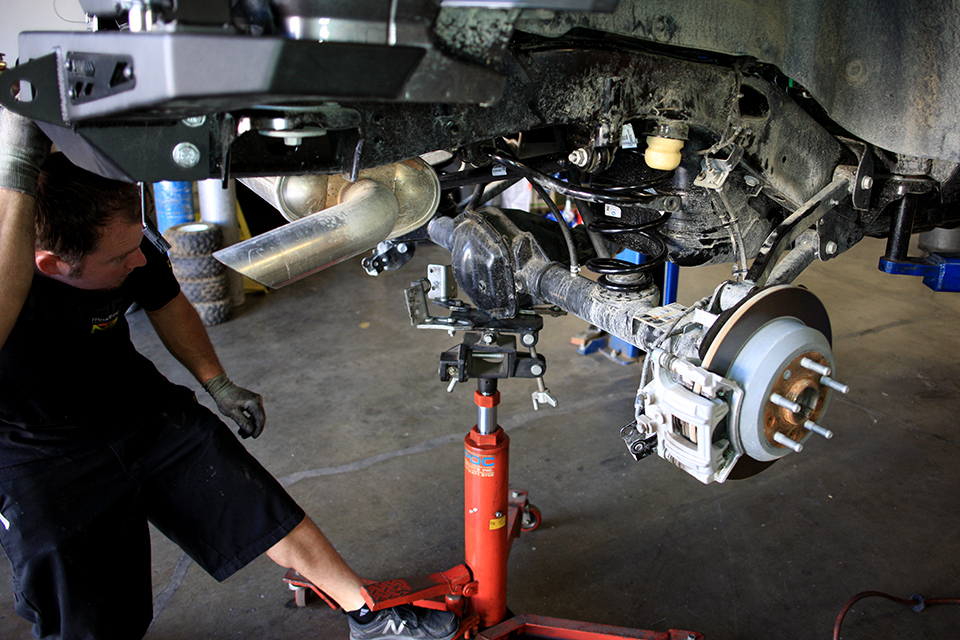
MaxTrac performed the installation on their lift, but it could just as easily be done in your driveway with a floor jack and jack stands. The included instructions are simple and thorough. Just follow the steps laid out and you will be out enjoying your high-riding Jeep in no time.
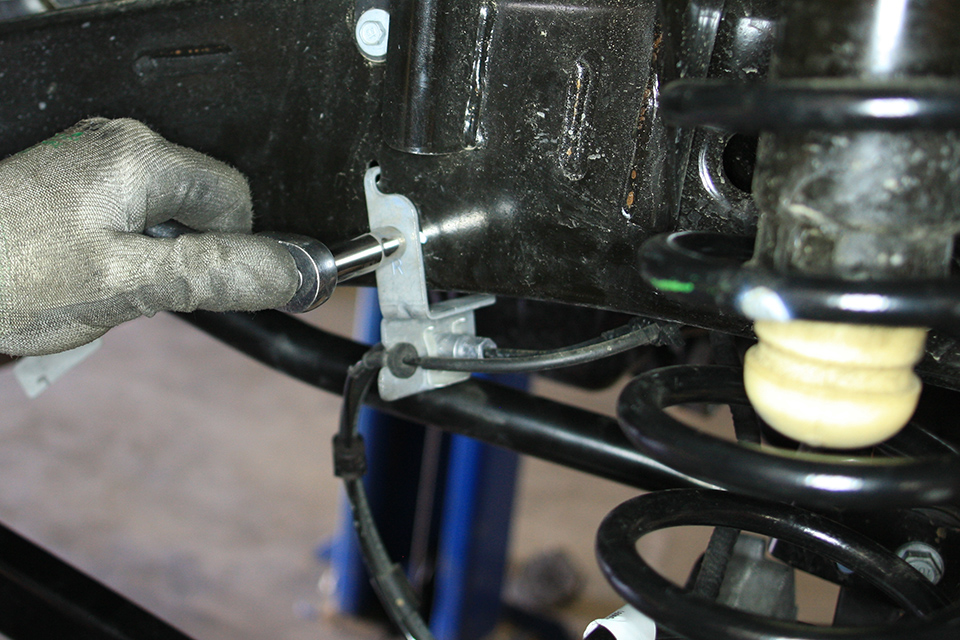
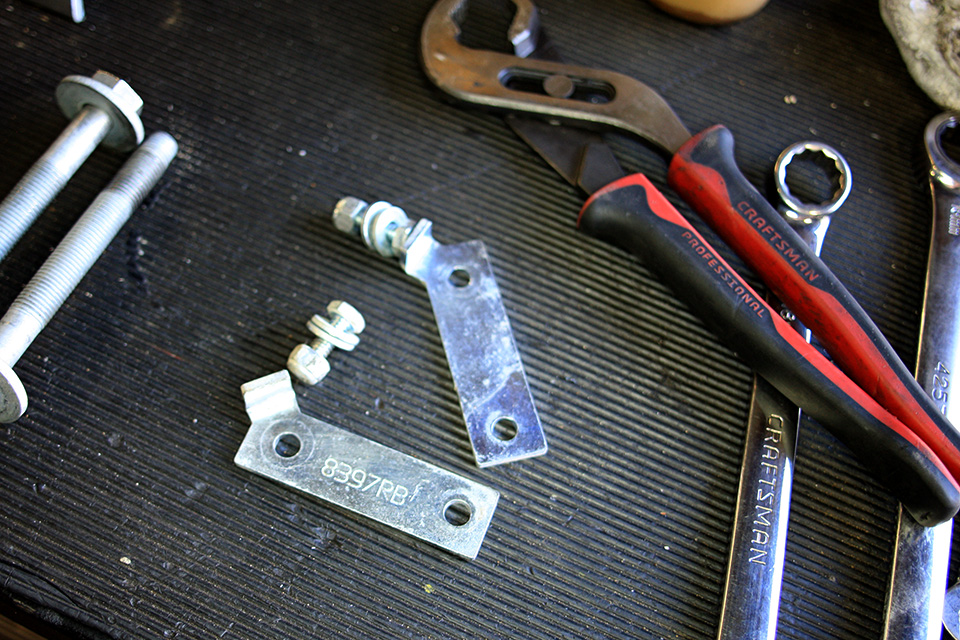
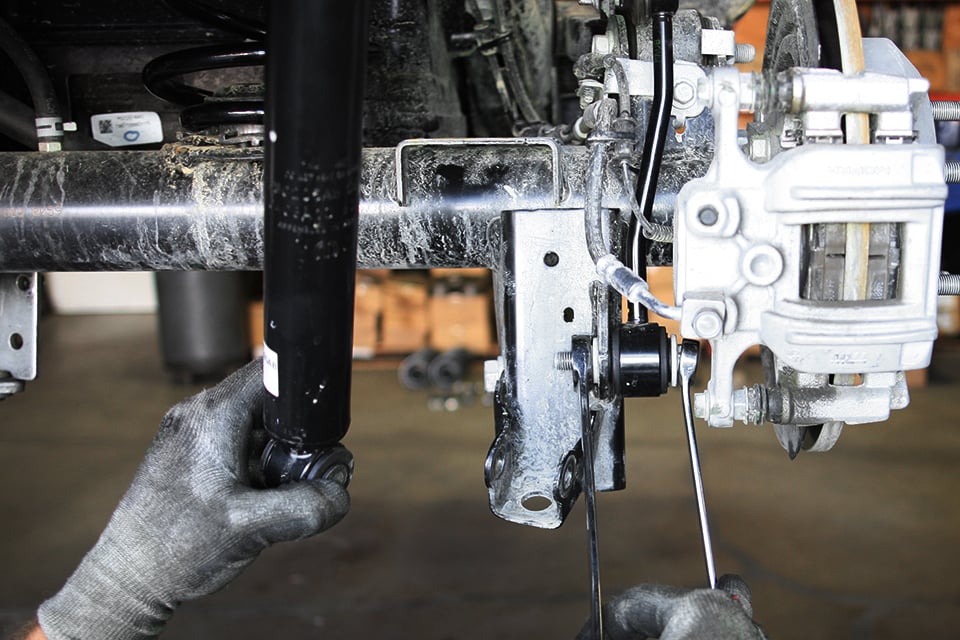
The brake line attaching brackets need to be relocated using the supplied parts. Slide the boot back and grip the shaft of the end link with pliers while removing the nut as shown. You will need to jack up the axle to take the load off the shocks in order to remove them.
Both ends of the Jeep are simple to do, but the front end has a couple additional steps so we will start there. You want to jack up the front end and place jack stands under the frame rails. Make sure the Jeep is adequately supported on level ground before you begin working. Support the Jeep high enough to allow the front axle to drop down several inches. As you work, you will be raising and dropping the front differential, so it’s important to place the jack under the axle in a position that will allow you to keep it balanced on the jack.
You can begin by disconnecting the two clips holding the wiring for the front differential disconnect so that the wire does not get pulled out and or damaged. The same goes for the brake lines on both sides. Remove the brackets holding the brake lines to the frame.
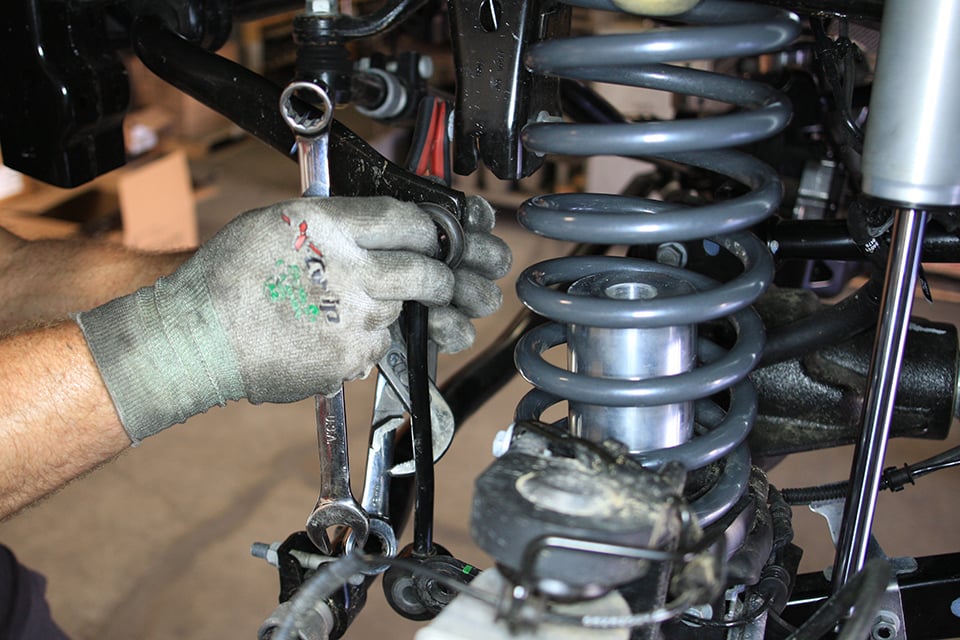
Slide the boot back and grip the shaft of the end link with pliers while removing the nut as shown.
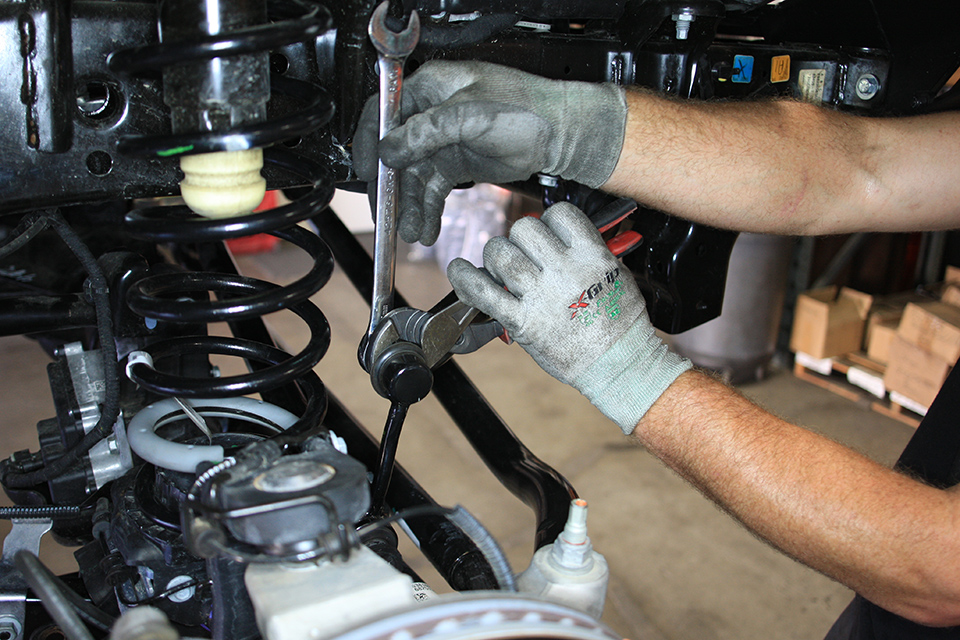
Next you can remove the front sway bar end links from both sides; they will not be re-used. Just let the sway hang there for now.
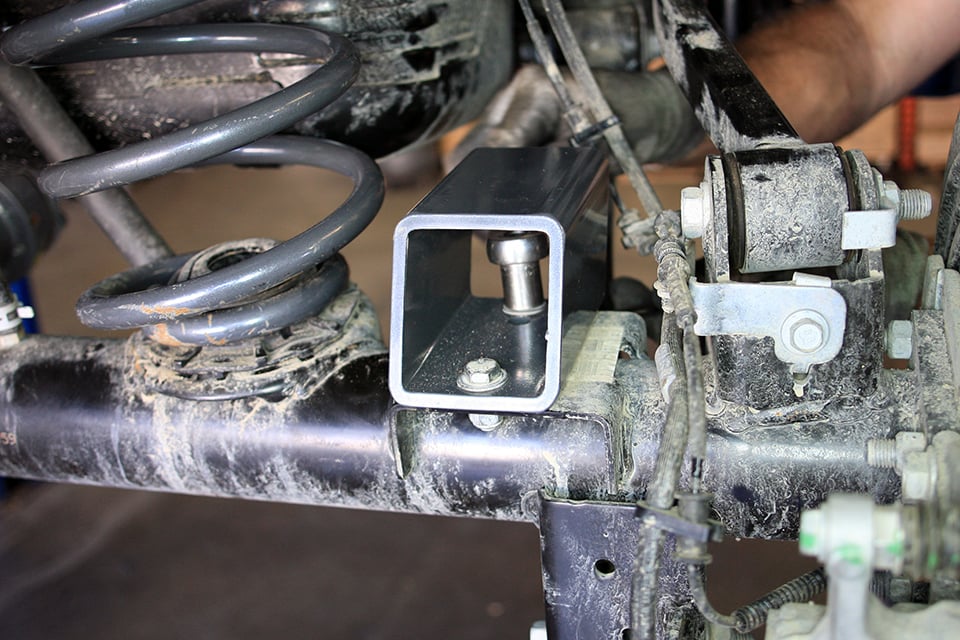
Next you can drop the front axle down and remove the stock coil springs from both sides. Here is where the 7/16-14 tap comes in. Tap the existing hole that is in the center of the lower spring perch as shown. In order to bolt the extended bump stop to the lower spring perch, you need to tap the existing hole in the center of the coil seat.
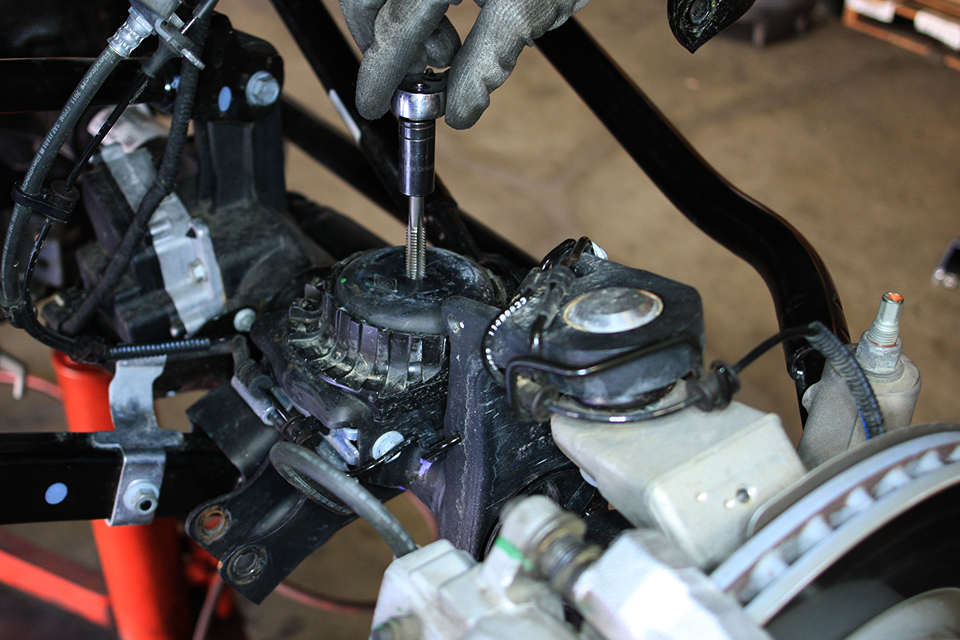
The existing hole in the spring perch gets tapped with 7/16-14 threads to allow the bump stop extension to be bolted down.
In order to install the new coils and bump stop extension, slide the bump stop extension into the coil spring first, and then set the spring on the perch. Then you can bolt the extension onto the perch with the supplied bolt.
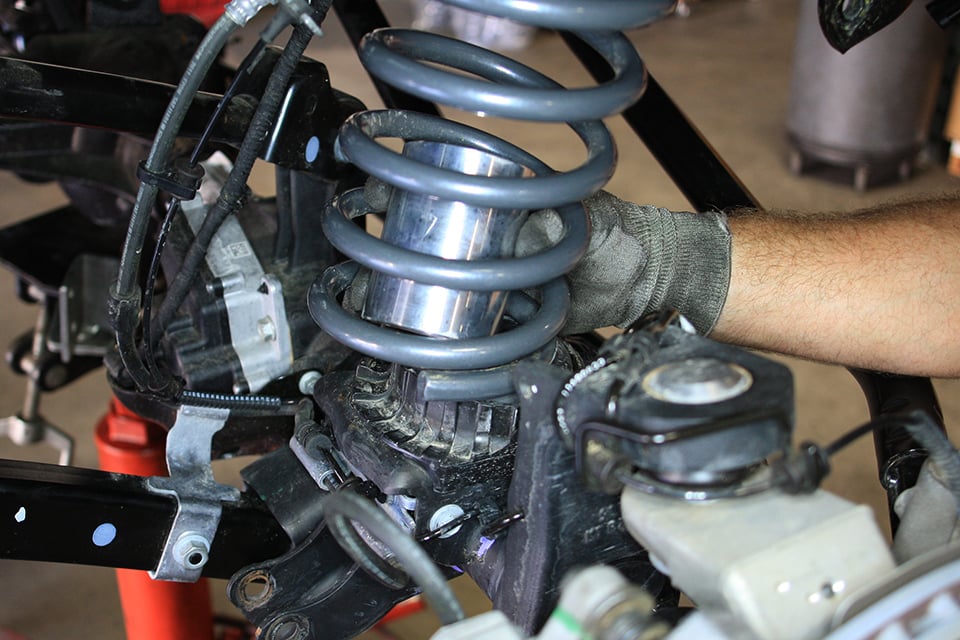
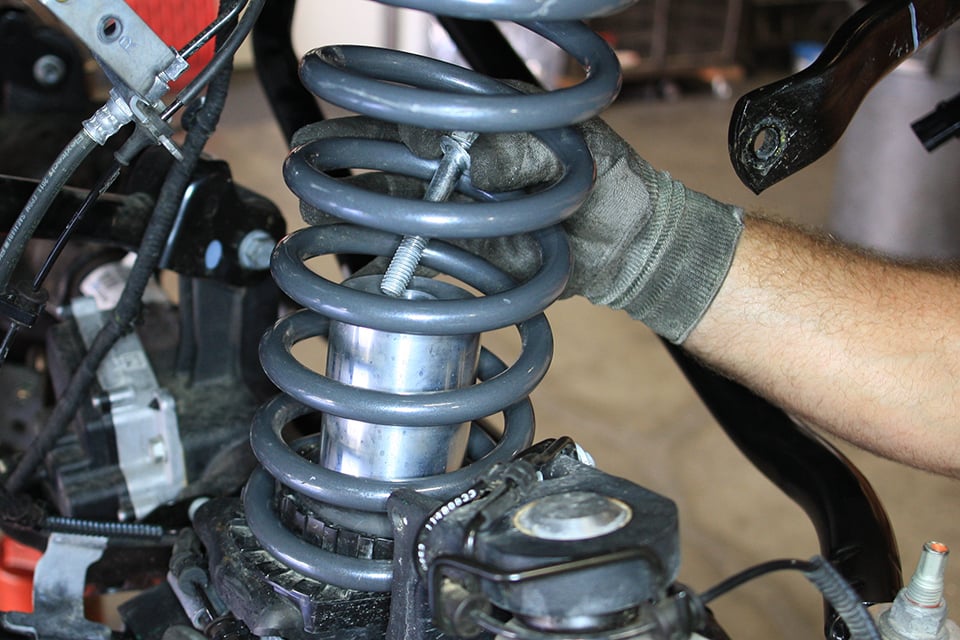
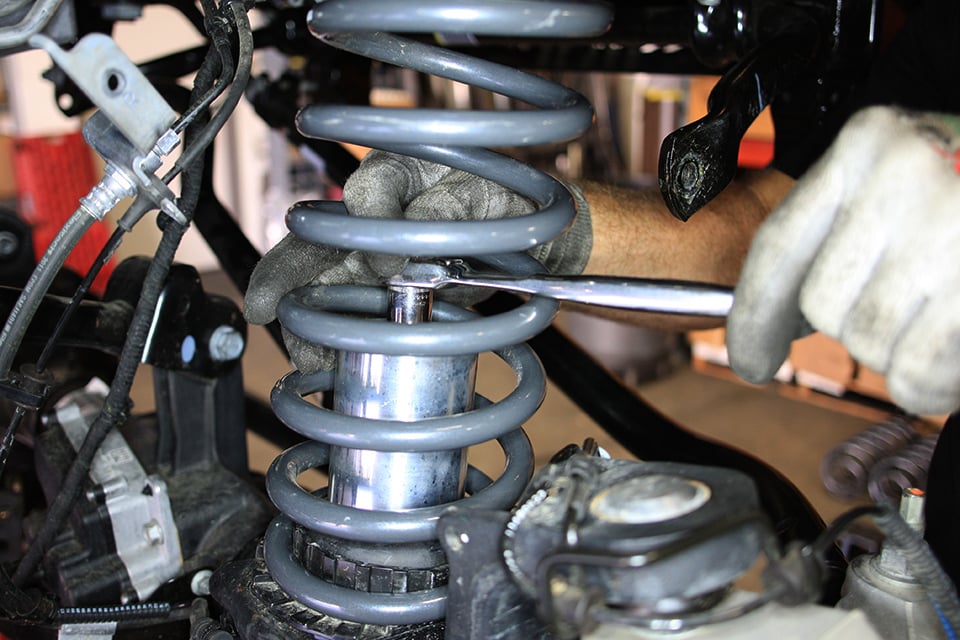
If you place a deep socket into the bump stop extension first, and then attach the ratchet to the socket, it will ease the process of getting the tools between the coils.

If you purchased new shocks, install them now. If you purchased shock extenders, follow the installation instructions included with them and then bolt the modified shocks in. Also, this is a good point to attach the brake line extensions to both sides.
Now you can get started on the rear suspension install. In order to remove the rear sway bar end links, unbolt the lower shock bolt and let the shock hang there, out of the way.
Hold the shock out of the way while you go after the rear sway bar end links.
Remove the factory links using a similar technique as in front. Bolt the rear links to the front sway bar and the front end is now buttoned up.
The rear end comes apart, and goes together much the same way as the front, except for the bump stop extension, and the track bar. The rear bump stop extension is bolted to the axle as shown using the provided 3/8-16 x ¾” bolts, nuts and washers. Make sure the angle on the bump stop extension is angled forward at the top.
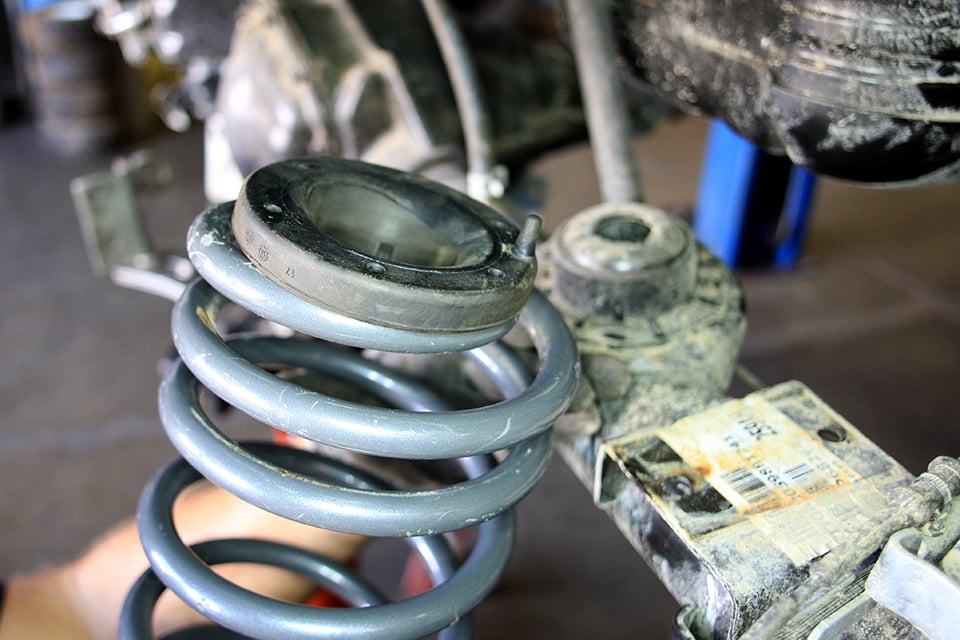
Reuse the factory coil spring isolators with the MaxTrac coils. Also, remember to orient the rear bump stop extension toward the front of the vehicle.
The rear track bar needs the supplied bracket attached to the frame. It’s also important to re-install the factory spring isolator pads to the new coil springs to reduce noise and vibration.
Testing Out The Kit Off-Road
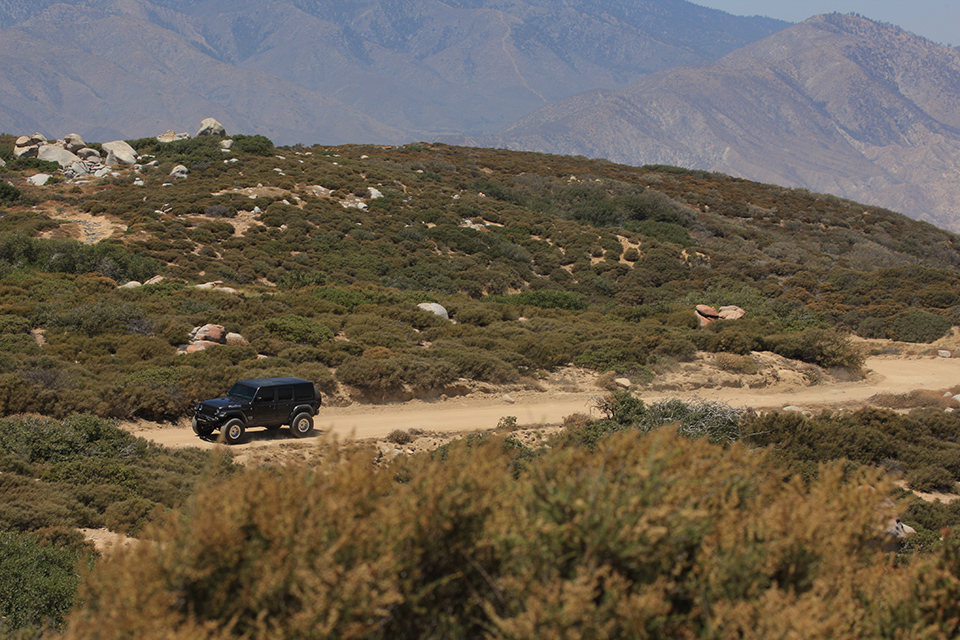
After installing the kit, we headed out on a road trip to the local mountains to see what the JL would do. On the road, the ride was smooth and predictable. The view out the windshield changed due to the new ride height, but it did not feel tippy or top-heavy at all in corners. Keep in mind, Southern California freeways are not exactly smooth!
We hit lots of uneven pavement, and abrupt transitions that would normally send a jolt to any vehicle, but the dual rate springs and Fox shocks combined to supply a supple ride on the pavement.
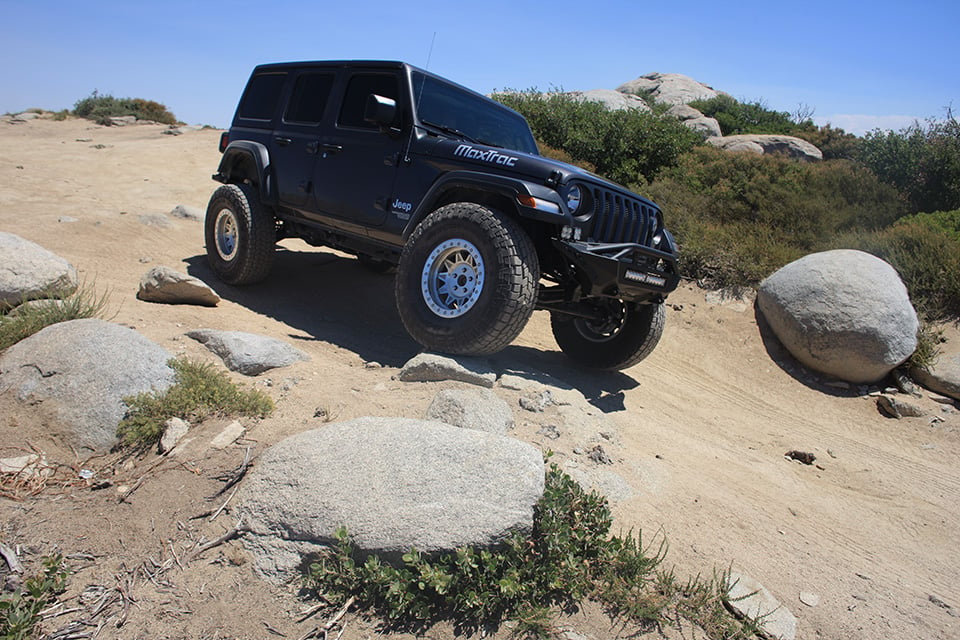
Once we hit the dirt, it was more of the same. We traveled over dirt roads filled with ruts and rocks that the Jeep handled well.
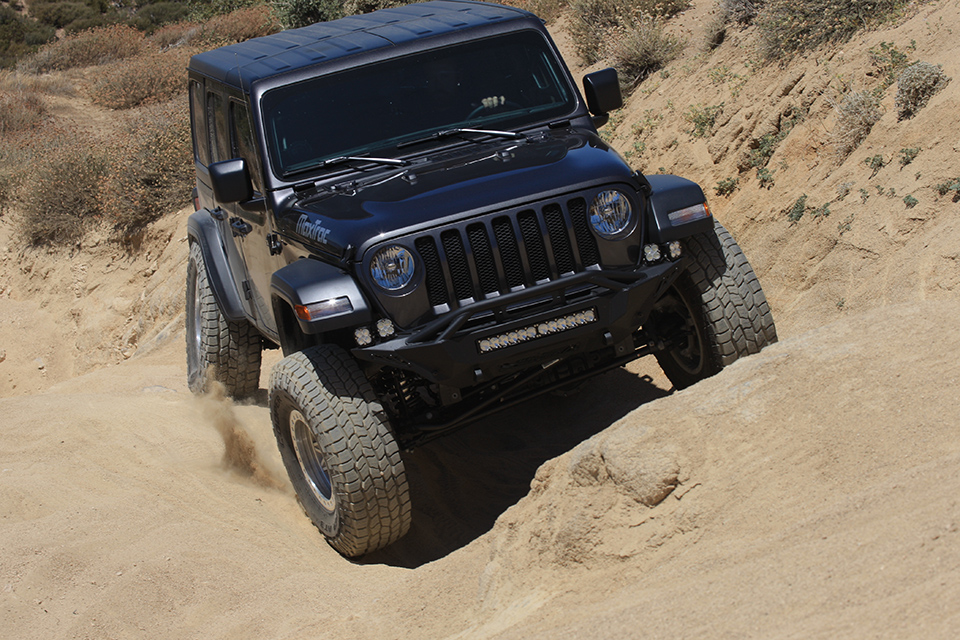
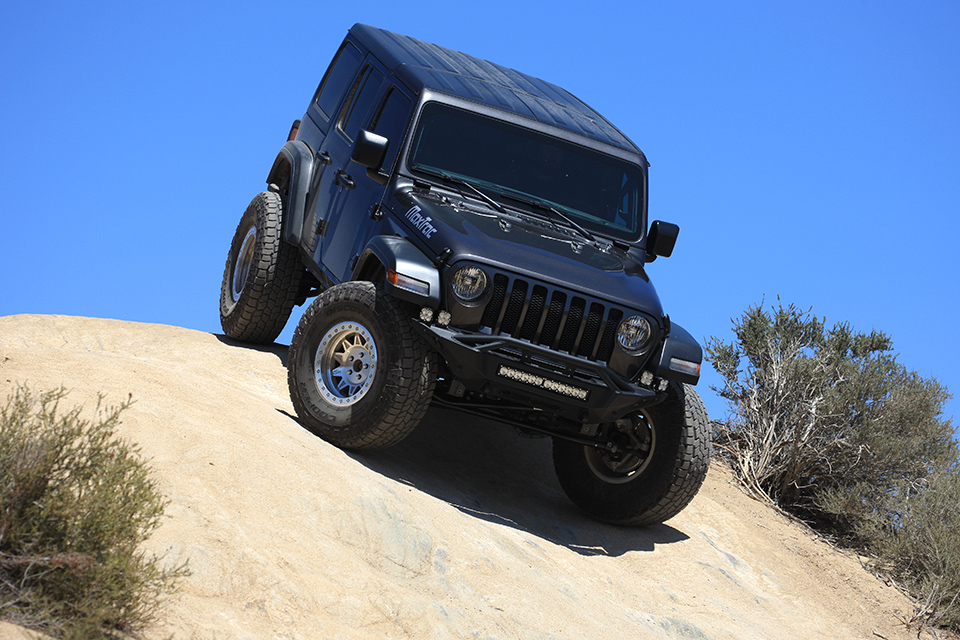
We went up a few trails that branched off of the main road where the terrain got much more extreme. Getting the Jeep fully crossed up in some deep holes, there were no strange noises heard or rubbing felt at the limits of articulation. We were able to put the Jeep wherever we wanted in order to crawl up some steep off-camber sections that challenged gravity.
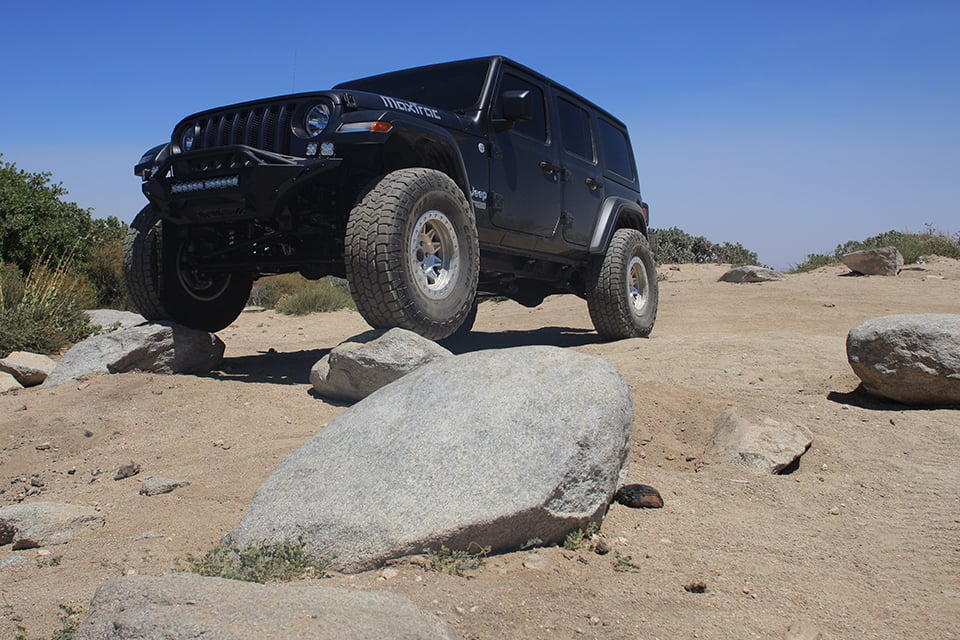


We were unable to find any Rubicon-sized boulders to crawl, but we did get the Jeep into some hijinks on the steep sandy trails.
The crawling abilities of the JL with the MaxTrac suspension were impressive. We covered several miles at a brisk speed as well with similar results. We tried to do some tail-happy antics, but the factory traction control kept us from doing much drifting. It became obvious why the new JL is popular, and the enhanced capabilities achieved with the MaxTrac lift brought it to an even higher level of performance.
Making modifications to a brand new vehicle can be intimidating to some. The MaxTrac three-inch suspension lift gives you a huge boost in handling on and off the road without any cutting or welding to your expensive investment. The only fabrication needed is a tapped hole in the spring perch. The kit is a great enhancement for your JL and delivers a lot of bang for your buck. If you are like us, you just can’t drive a stock truck. With a MaxTrac suspension kit and few hours of work, you will have a Jeep that stands out above many others, both in looks and performance.