
Upgrading a vehicle is an exciting time. Bigger parts and more adventures are on the horizon, but it doesn’t always mean that new parts are needed. Being able to reuse or upgrade a part already on the vehicle is easier on the budget.
Project Storm Trooper, our 2005 GMC Canyon prerunner/race truck build, is getting to the point where we could see the starting line. However, before we got there, we needed to upgrade our Currie Enterprises F9 rear axle.
Semi-Float To Full-Float
We would be using with the same F9 axle as before, just upgrading it from a semi-float axle to a full-floating axle. Doing this would save us time getting the axle reinstalled after the conversion; we would not need to tab everything out again.

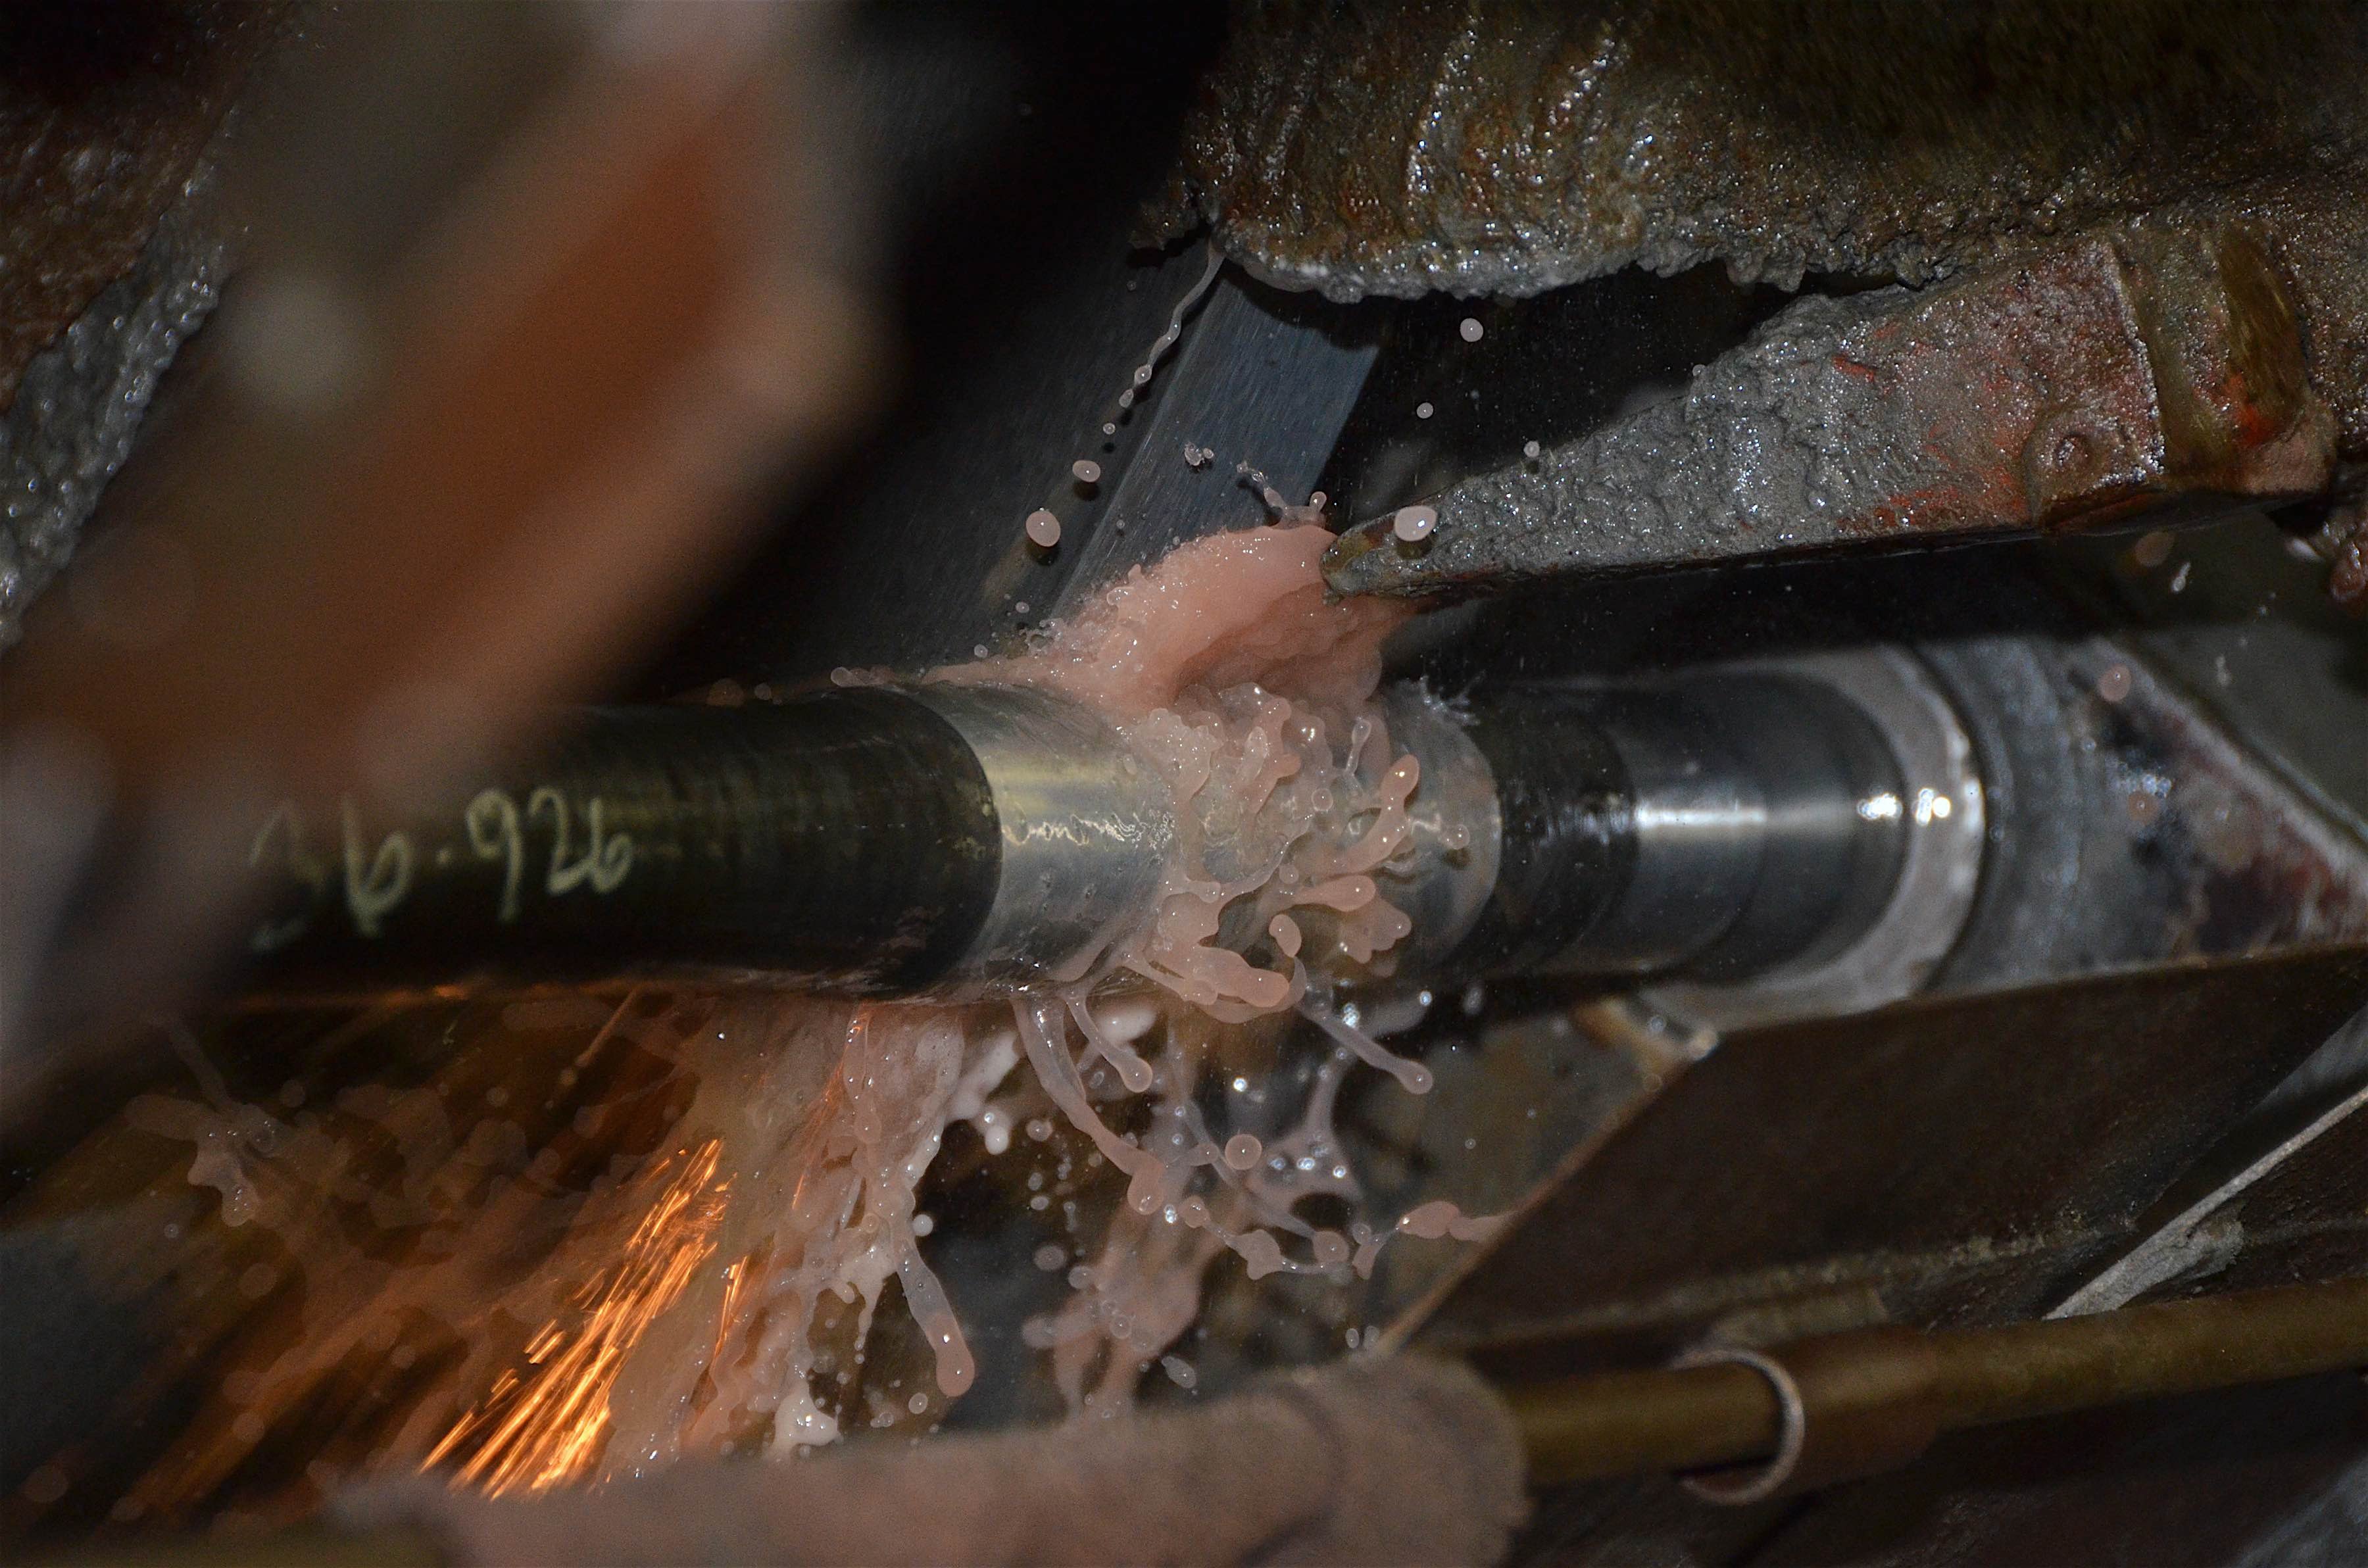
Step one in the conversion – cut the ends off of the housing.
What’s more, the conversion would serve as an upgrade and insurance for the build. “Anything that will be raced off-road with larger than a 35-inch tire, and 500-plus horsepower should look at a full-float axle,” Brian Shephard of Currie explained. “There is just no downside to the full-float. Sure, the cost will be more, but it’s a set-it-and-forget-it kind of thing. With what competitive racing costs, it’s cheap insurance at a certain point.”
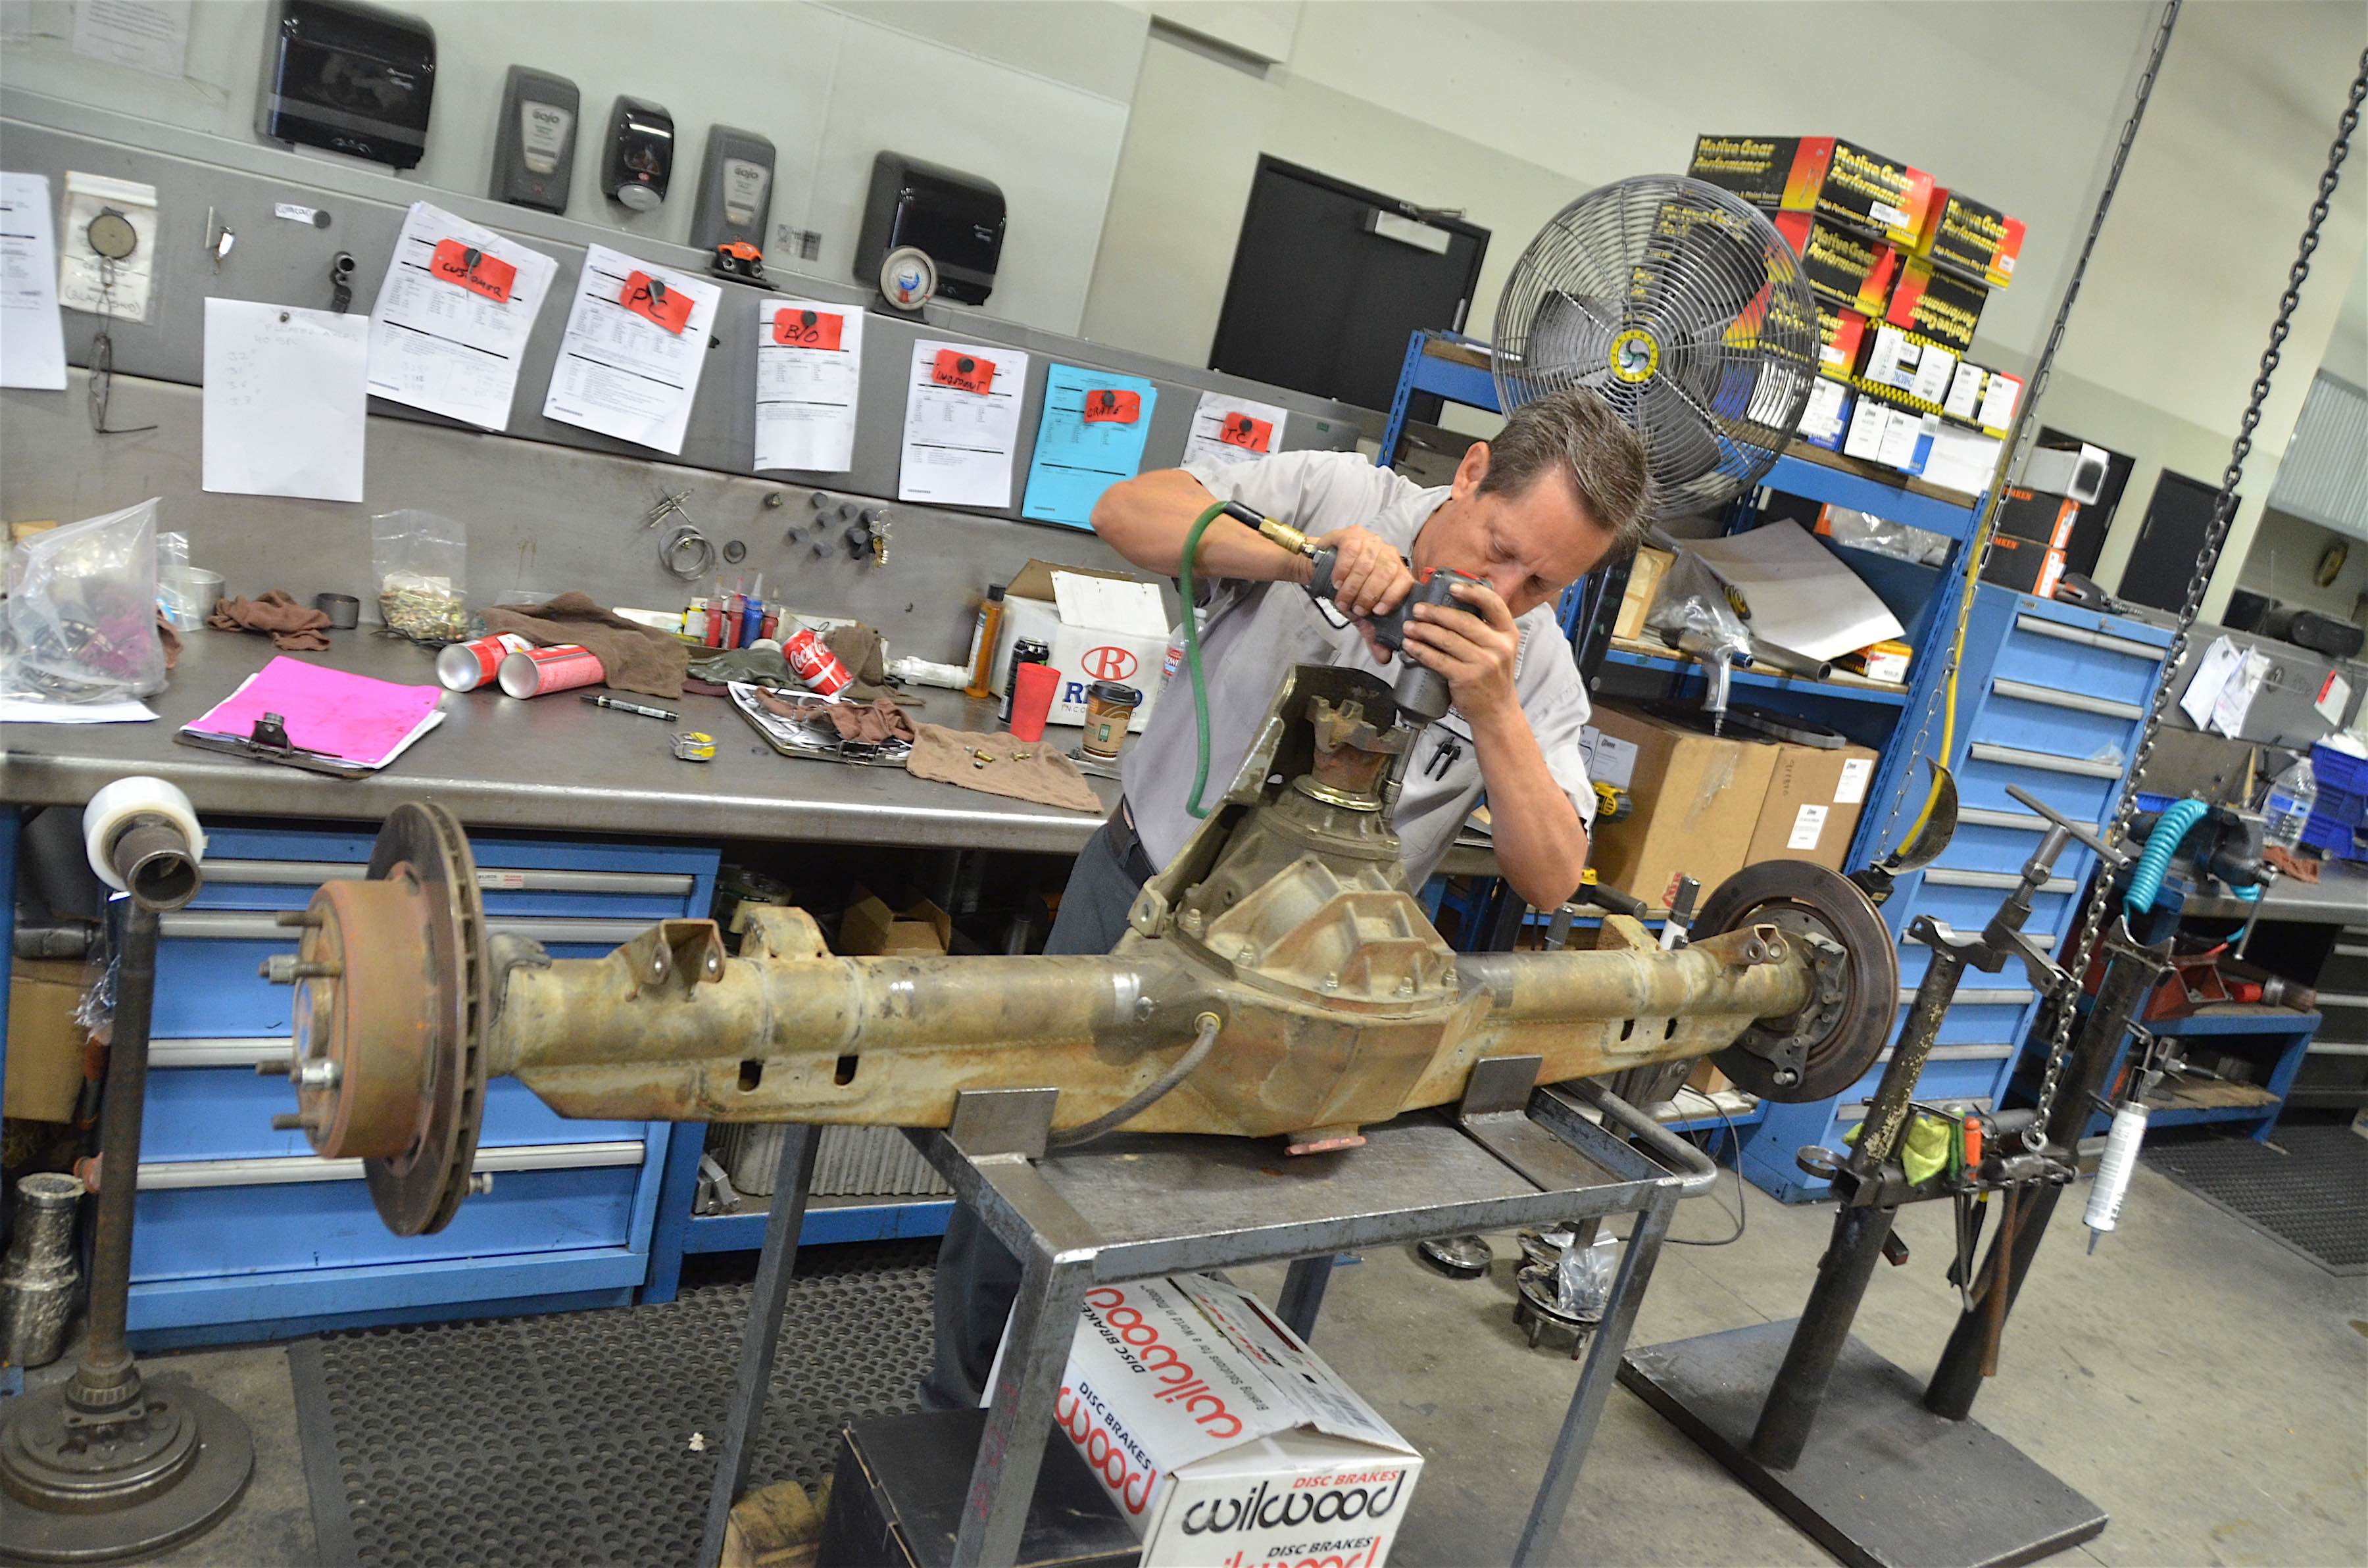
First, we needed to disassemble the axle. The semi-float axle shafts were removed as well as the third member. We threw away the semi-float axle shafts, but we had new plans for the third member.
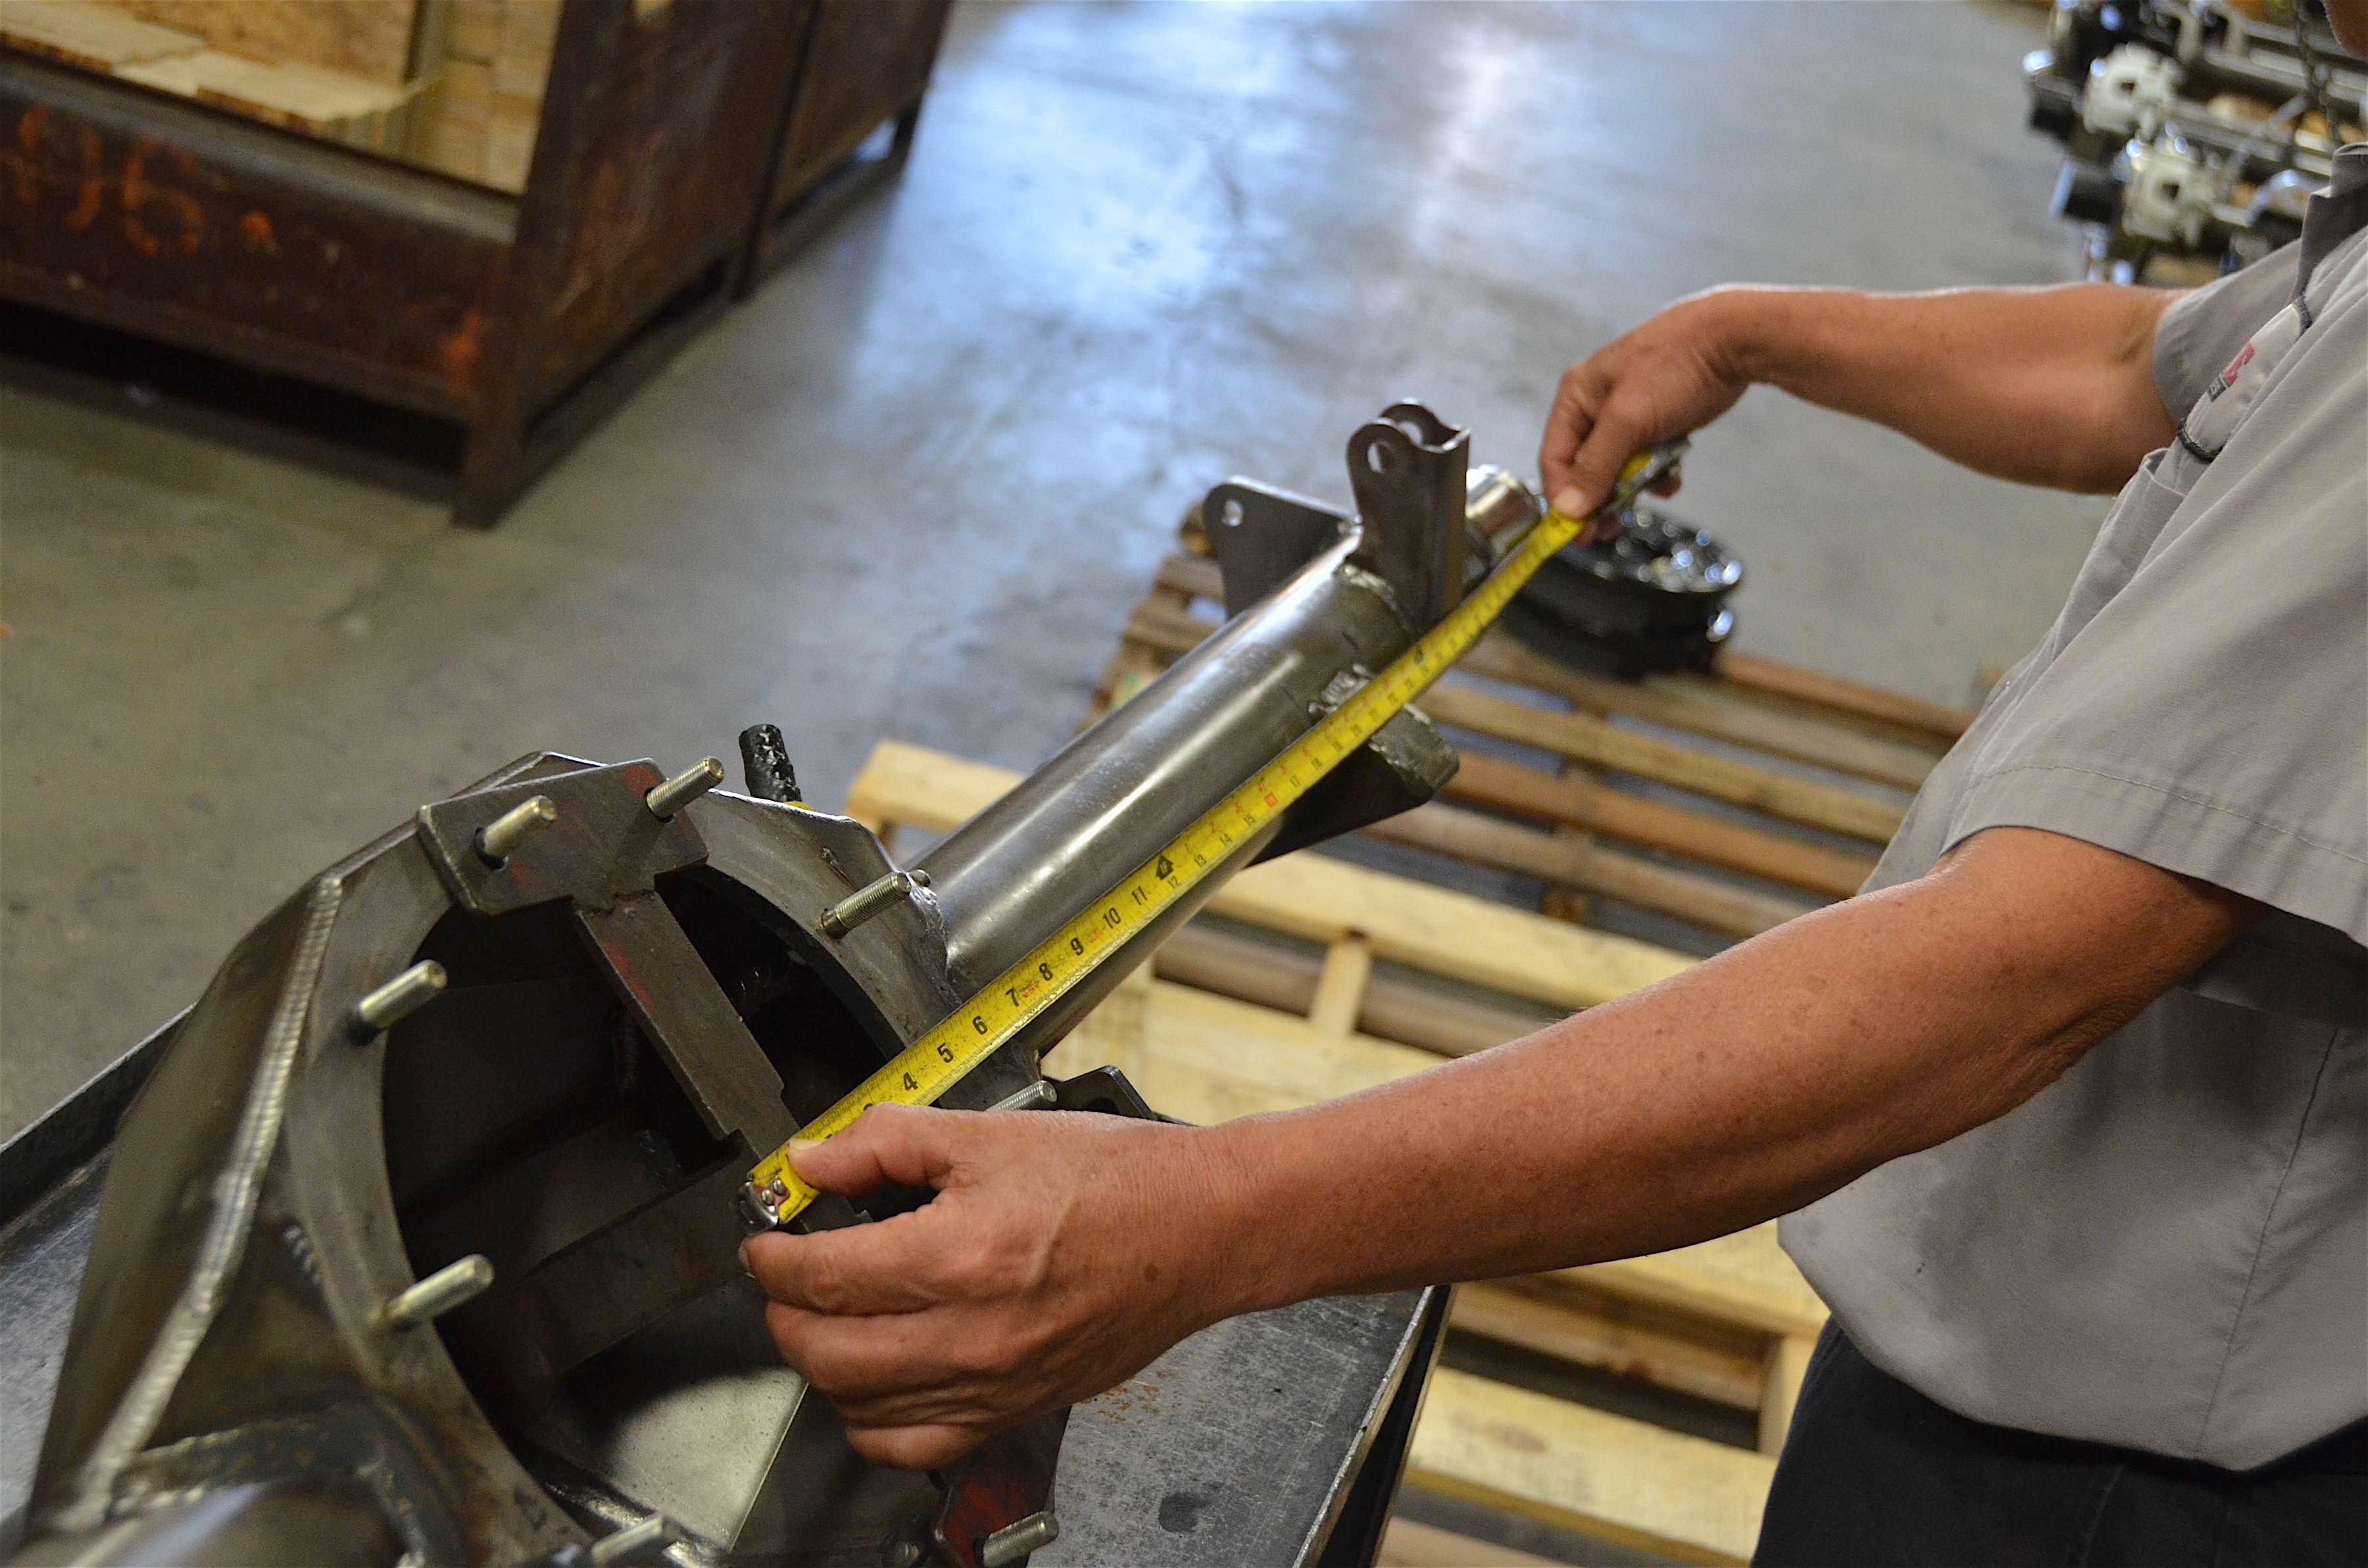
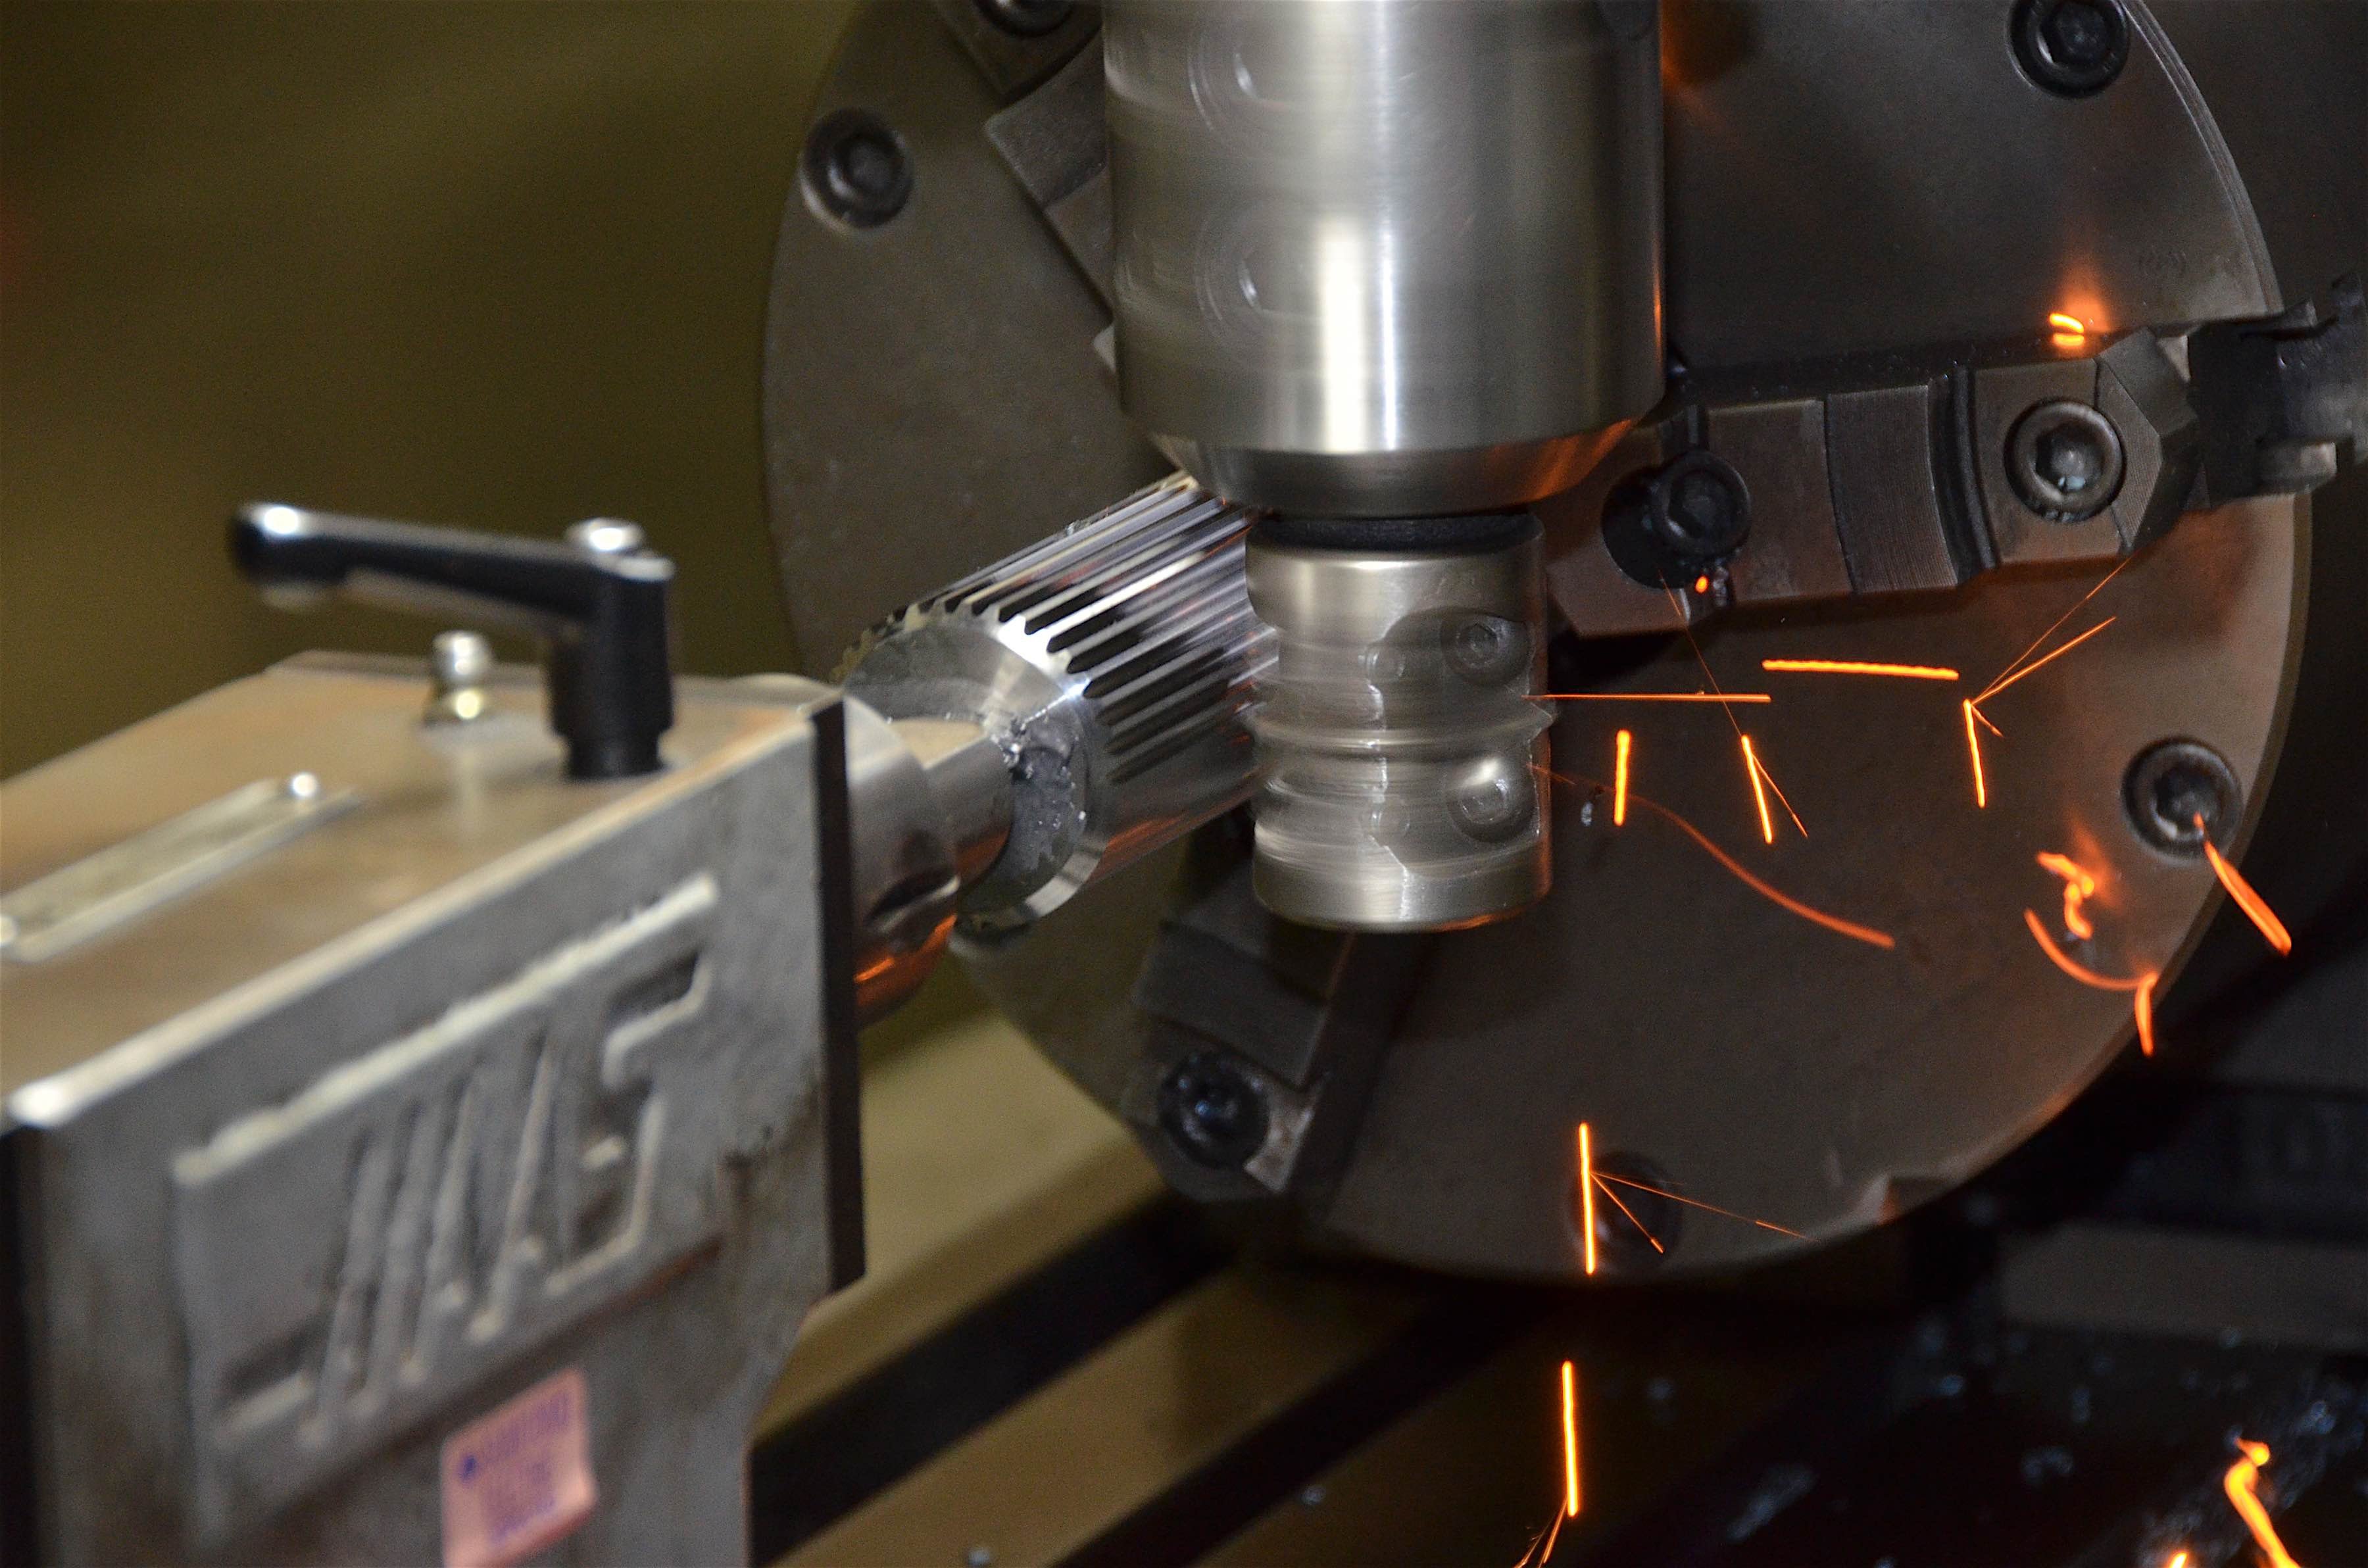
Once measurements were taken, it was time to bring out the saw and cut the ends. At the same time, the ends were being cut, the spindles were being machined to fit the housing. The spindles used in Currie’s full-float kit all start the same. They are machined to fit each application specifically.
The housing was drained of oil and placed into the cleaner before it was brought to the fab area. Measurements were taken before cutting off the housing ends. We would be widening the housing to help match the front track width. The additional width would not come from widening the axle tubes, but rather the placement of the new spindles.
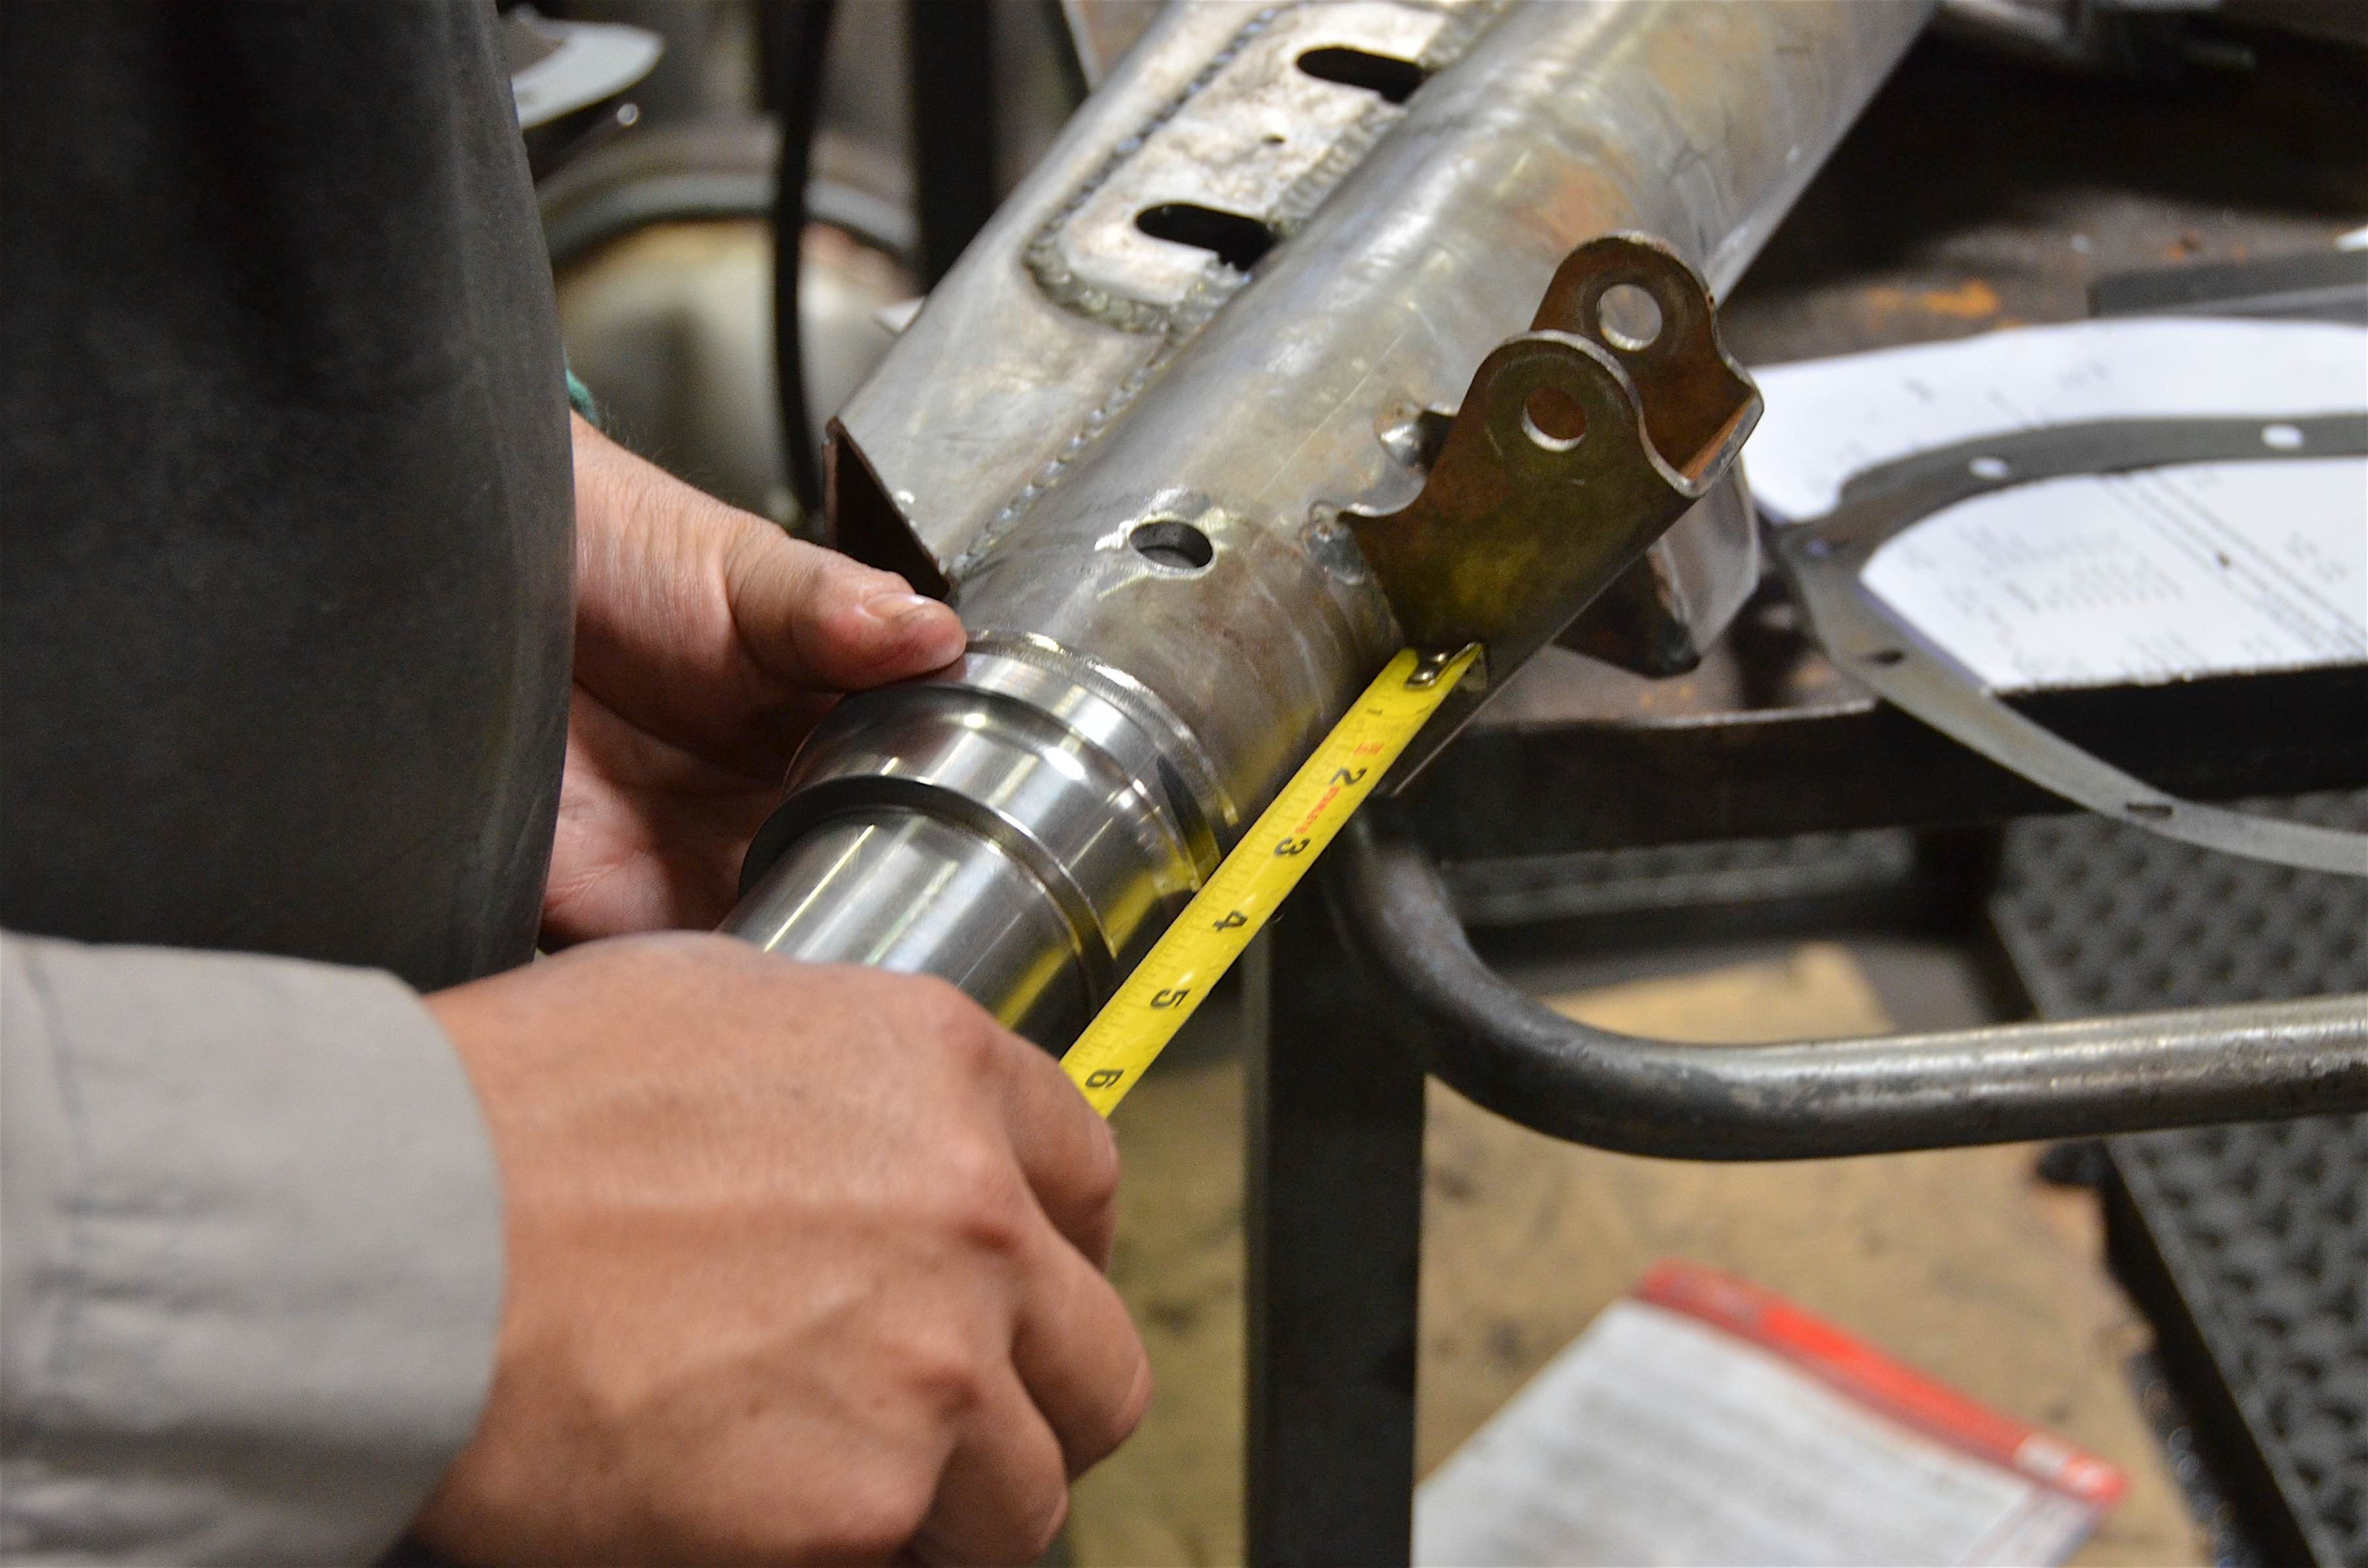

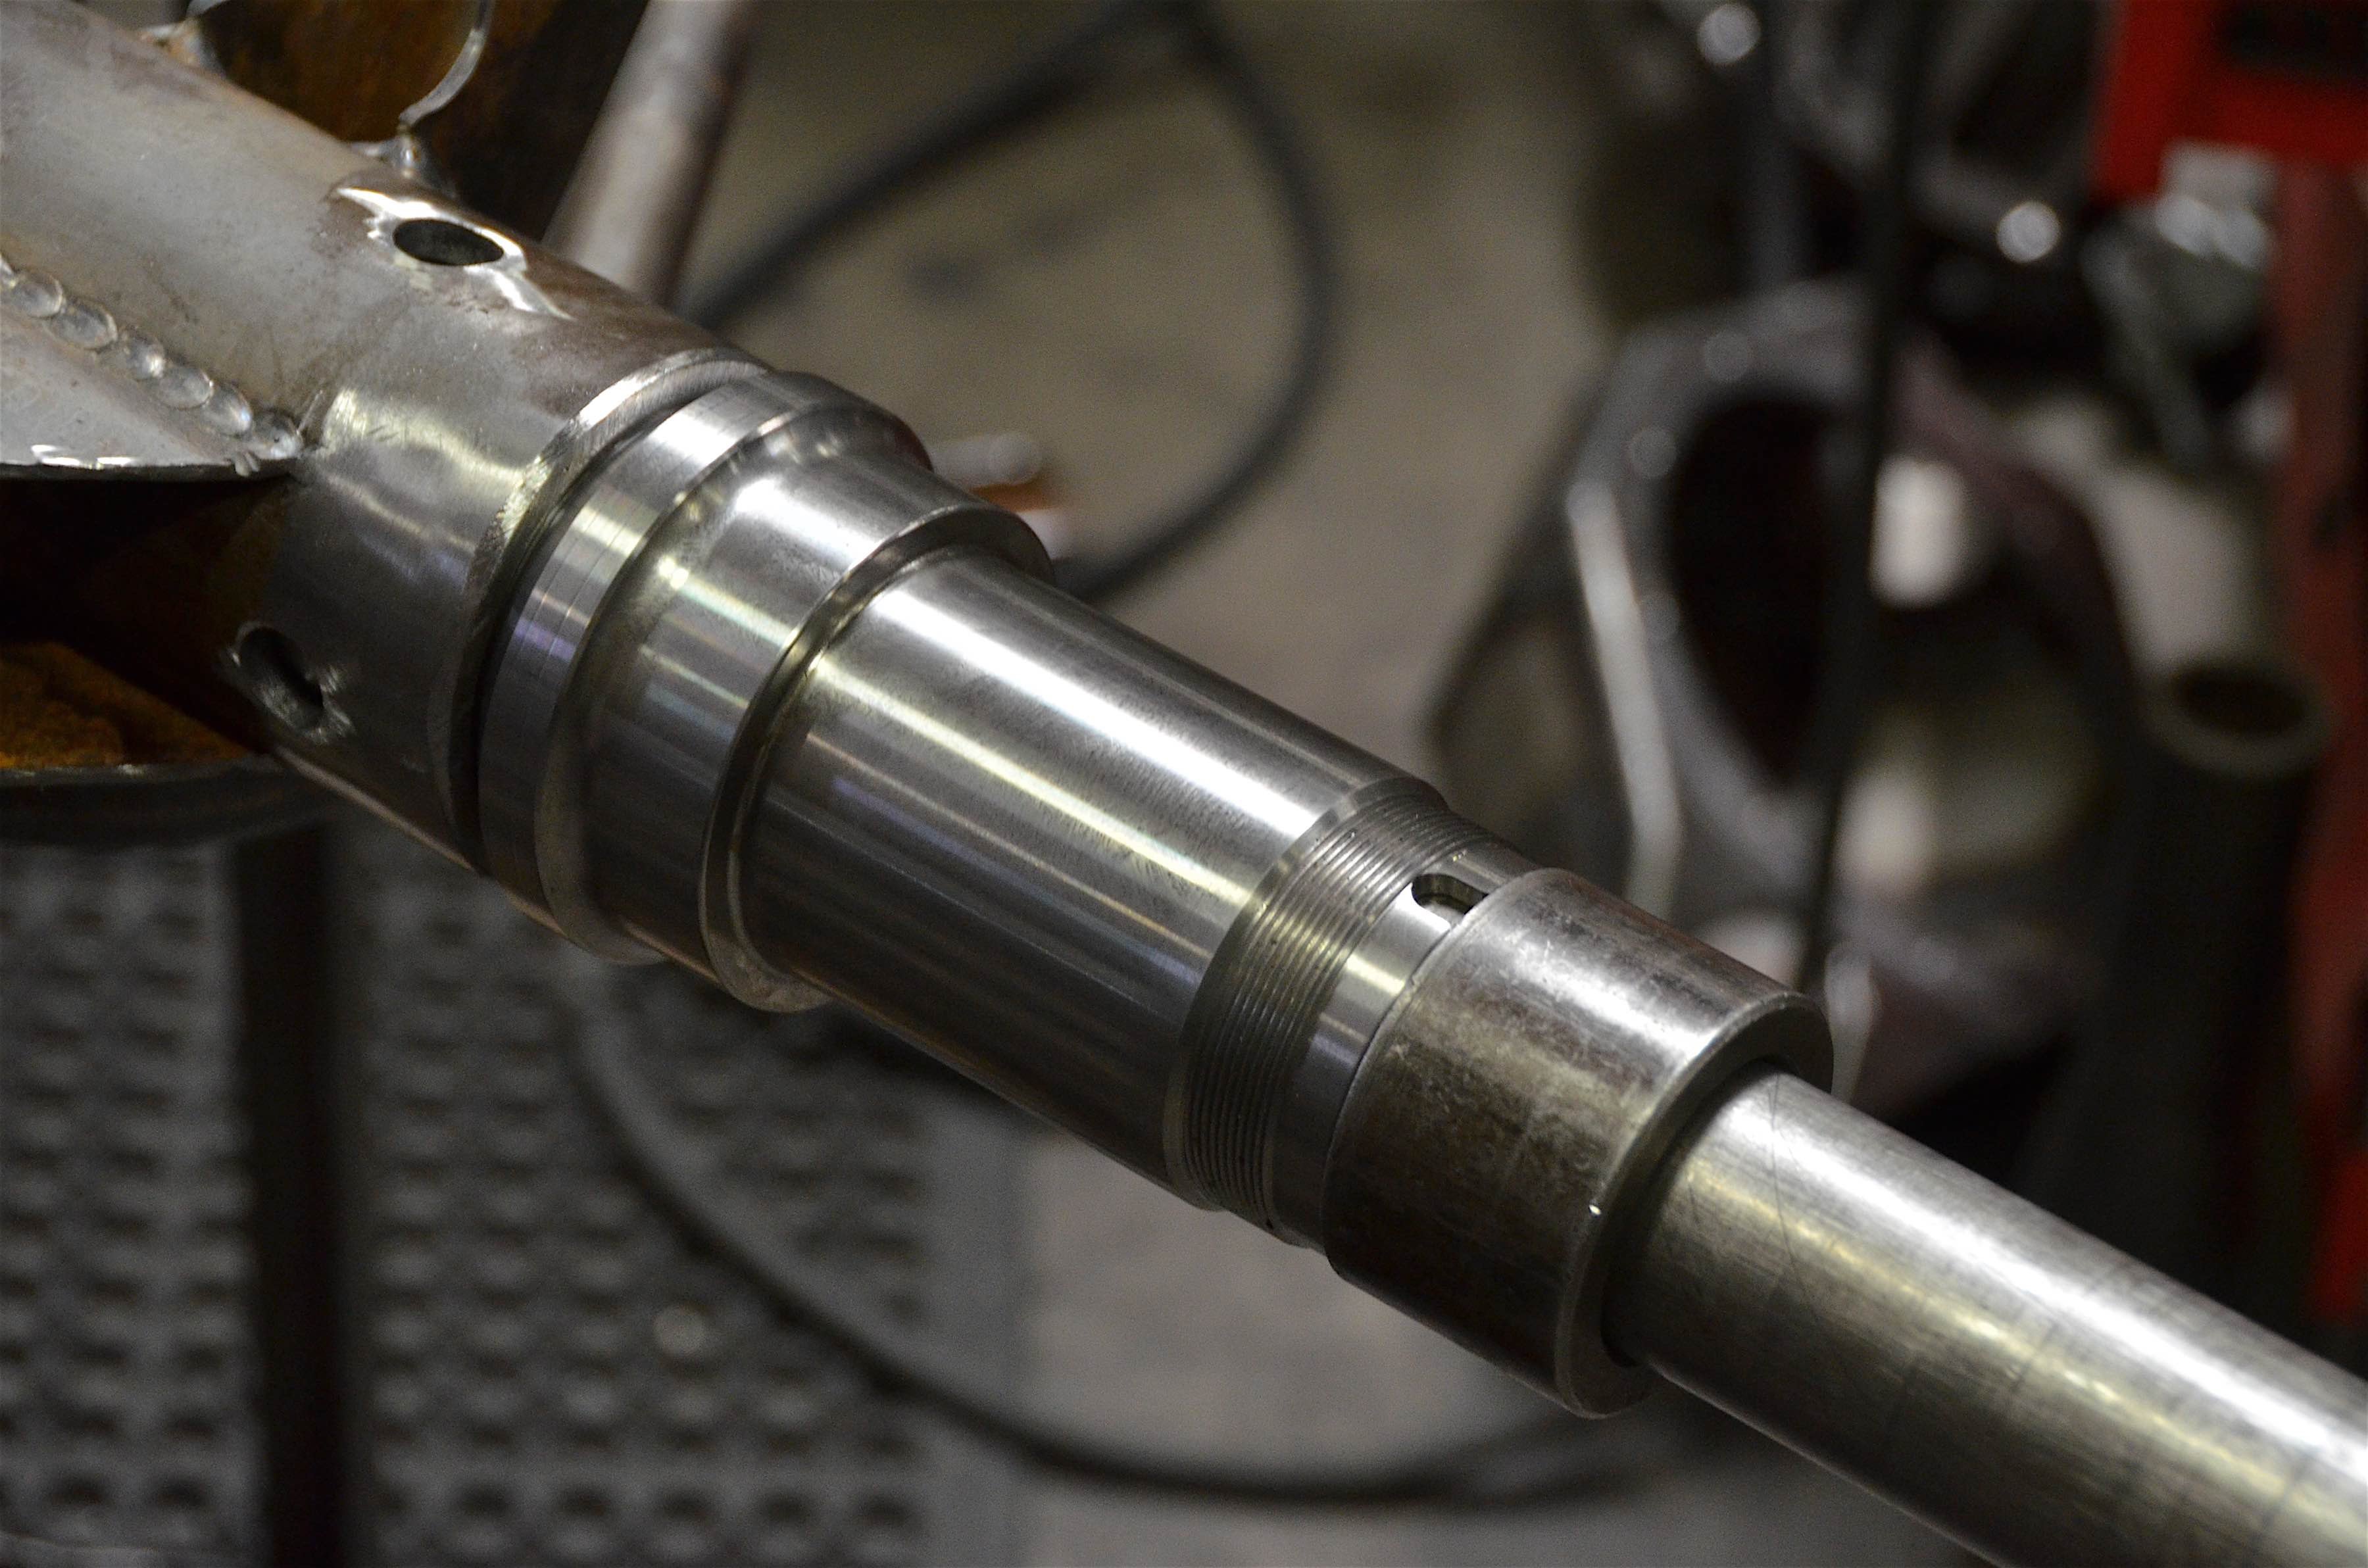

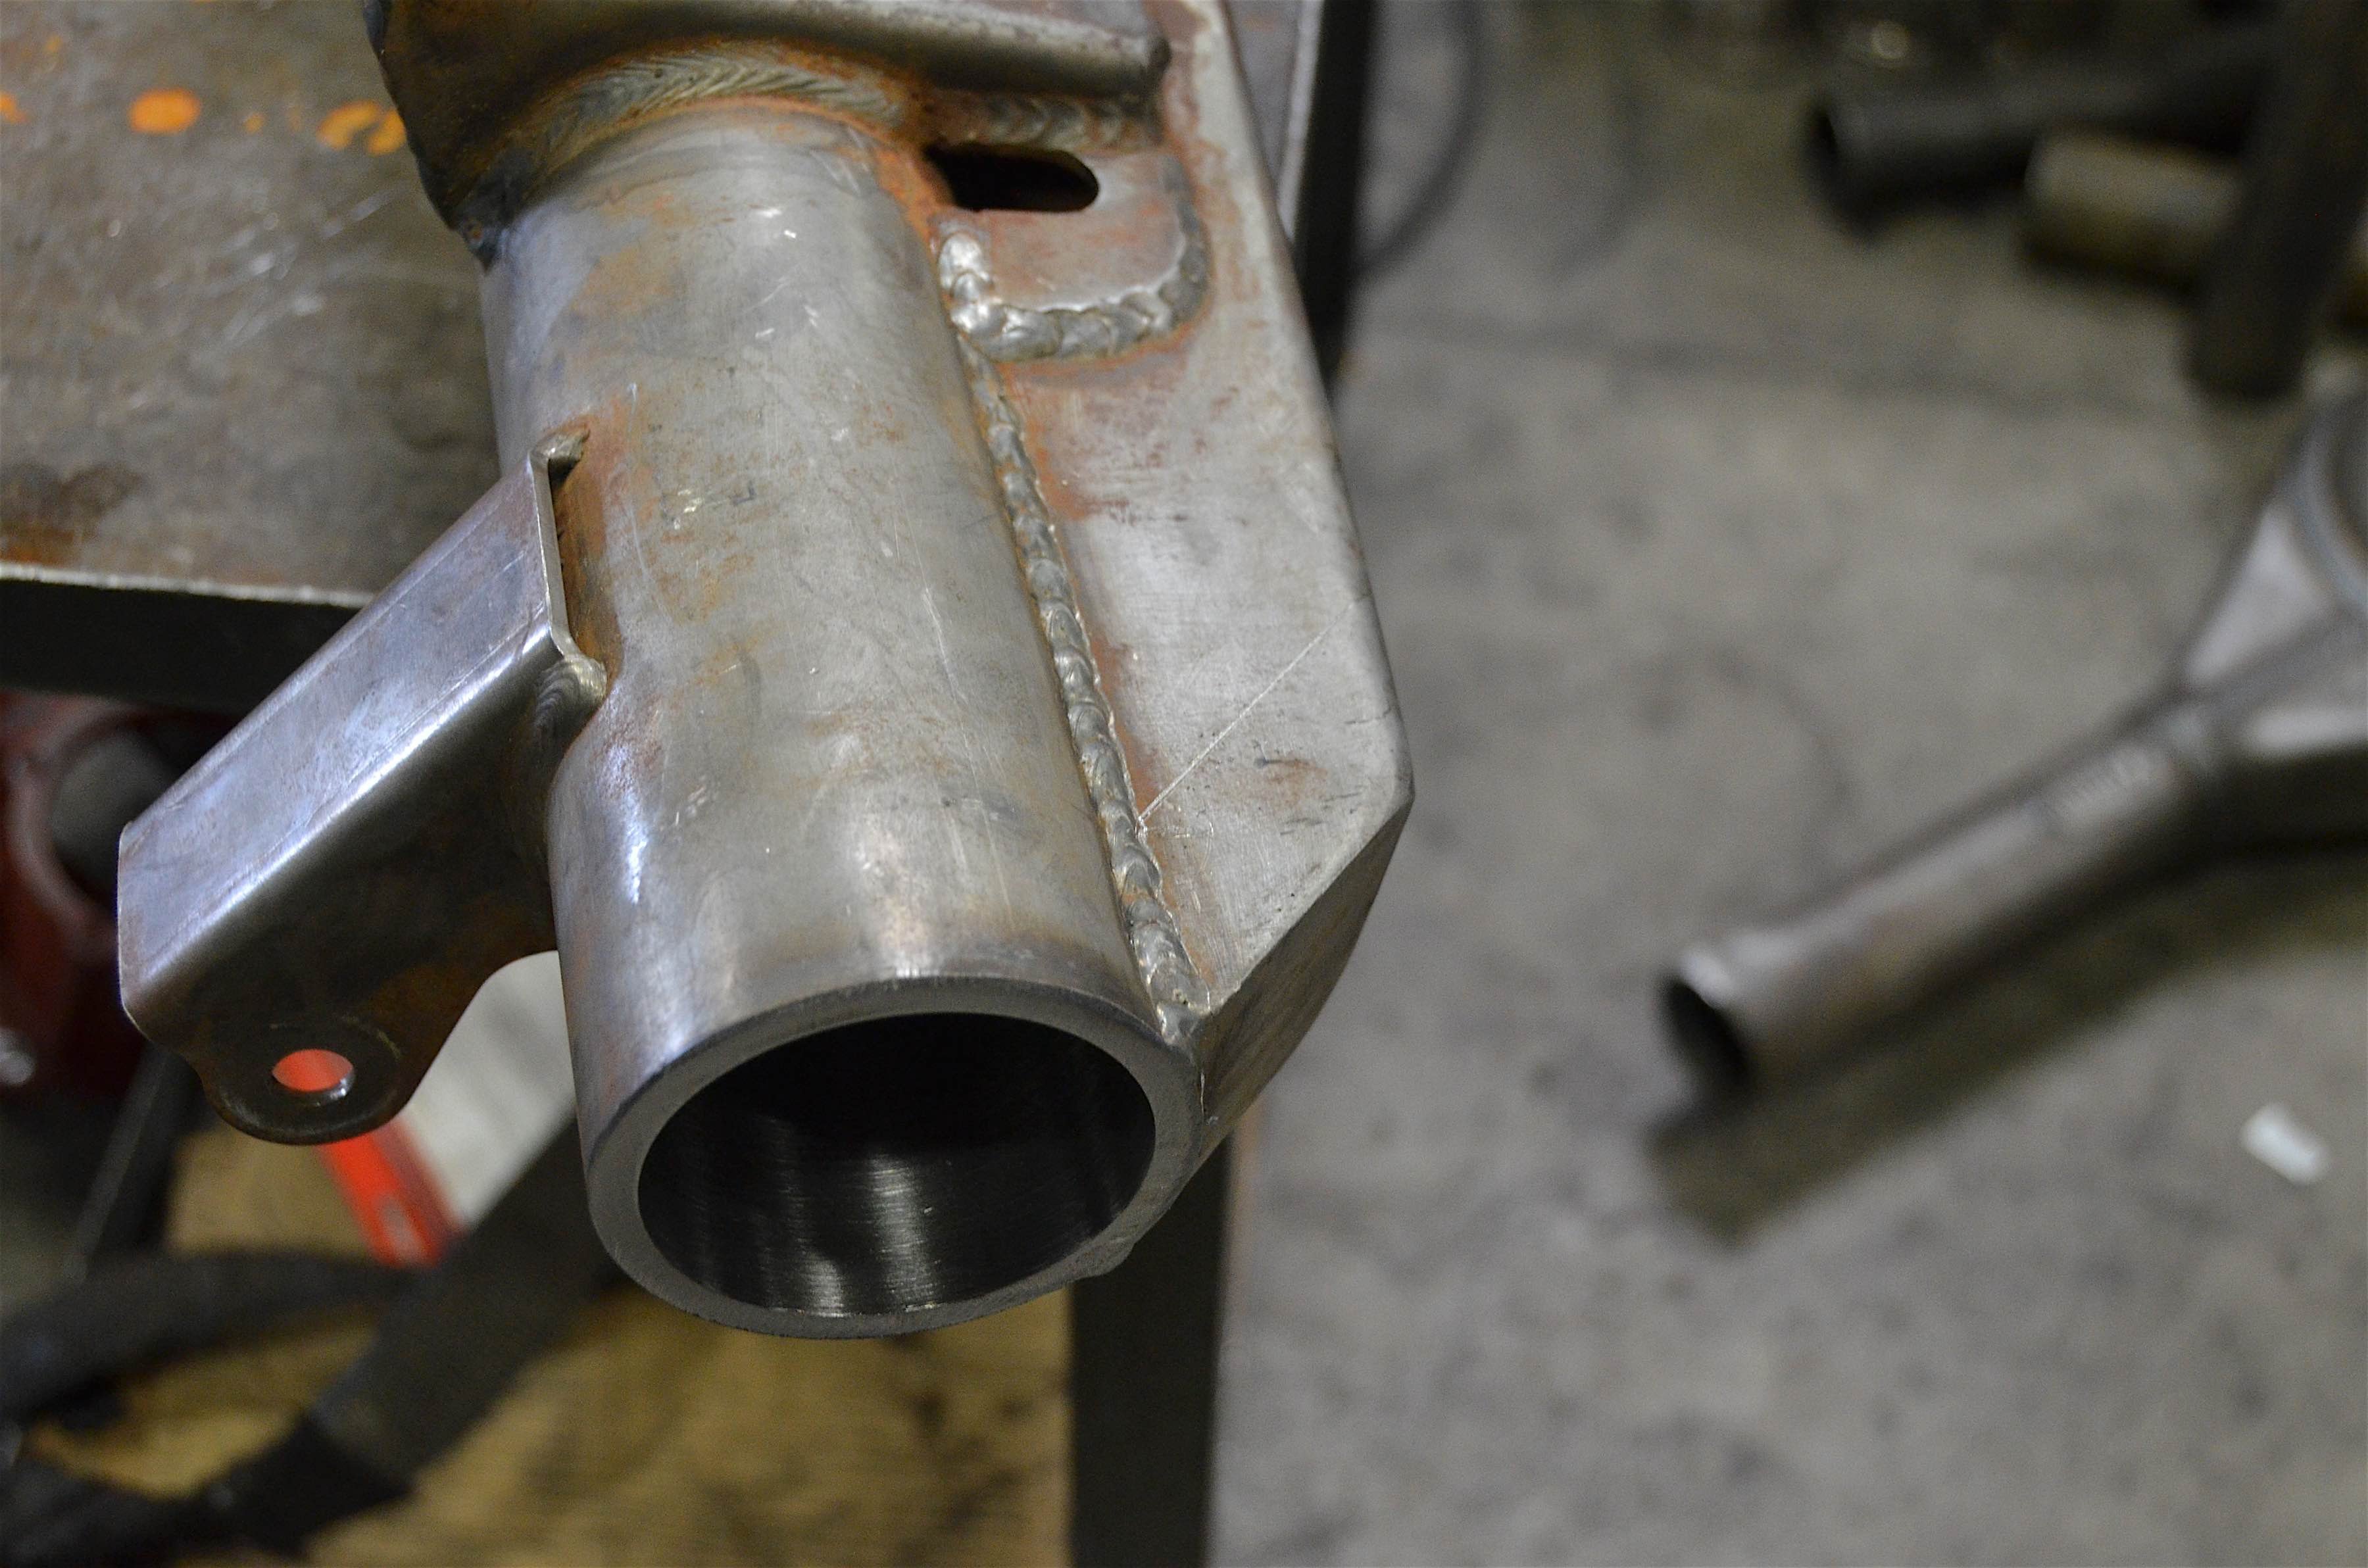
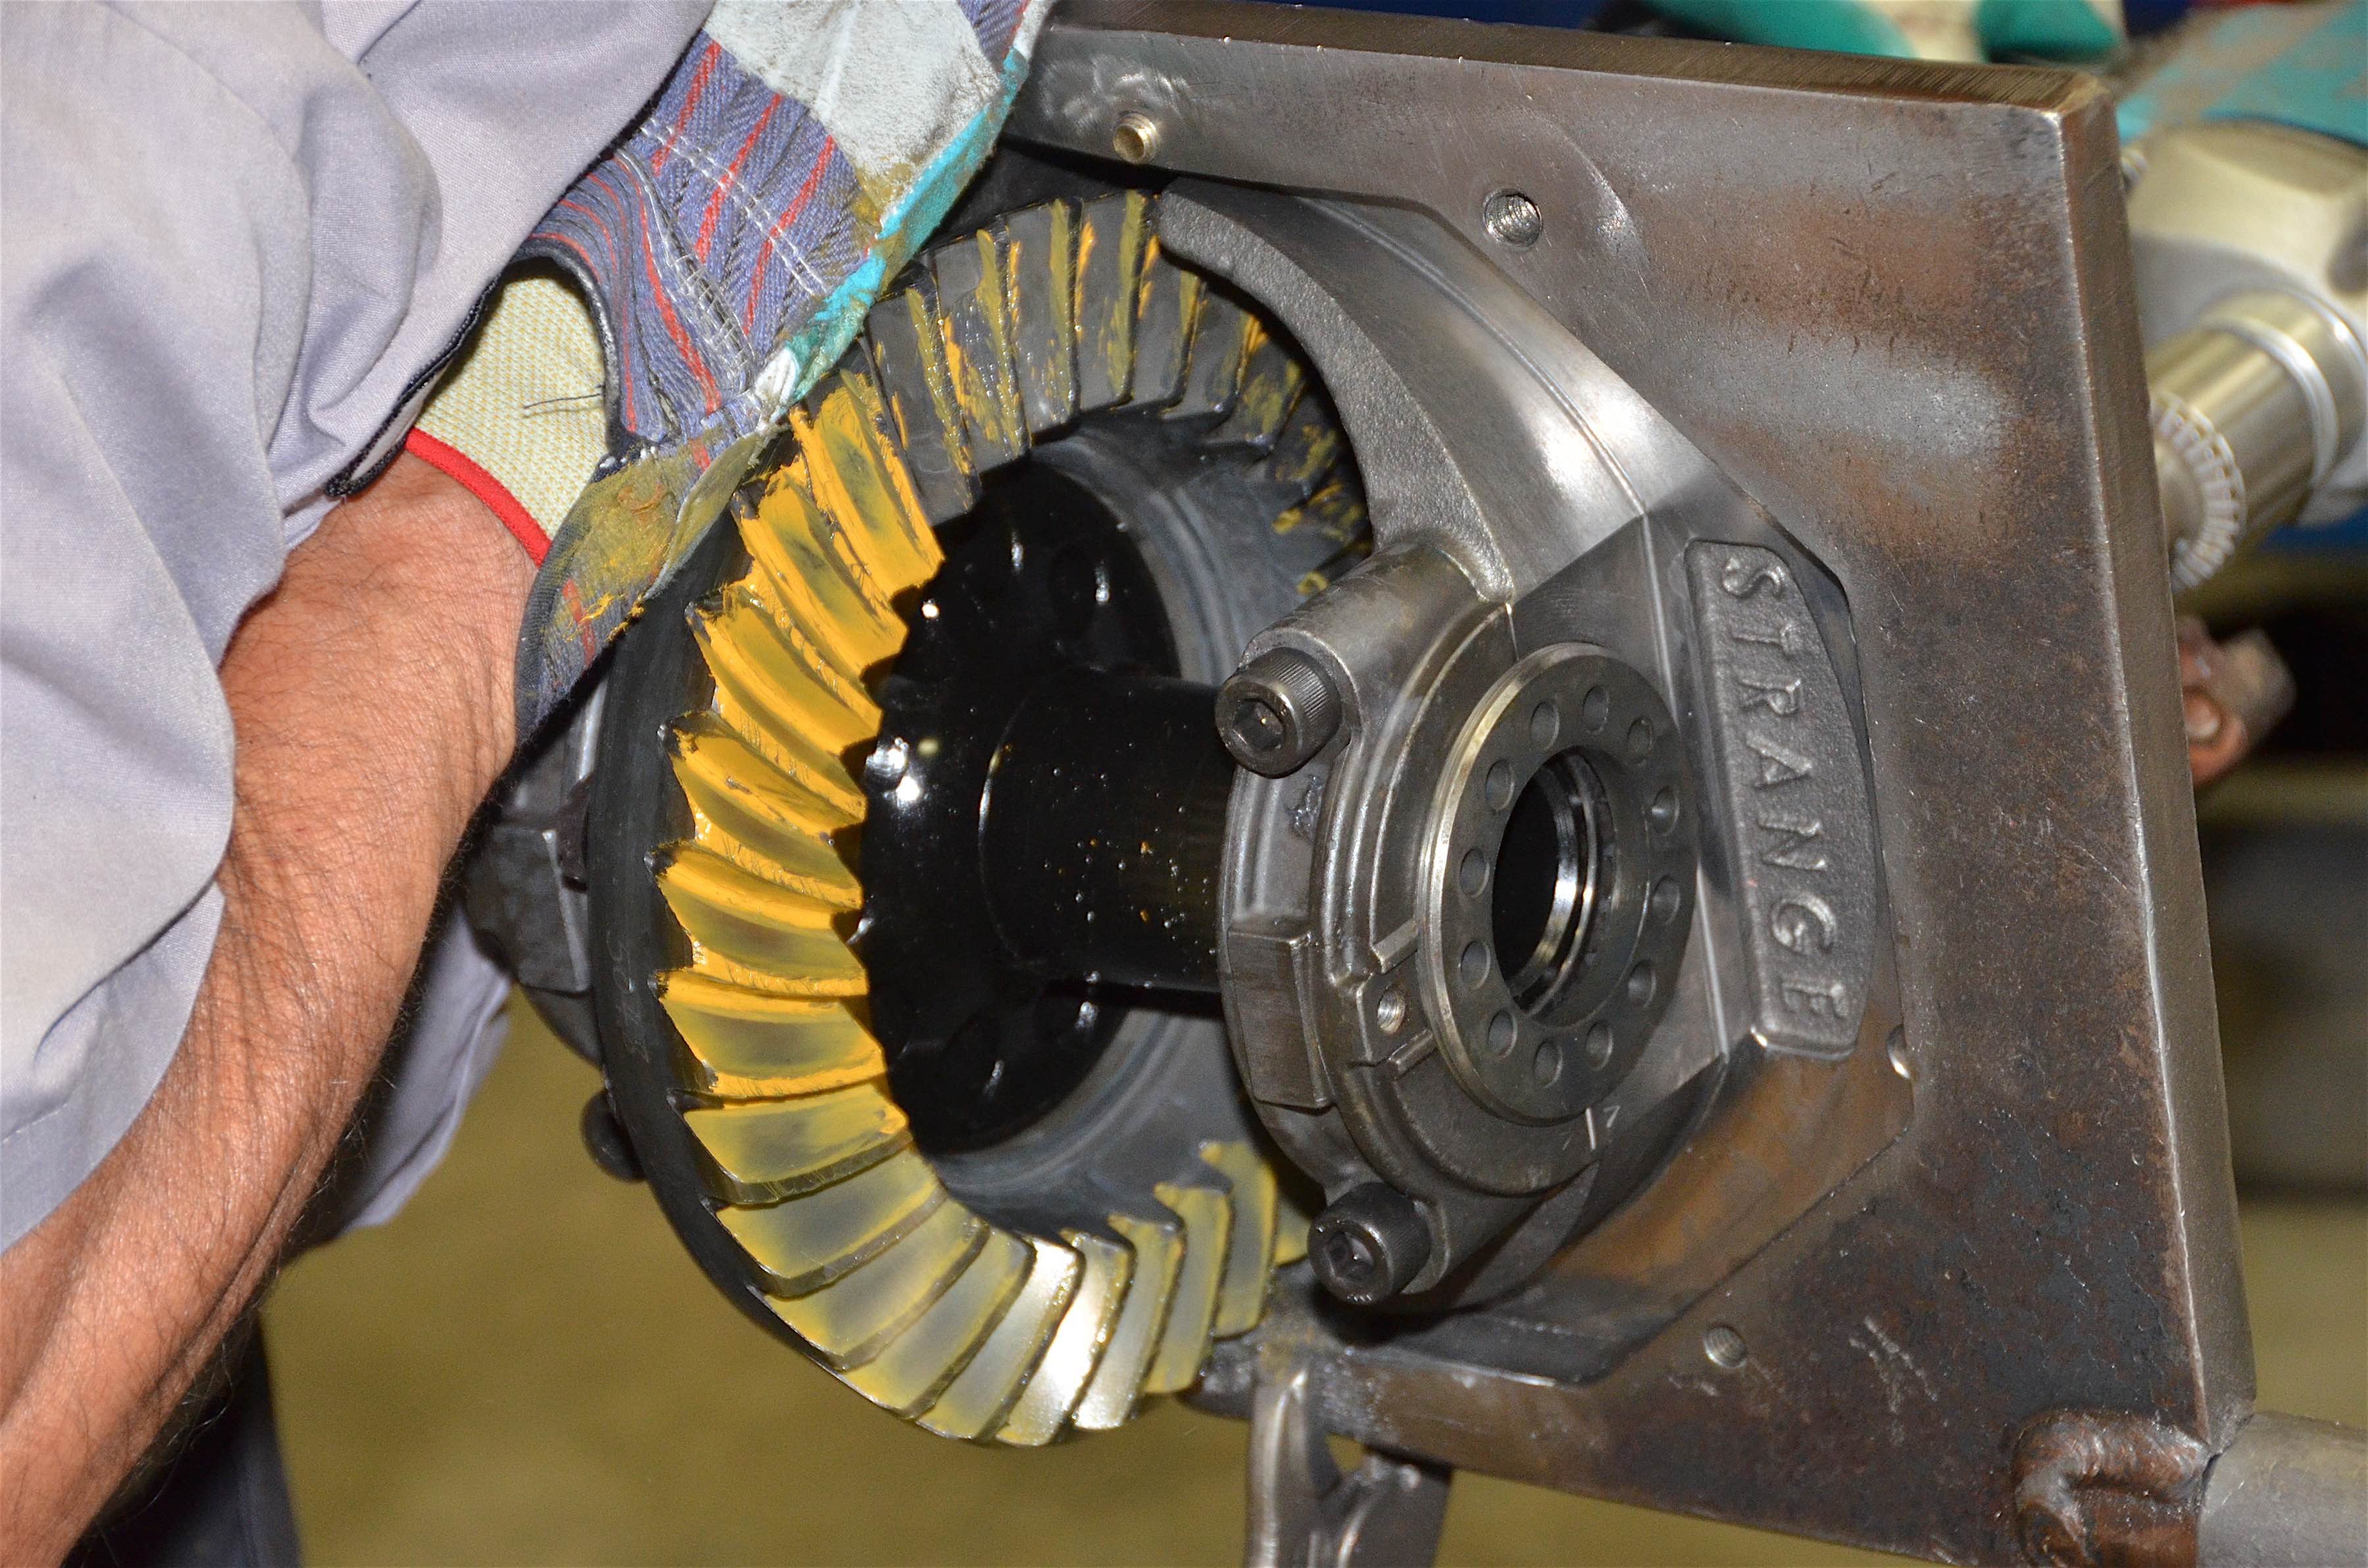
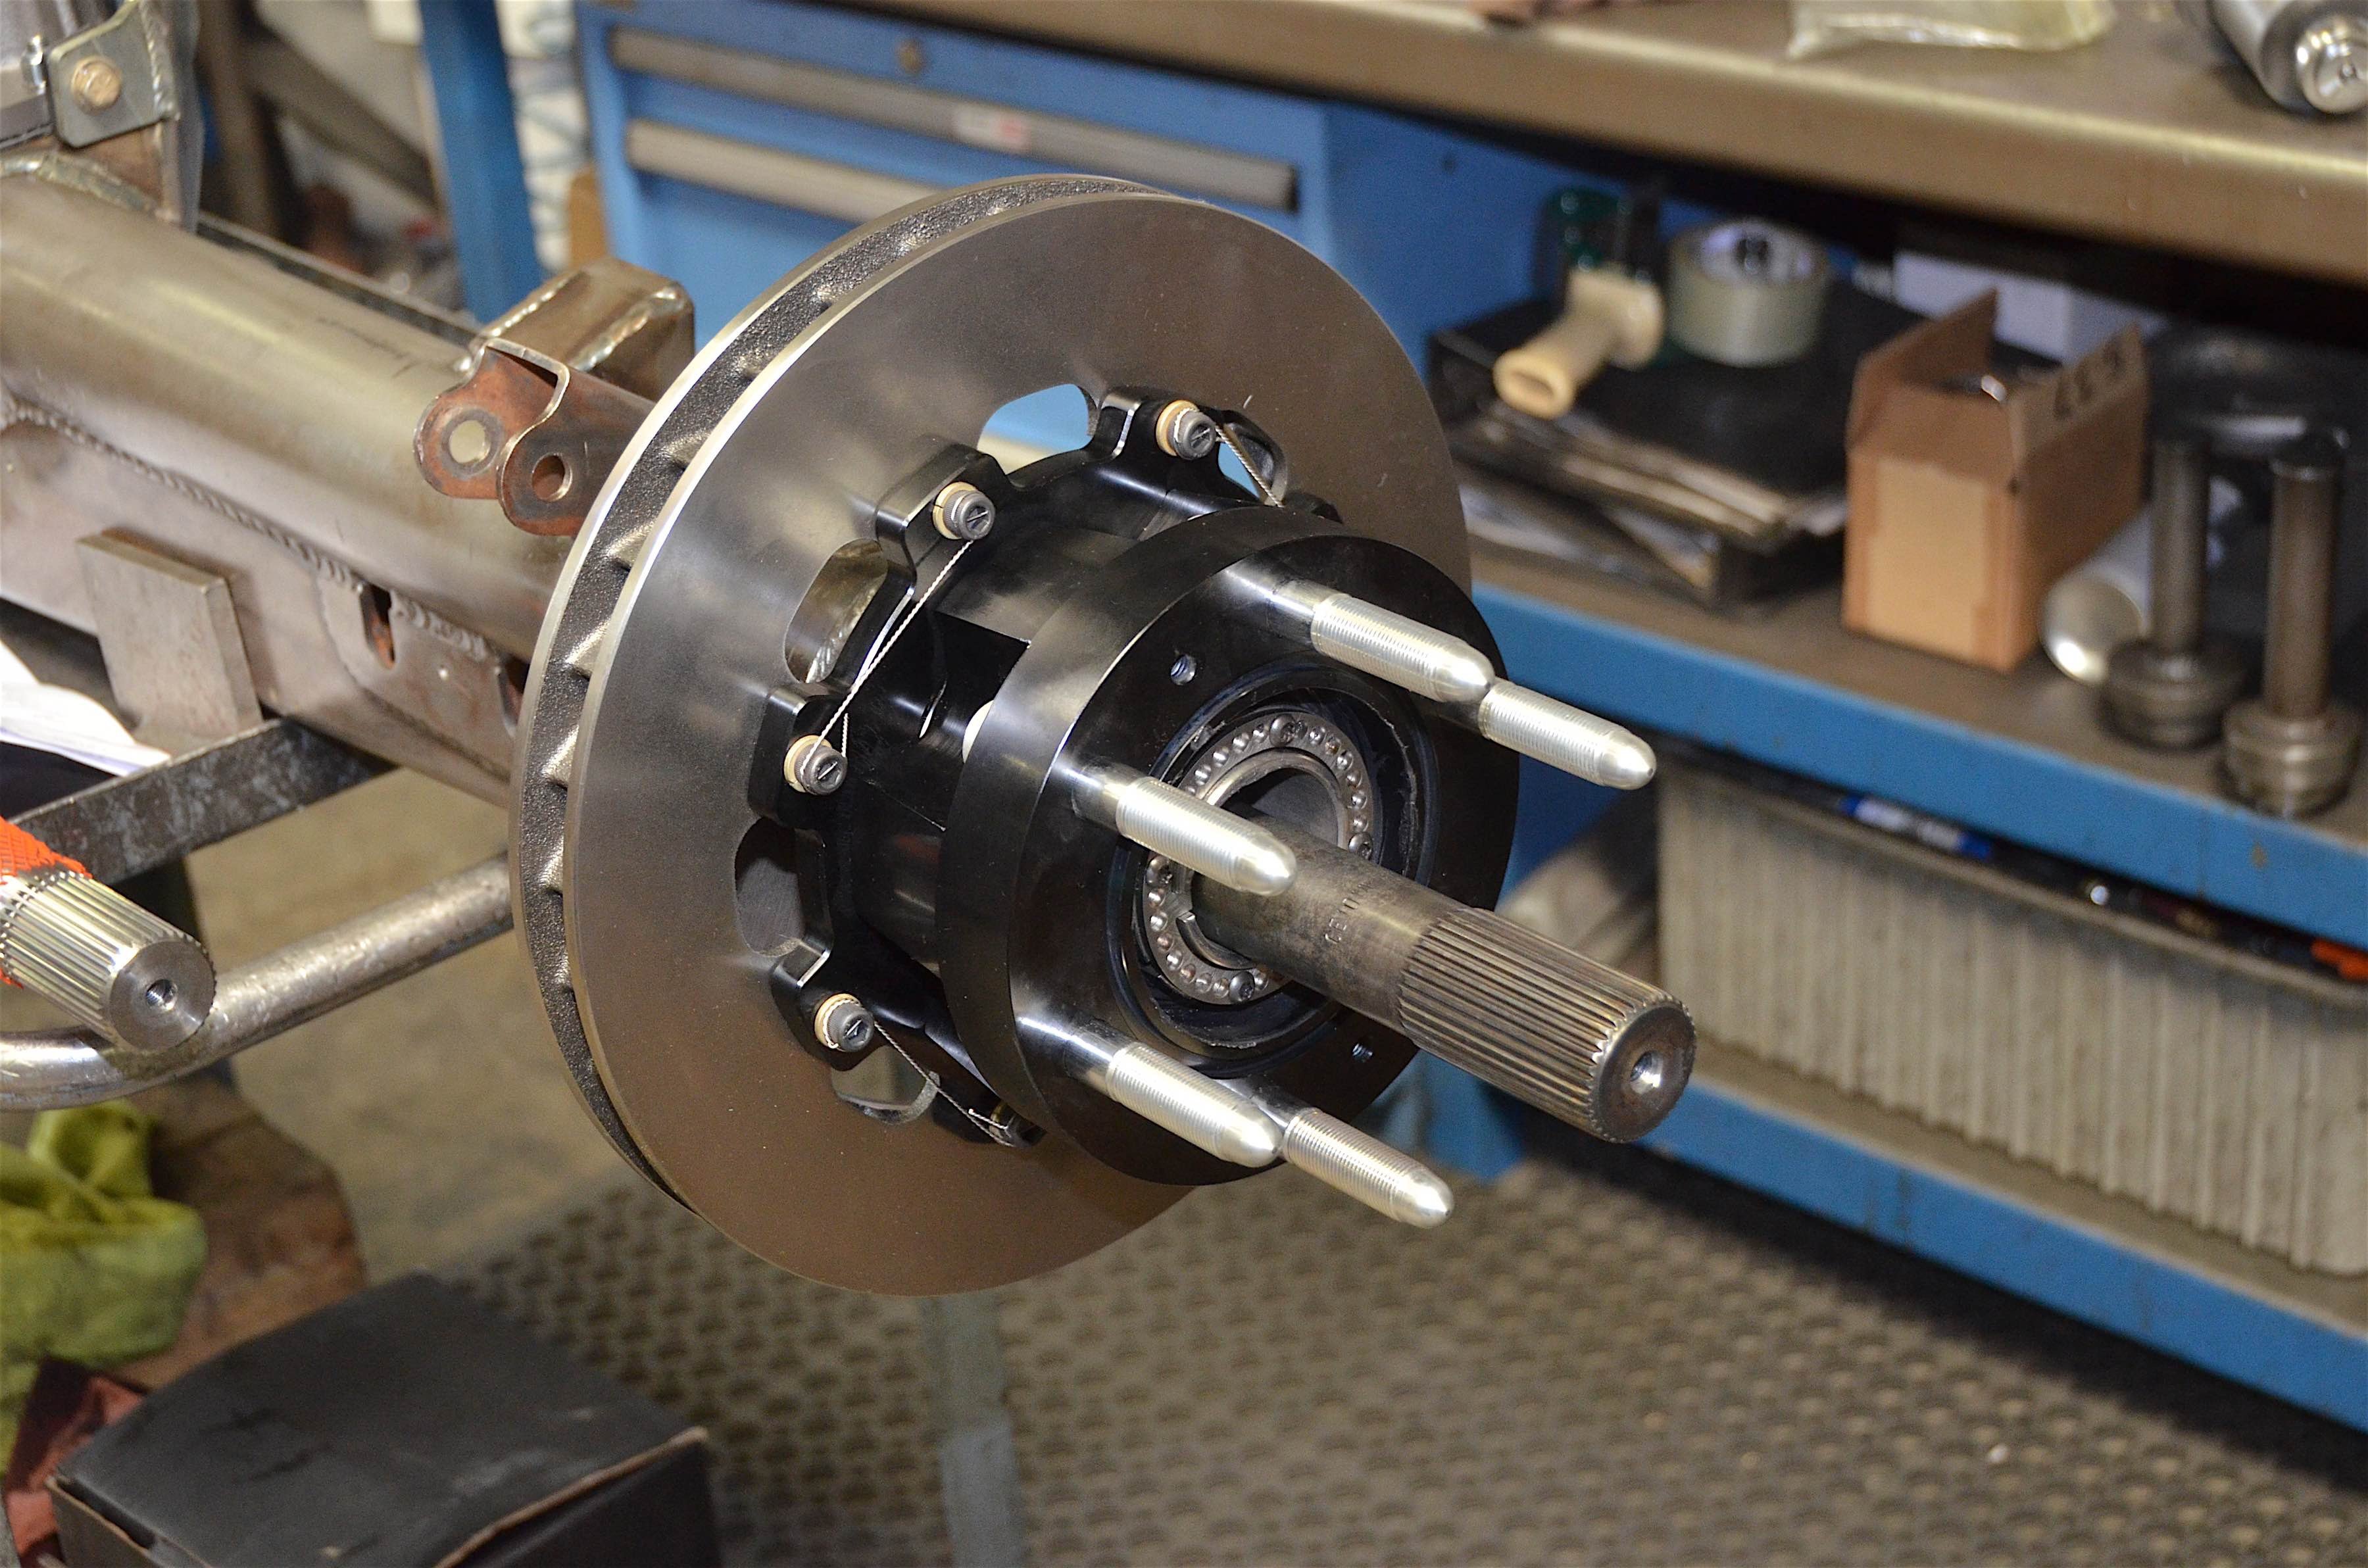
With the ends cut off, we mocked up the new spindle.
One of the biggest benefits of full-float comes in the spindle. “The full-floating hub uses two bearings per wheel, which are larger than the single bearing used on a semi-floating shaft,” Shephard said. “In addition, should an axle shaft break, the wheel does not leave the vehicle. If you were to break a floater shaft, technically, you could just pull the outer drive flange cap, retrieve the broken axle pieces, and carry on.”

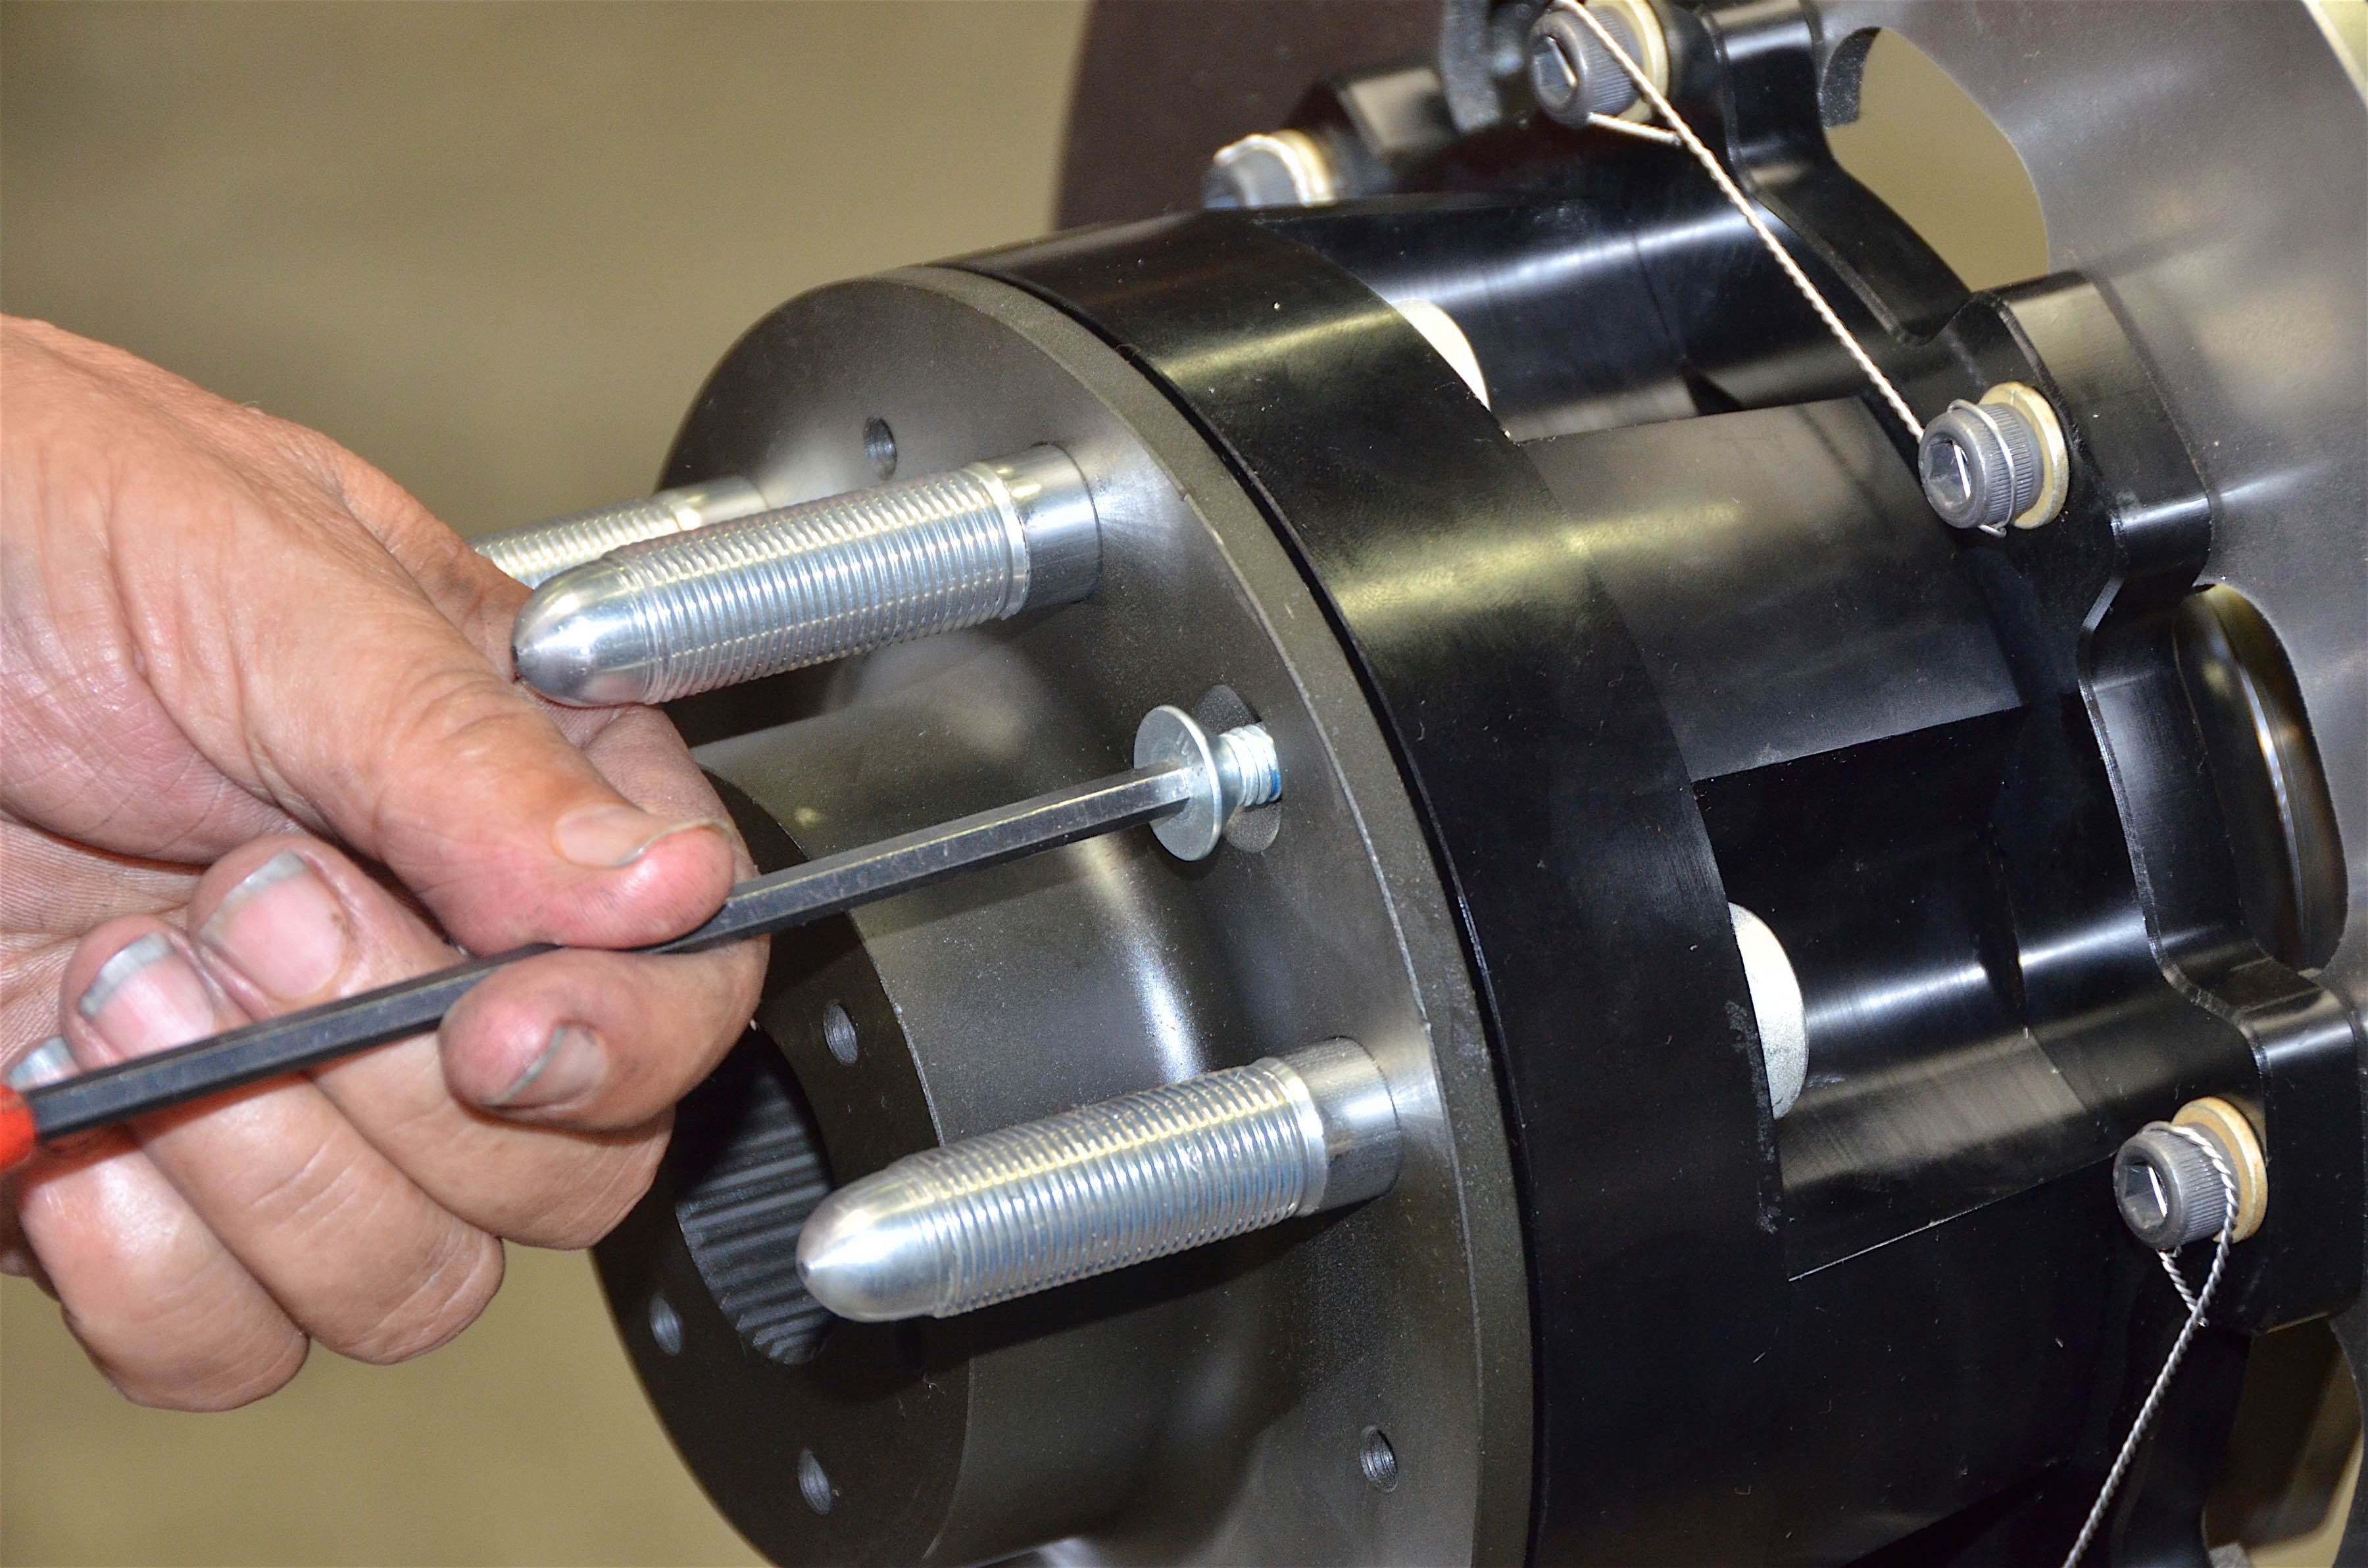
Measuring for the new axle shafts was one of the last steps before assembly.
The spindle would allow measurements to be taken for the new axle shafts. The full-float axles shafts have splines on both ends, unlike the semi-float, which only had them on the carrier side.
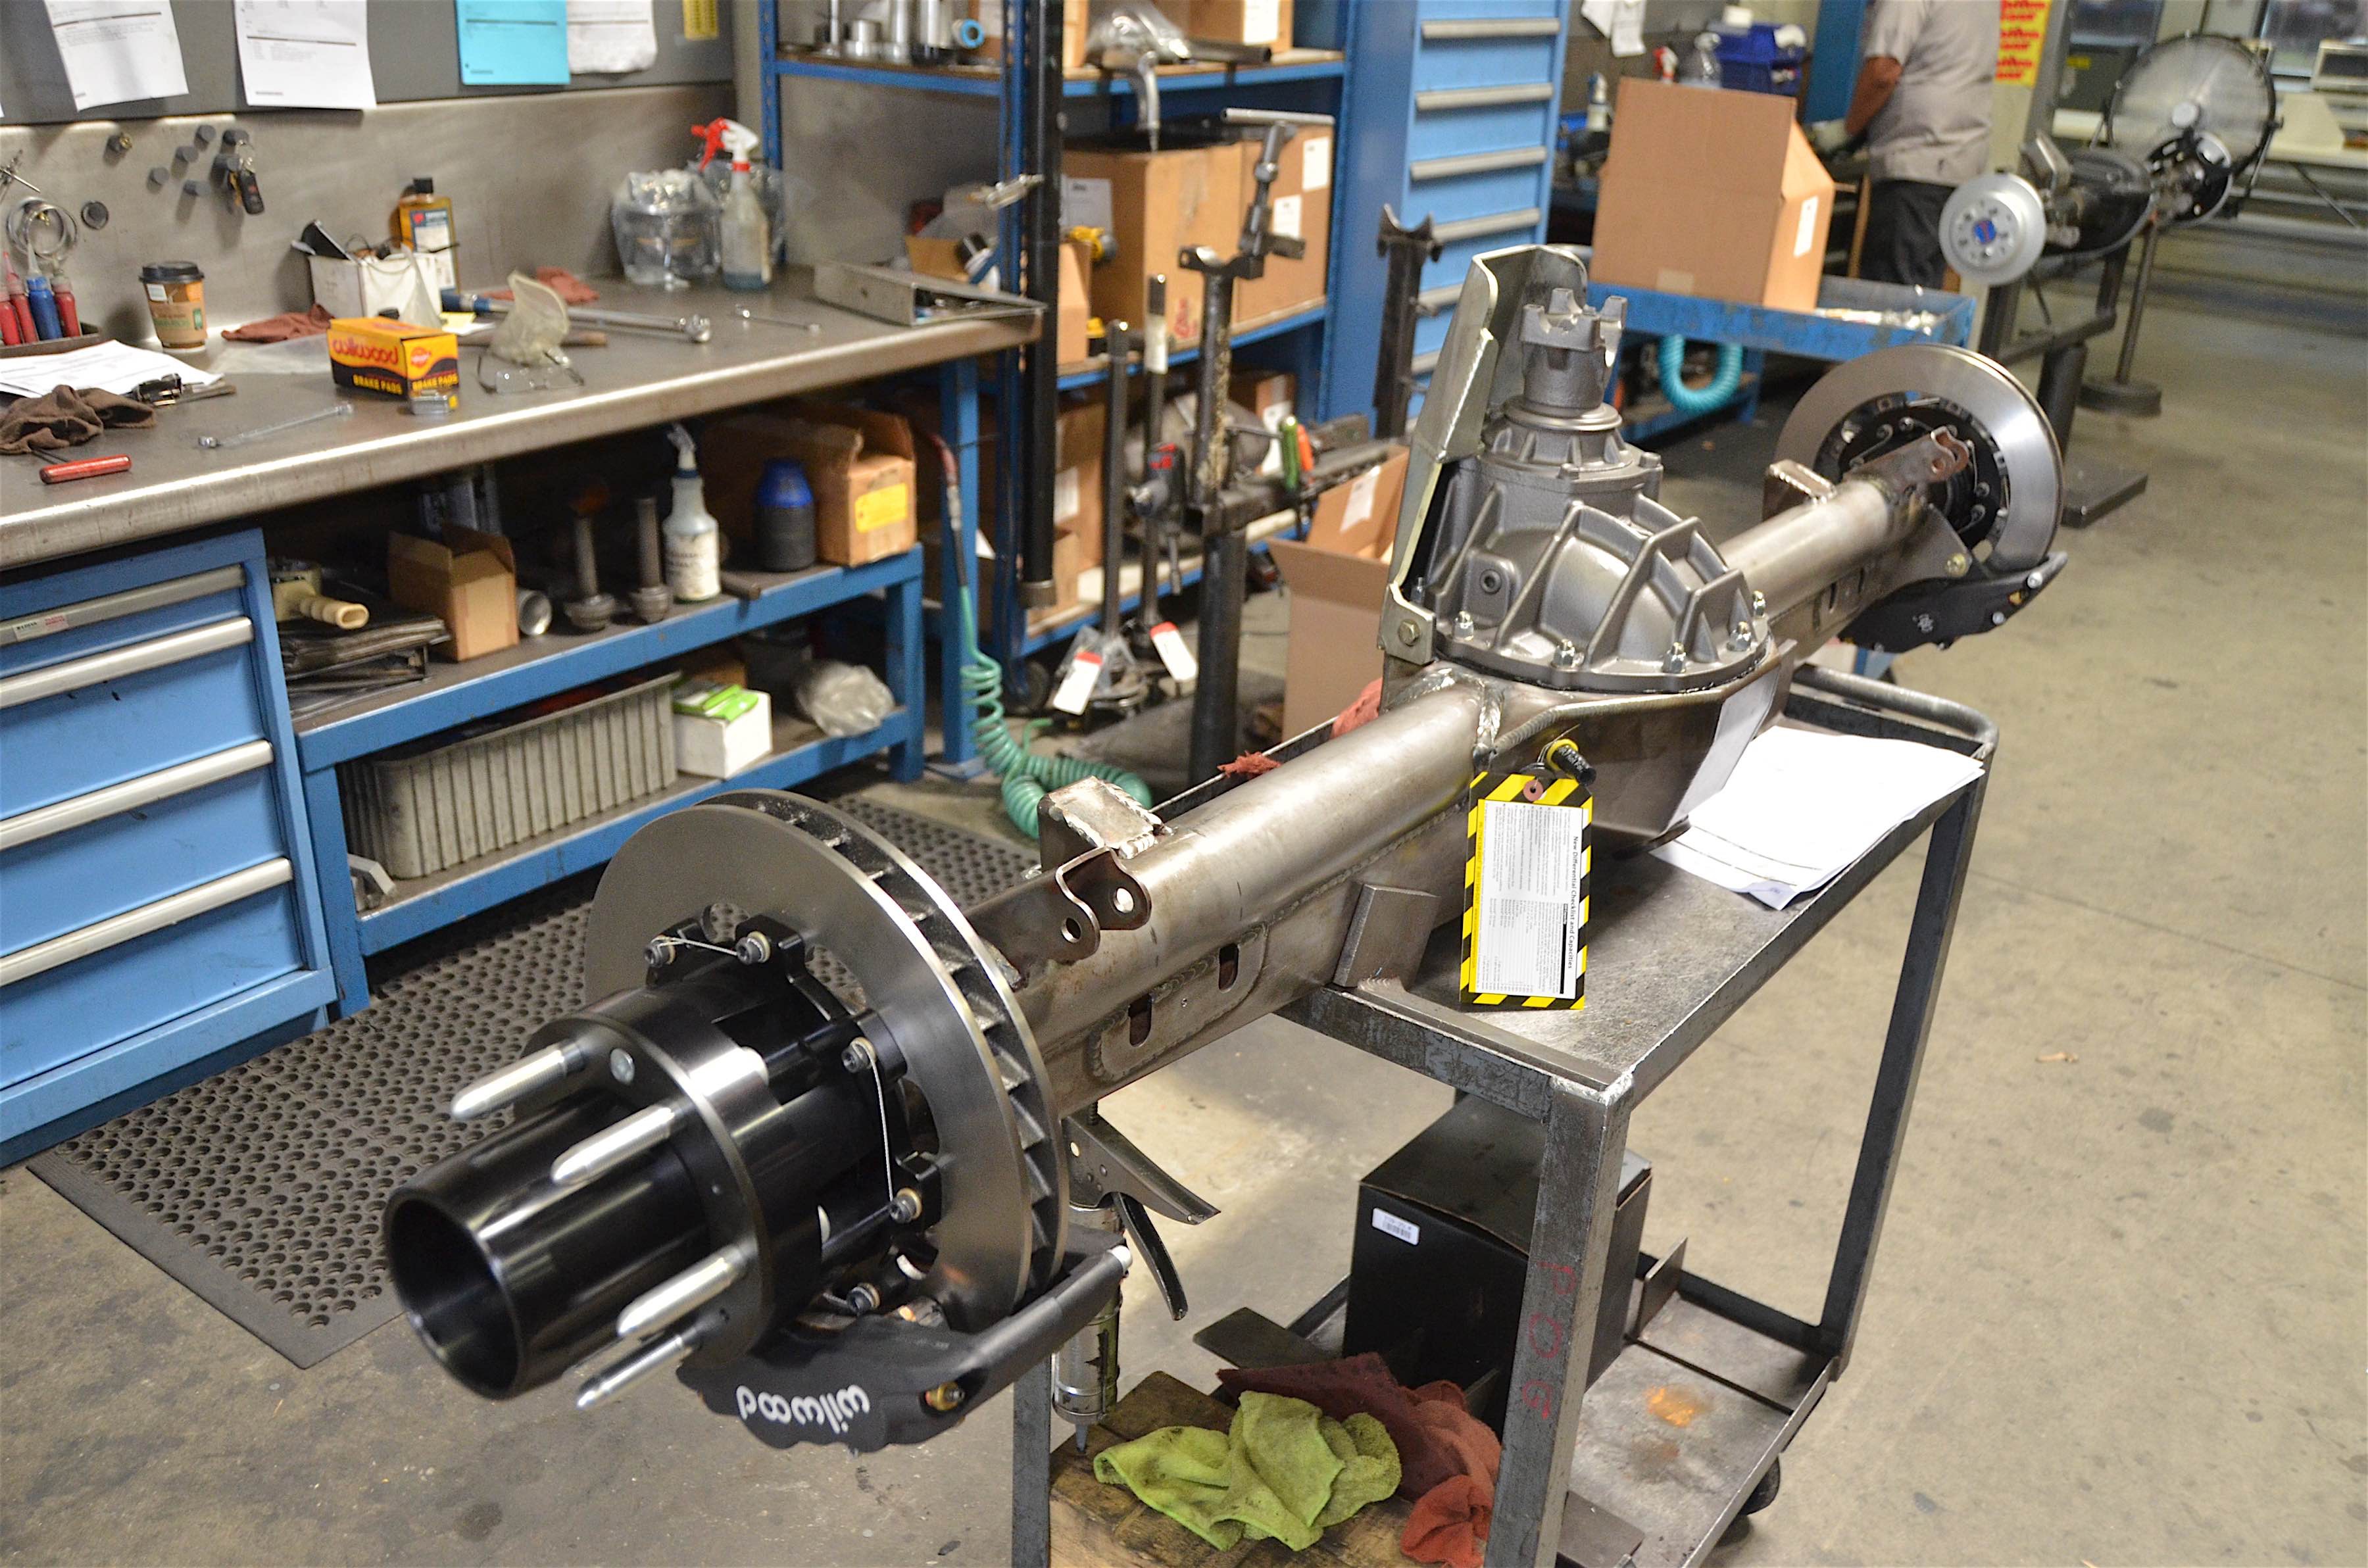
Since the truck was taking a more serious build direction, we wanted to make sure the third member was up for the challenge. To do this, we removed the differential in the housing and installed a Motive Gear 35-spline spool (PN FS9-35LW).
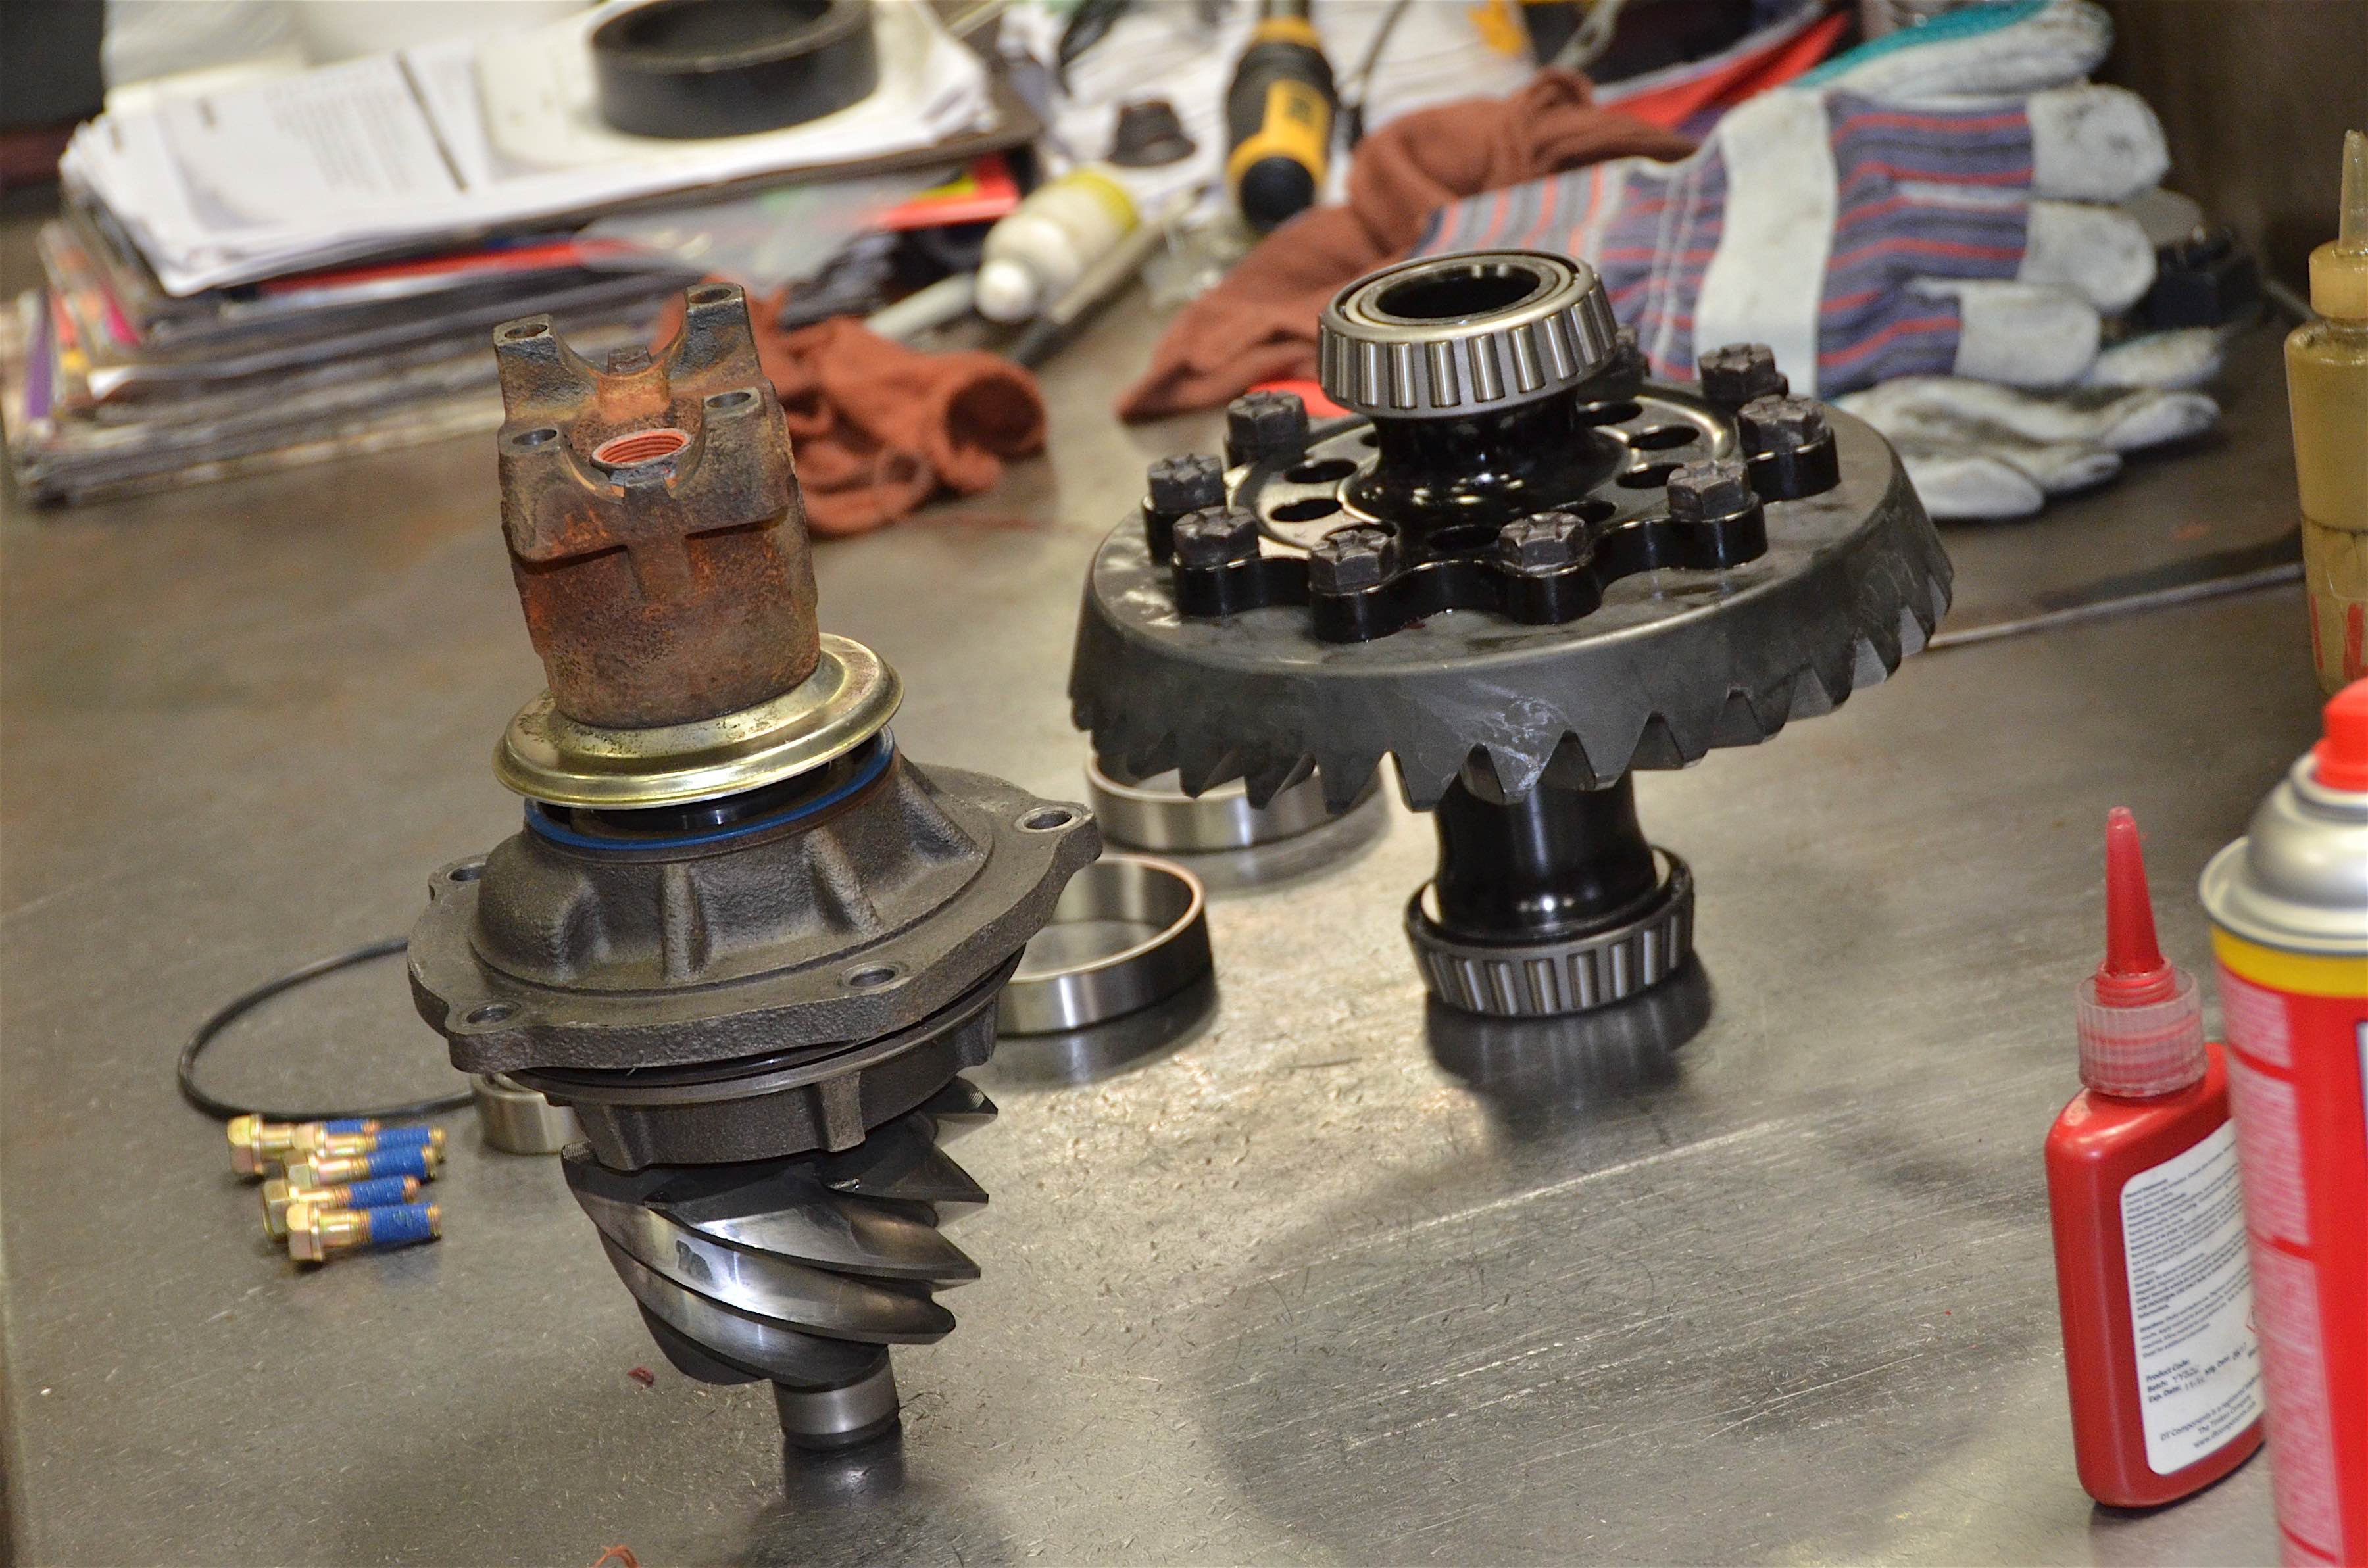
Out with the old, in with the spool.
The spool would asure that both tires received equal power at all times while in the desert. It was simply one less thing for us to worry about while racing. With all of the pieces complete, we could start assembly.
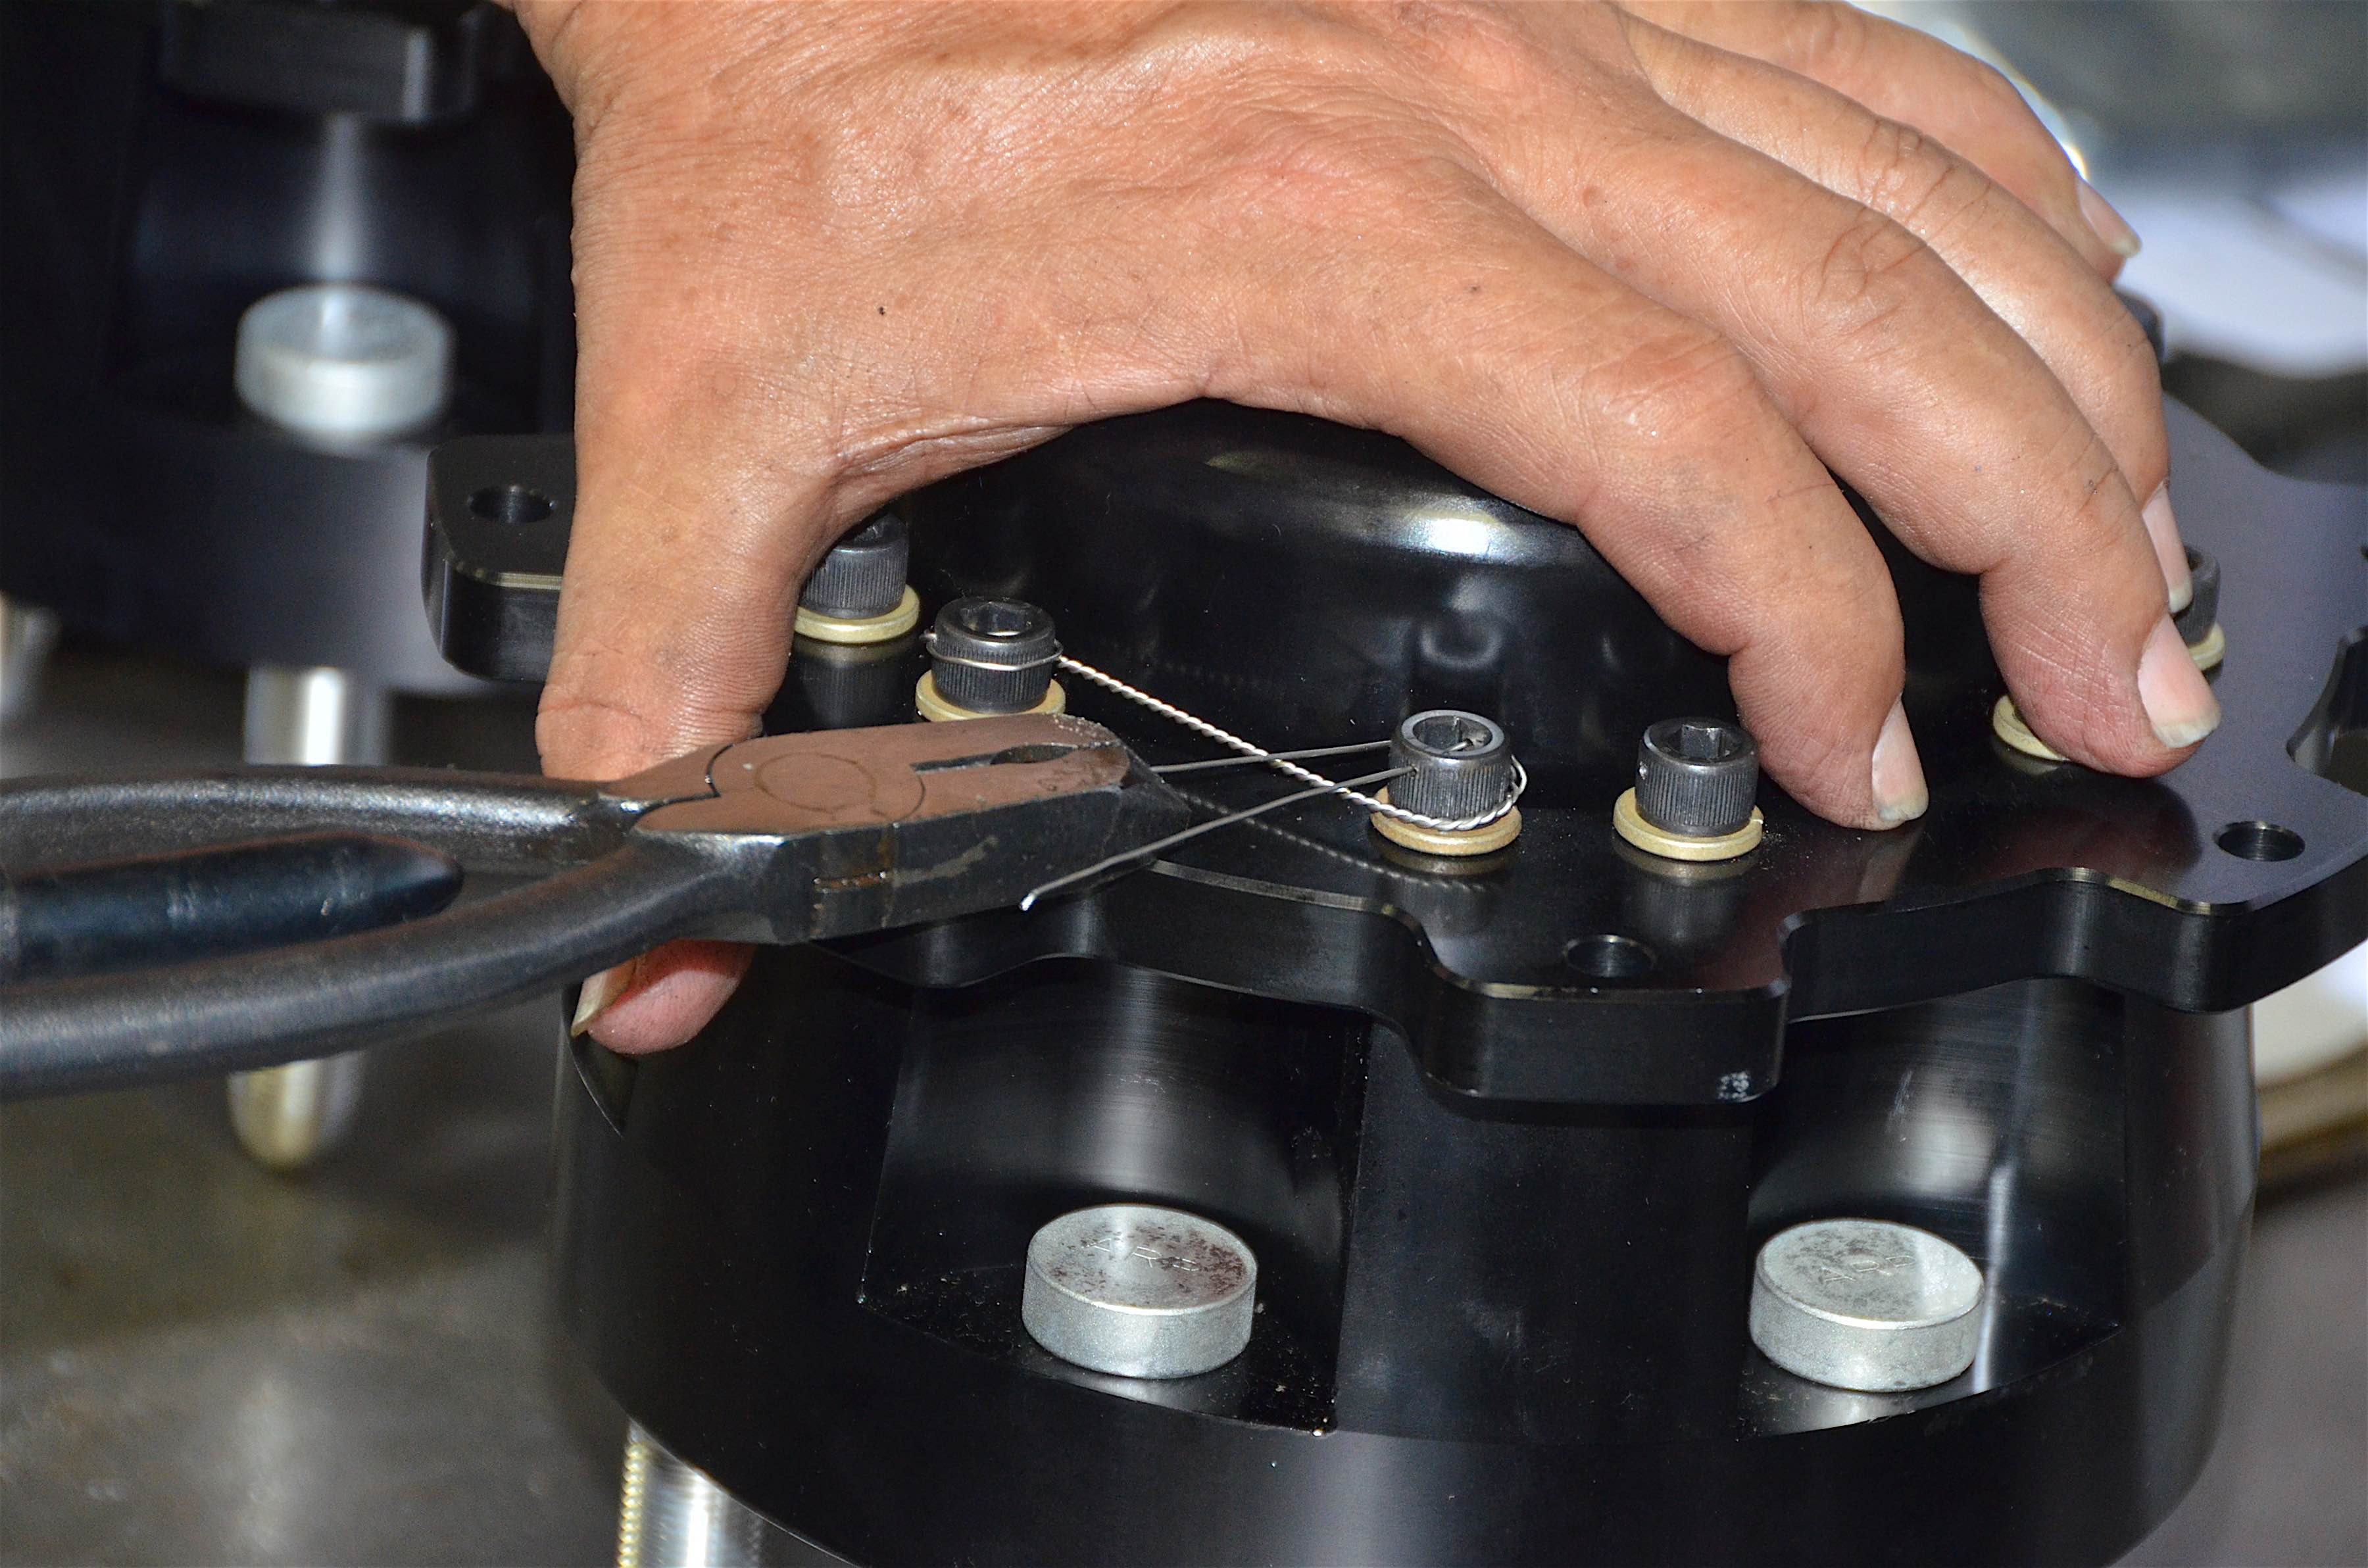
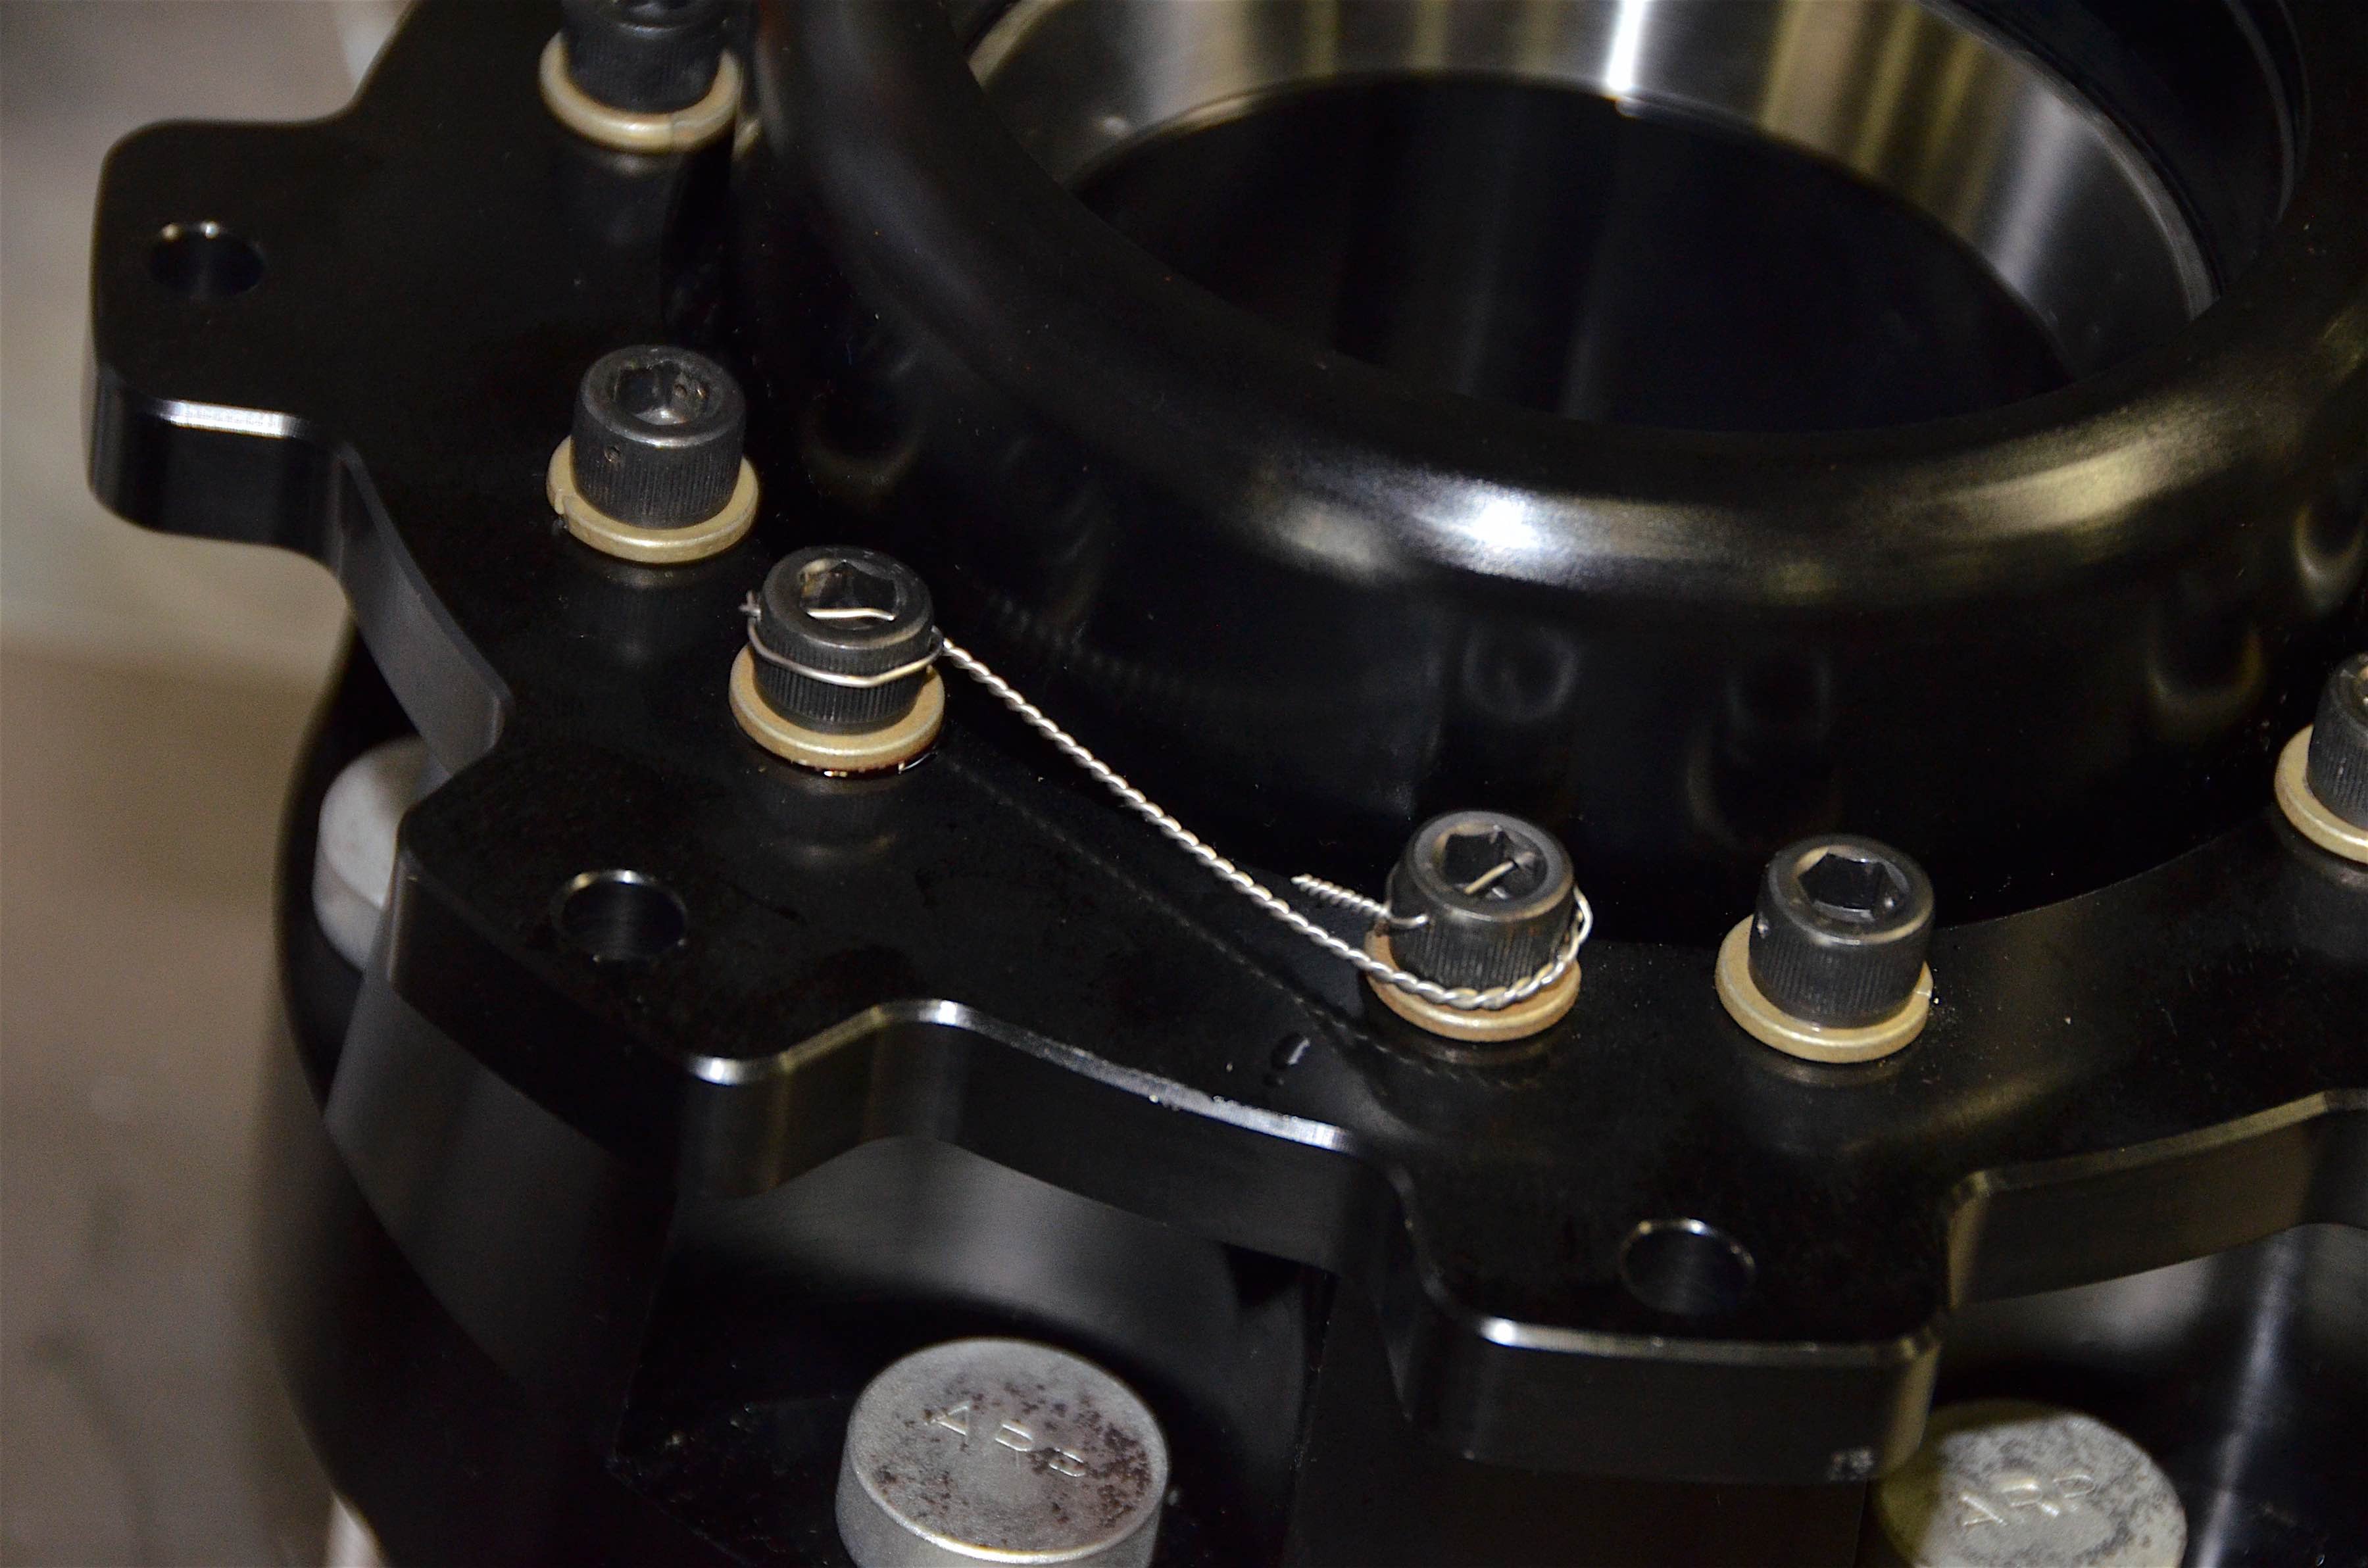
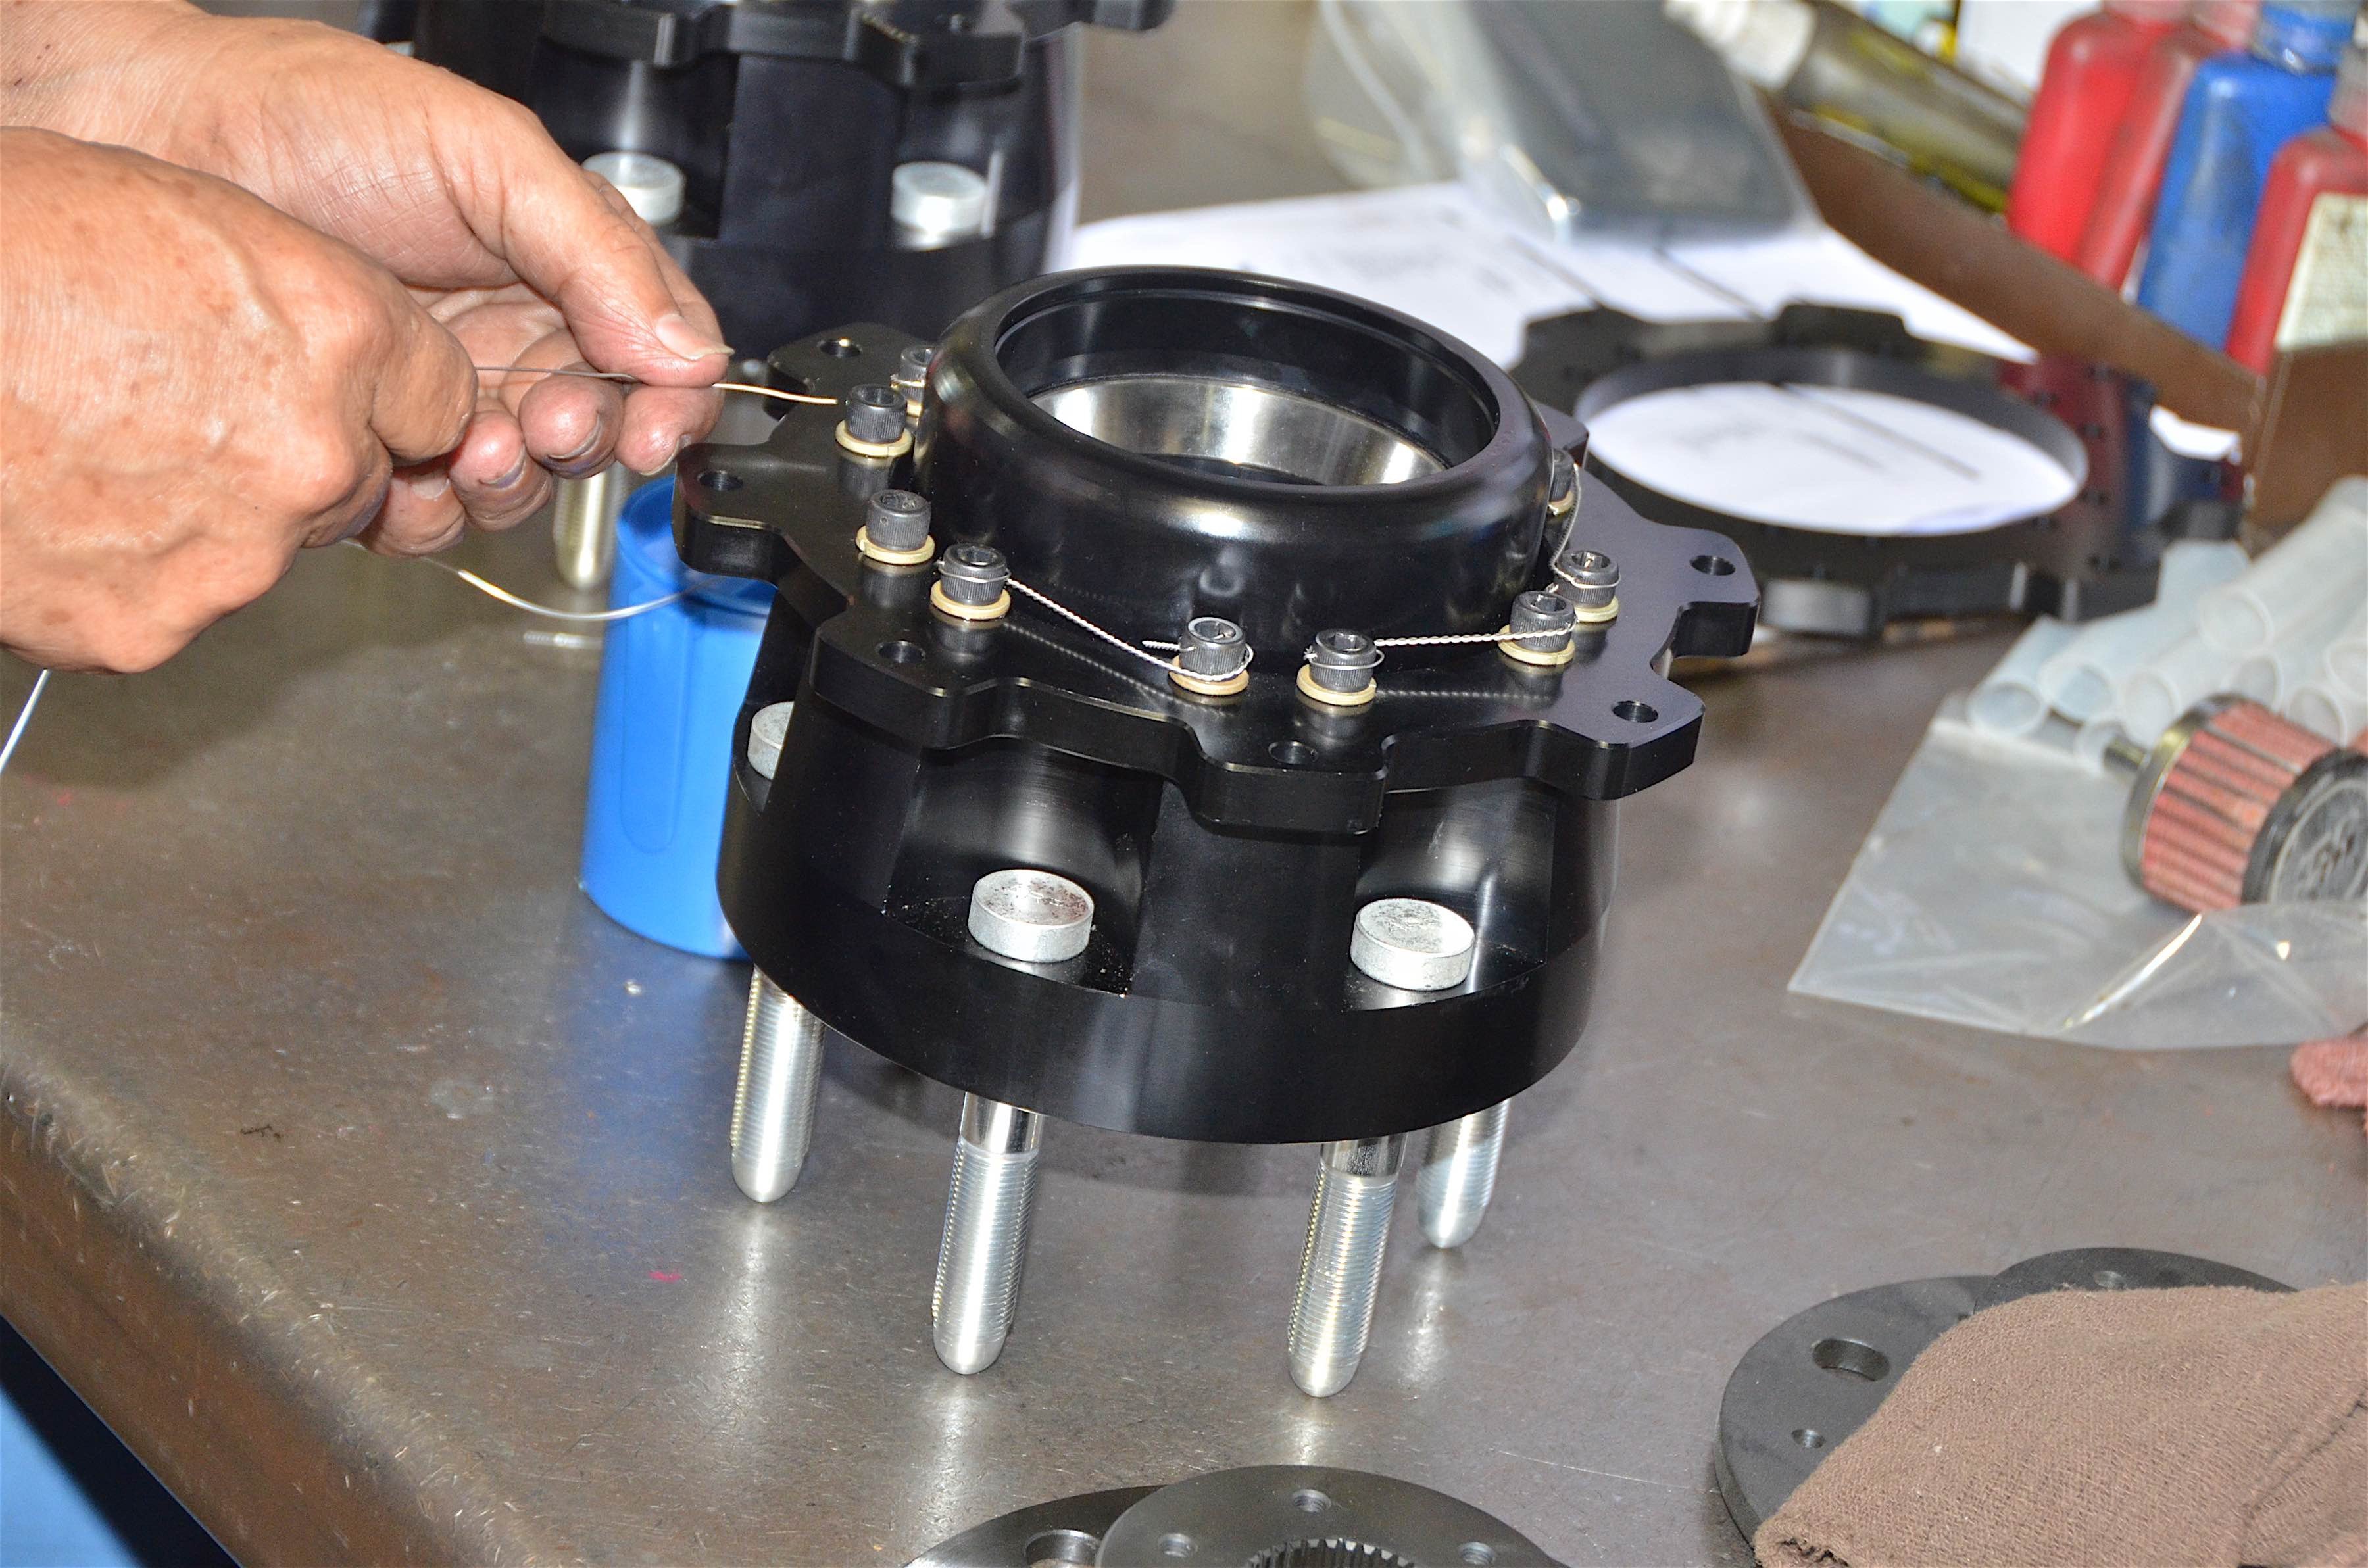

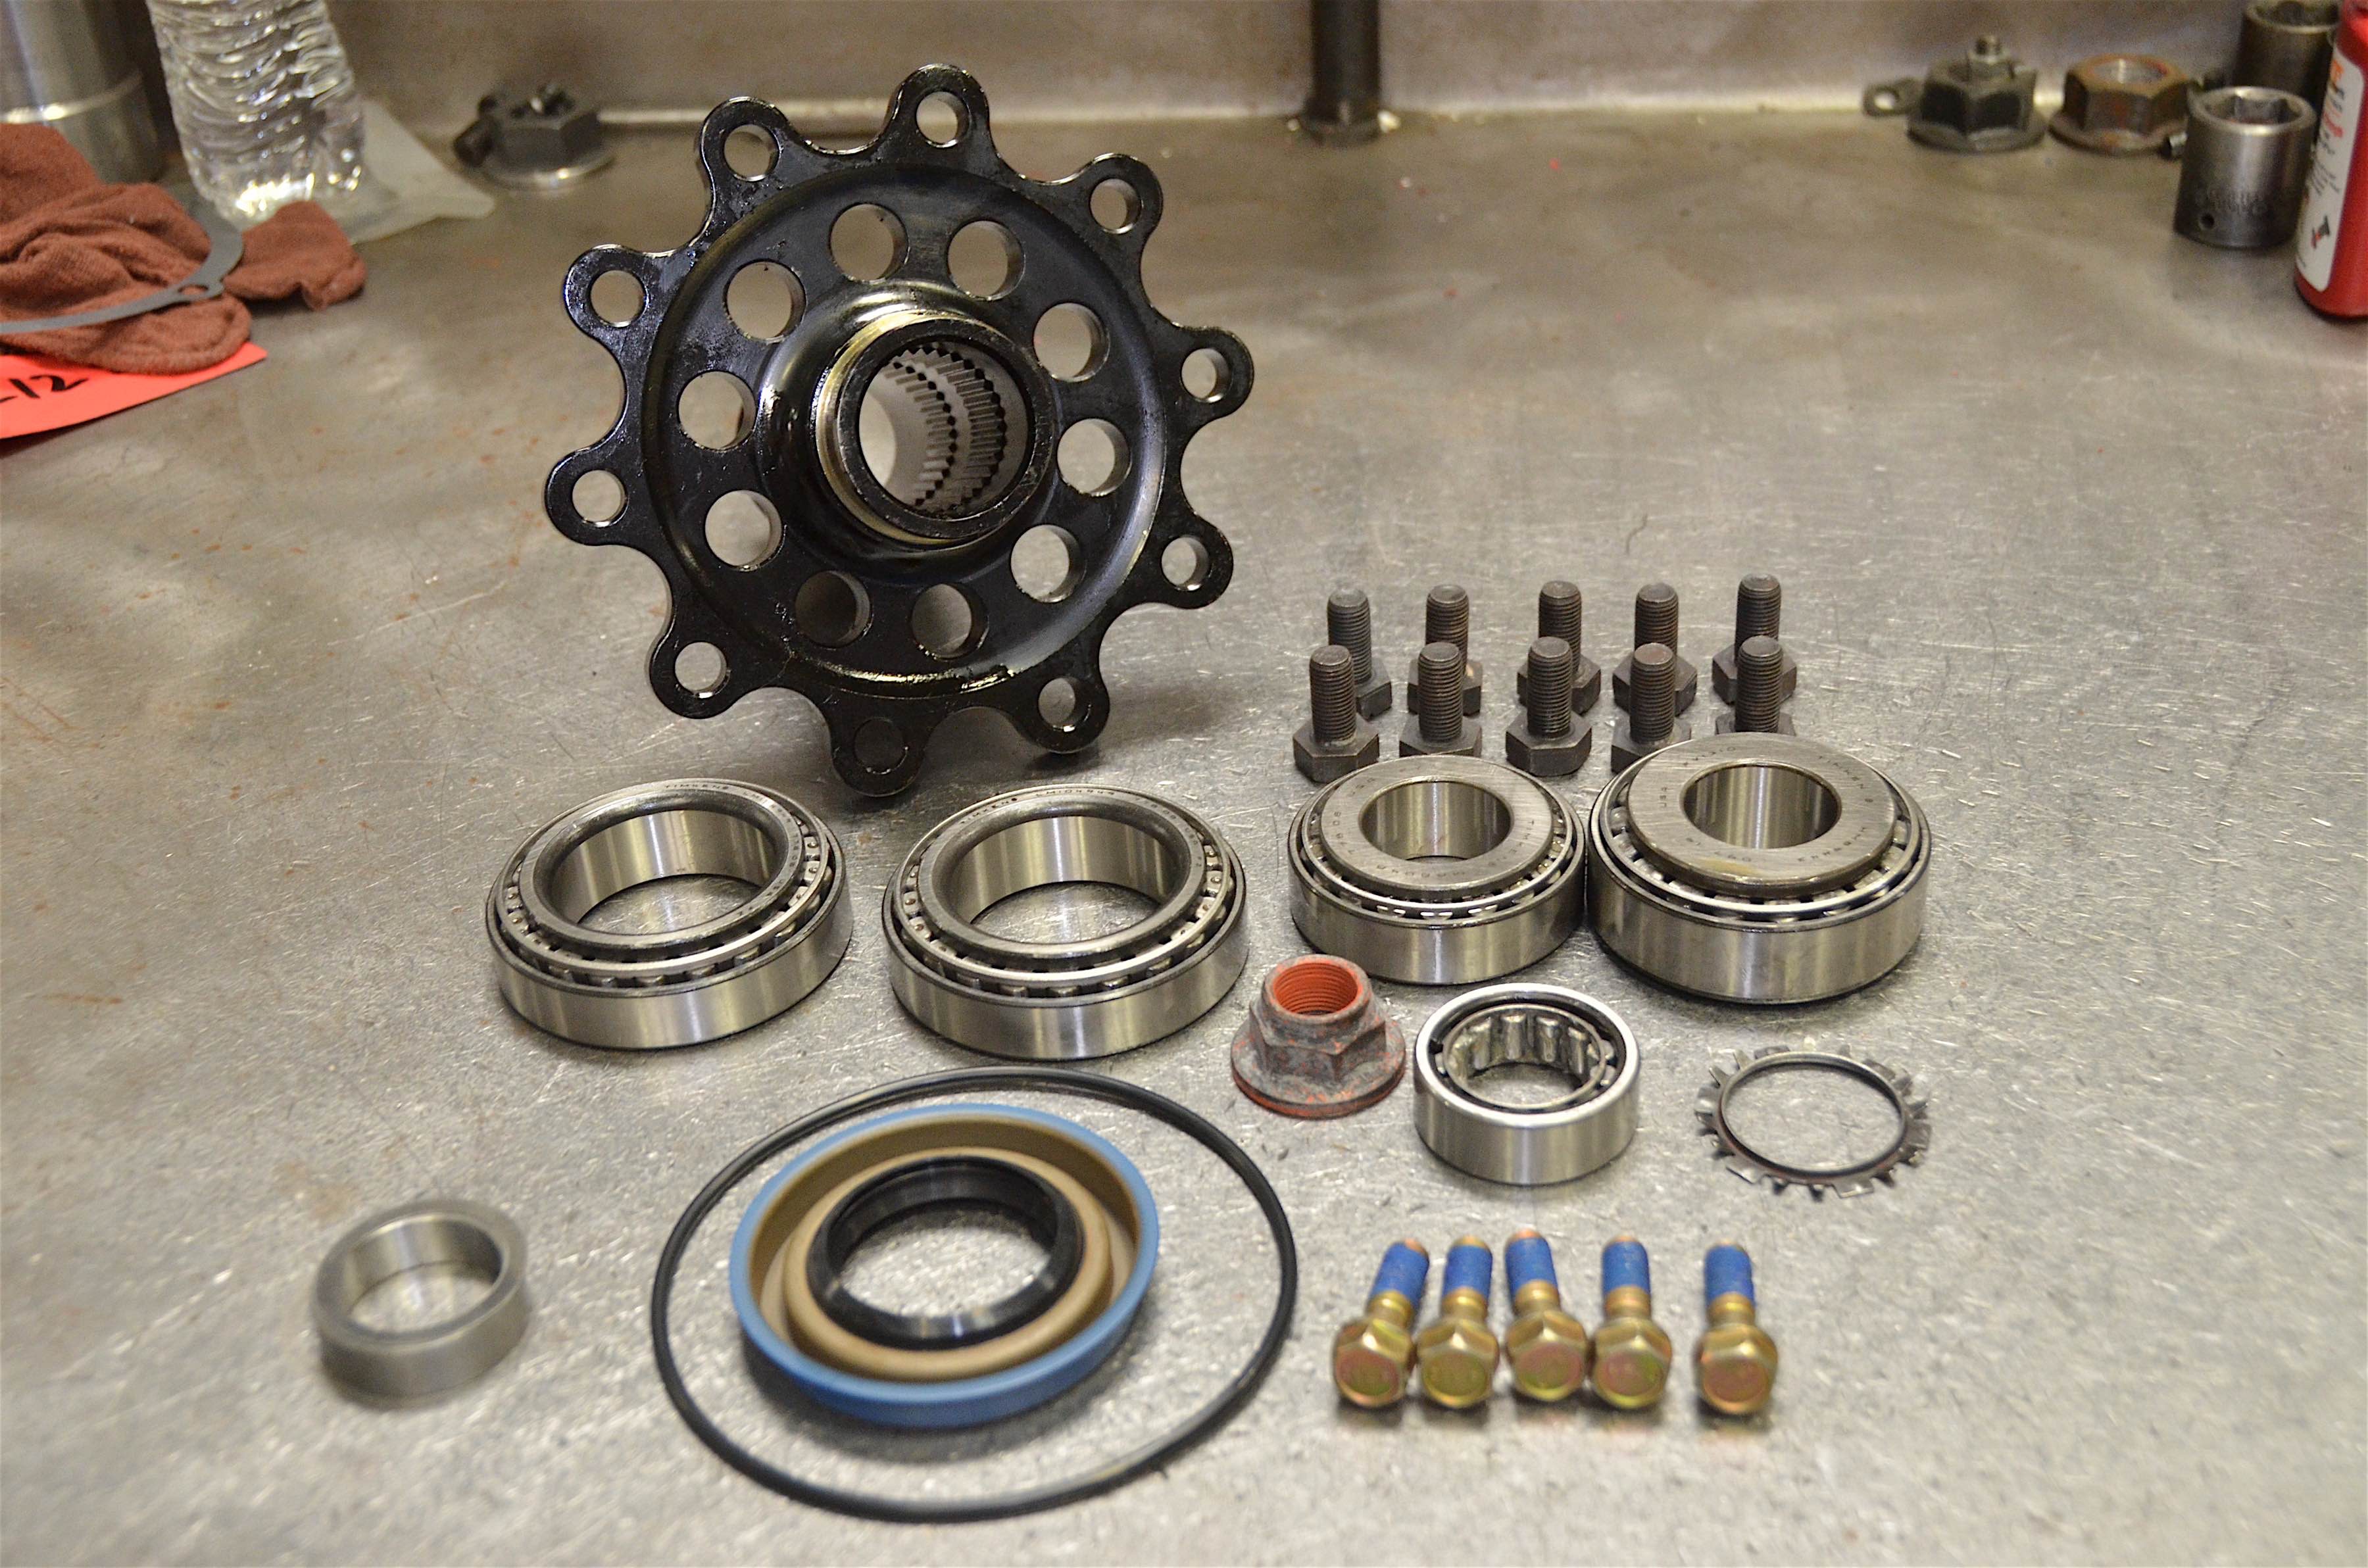
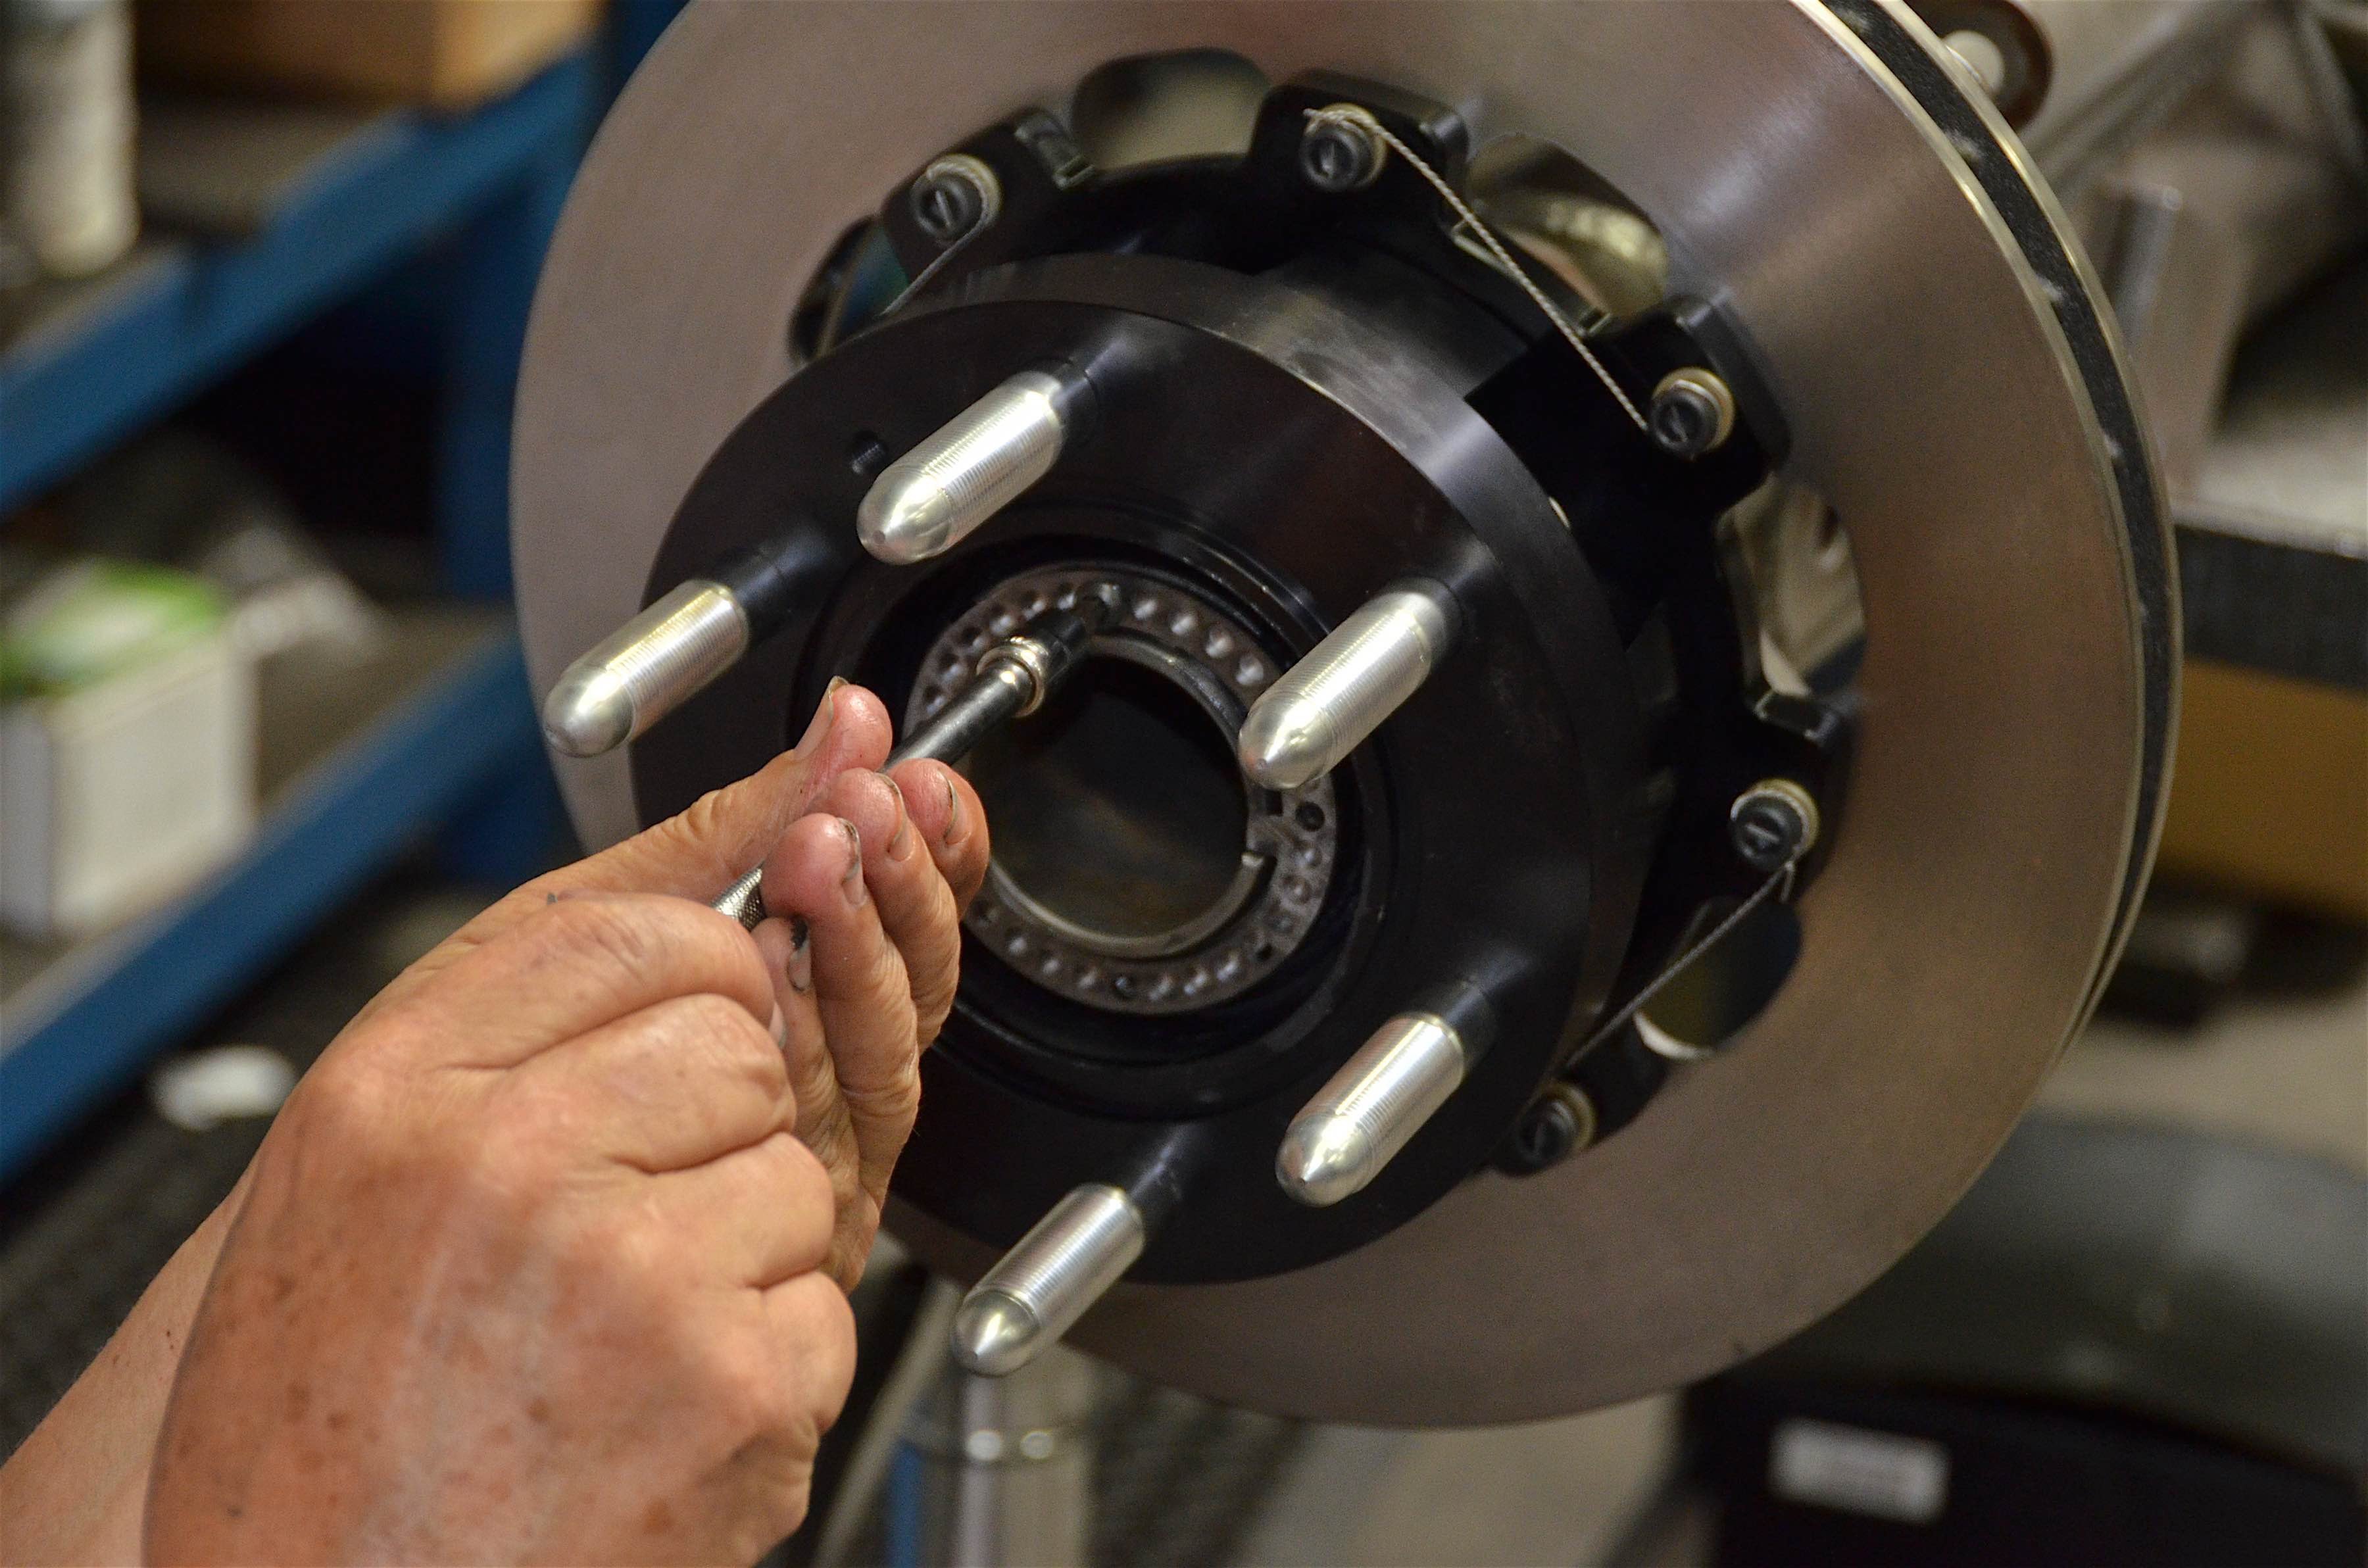
As an extra measure of security, the bolts on the hub were race-wired.
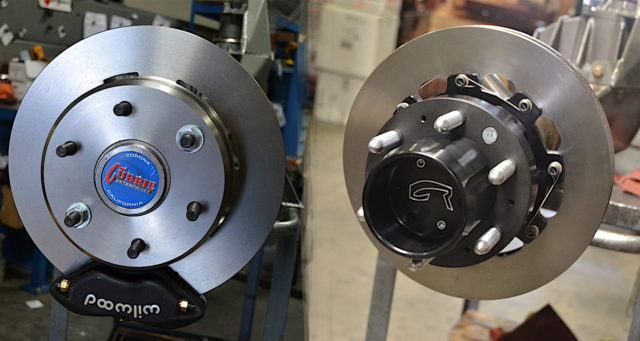
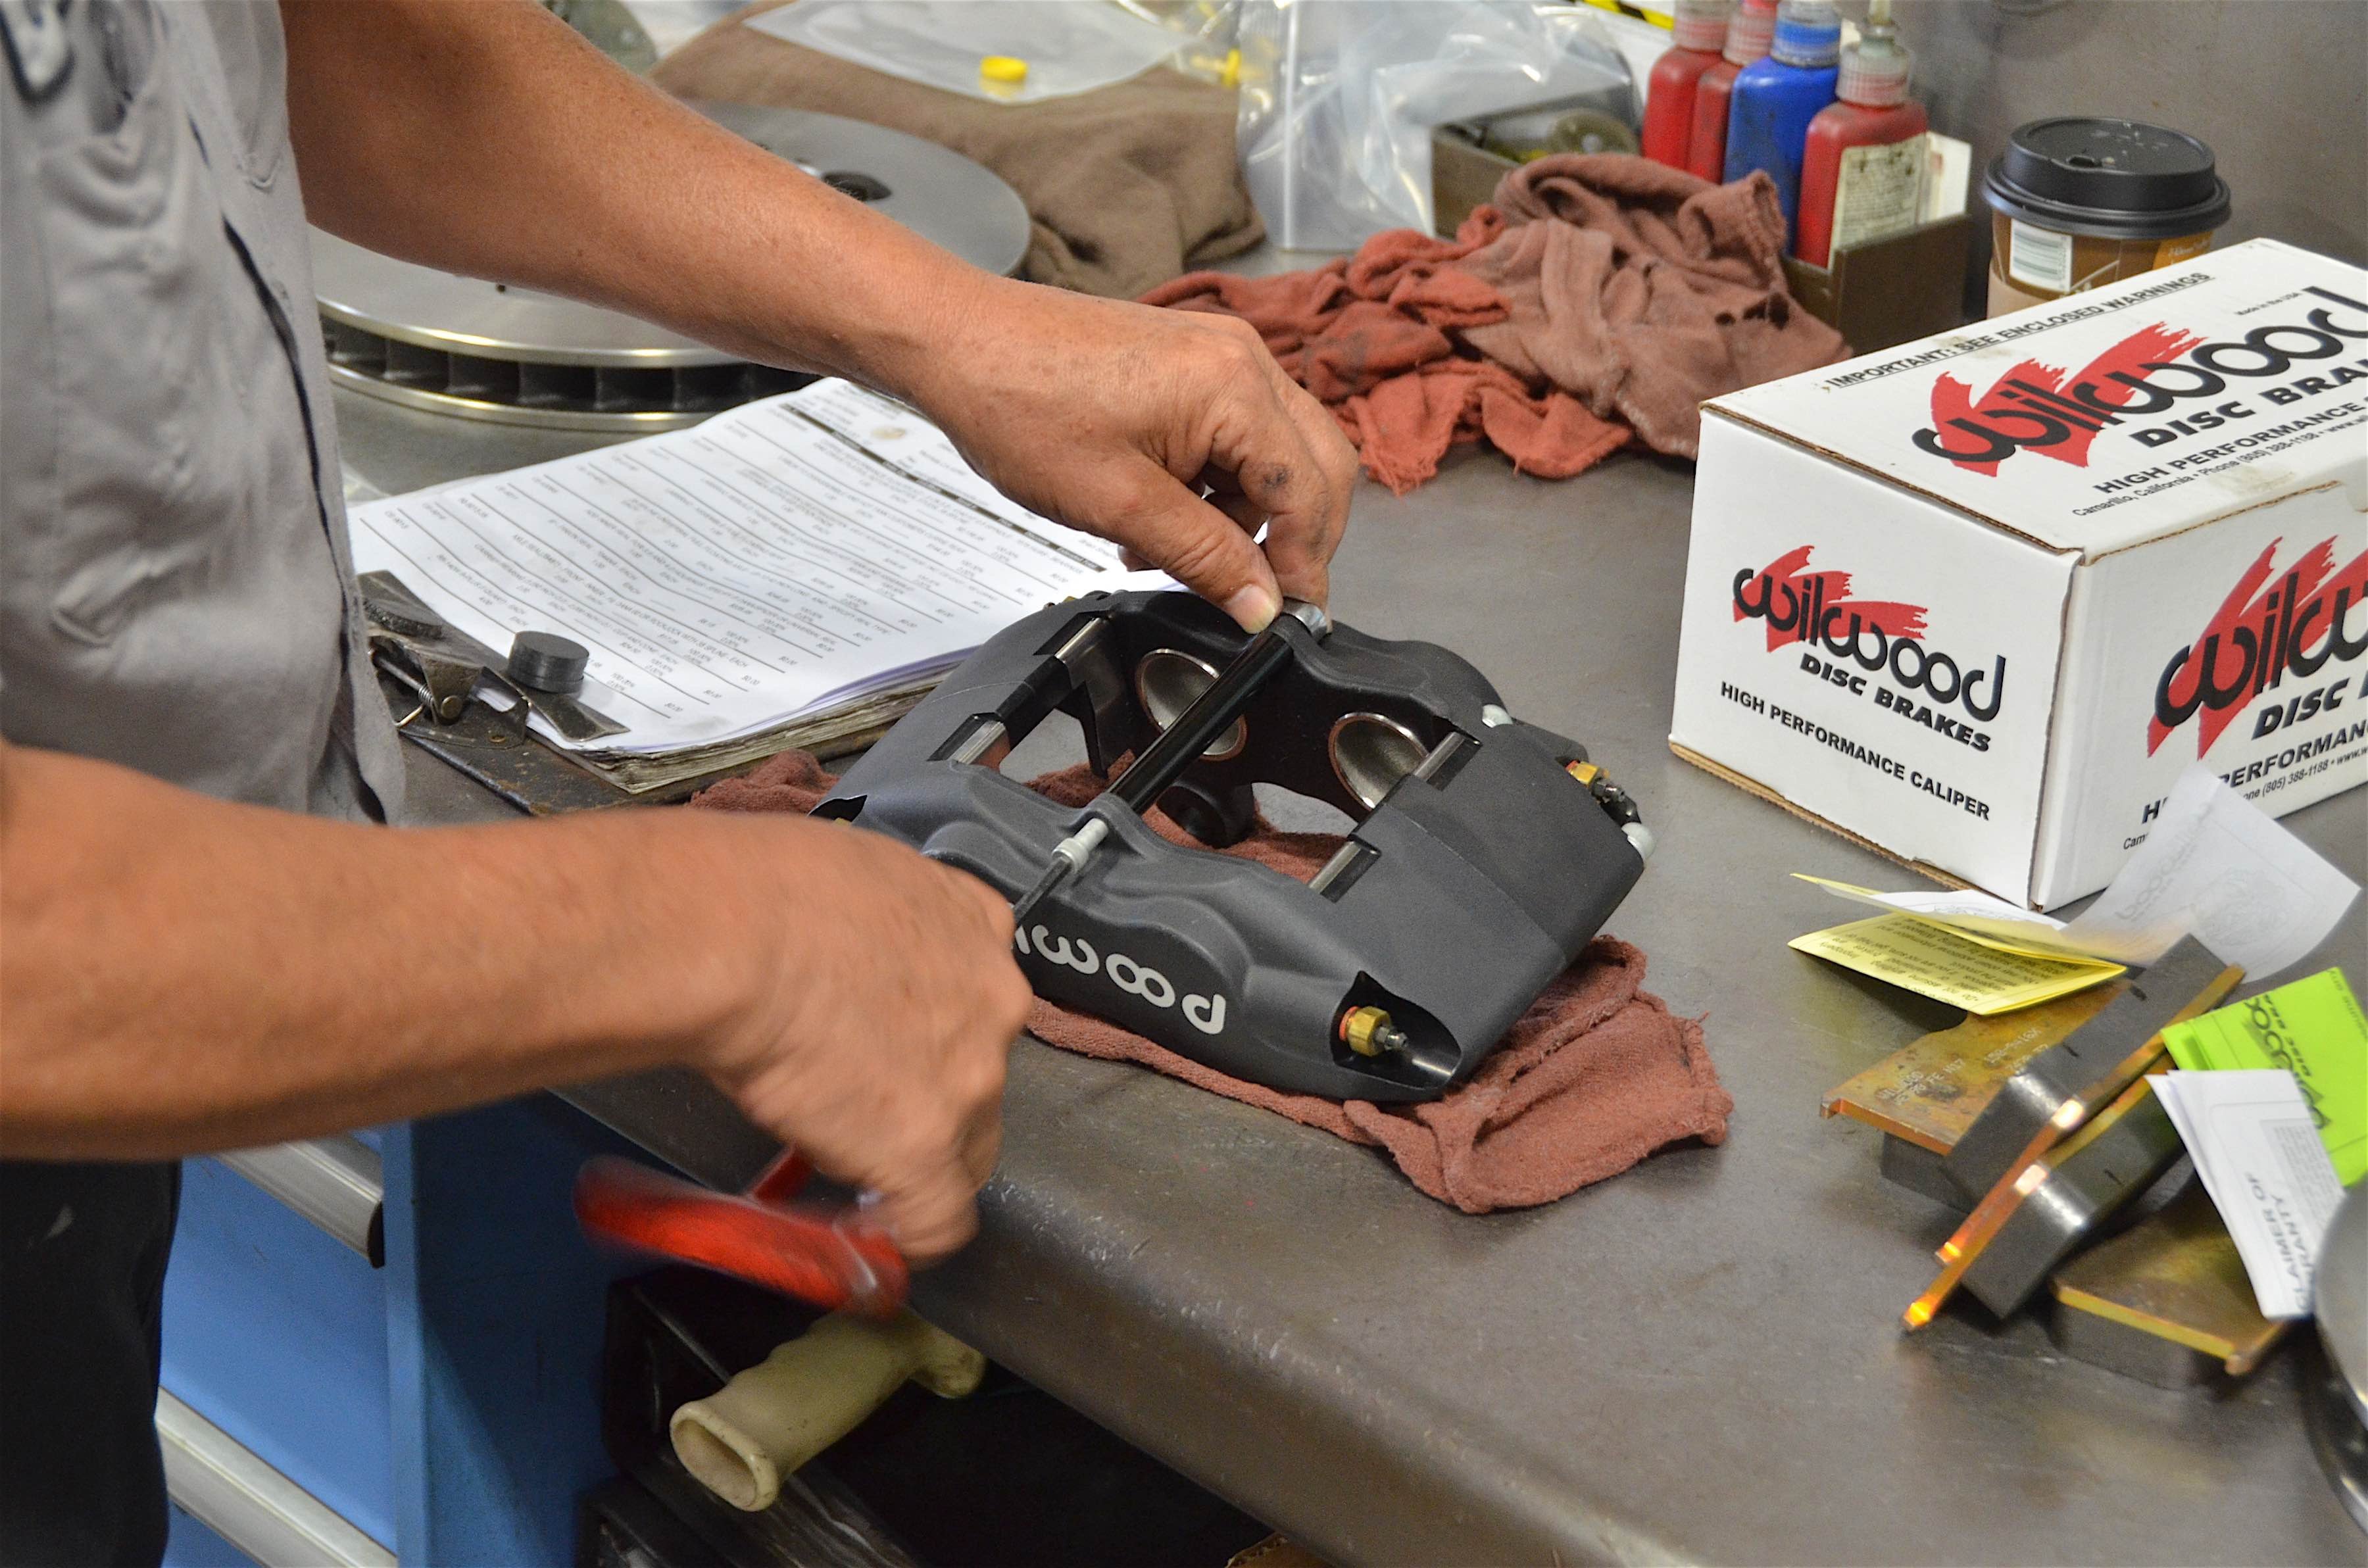
Going from one four-piston caliper to another may not seem like much, but our new Wilwood brakes provided something extra. We went from a forged Dynalite caliper to a forged Superlite caliper.
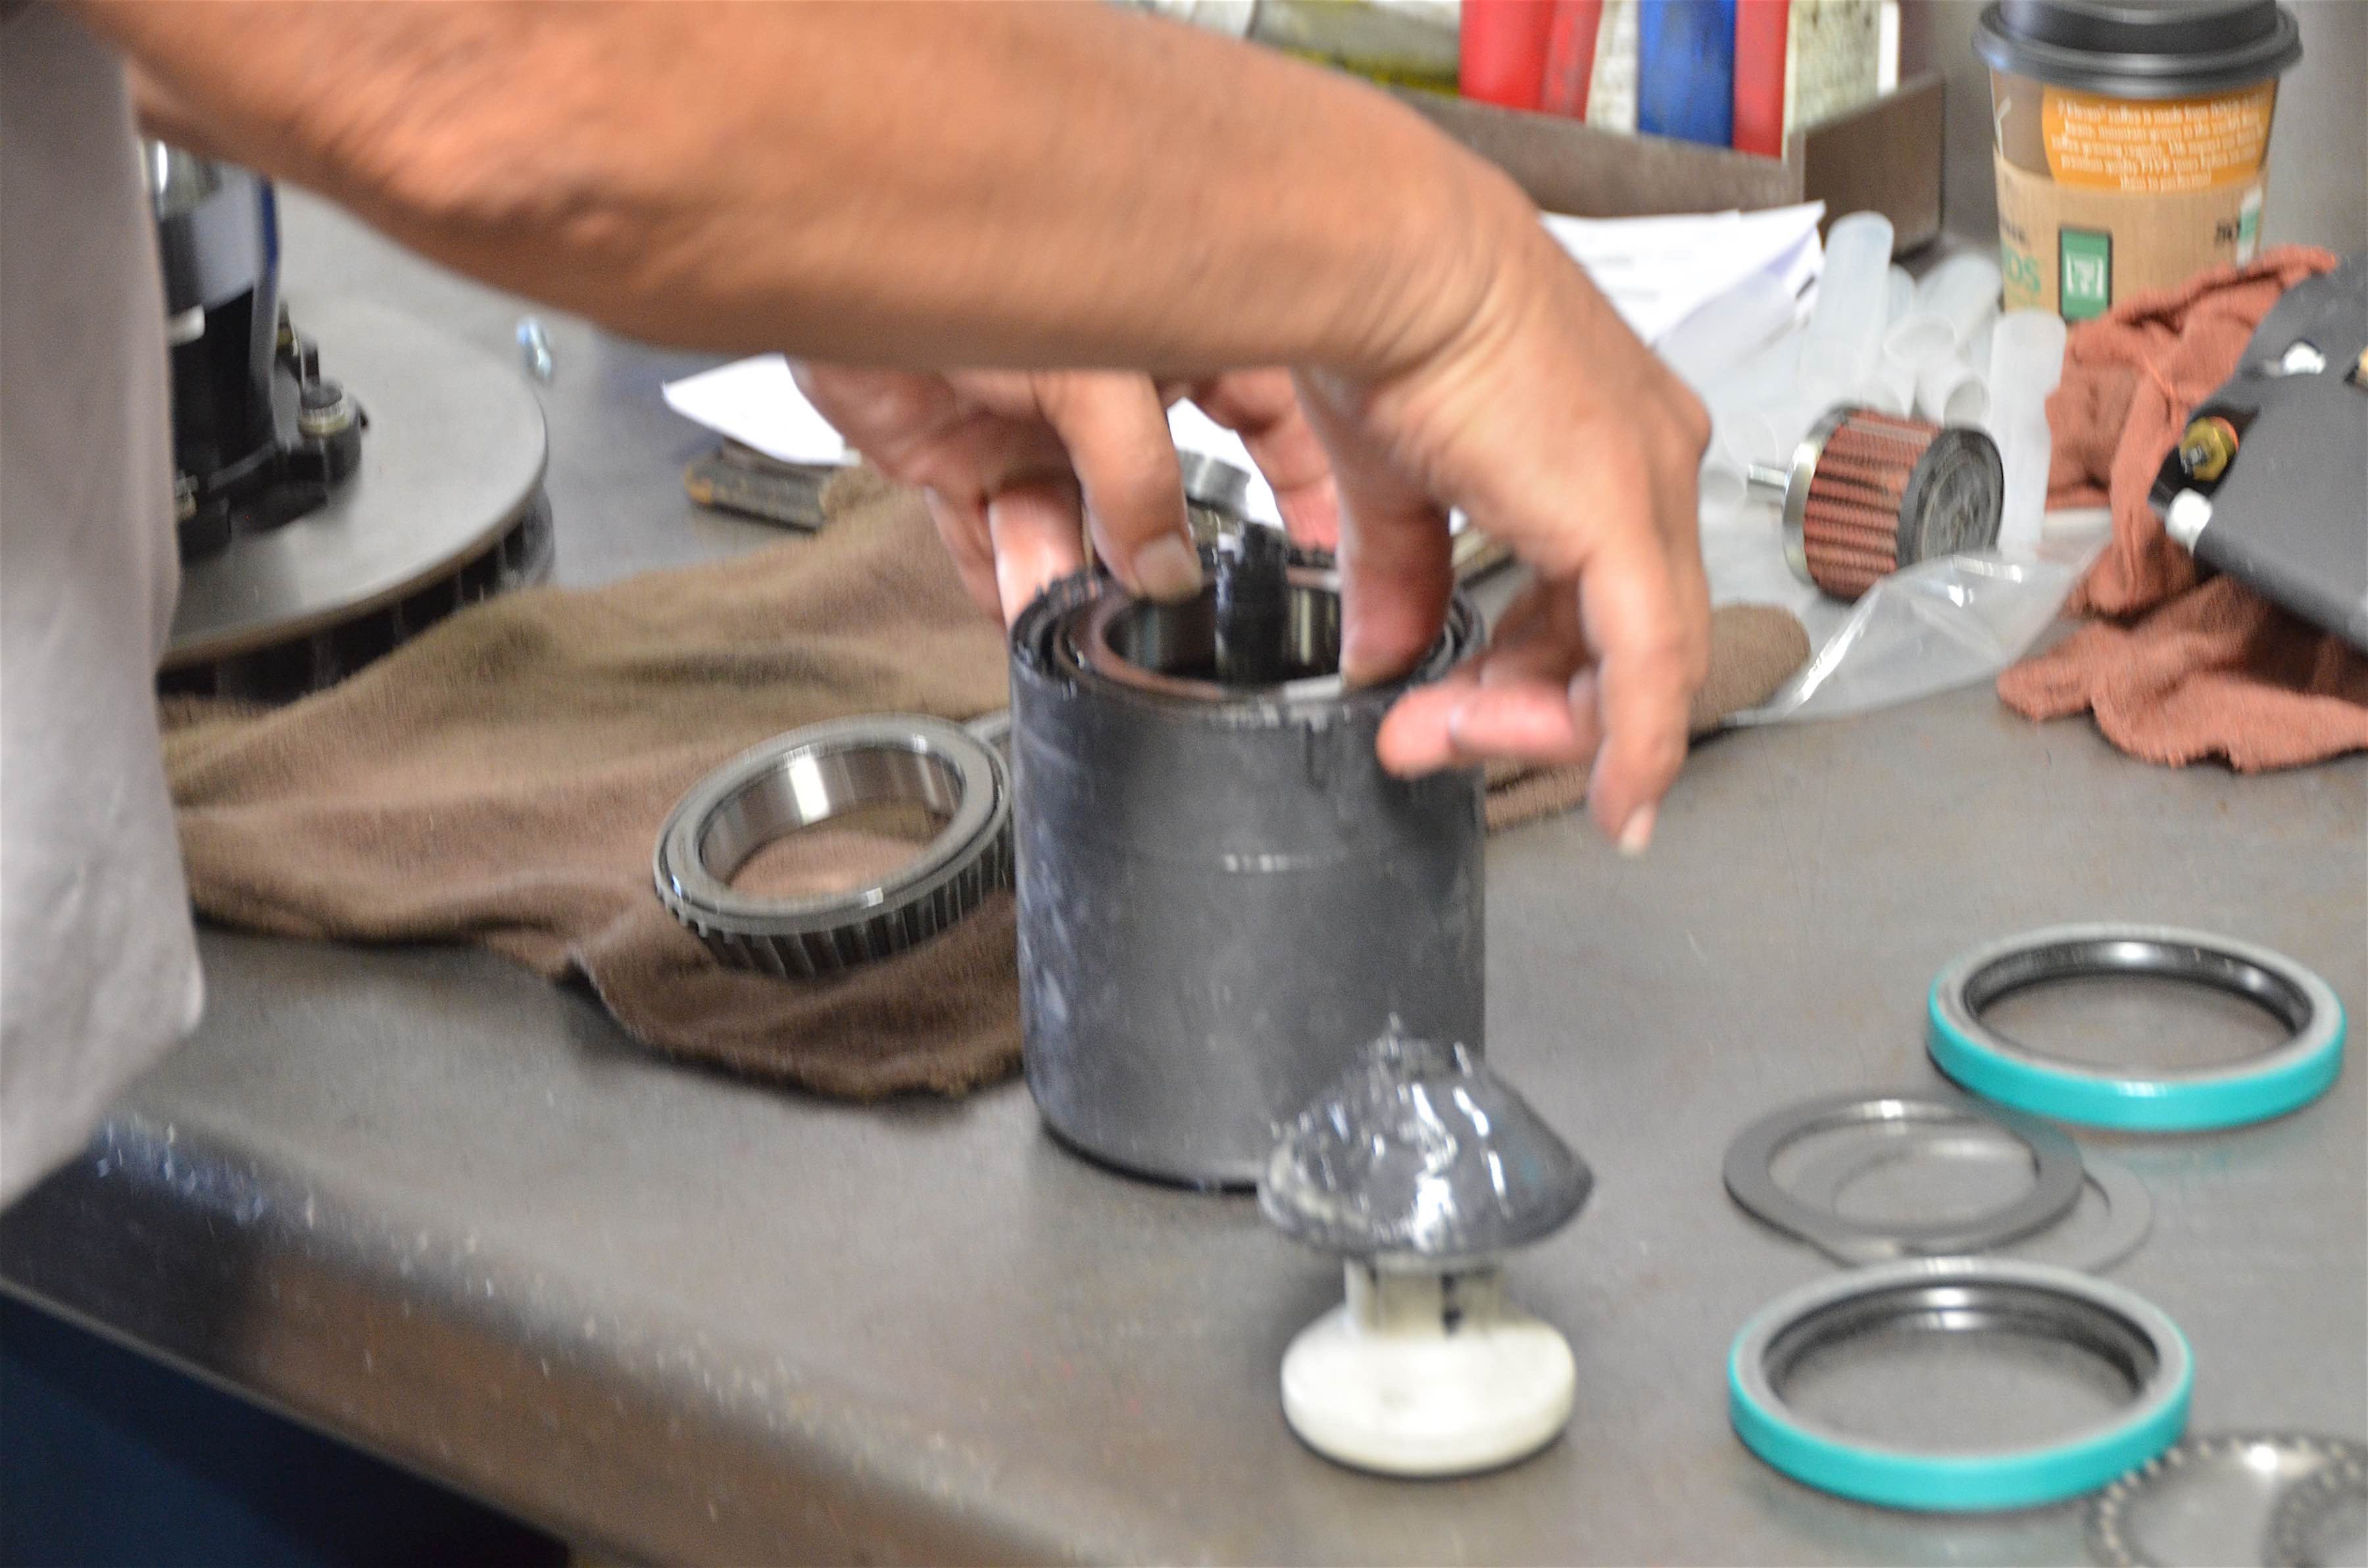
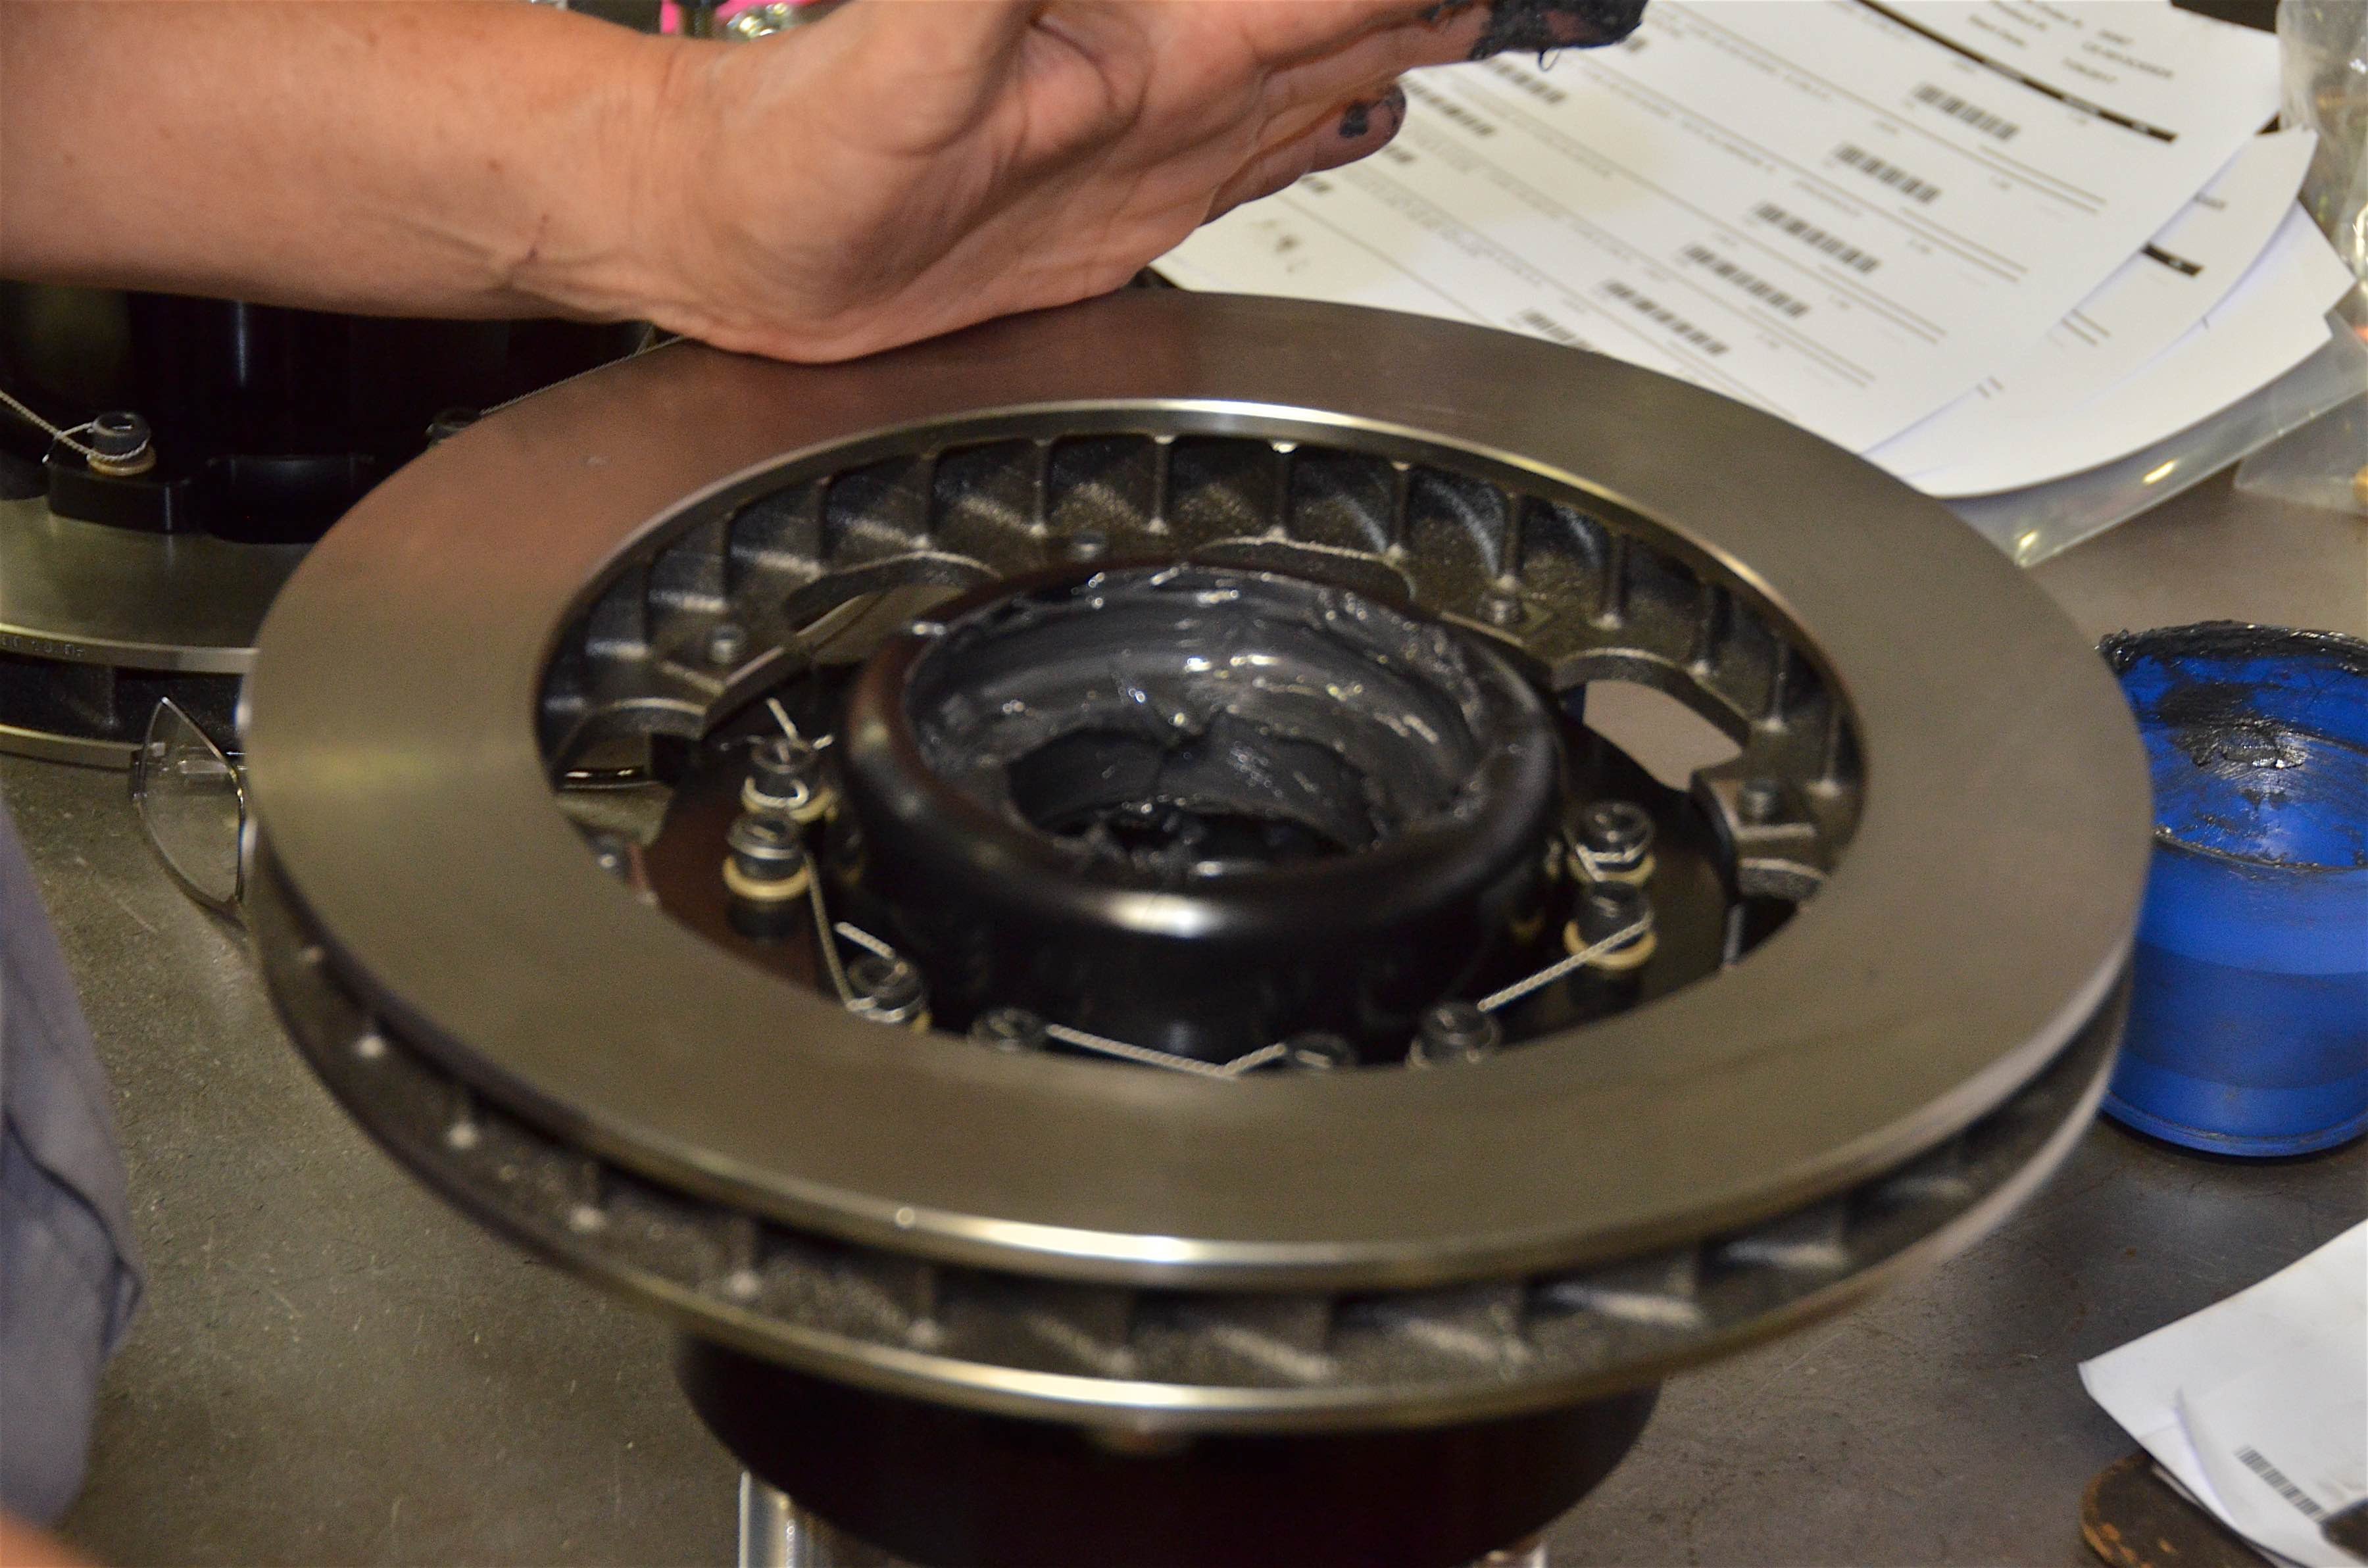
The bearings needed to be packed before we could get the hub installed.
“Forged Superlite four-piston caliper have large pistons for more clamping force,” Michael Scully of Wilwood explained. “They use thick .80-inch brake pads for longer pad life. The rotors also have more mass. A large 32 curved vane rotor diameter and thickness help with cooling efficiency.”

The axle shafts were slid into place, followed by the drive plate and drive plate cap.
One thing that was completely different on the full-float hub was the two-piece rotor design. The rotor would bolt to the hub, as well as be race-wired for extra safety. “By running a separate material rotor and hub, the materials can expand and contract at different rates,” Scully continued. “This will increase the life of the rotor and help prevent the rotors from warping.”
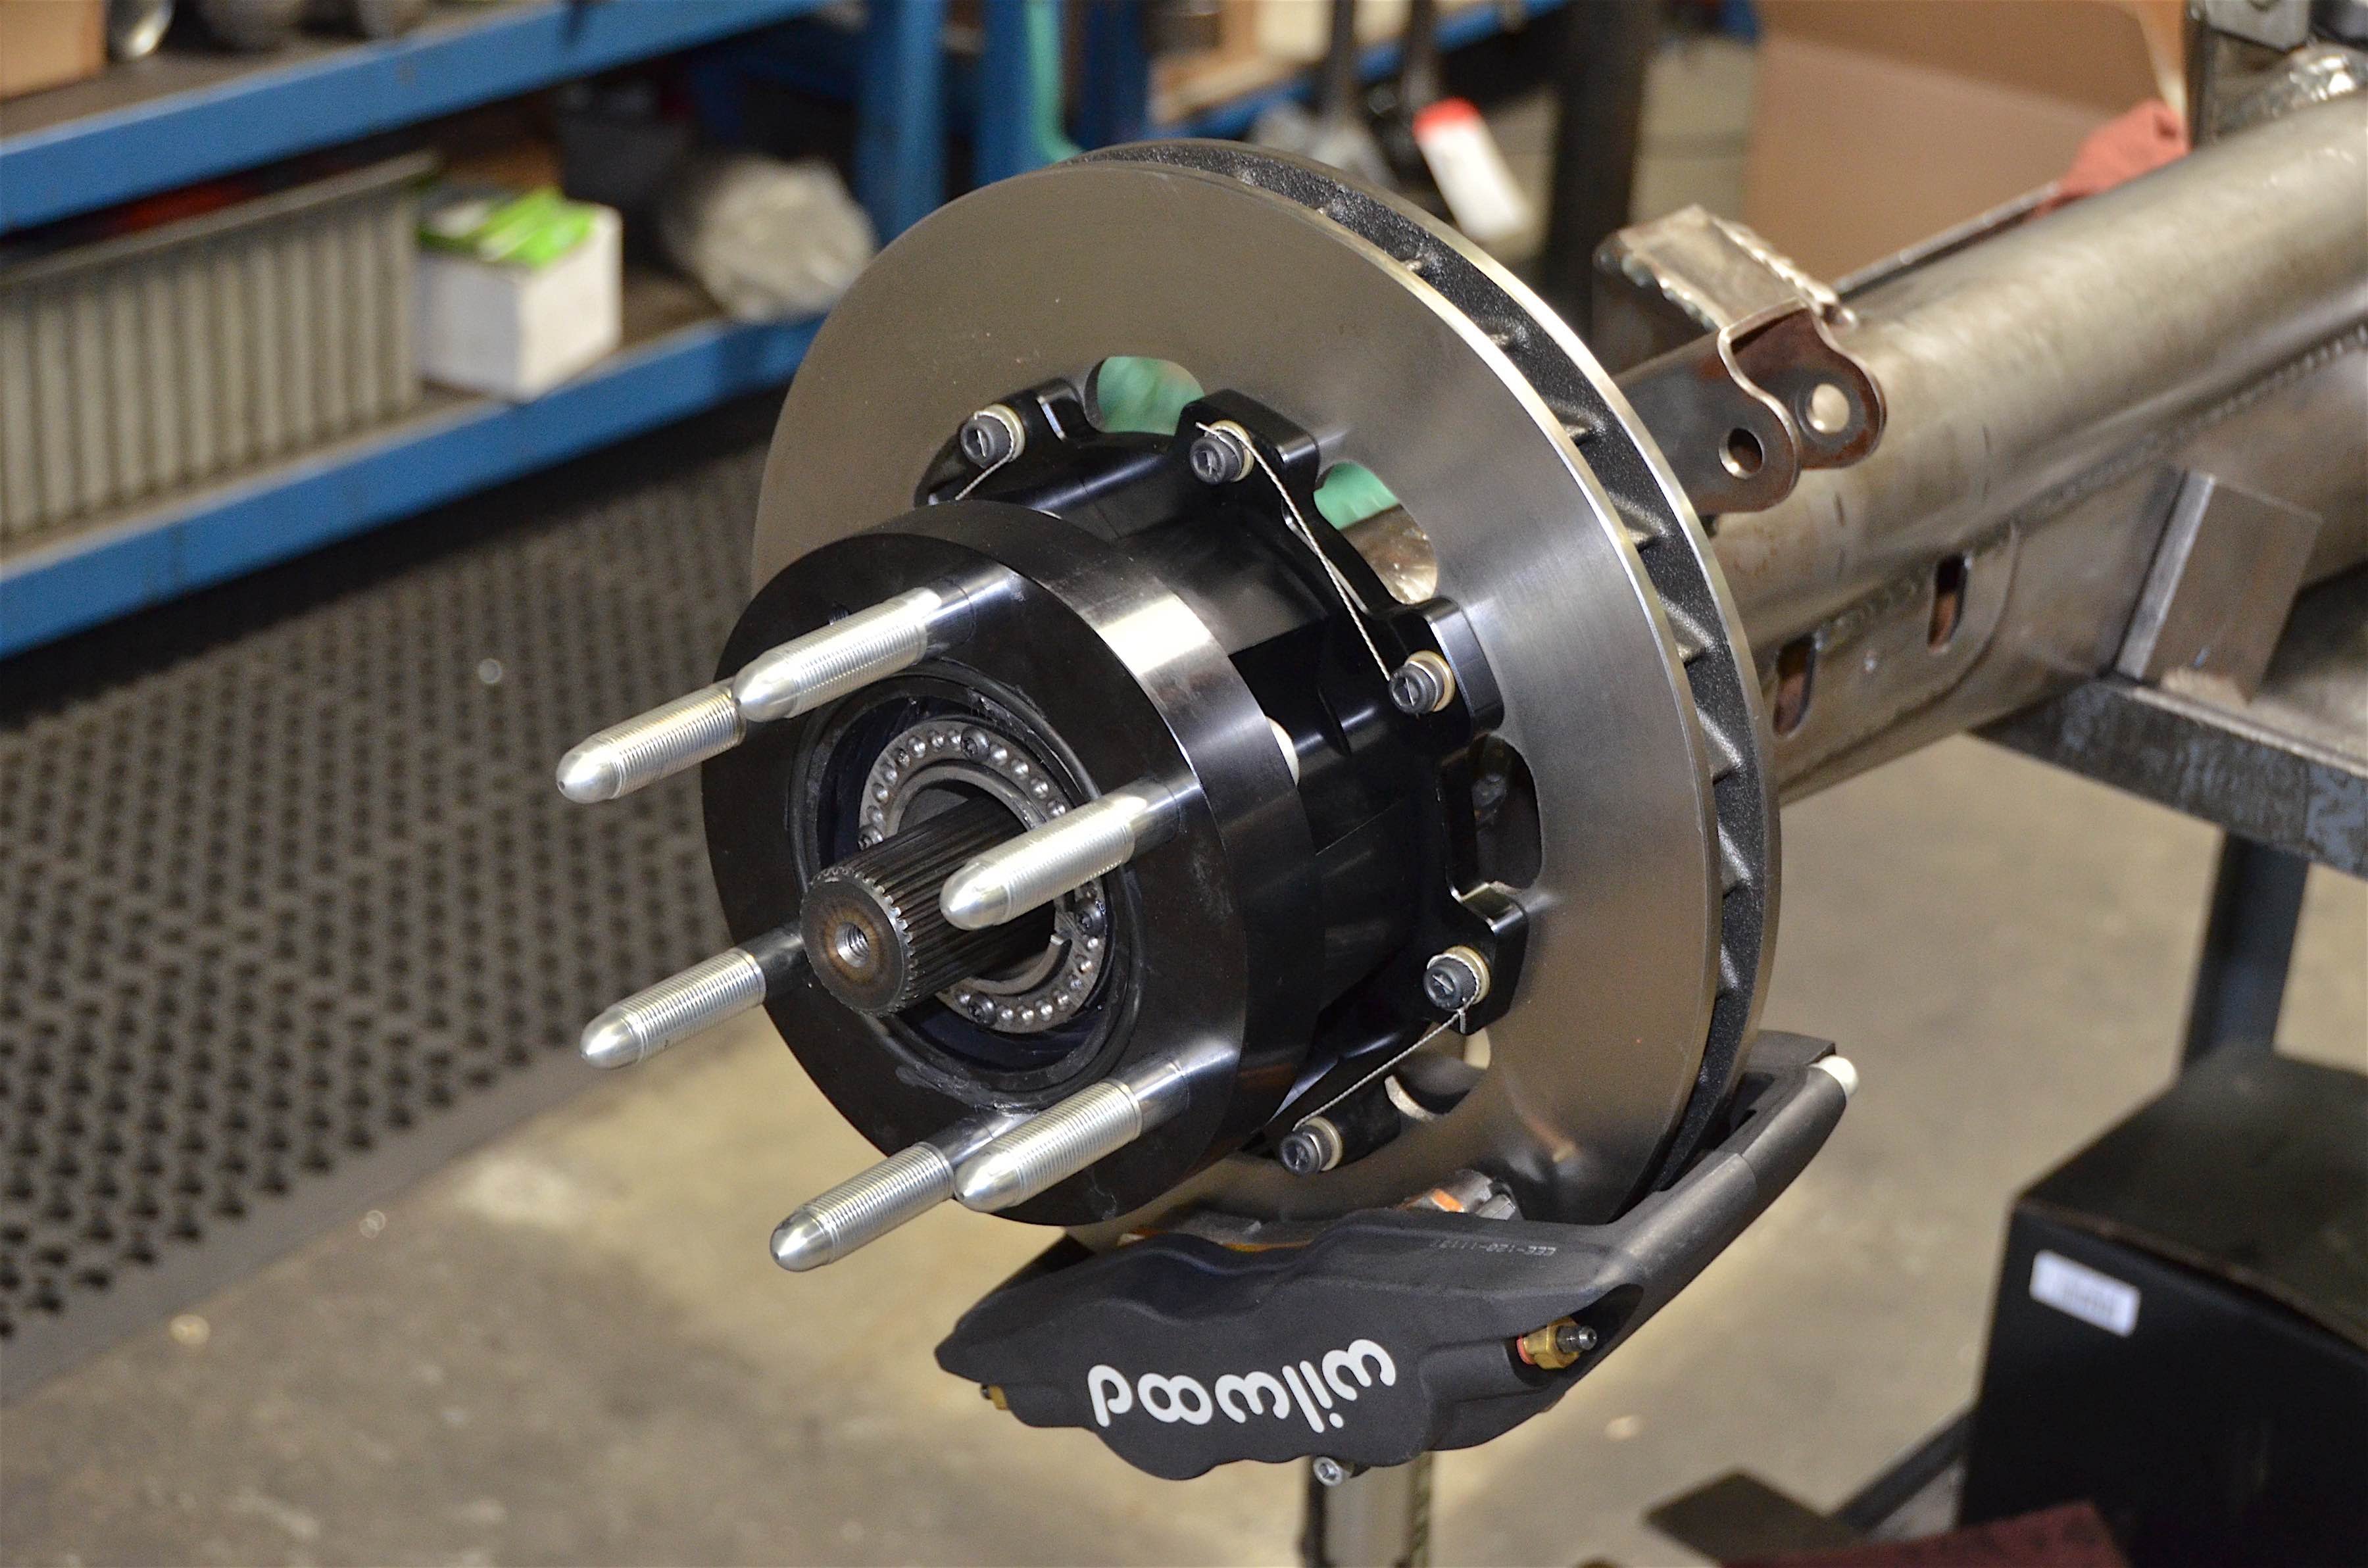
After the hubs were installed, we installed our four-piston Wilwood Superlite calipers.
There was a huge difference seeing the axle before and after. The ends of the housing made it not only visually bigger, but ready to handle anything we could throw at it. This definitely is one piece of the truck we would not need to worry about.
Reinstalling Currie’s F9 Housing
The great part about reusing the same housing is the fact that it will bolt back in. All of the work that went into installing the semi-float housing made reinstalling the new axle smooth. With the help of a friend, we get the axle slid over the leaf springs and into position.
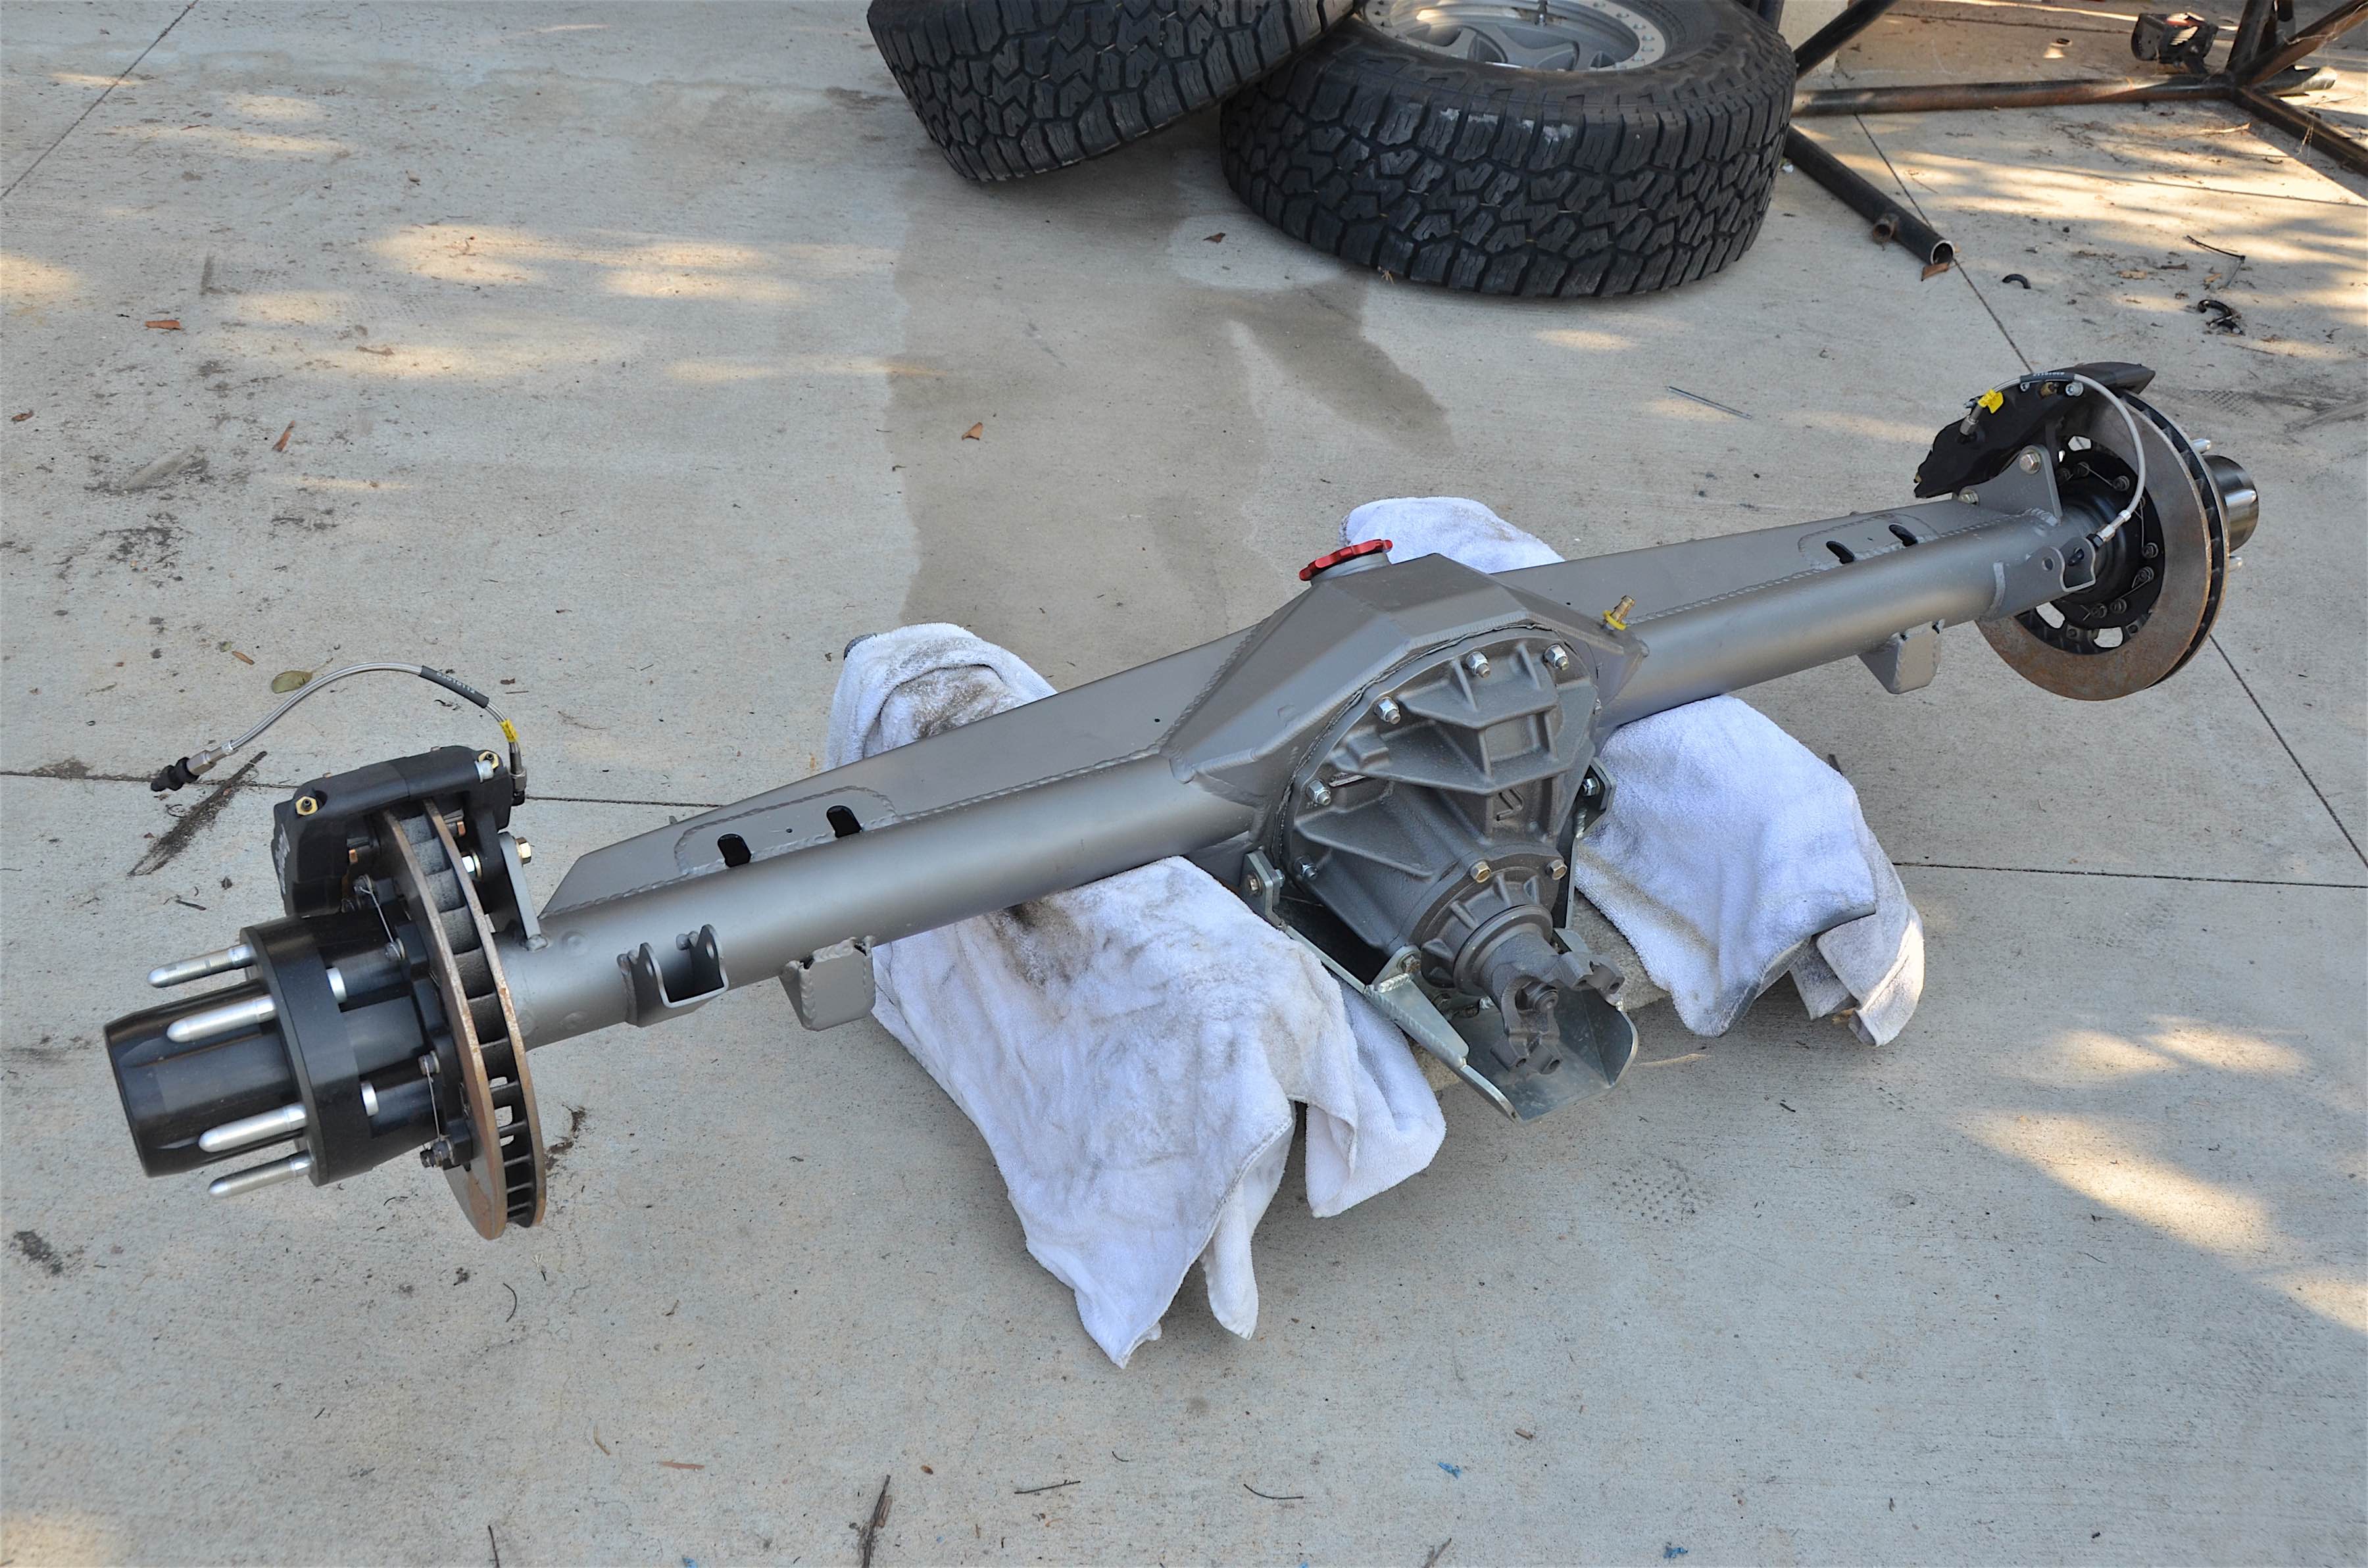
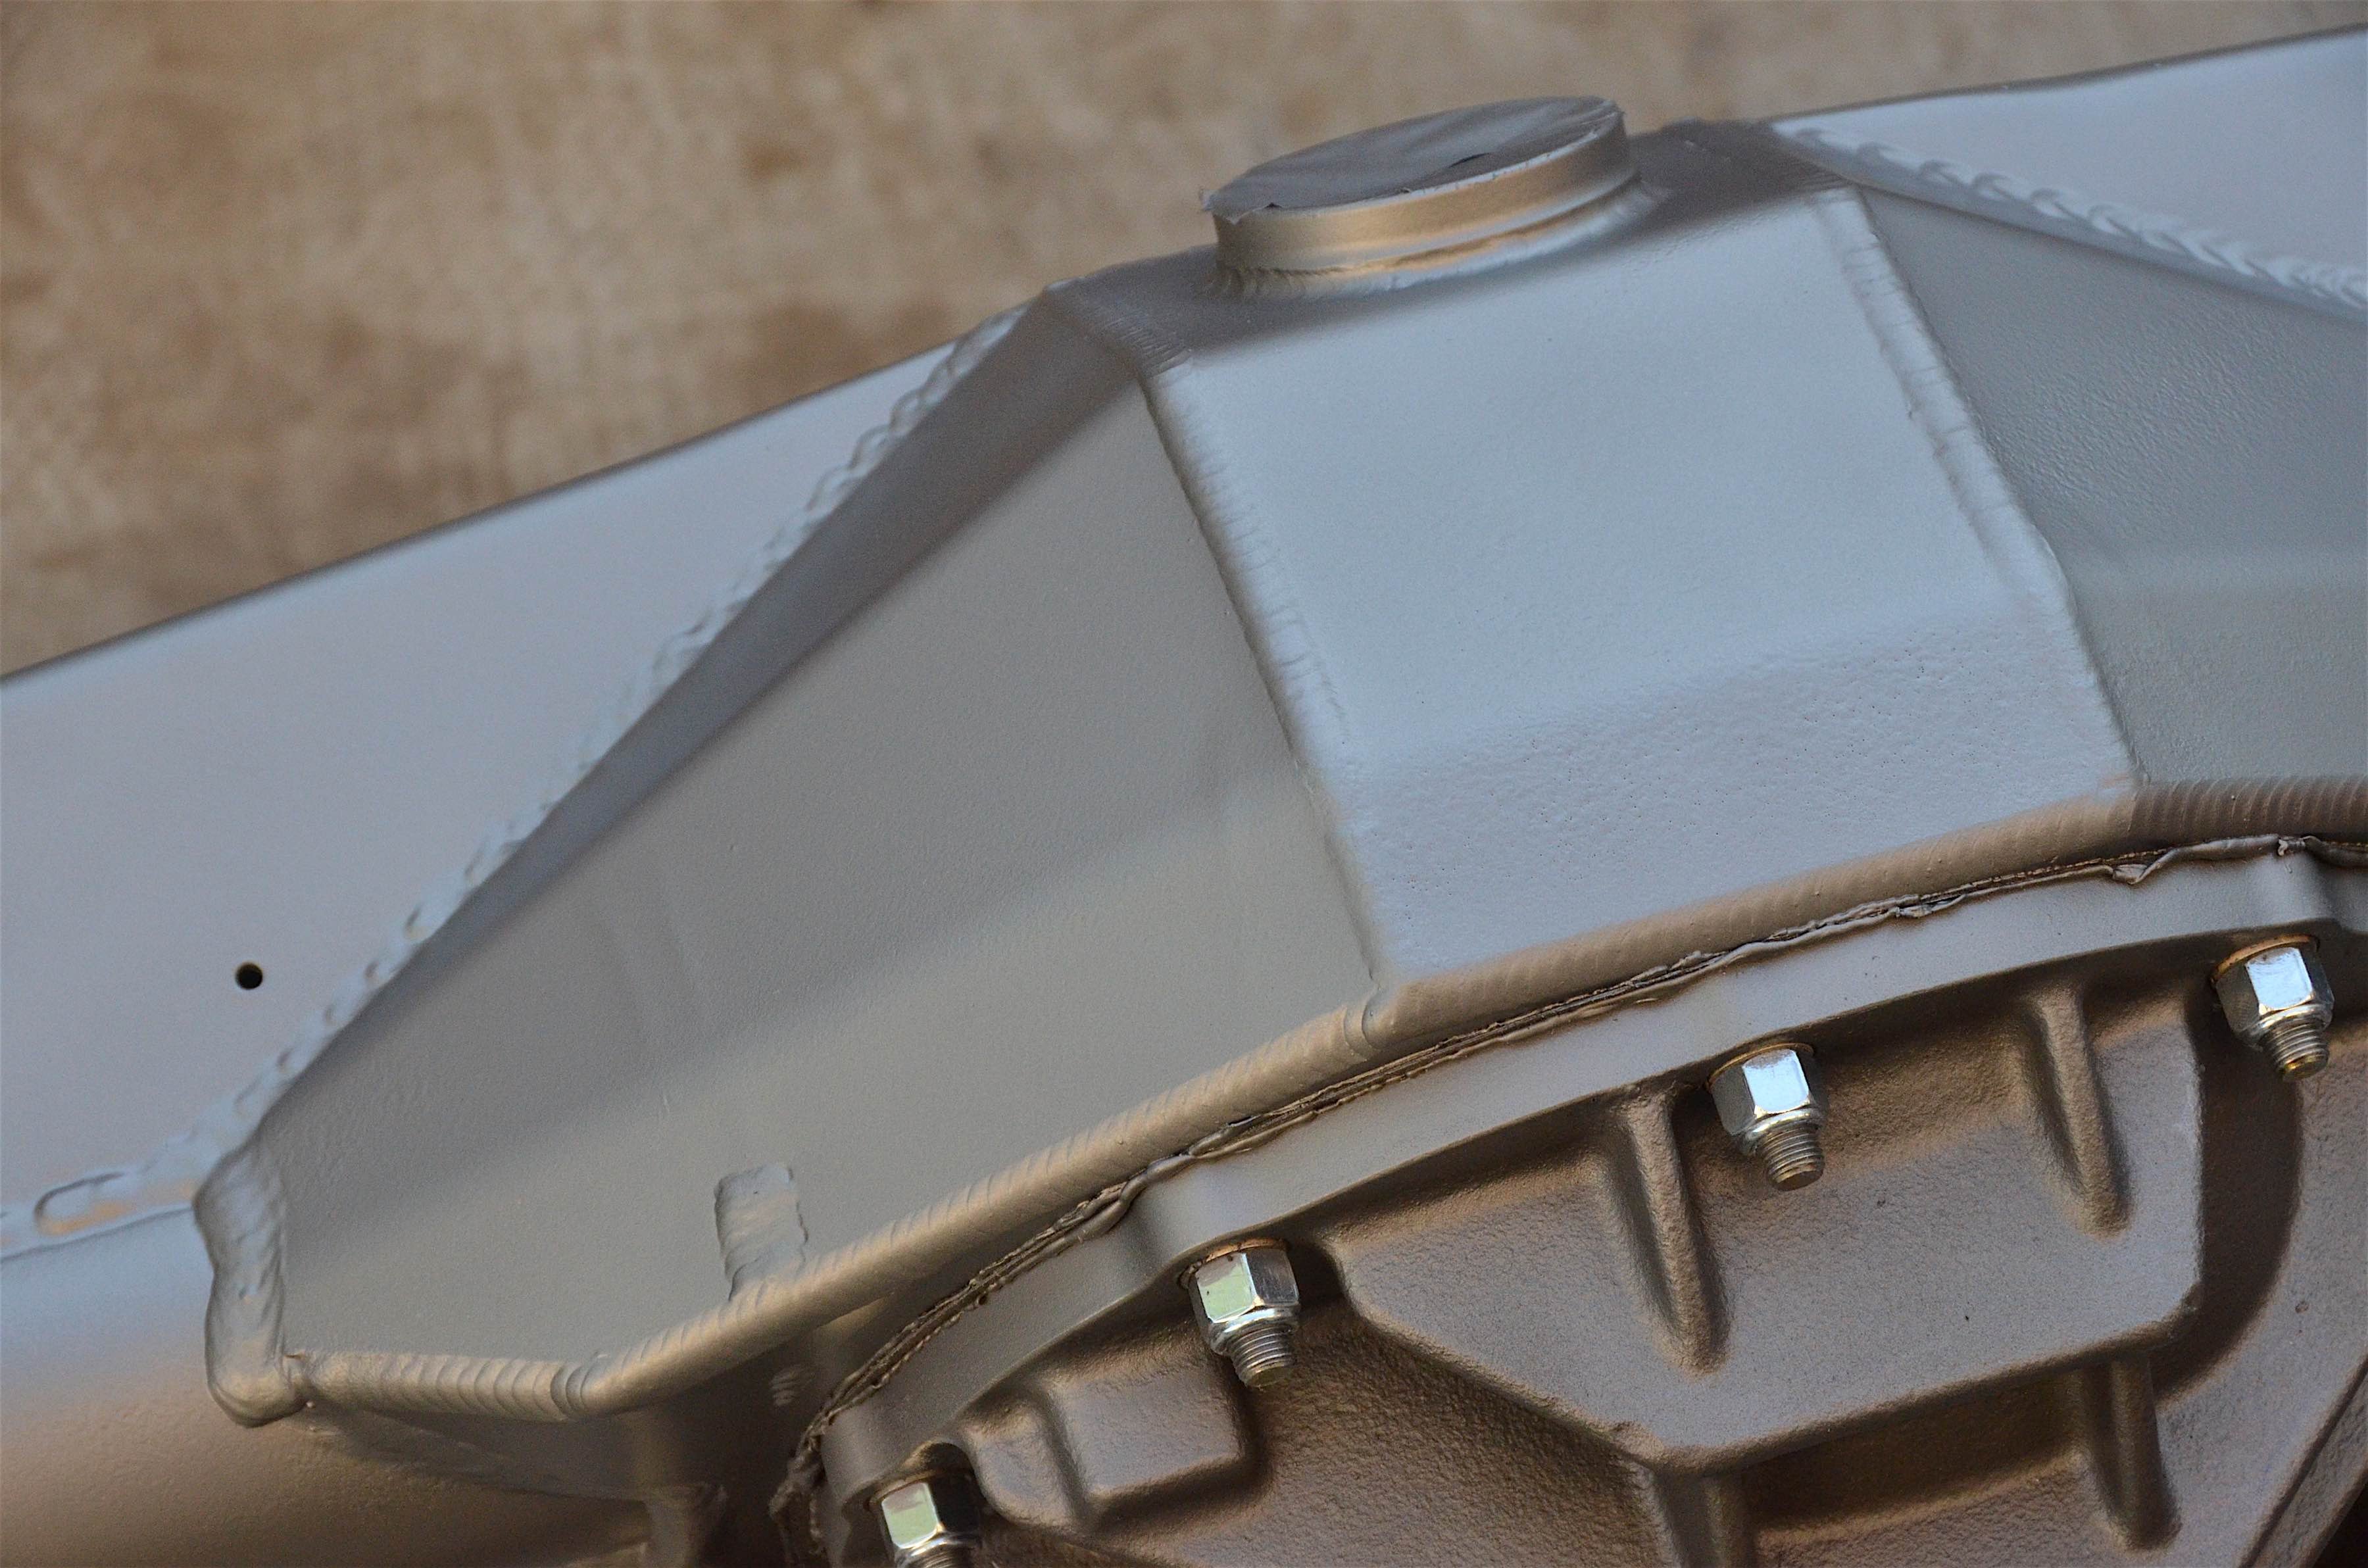
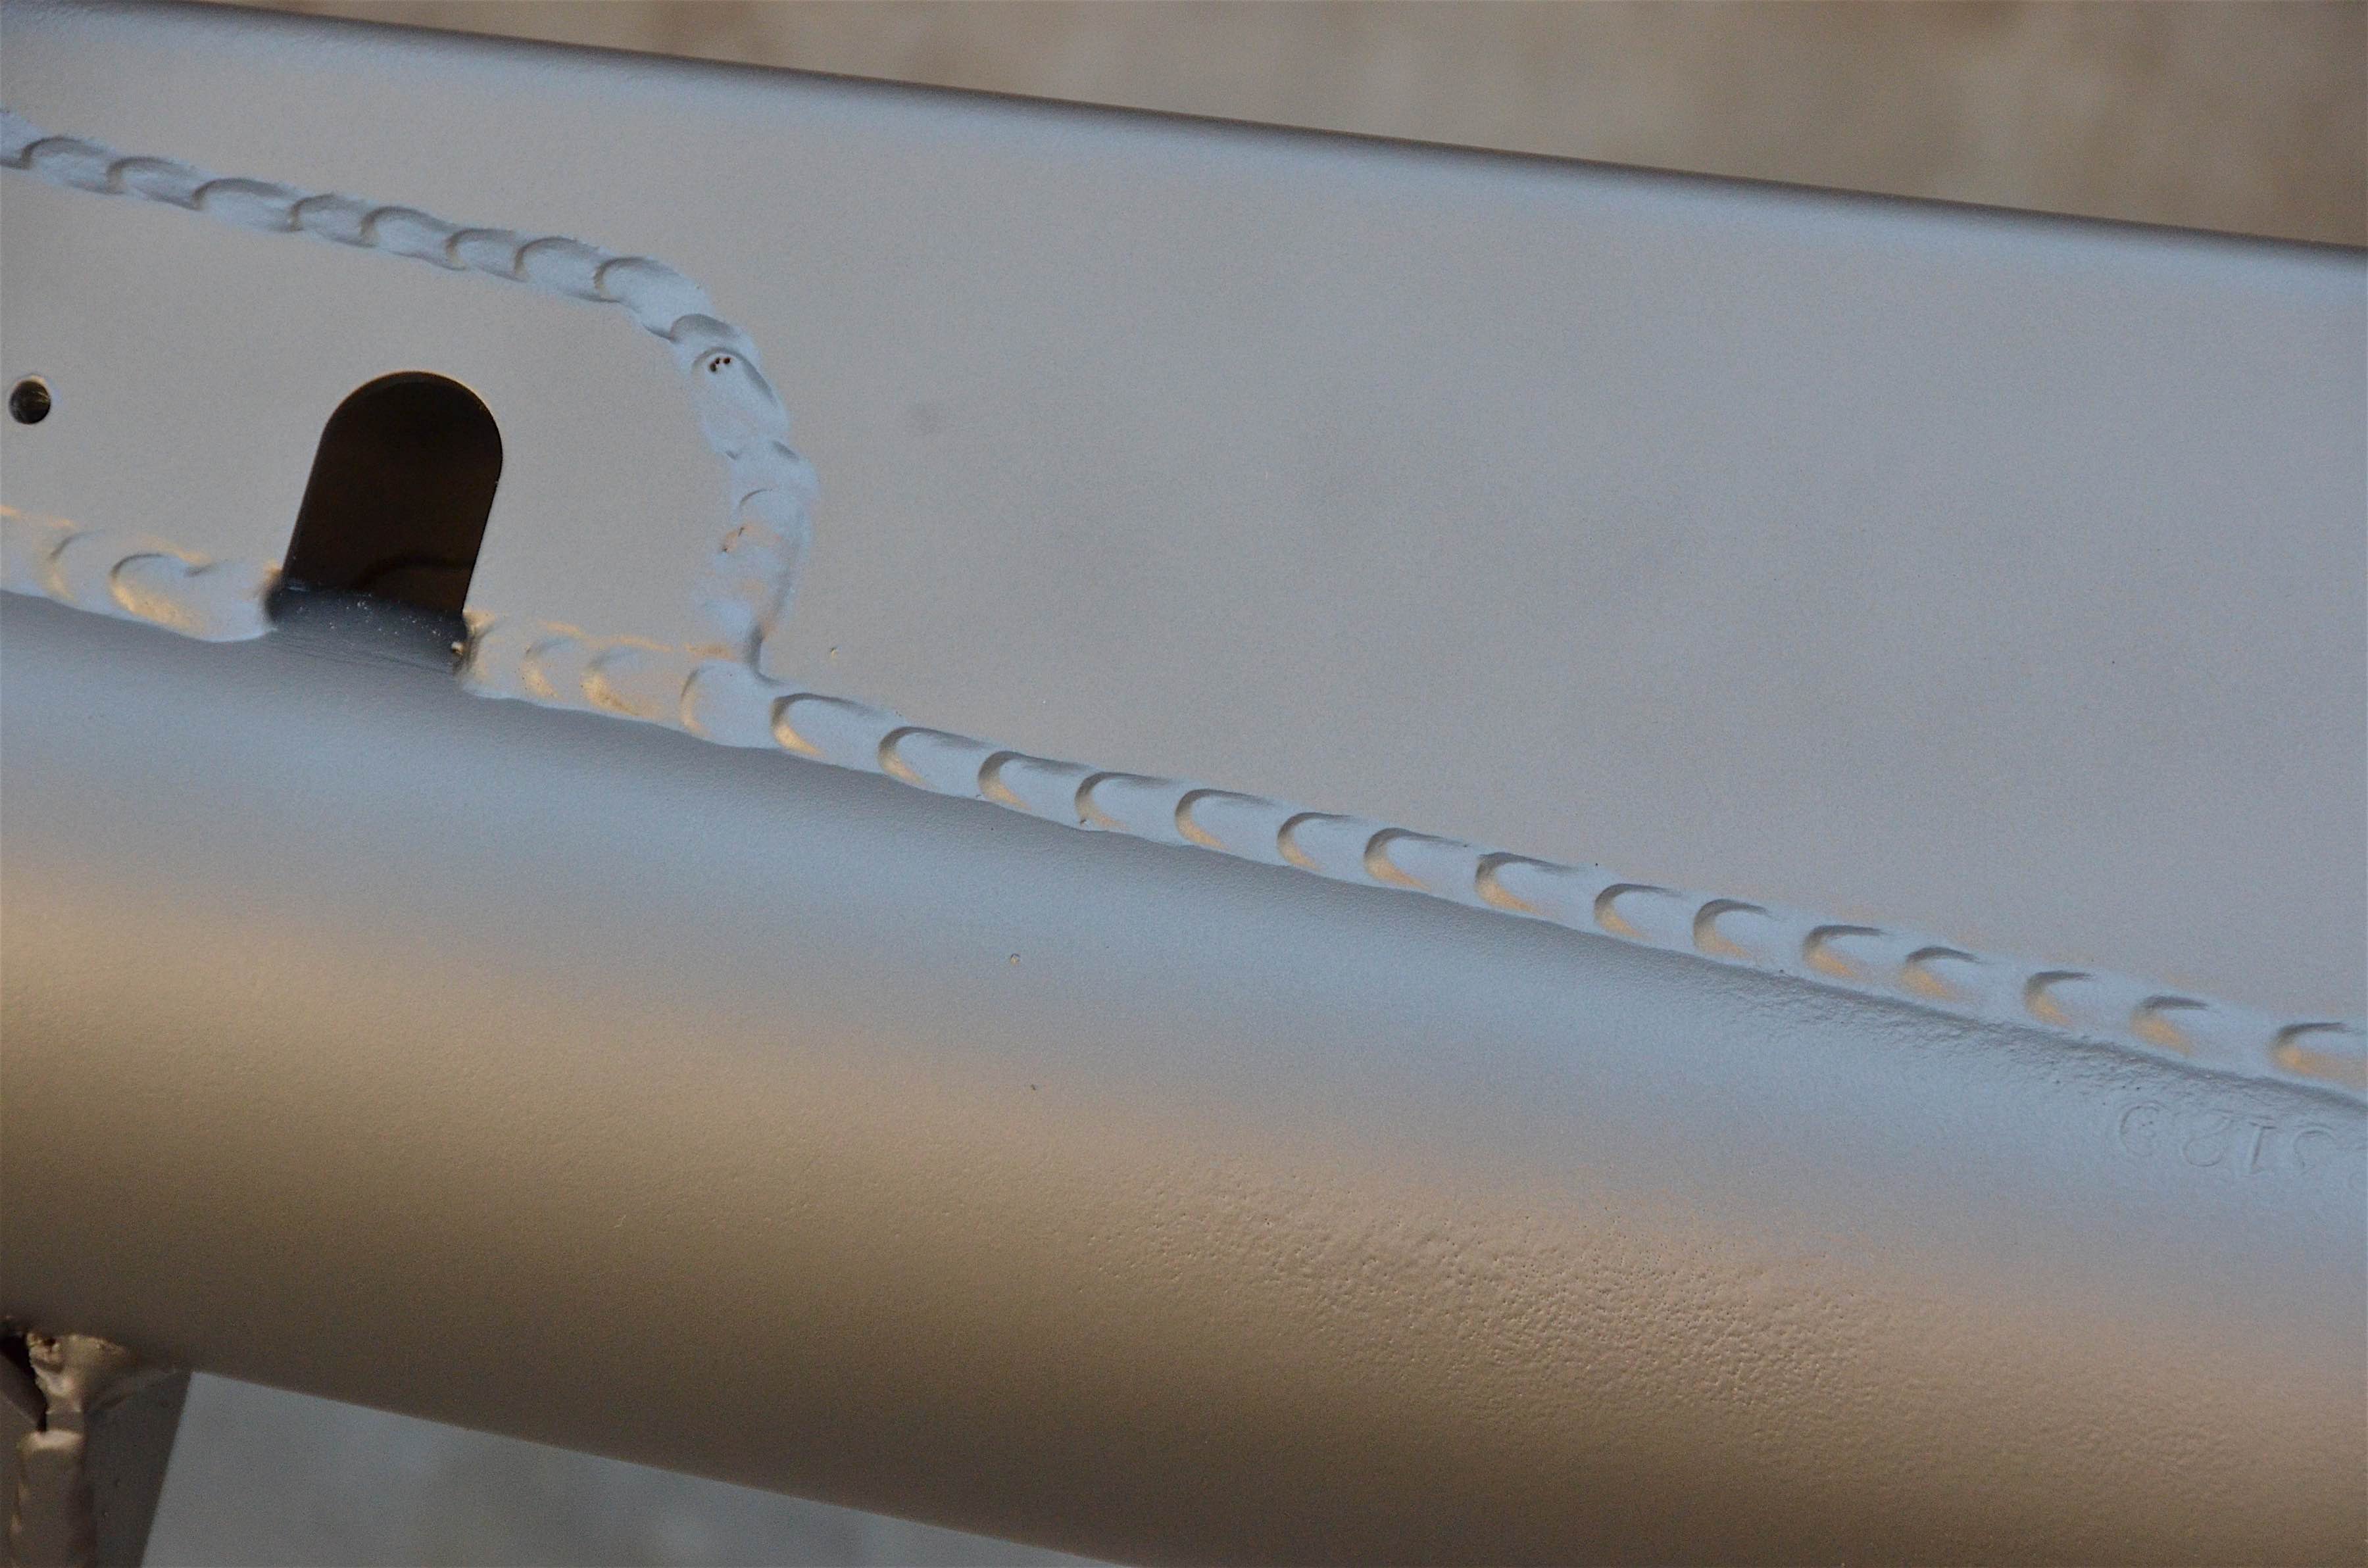
Before installing the housing, we coated it with Steel-It. This spray-on stainless steel coating provides an extra layer of protection from the elements.
Once the housing was in position, we secured the axle to the leaf springs with same U-bolts, but changed the spring plate. To increase the durability of the plates we went with Currie’s heavy-duty spring plates (PN CE-9031B), which use a 3/16-inch top plate and 1/4-inch lower for the skid plate portion.
“The spring plates were designed to provide protection and a skid plate for the U-bolt nuts,” Sheppard explained. “The U-bolt if ever needs to be removed and one of them is bent over – you are done. This protects them from harm and allows for easy removal.”


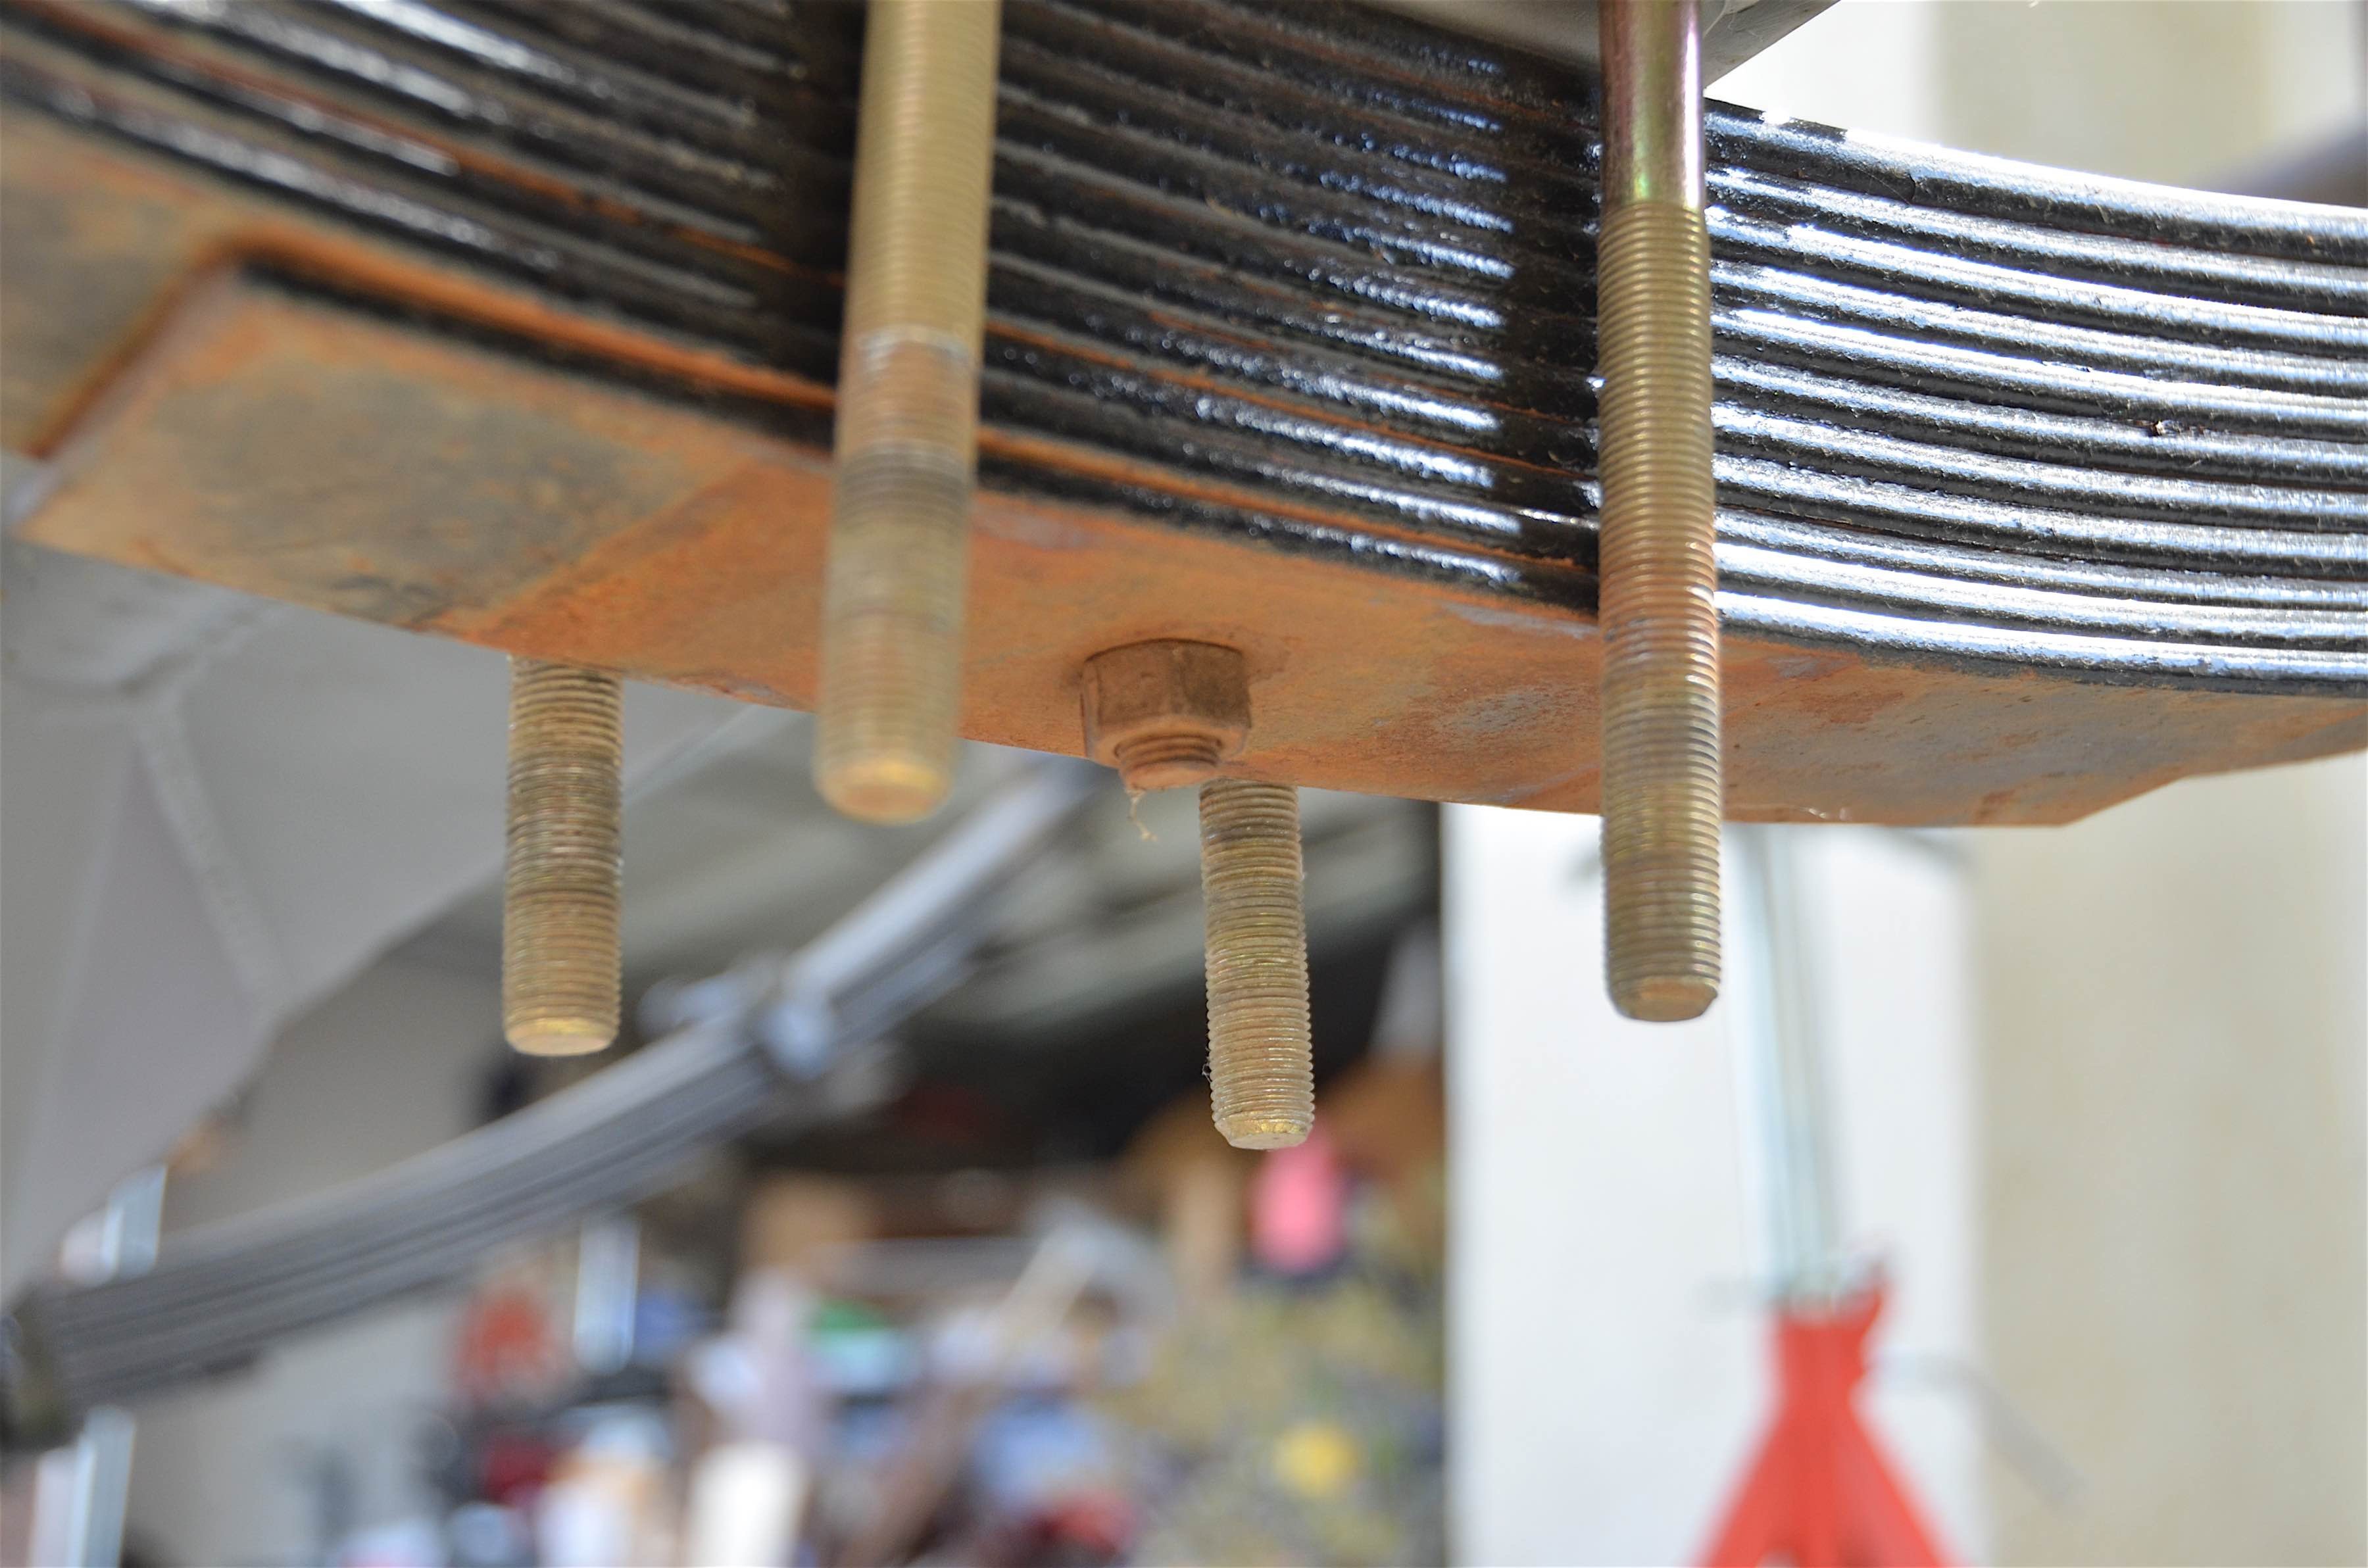
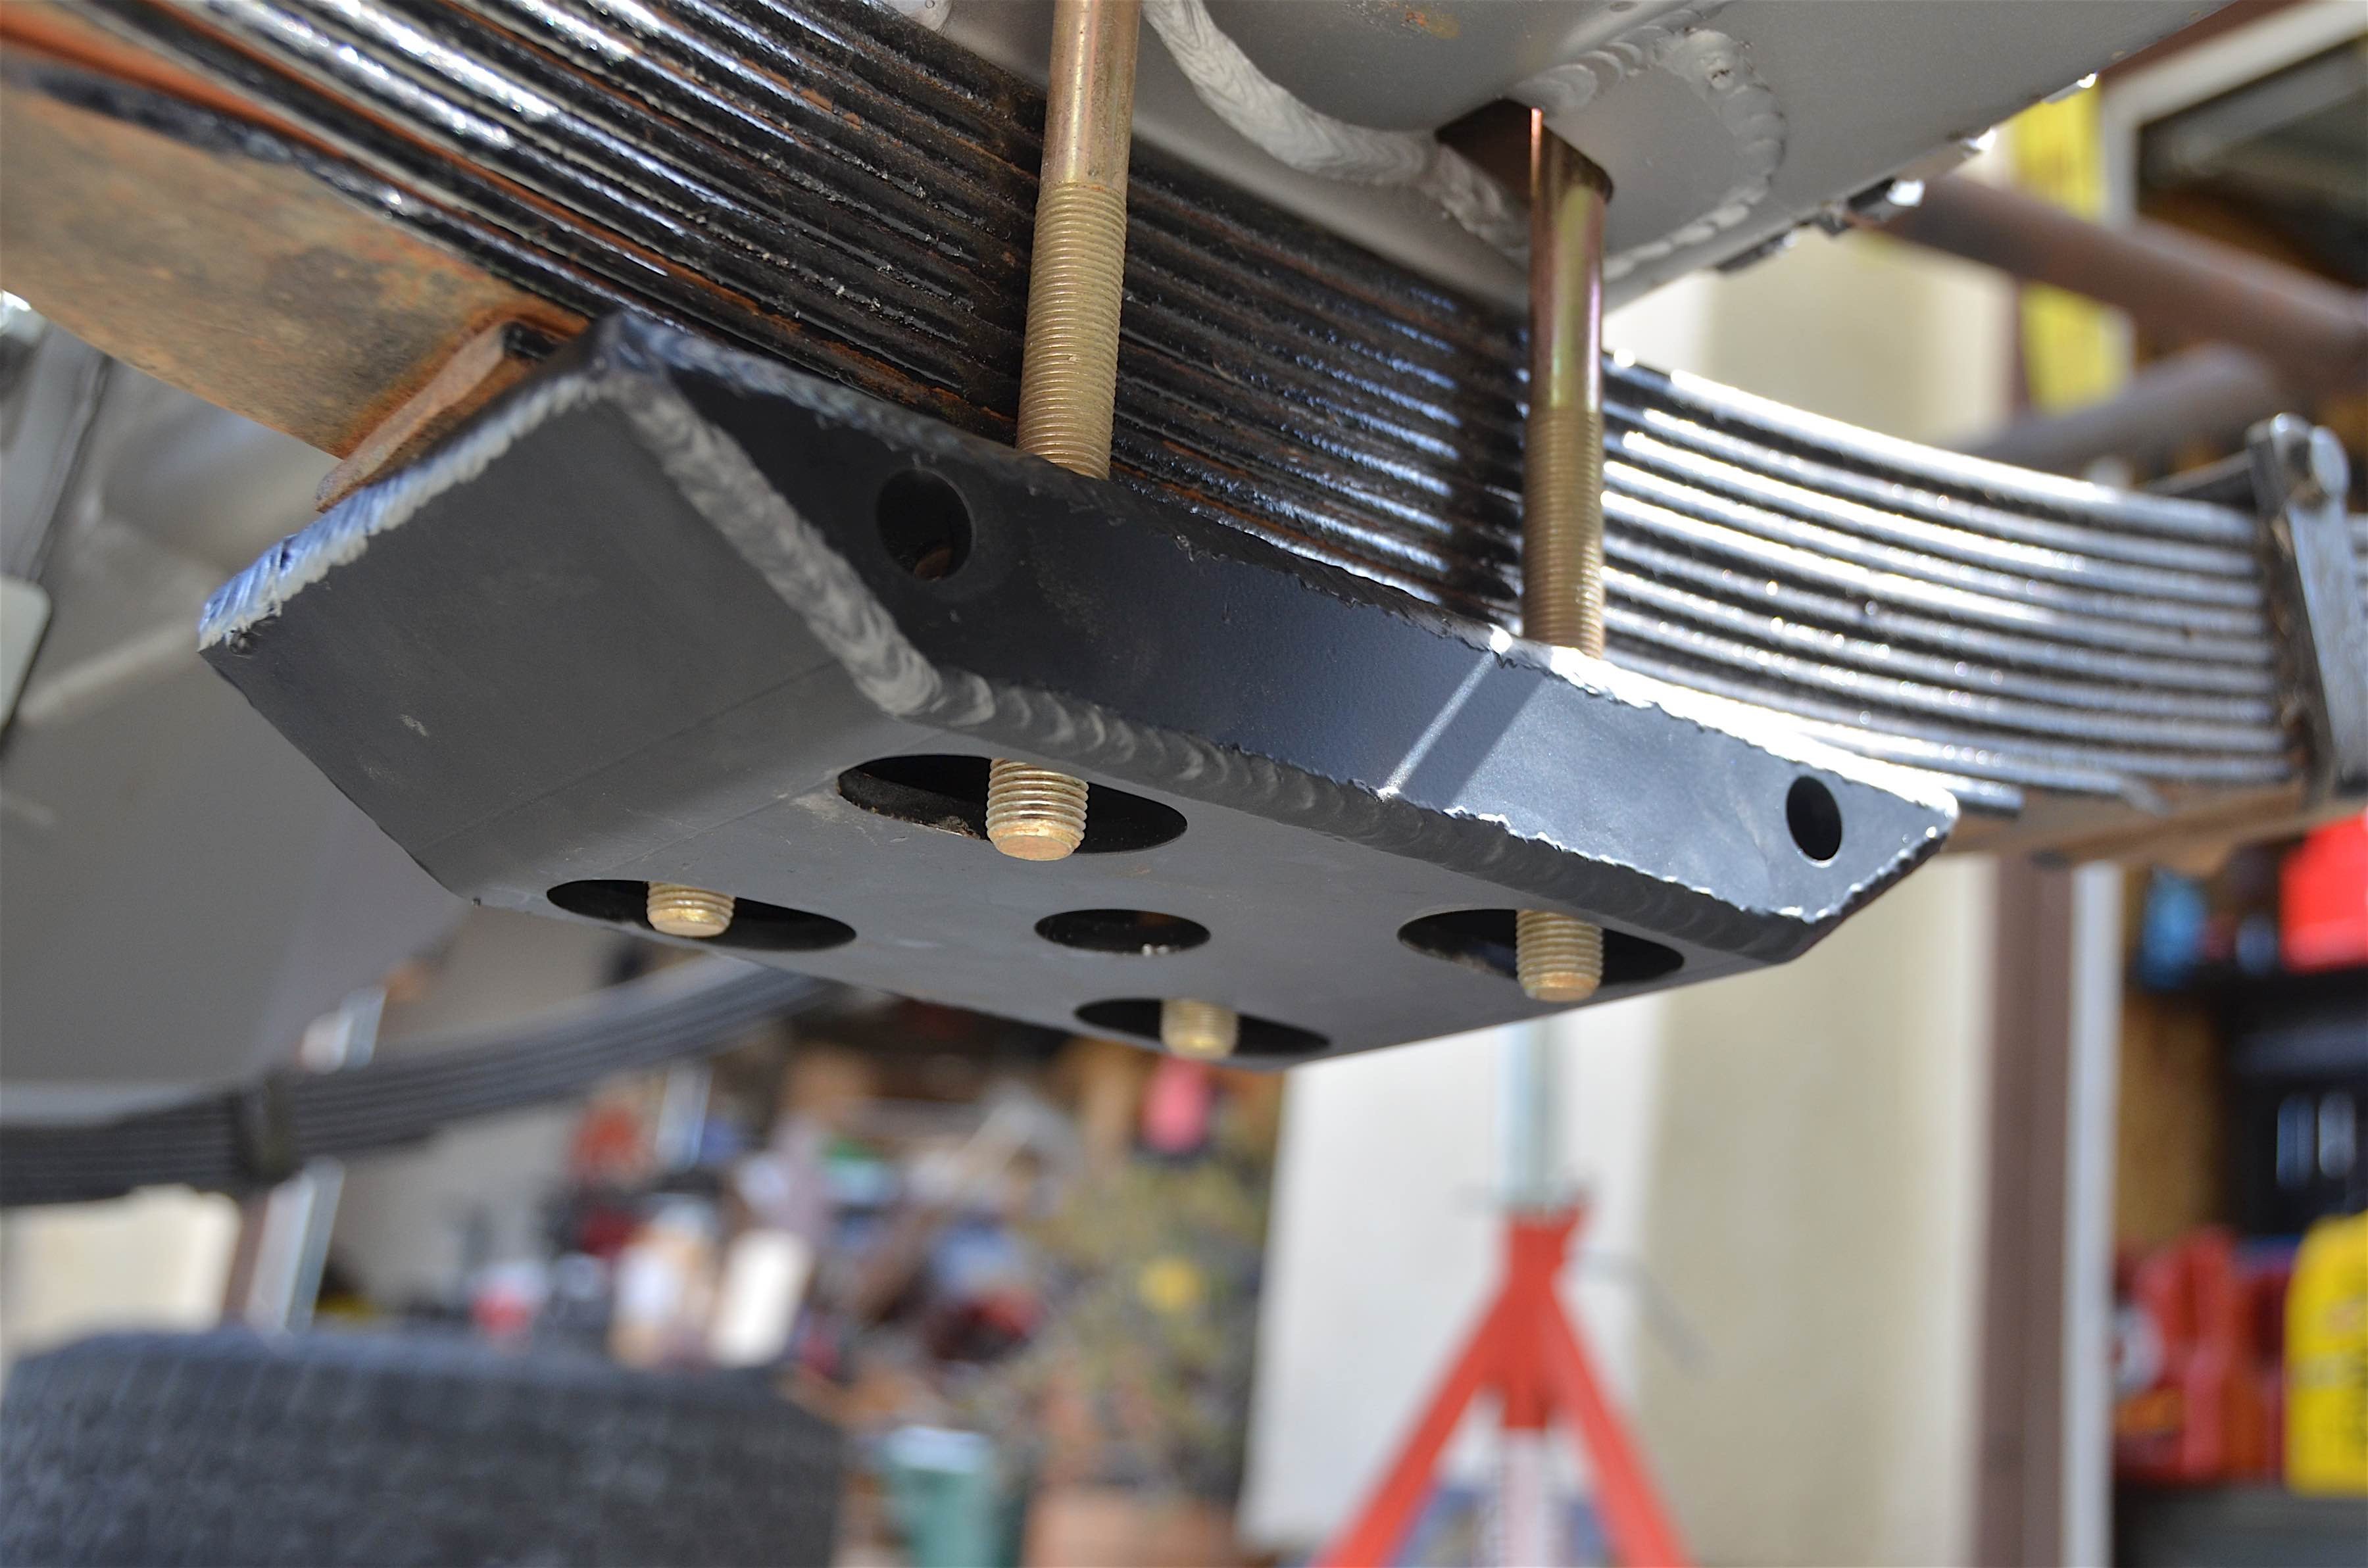
Currie's spring plates were exactly what we needed to replace our piece of metal. We did have to drill out the center hole to accommodate the center bolt on the leaf springs.
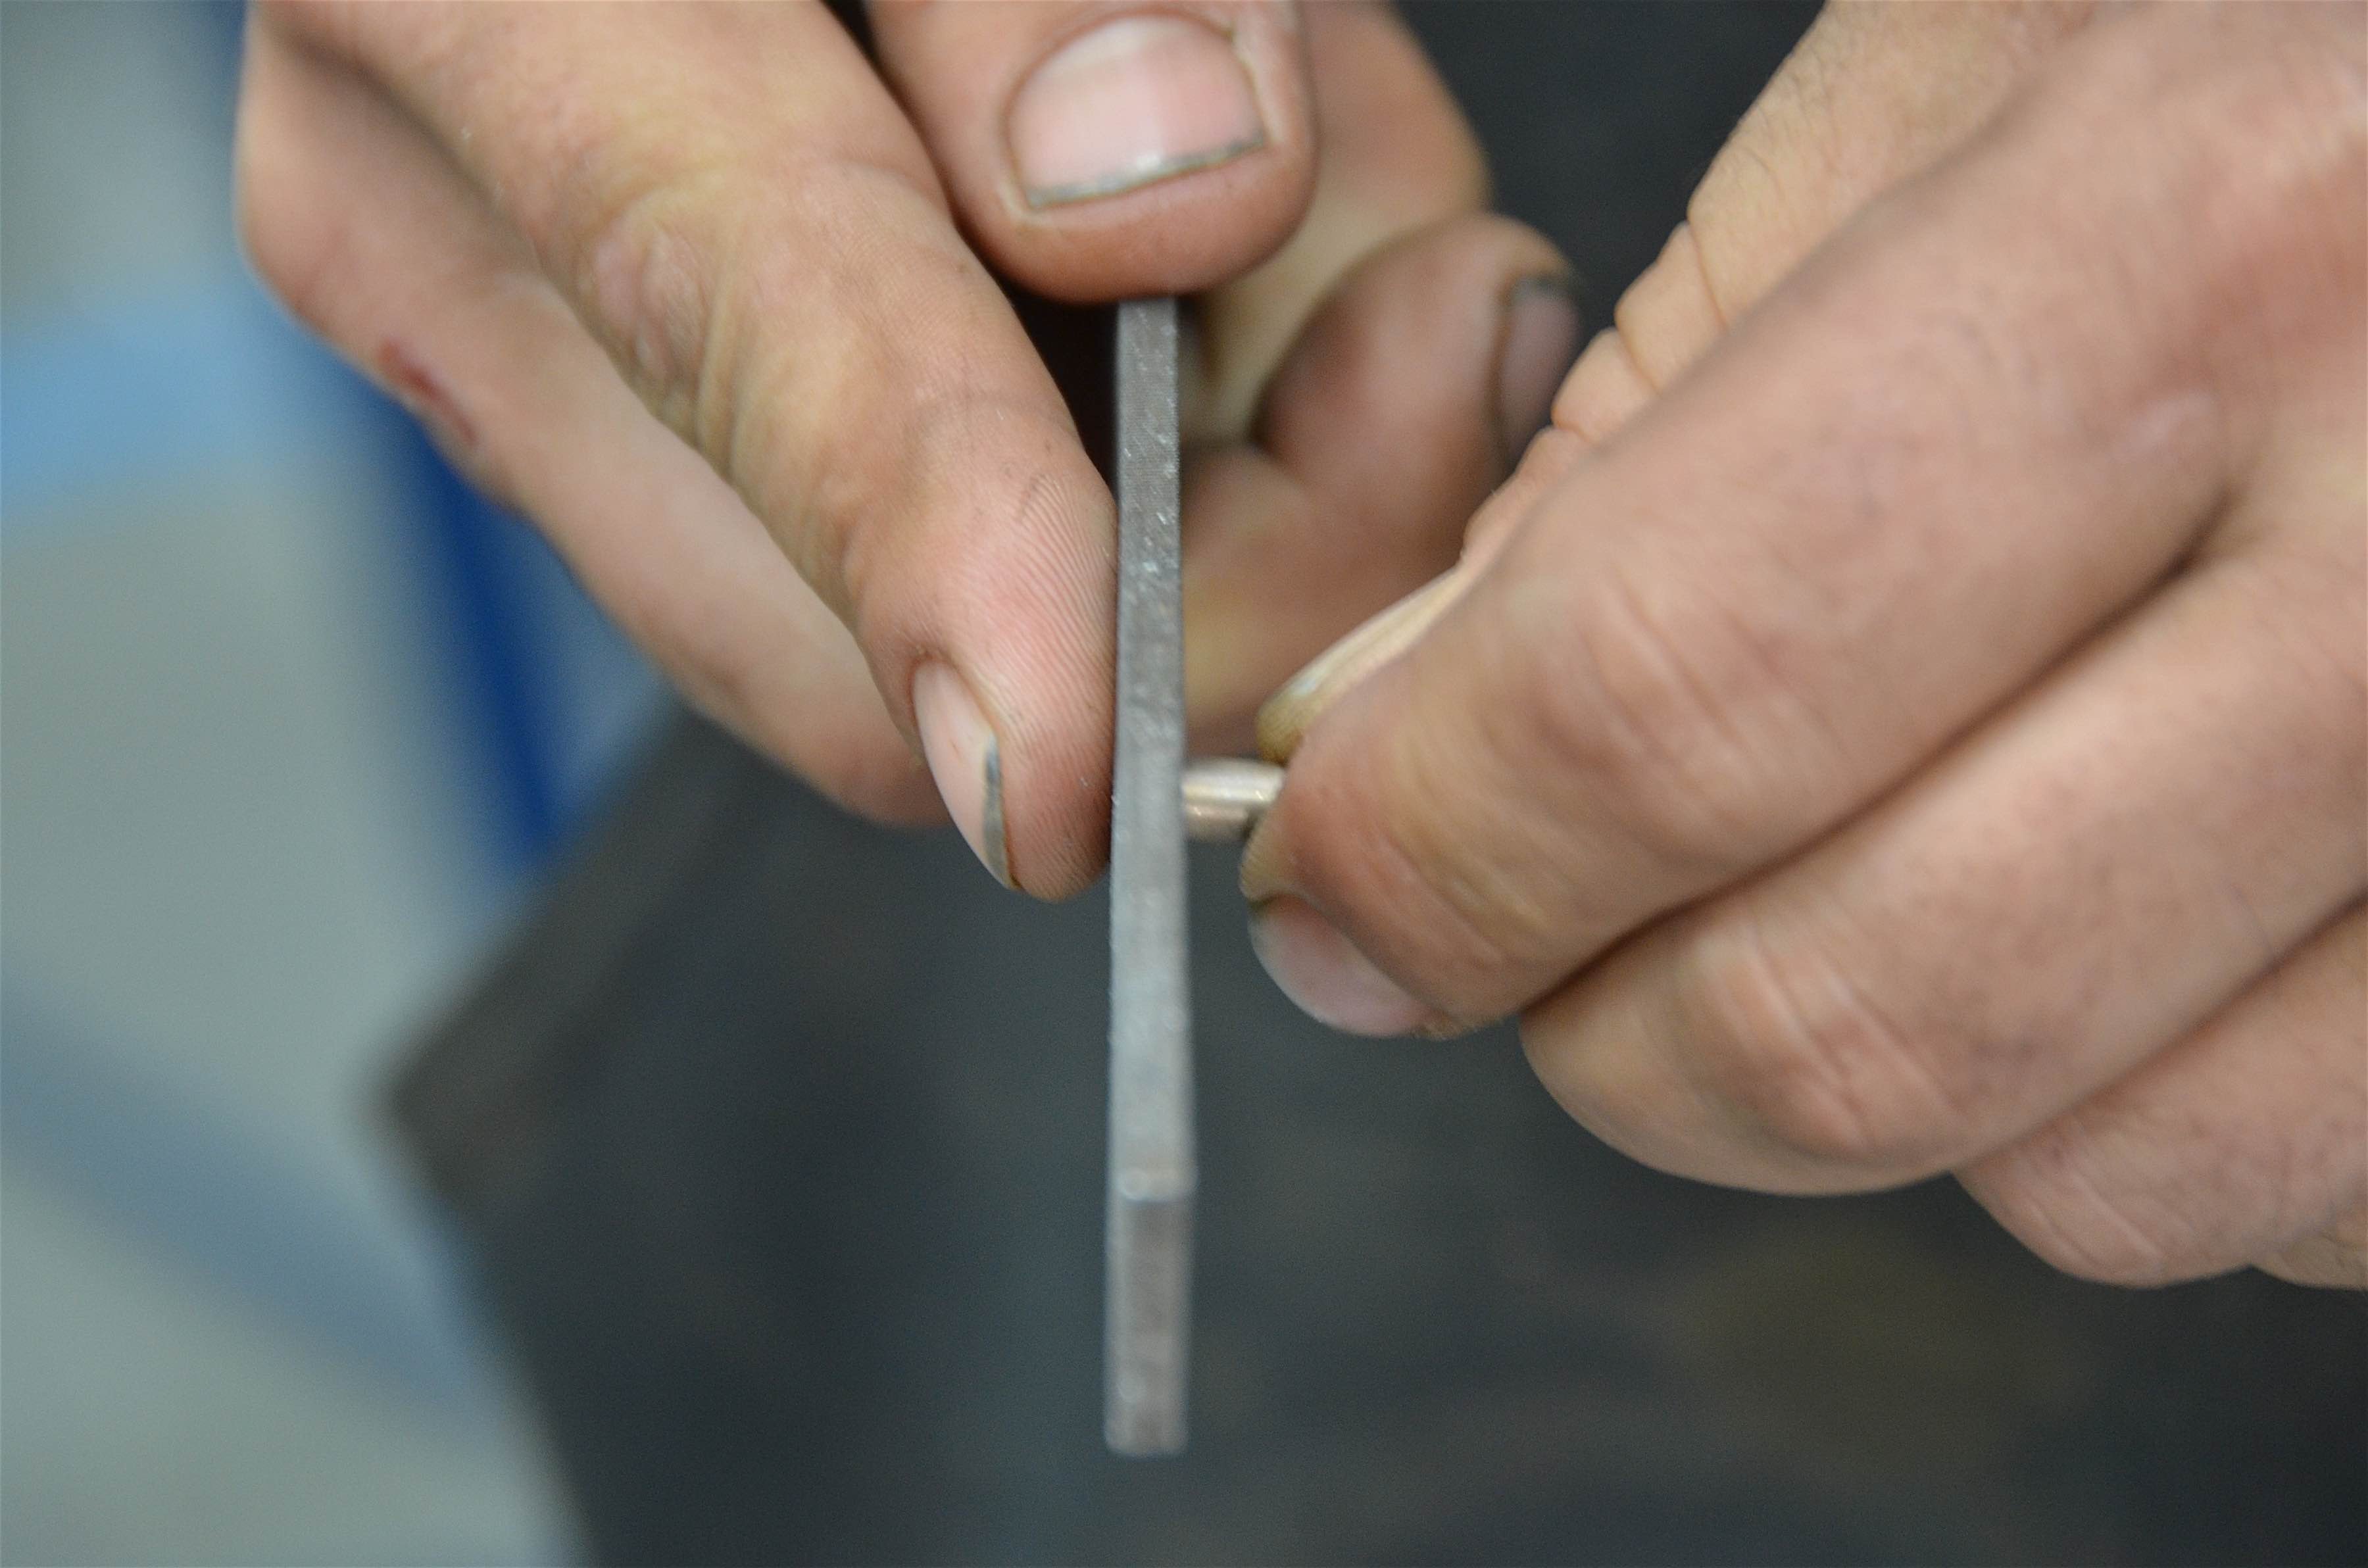
To complement our Wilwood calipers and rotors, we decided to make new brake lines with Earl’s Plumbing‘s easy form hardline tubing. It is an alloy mix that is as strong as steel, but much easier to bend and flare. It is approximately 90 percent copper and 10 percent nickel.
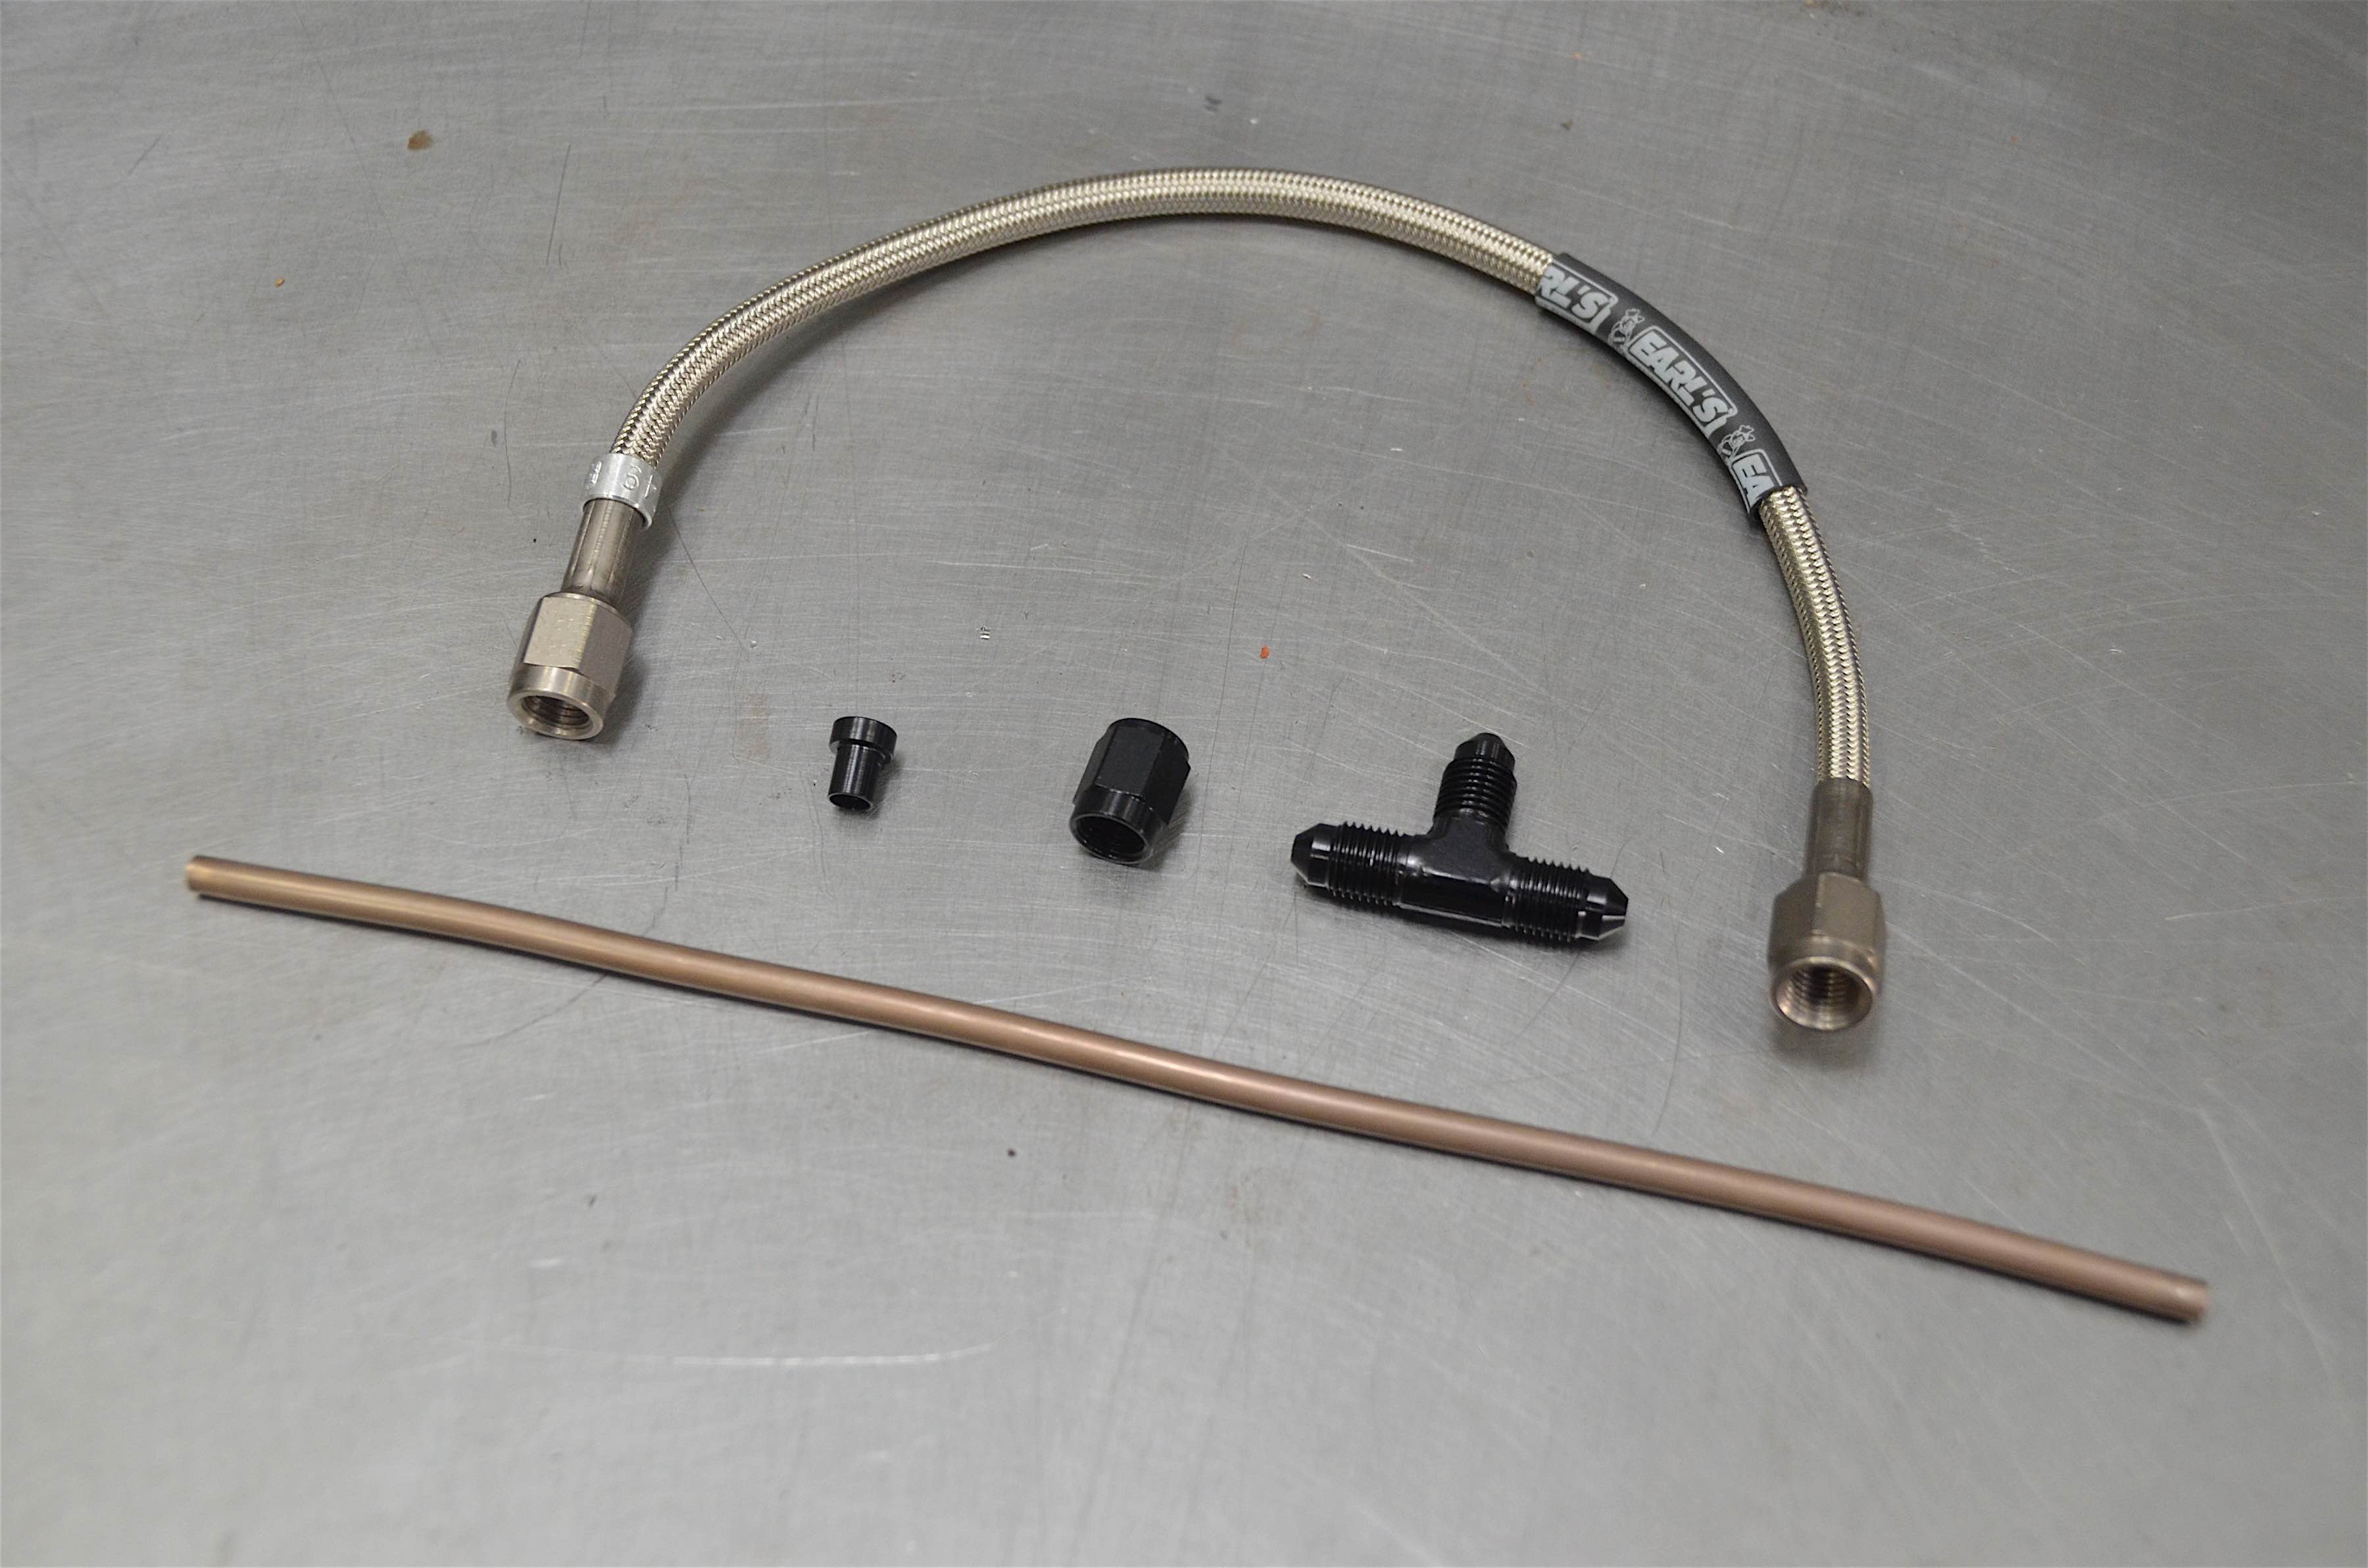
“As the name entails, it is a line that is easy to form,” Keith Jessee of Holley explained. “It can be bent by hand without any special tools, and the copper-nickel alloy will not rust or corrode. It is DOT approved for hydraulic brake systems. Also, it can be polished to a shiny copper finish if that’s what you’re in to.”

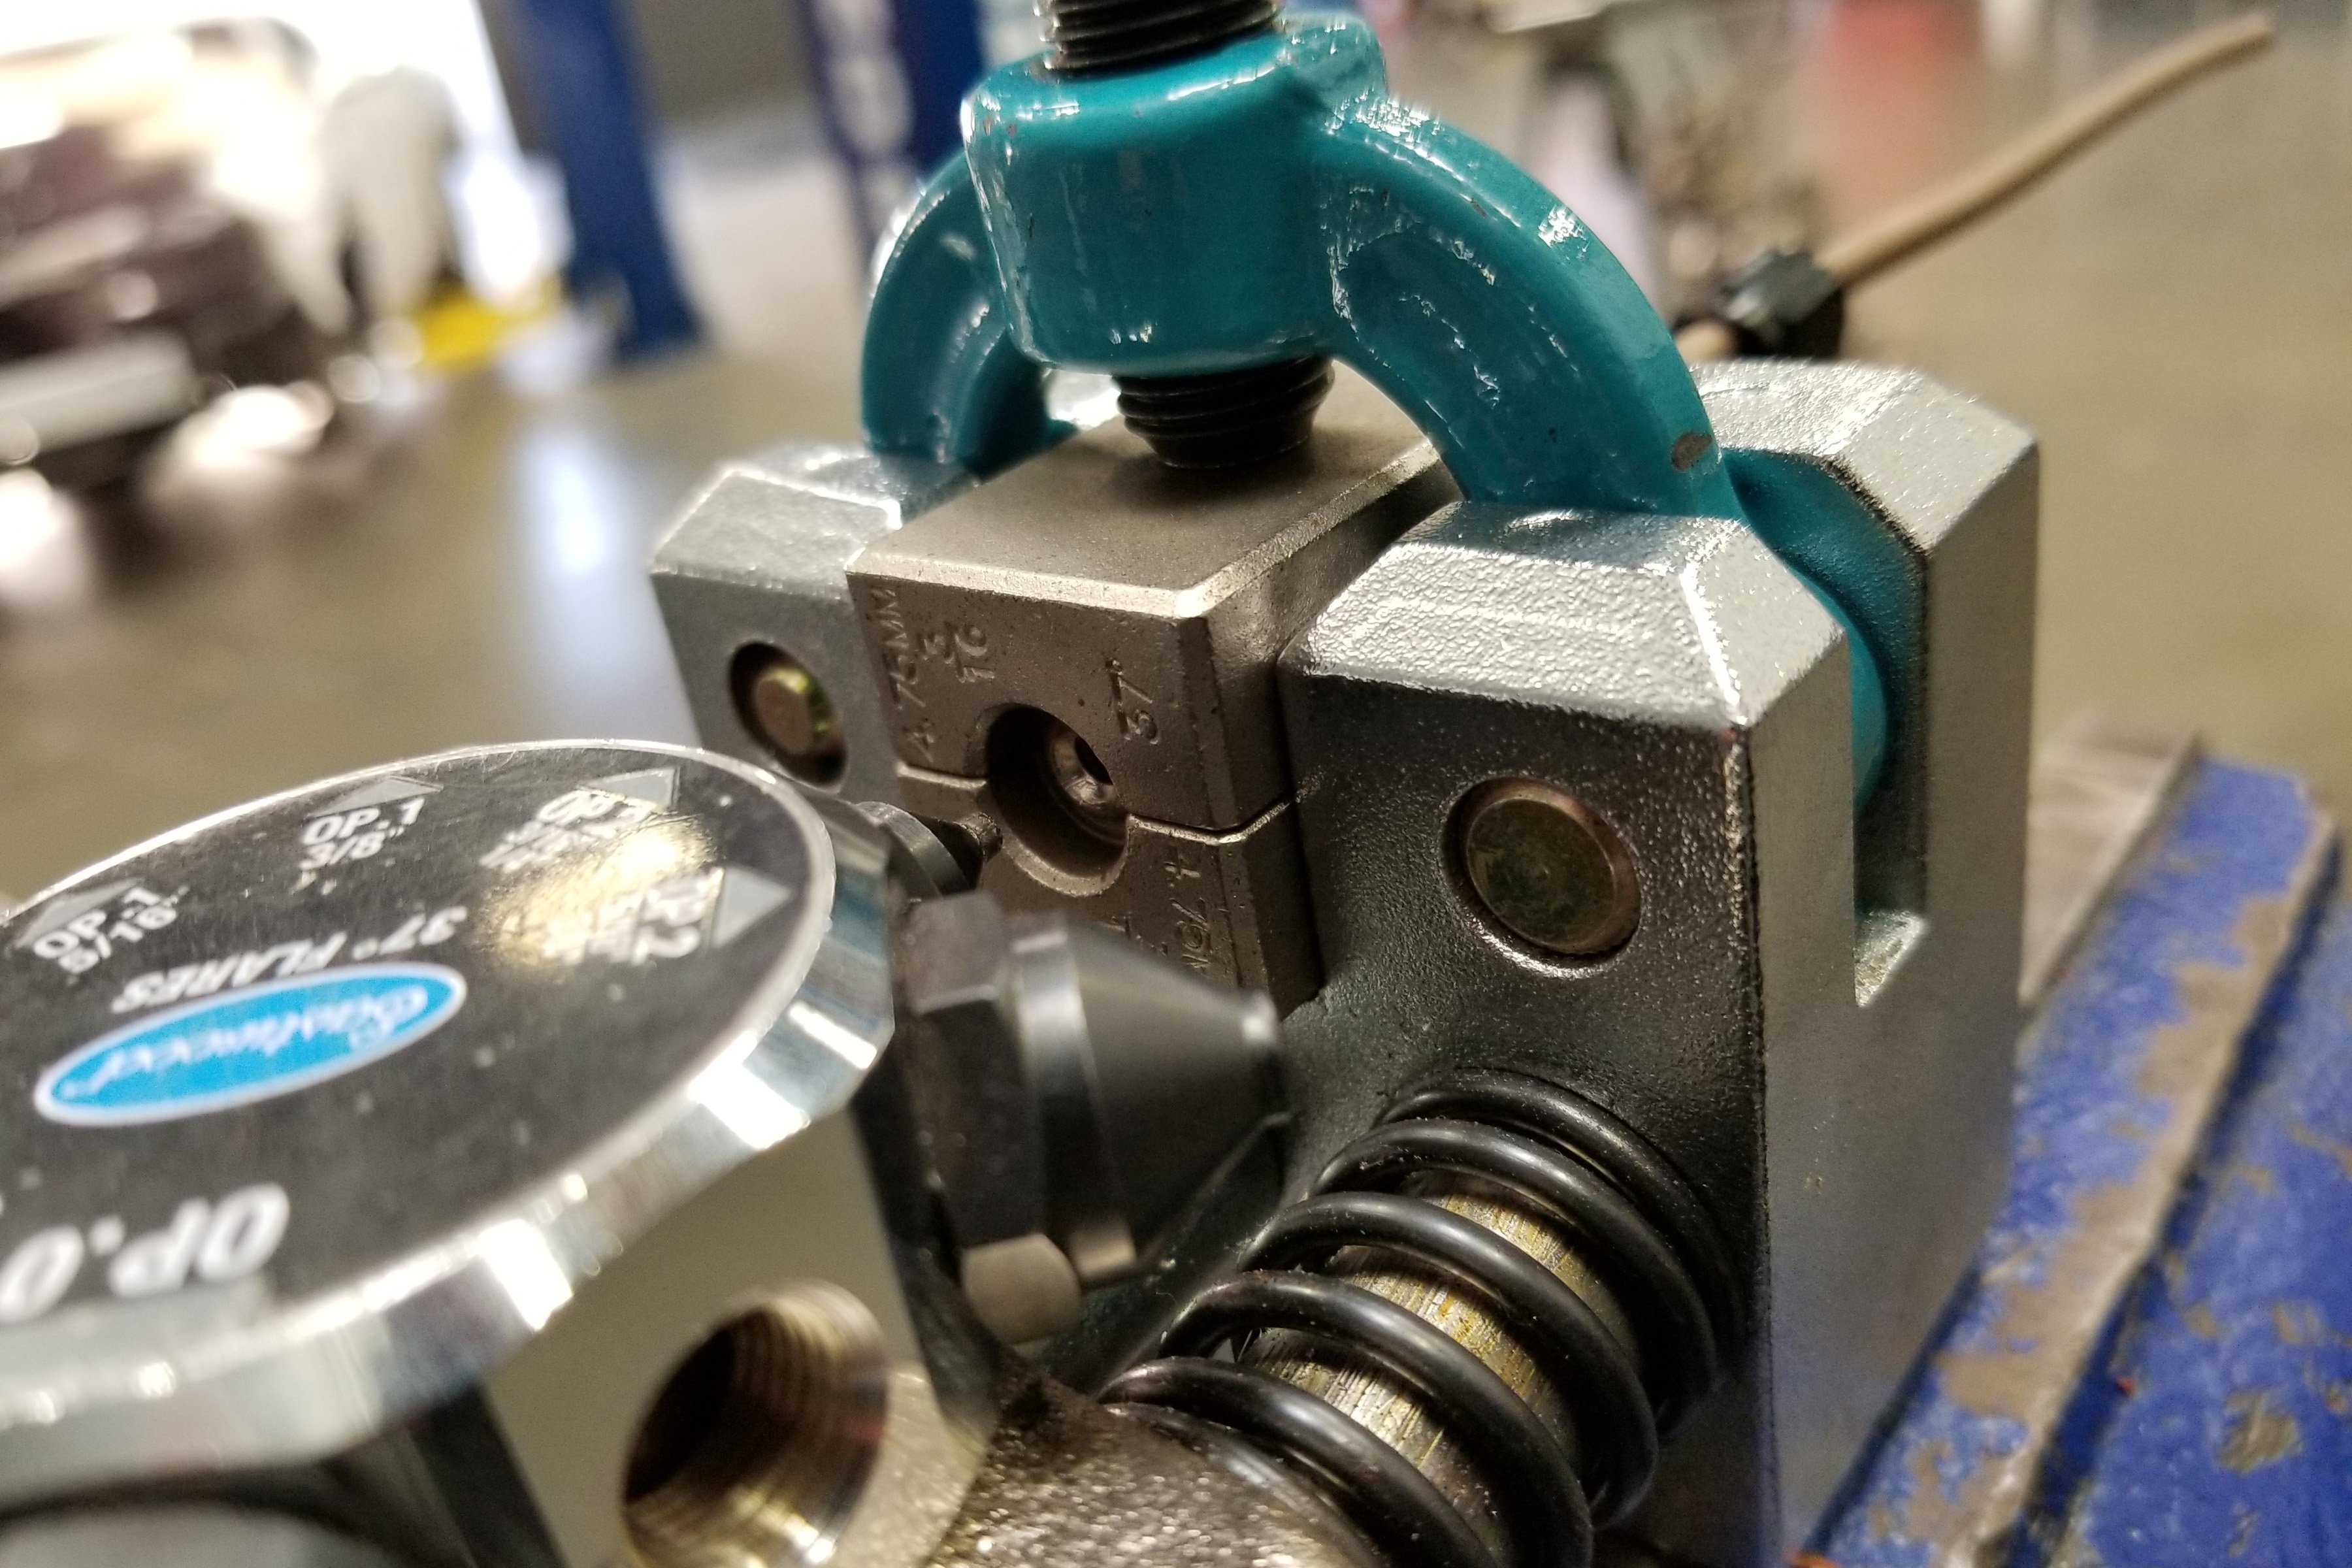
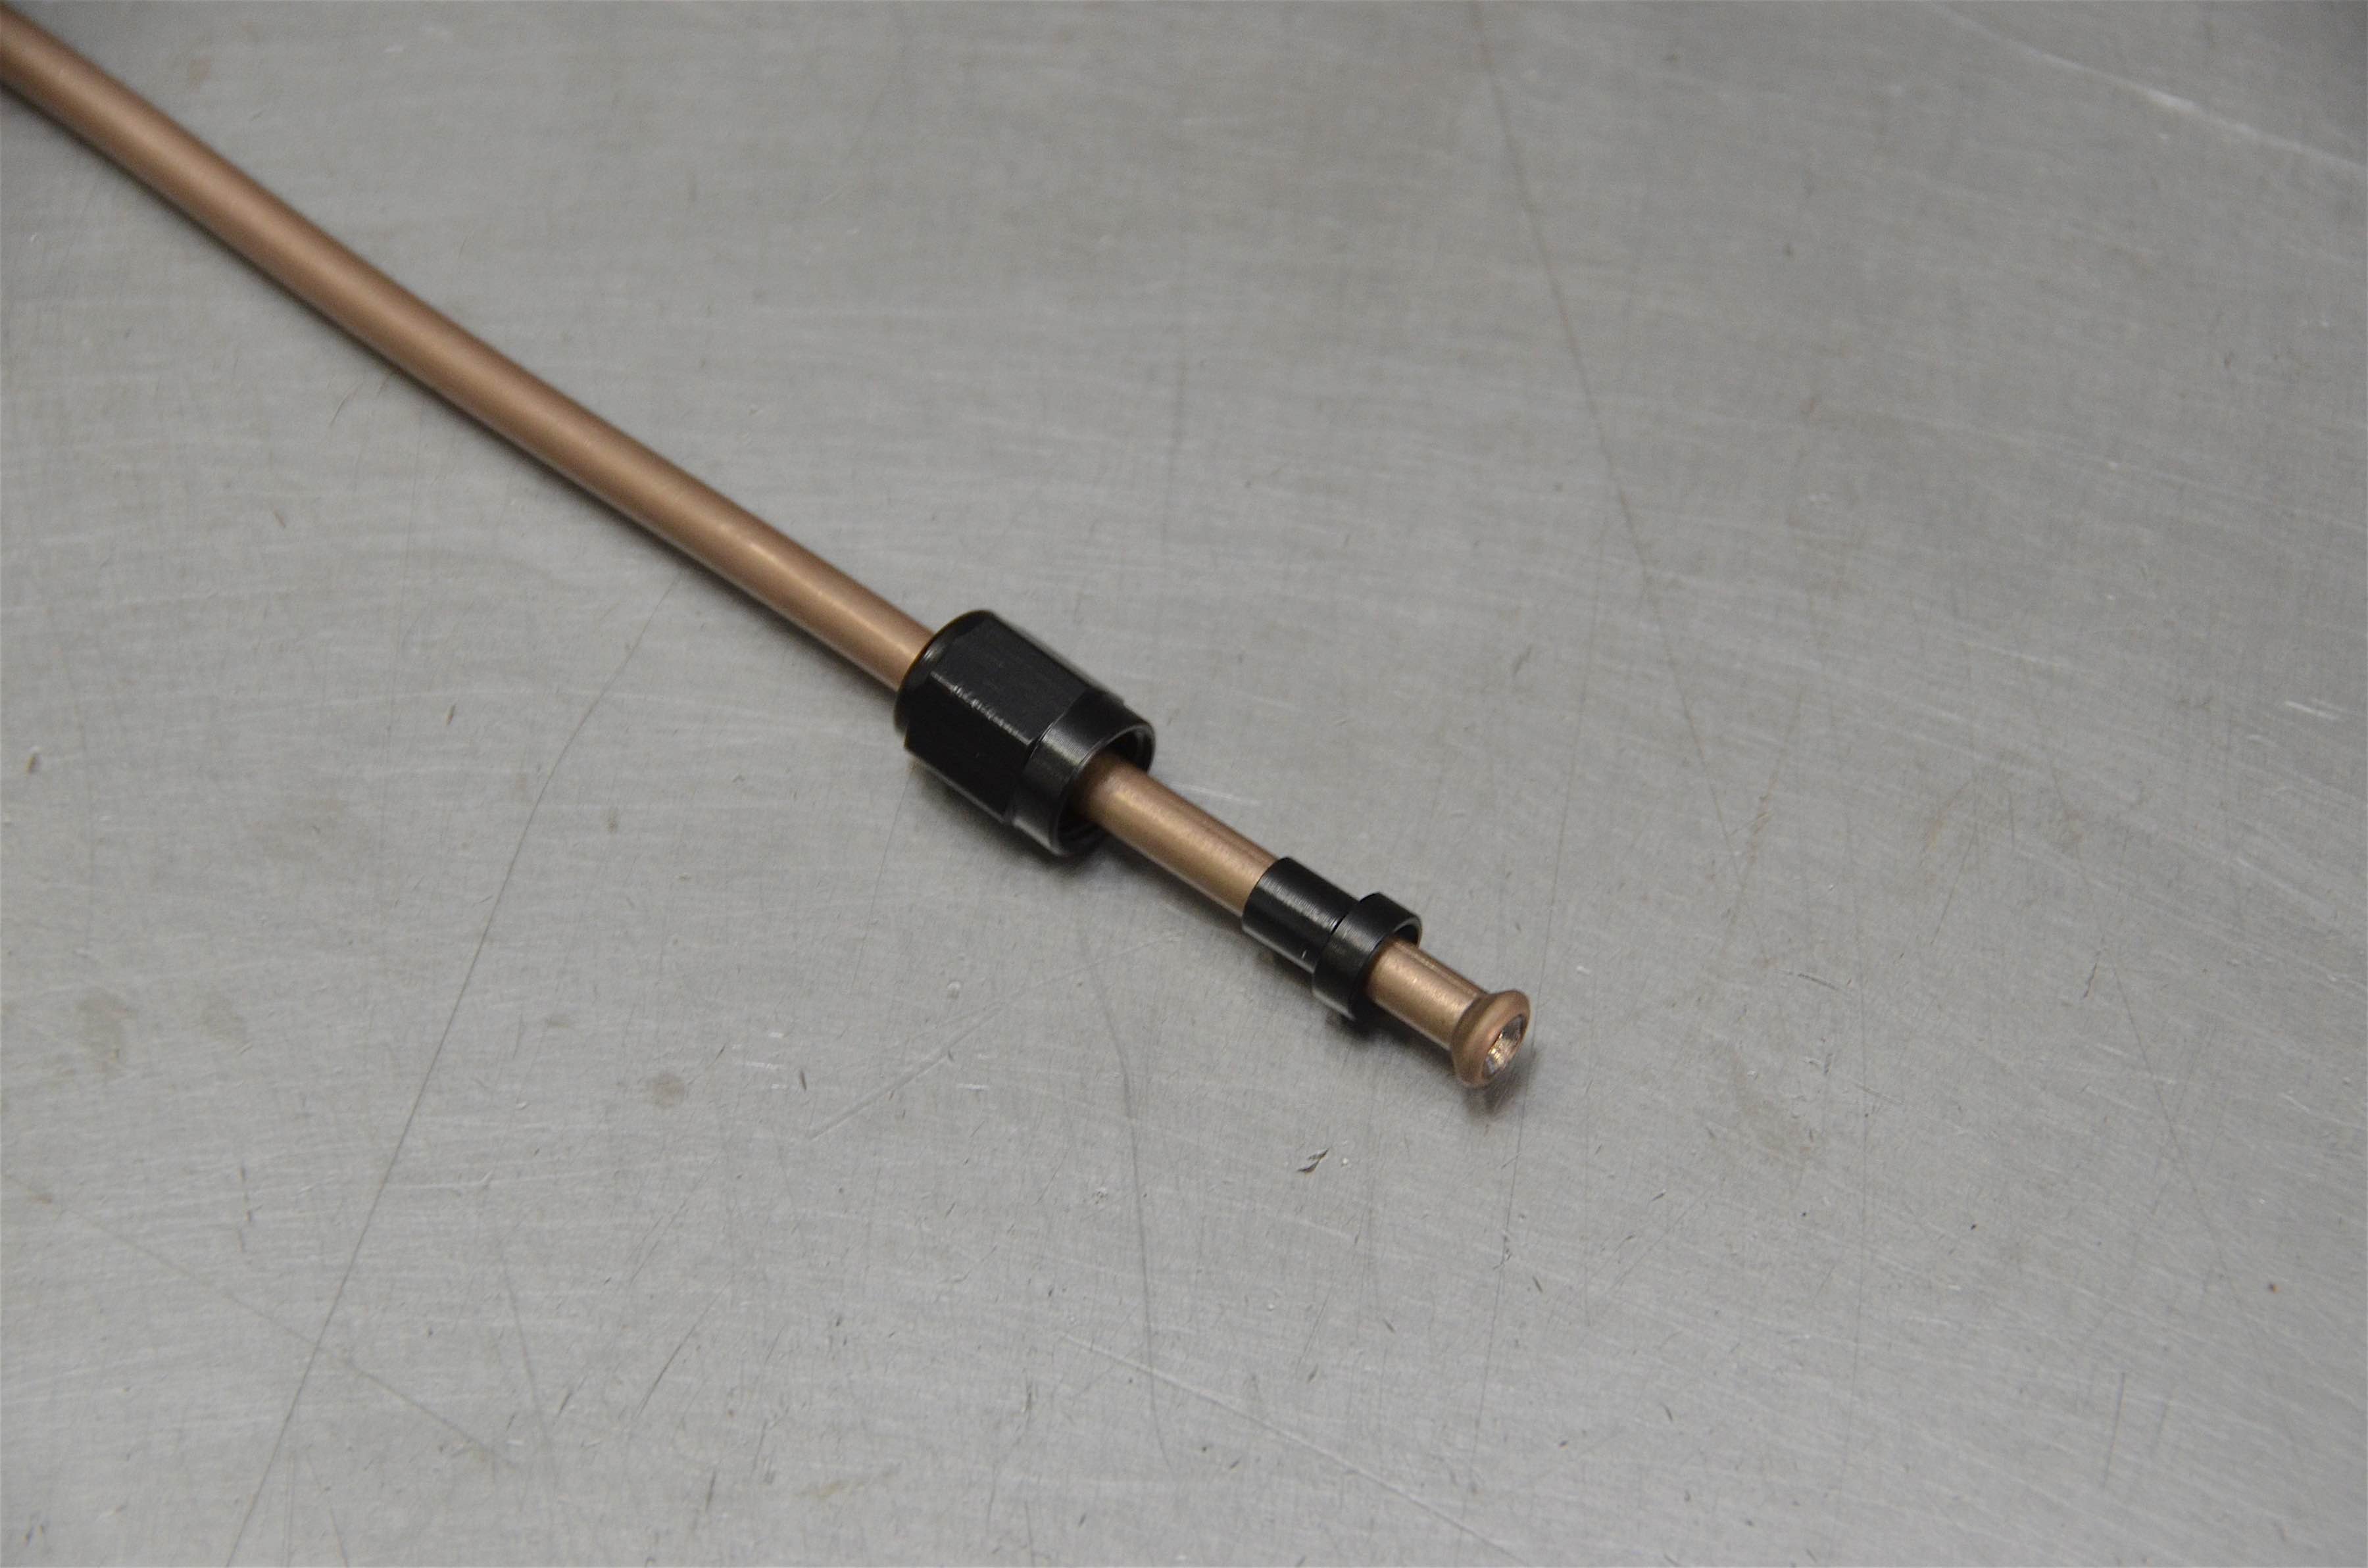
After a quick flaring, the brake lines were ready to be installed.
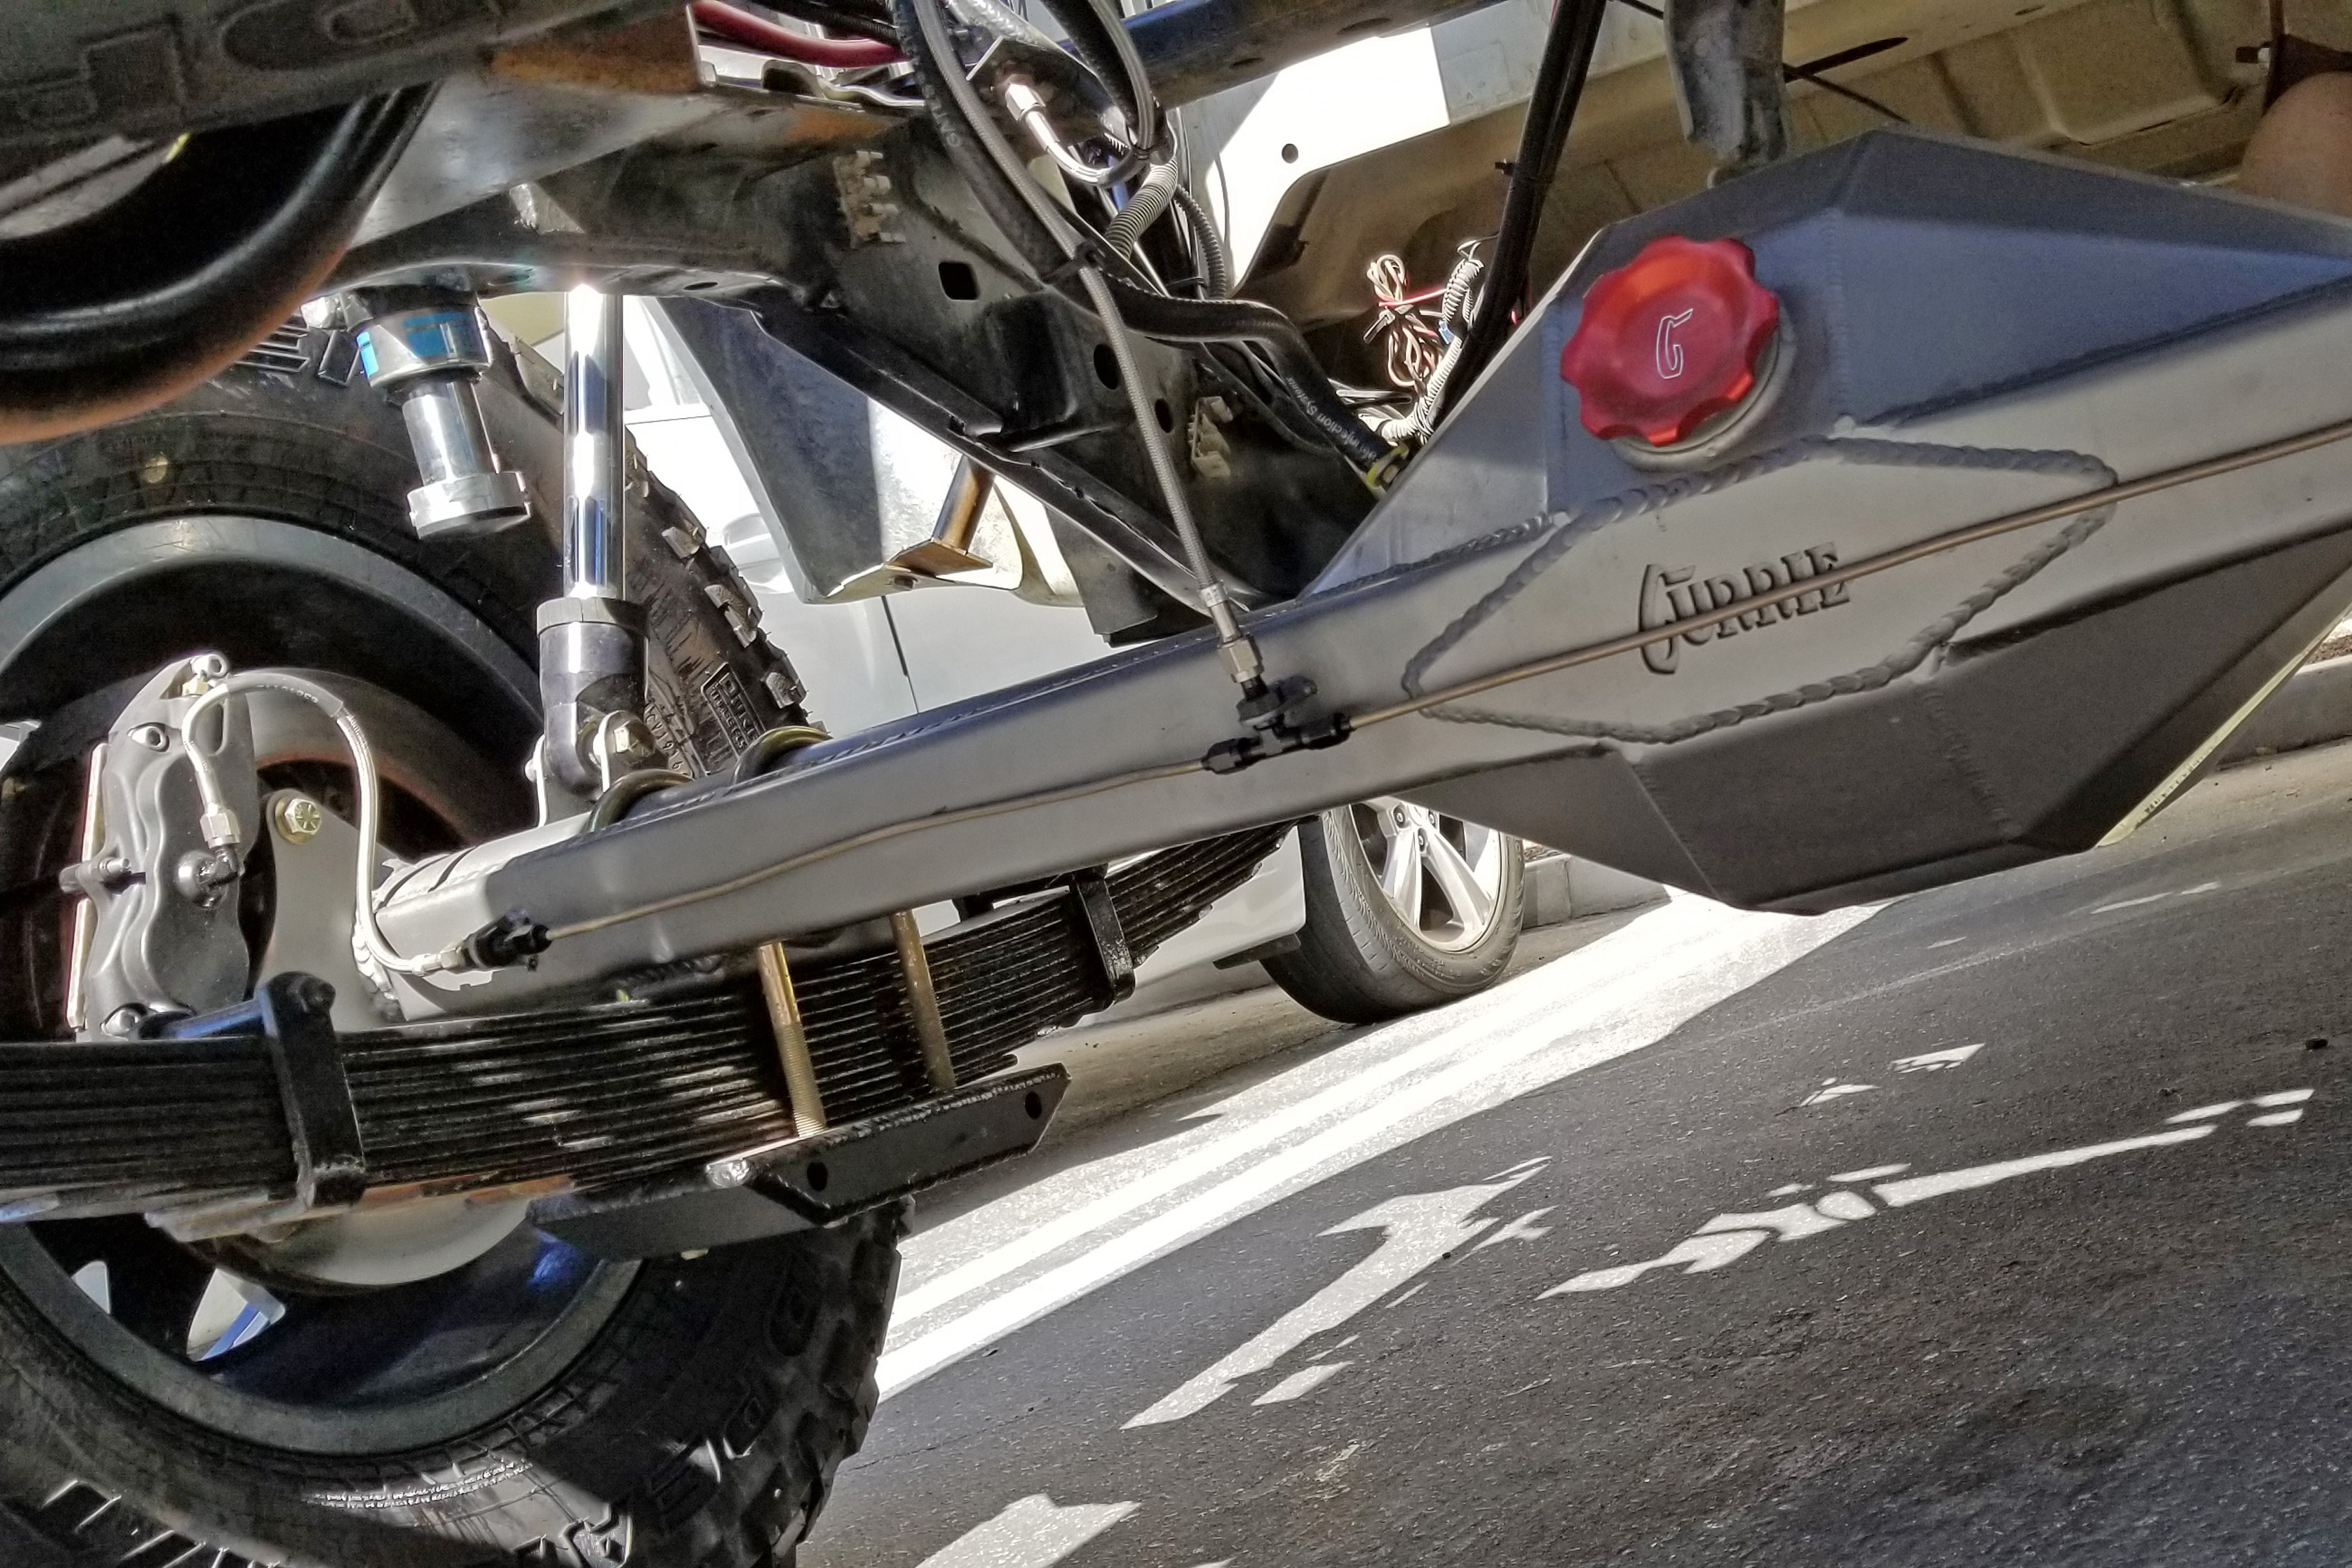
The lines were easy to build and made for a clean install with the AN fittings. New Earl’s Plumbing AN stainless steel brake lines were also used to connect to the Wilwood calipers. Unlike our previous install, we made tabs for the lines to be mounted to the housing.
“Our annealed stainless steel AN lines make it possible to eliminate the problematic factory-style inverted flares,” Jessee continued. “AN hardline is just simpler to assemble than OE style brake lines. It is also virtually impossible for these fittings to rust into place.”
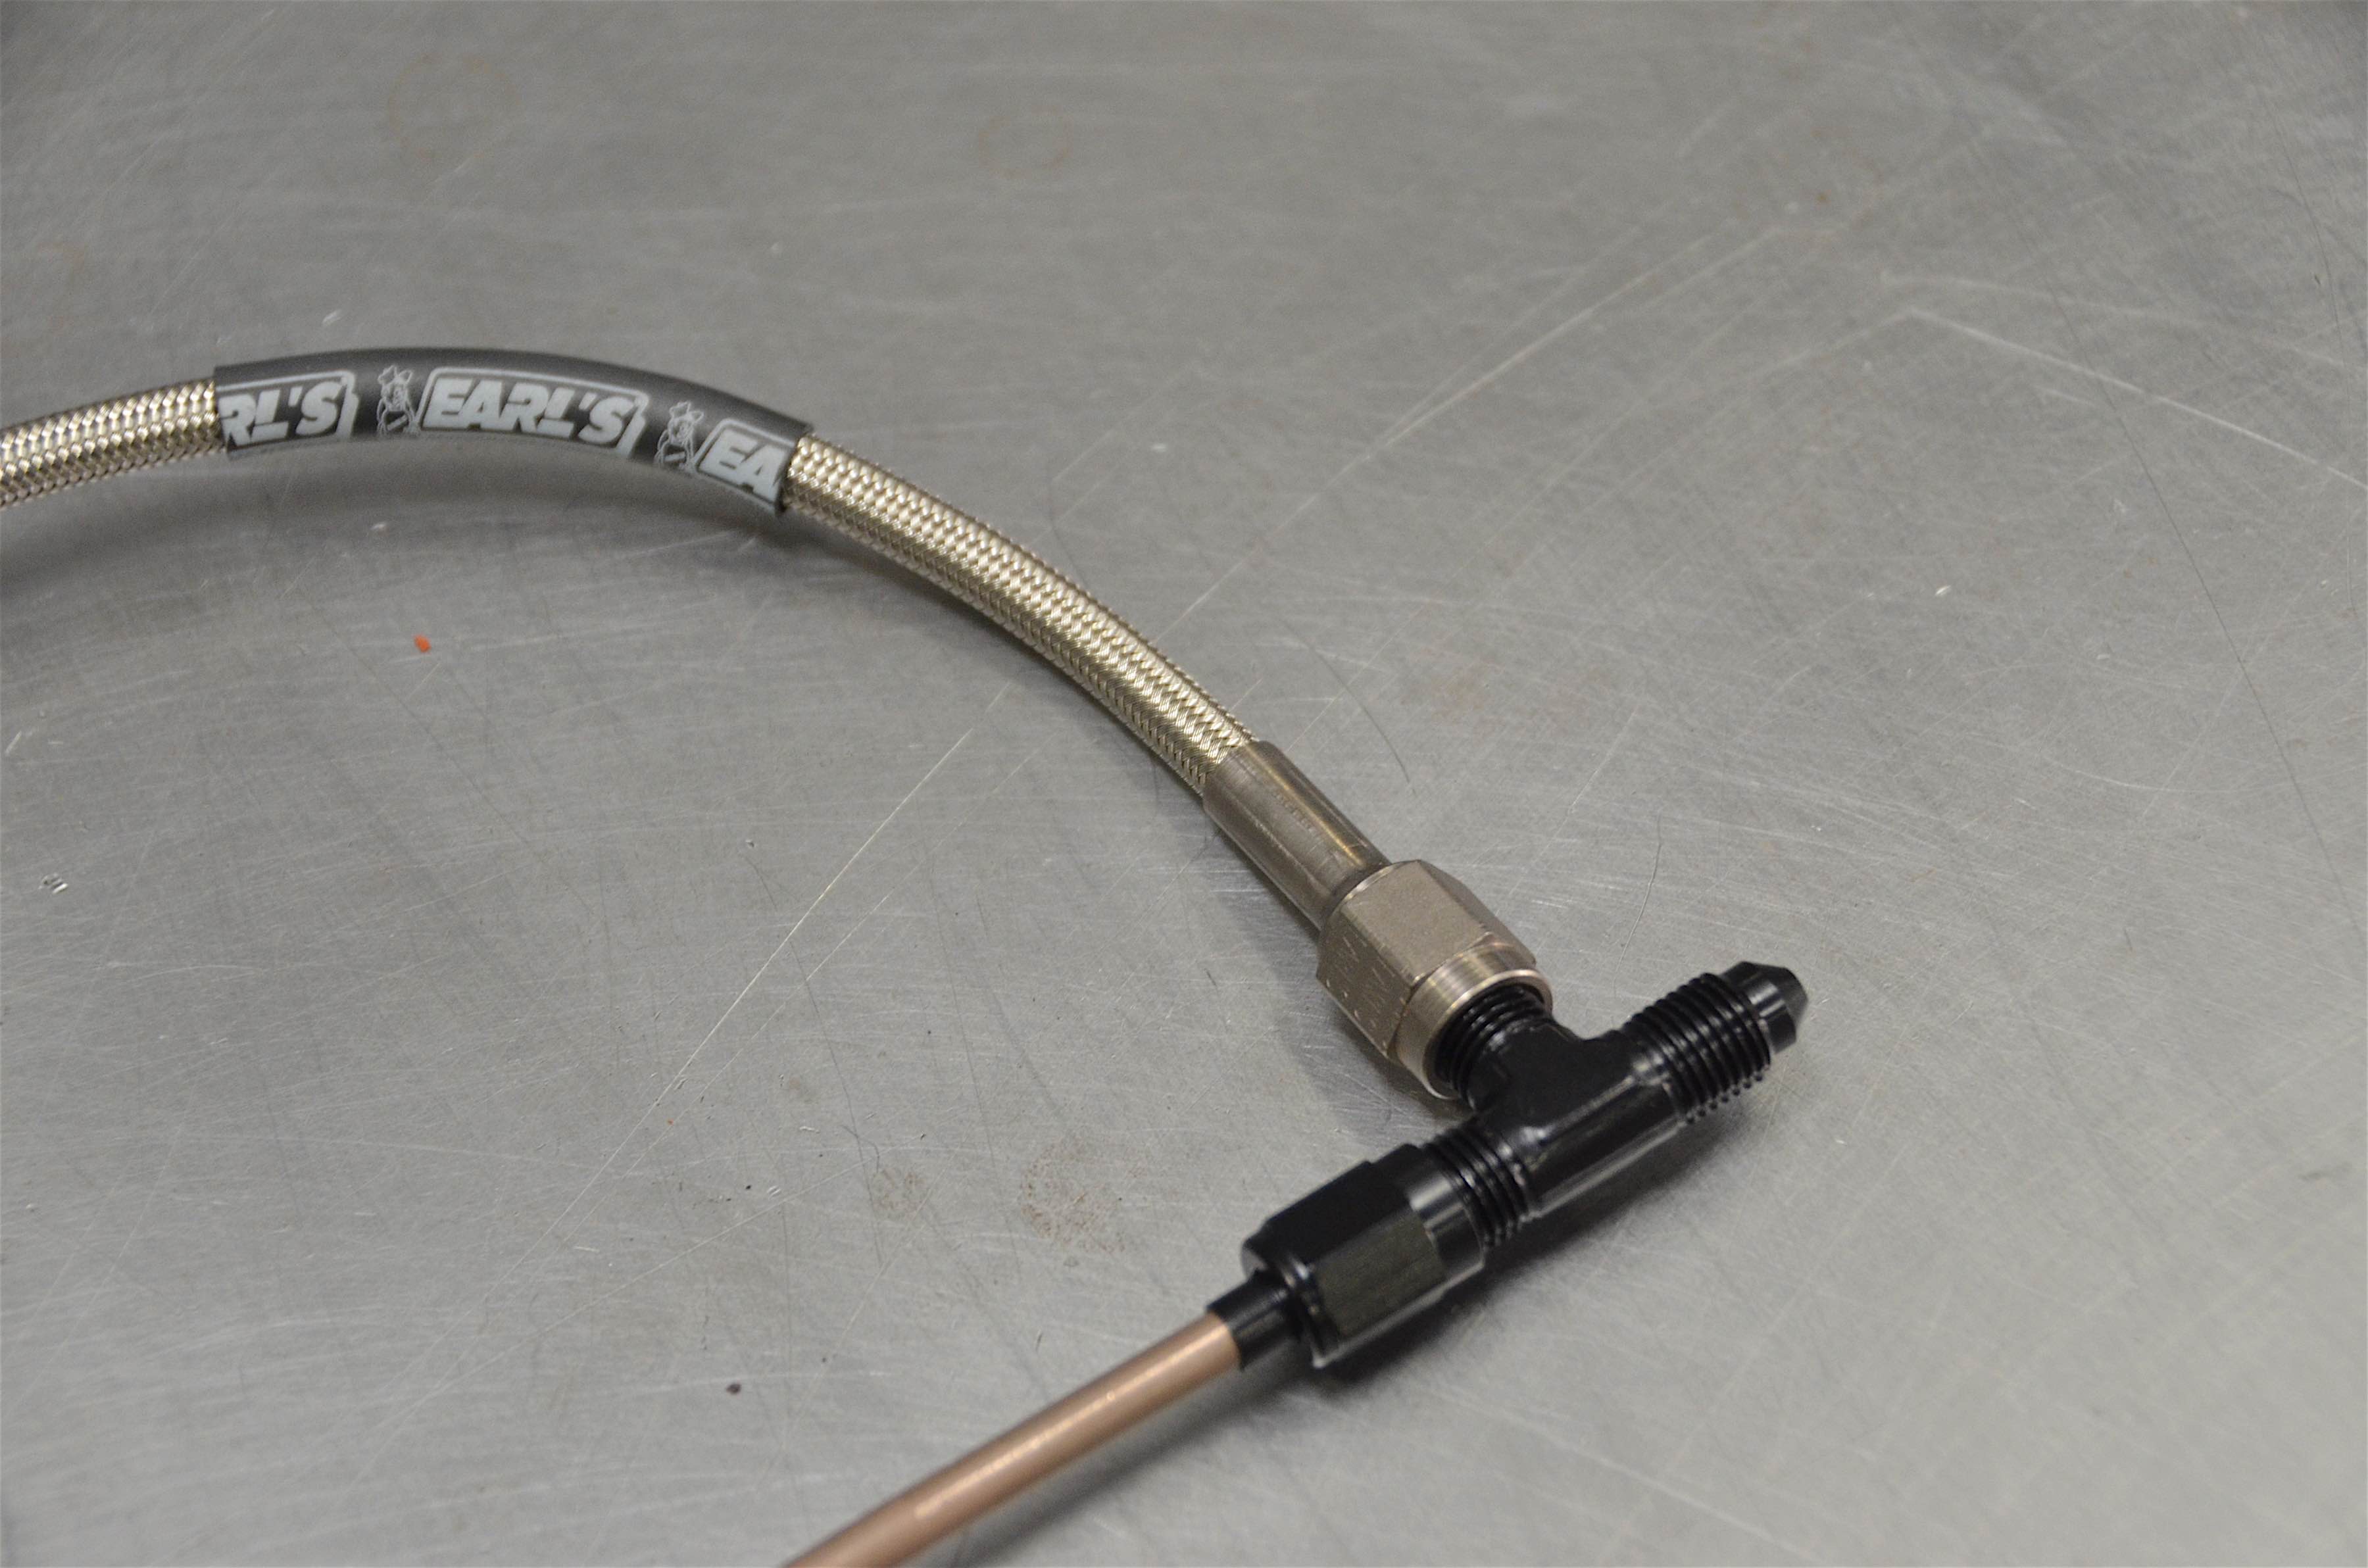
When all said and done, the fittings fit together perfectly.
One other part that we did like about the easy form line was the color. It was something different and unique. The gray coating on the housing made the copper color pop.
“All plumbing, especially brakes, is something that Earl’s Performance Plumbing considers it to be a safety item,” Jessee said. “We cannot stress enough how important it is to use quality components to carry critical fluids such as fuel, oil, or brake fluid.”
With everything buttoned up, we had to take Storm Trooper for a spin to see how the truck handled. Driving with a spool for the first time on the street put a smile on our faces. The tire chirping and squealing made us feel like kids.
The truck handled and stopped, which meant it was time to get started on the next part of the project. Be sure to stay tuned for the next update to Project Storm Trooper as we get it ready for the green flag.