It’s amazing what we can detect in automotive evolution just by way of seats. It used to be all you had was a cushion and backrest, if that, as you sat on a bench next to Dad. It took a long time for that to adapt to bucket seats, and then you had lumbar support, reclining, and before you knew it, heating.
As for Jeeps like our TJ, Project Redneck, the design approach was basically “less is less.” The simple three-point seat belts and unremarkable stock seats can’t cut it when it comes to hardcore off-roading. There was only one way to get these components up to snuff, and that was through MasterCraft Safety.
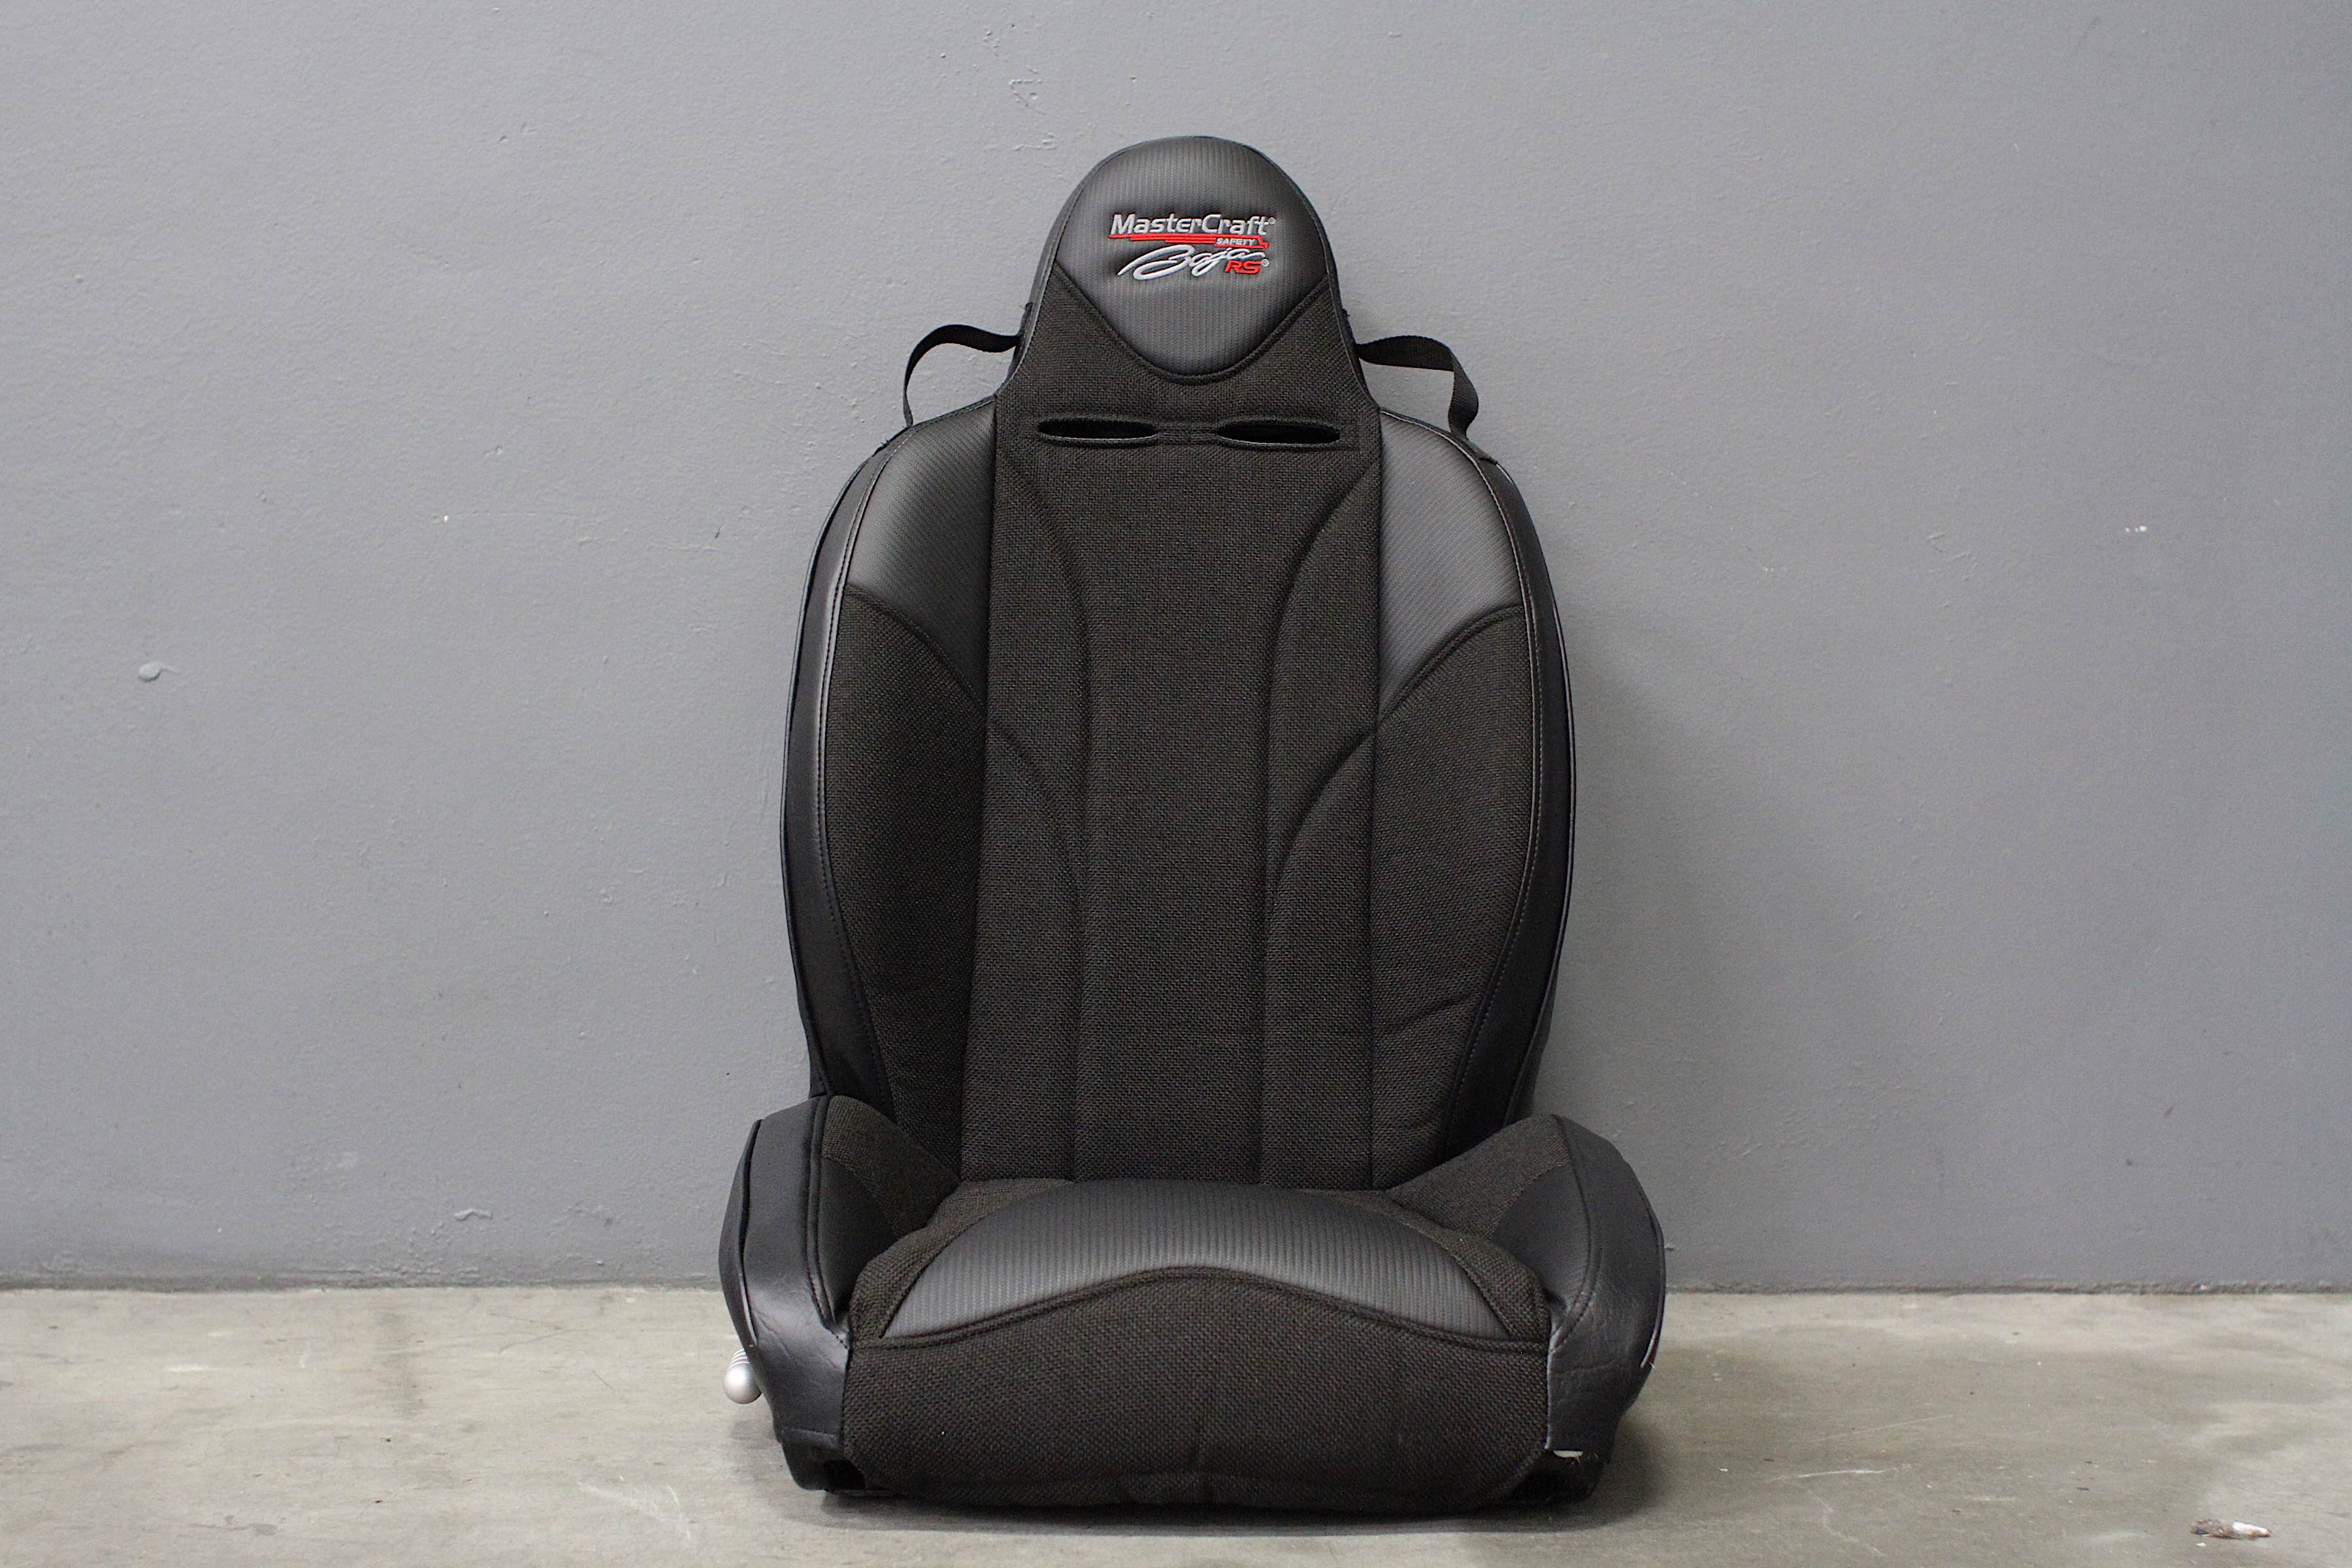
With an authoritative grasp on safety products, MasterCraft Safety was the right choice to go for upgrading Project Redneck’s seats and safety belts. We opted for the Baja RS (PN 504004) seats, five-point 16.1 two-inch latch and link restraint systems (PN 113004), and driver and passenger seat adapter brackets (PN 624004 & 624005).
Background Of Seats And Restraints
To better help us understand the products we received for Project Redneck, we had to talk to an expert – MasterCraft’s Ben O’Connor. When asked what the vision was behind the Baja RS seats, he said, “This goes back to the early part of the new millennia. We were getting requests from our customers looking for a reclining seat. At the time, no one had ever built a suspension seat as a recliner. We had to keep the integrity of the seat intact while also offering protection.”
Rather than going with tried and true design methods, MasterCraft designers went a different way. This way called for a liner connected to a steel tube using para-cord. “The routing of the liner and para-cord was critical to the function of the suspension,” said O’Connor. “But the reclining feature meant we had to re-think the way we routed and affixed the liner. Ultimately, we came up a solution, and the reclining suspension seat was born.”

Making a reclining racing seat was tricky for MasterCraft, as it was one of the first of its kind.
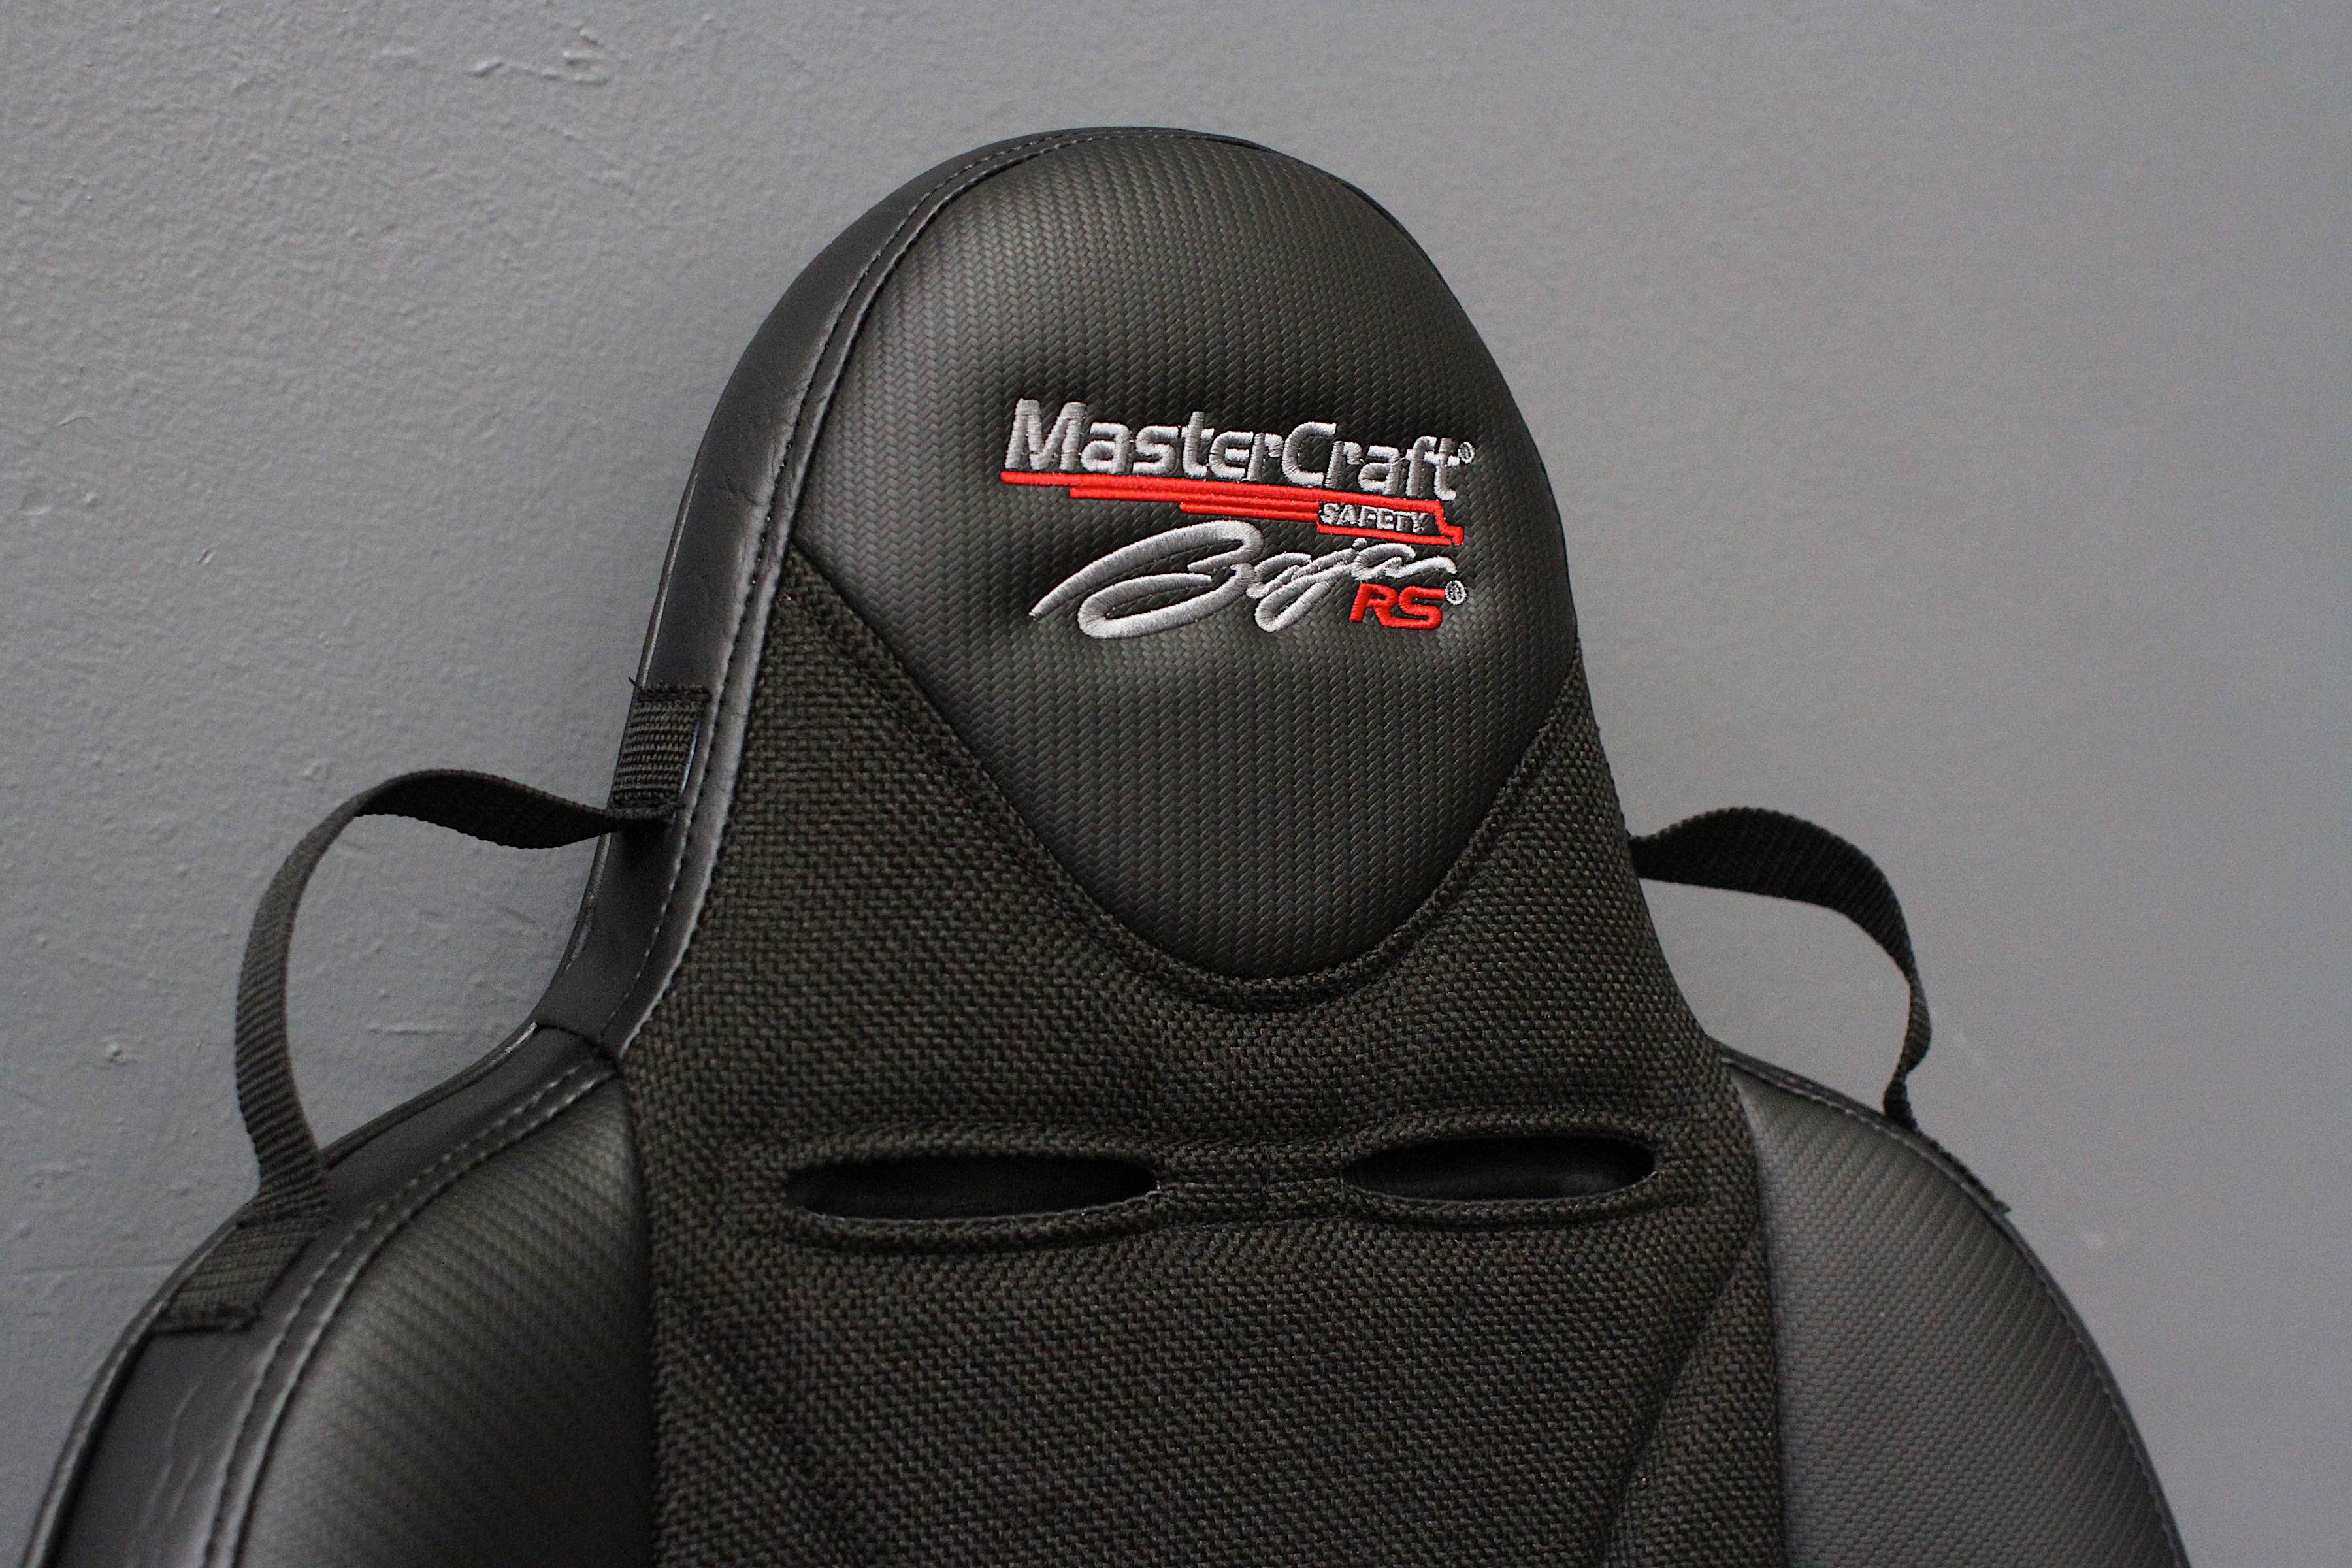
The features of the seat are numerous, starting with the liner. “Instead of using the same vinyl material used in the upholstery, we use an open mesh liner,” said O’Connor. “The open mesh design prevents the ‘trampoline’ effect that vinyl can create, expelling energy rather than storing and releasing it.”
The seat is perfect for those wanting a reclining suspension seat, while also enjoying better bolster support. – Ben O’Connor, MasterCraft

Another feature of the Baja RS seats is its .65 wall tubing for the frame. “It’s heavier than what’s used in other seats on the market,” said O’Connor. “We also use sheet foam, cut and assembled to make up the padding of the seat. It’s tedious, but higher quality than what you’d find with pre-molded foam since it’s higher quality and feels plusher.”
Topping it off are high-grade fabrics and vinyls on the upholstery. “These hold up to the rigors of off-road and open-top driving,” said O’Connor.

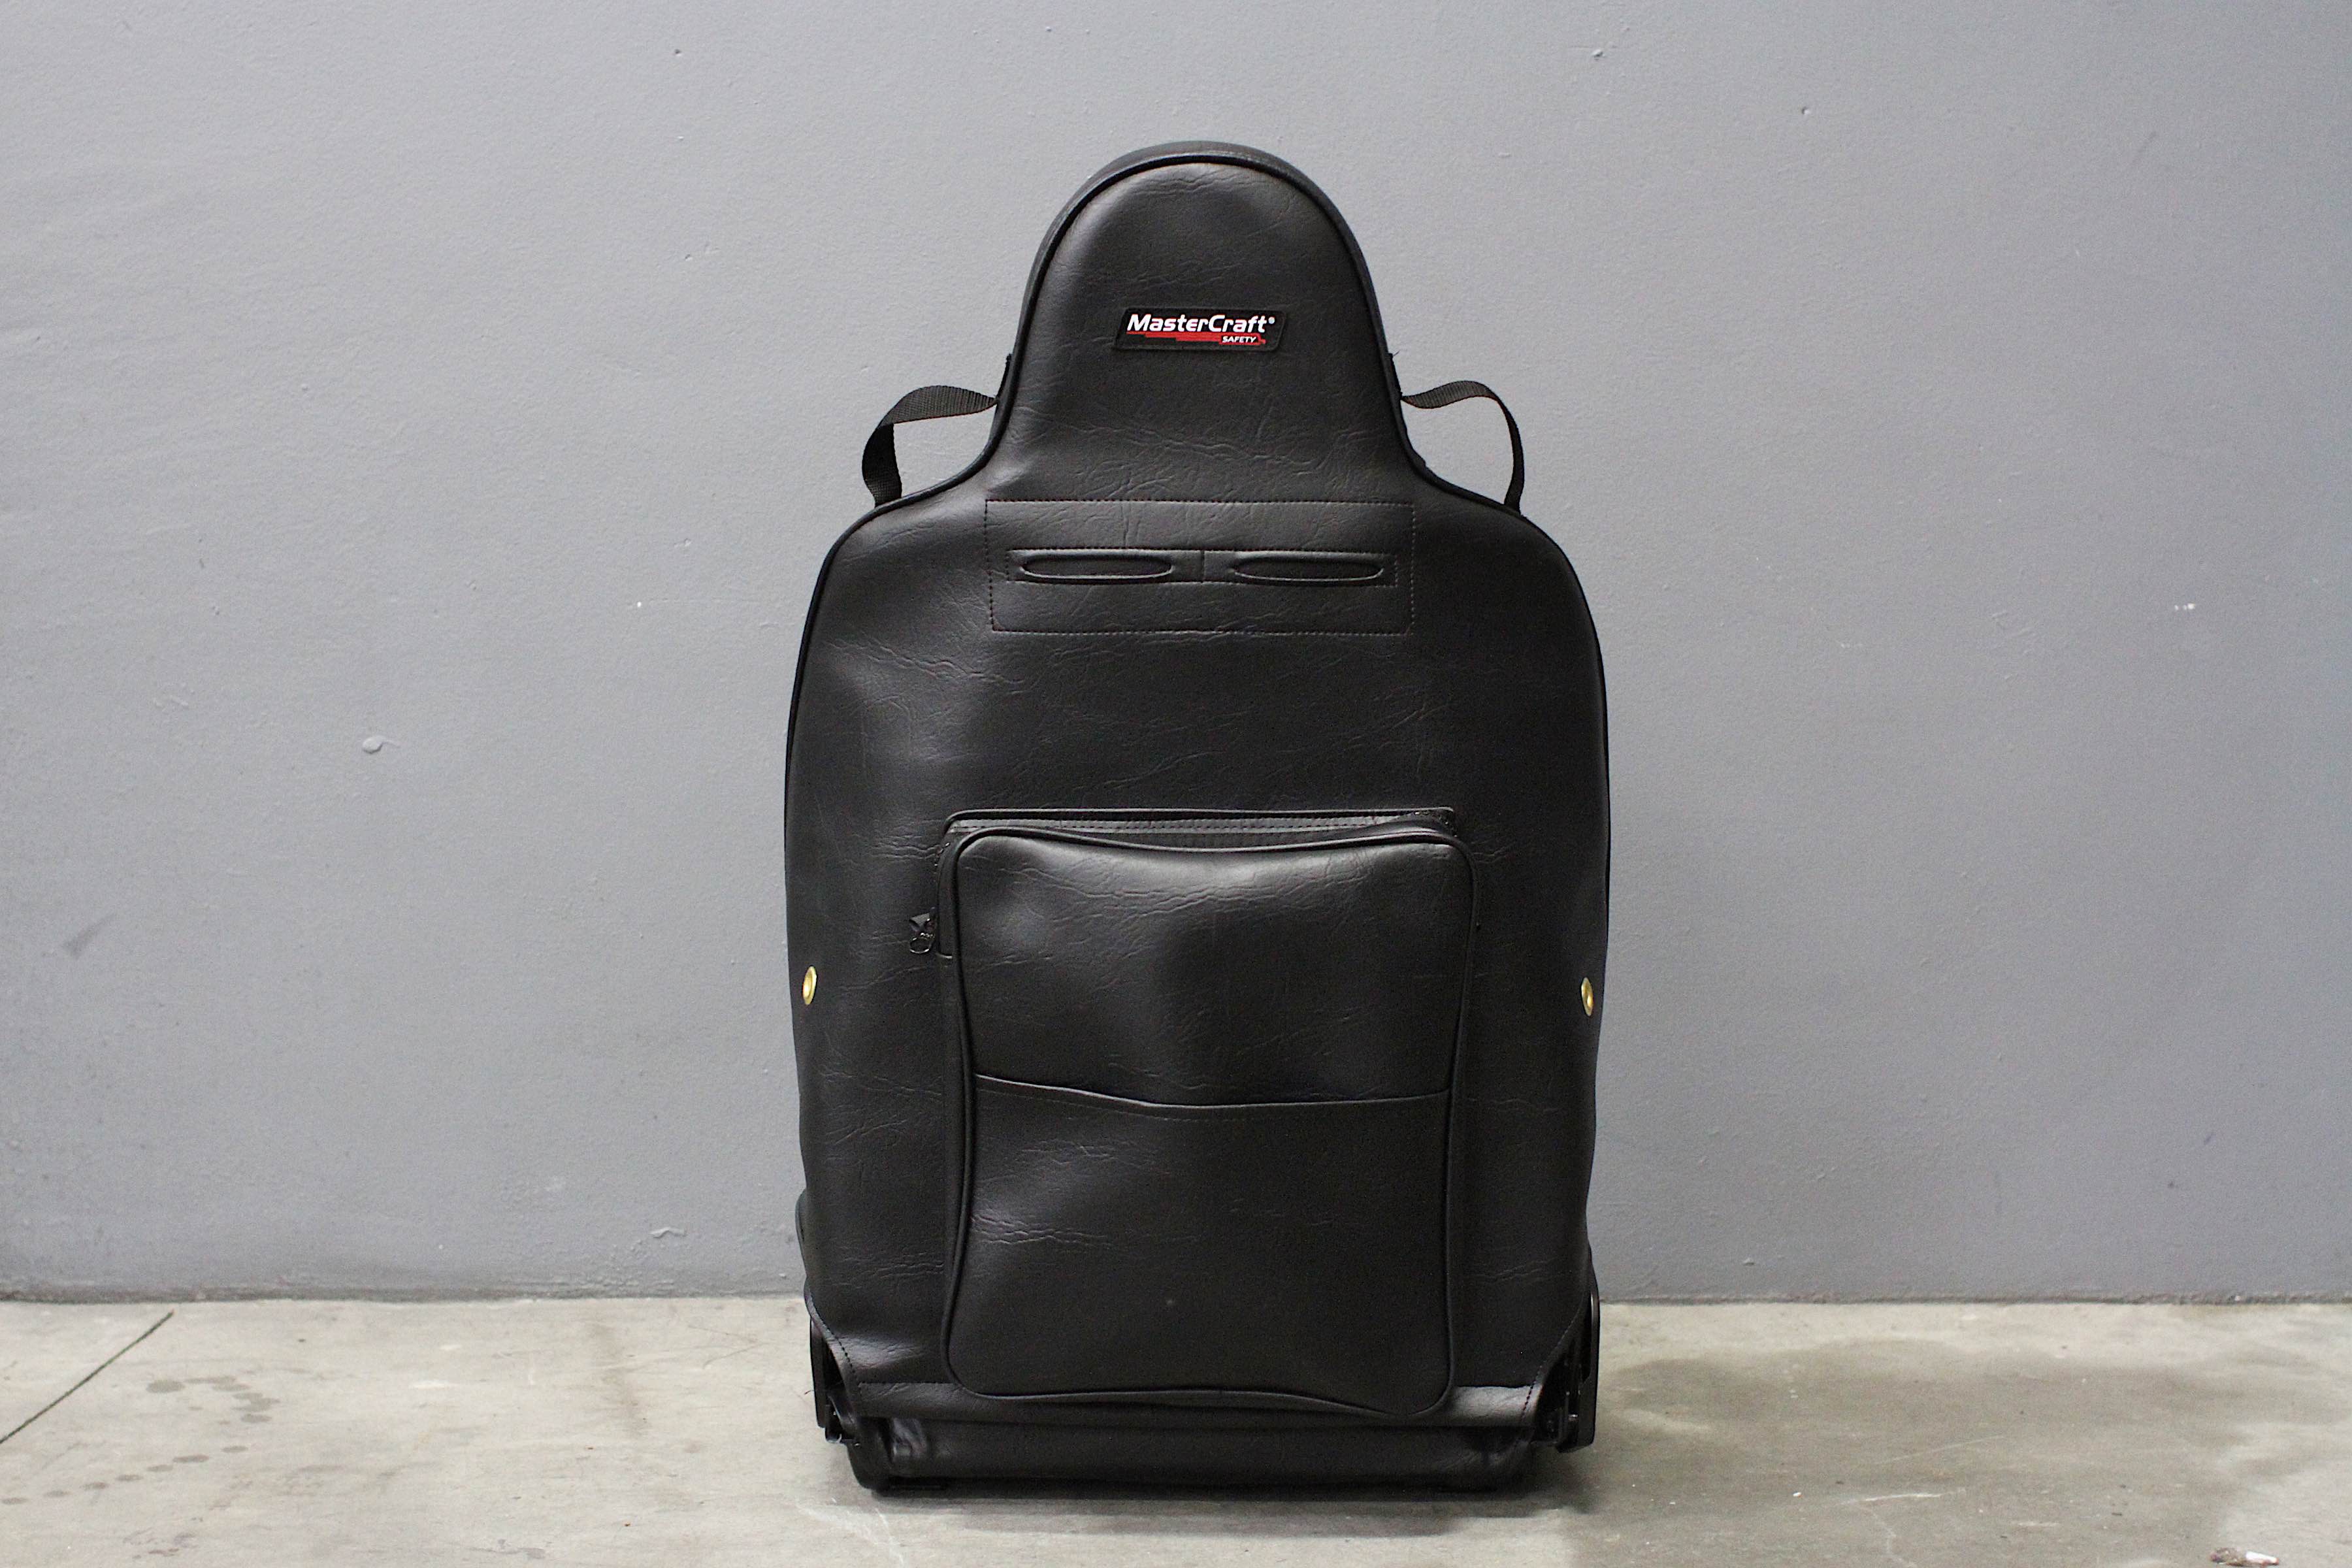
In addition to using high-quality fabric, vinyl, foam, and other materials, MasterCraft’s Baja RS seats are made in Indianapolis, Indiana, just like all the other seats in the company’s lineup.
Testing on the seats, as well as the harnesses, is held to a high standard. “Our seats are independently tested to ensure they exceed FMVSS standards for road going use,” said O’Connor. “To our knowledge, we are the only company doing this testing on a suspension seat. Meanwhile, the restraints are tested to ensure they meet SFI requirements for use in motor sports.”
It’s the harnesses that will be doing the heavy lifting on Project Redneck, however. The seats will keep our bodies fixated, but the harnesses will keep us safe. To that end, MasterCraft’s adherence to the SFI 16.1 rating eases our minds. “SFI 16.1 is a standard that relates to quality,” explained O’Connor. “We tested these harnesses to SFI 16.1 and passed.”
But do harnesses have to be uncomfortable to keep us safe? “Safety is obviously the primary focus of the design, but we do a few things to make the user as comfortable as possible,” said O’Connor. “The webbing we use is fairly supple, and on a two-inch versus three-inch harness, the former will be more comfortable, due to less bulk. In addition, with the lap restraints sitting into the iliac crest of the of the hip, they can be adjusted tightly, offering greater protection.”
Last but not least, the brackets to install the seats were a must-have for Project Redneck. “The adapter kits are often necessary to deal with OE sliders and bases,” said O’Connor. “They also help with mounting the harnesses.”
Installation
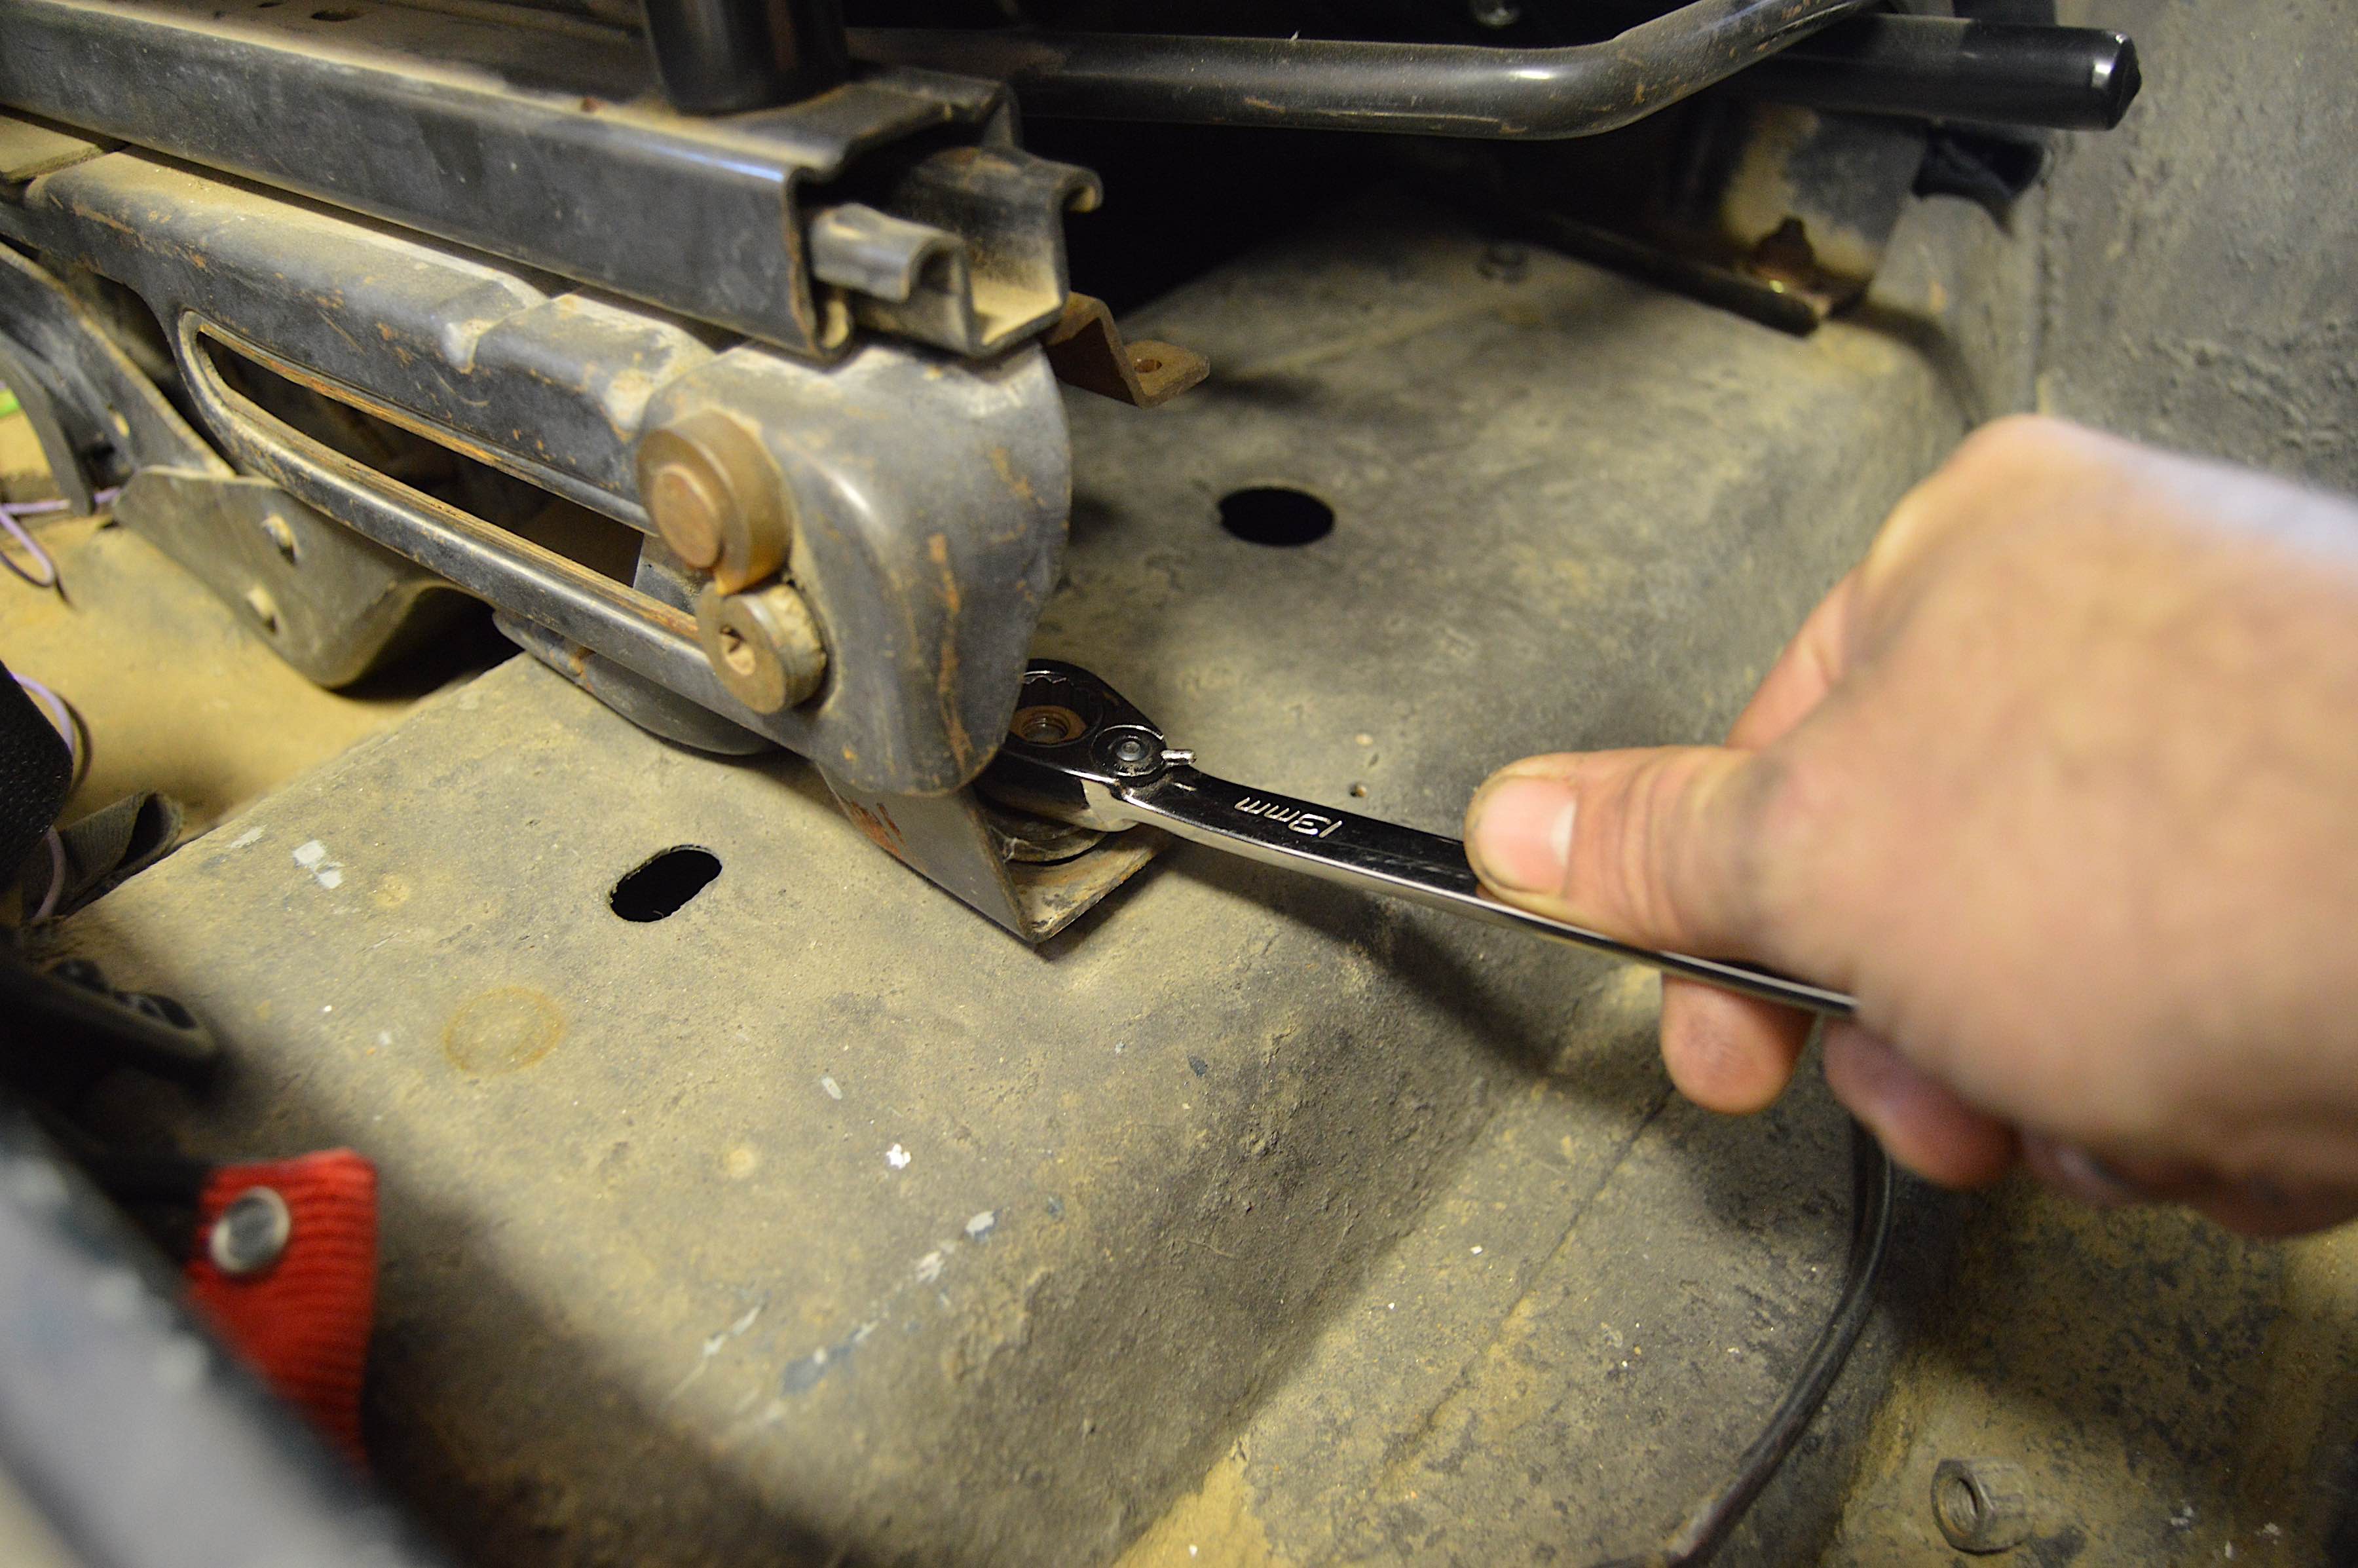
The first of the four bolts holding down the seat to the Jeep.
Installing the seats, harnesses, and brackets began with us removing the old stock seats. Four bolts held in the seats, along with a seatbelt sensor wire on the driver’s seat. With those undone, the seats were free, and we could start tearing them down.
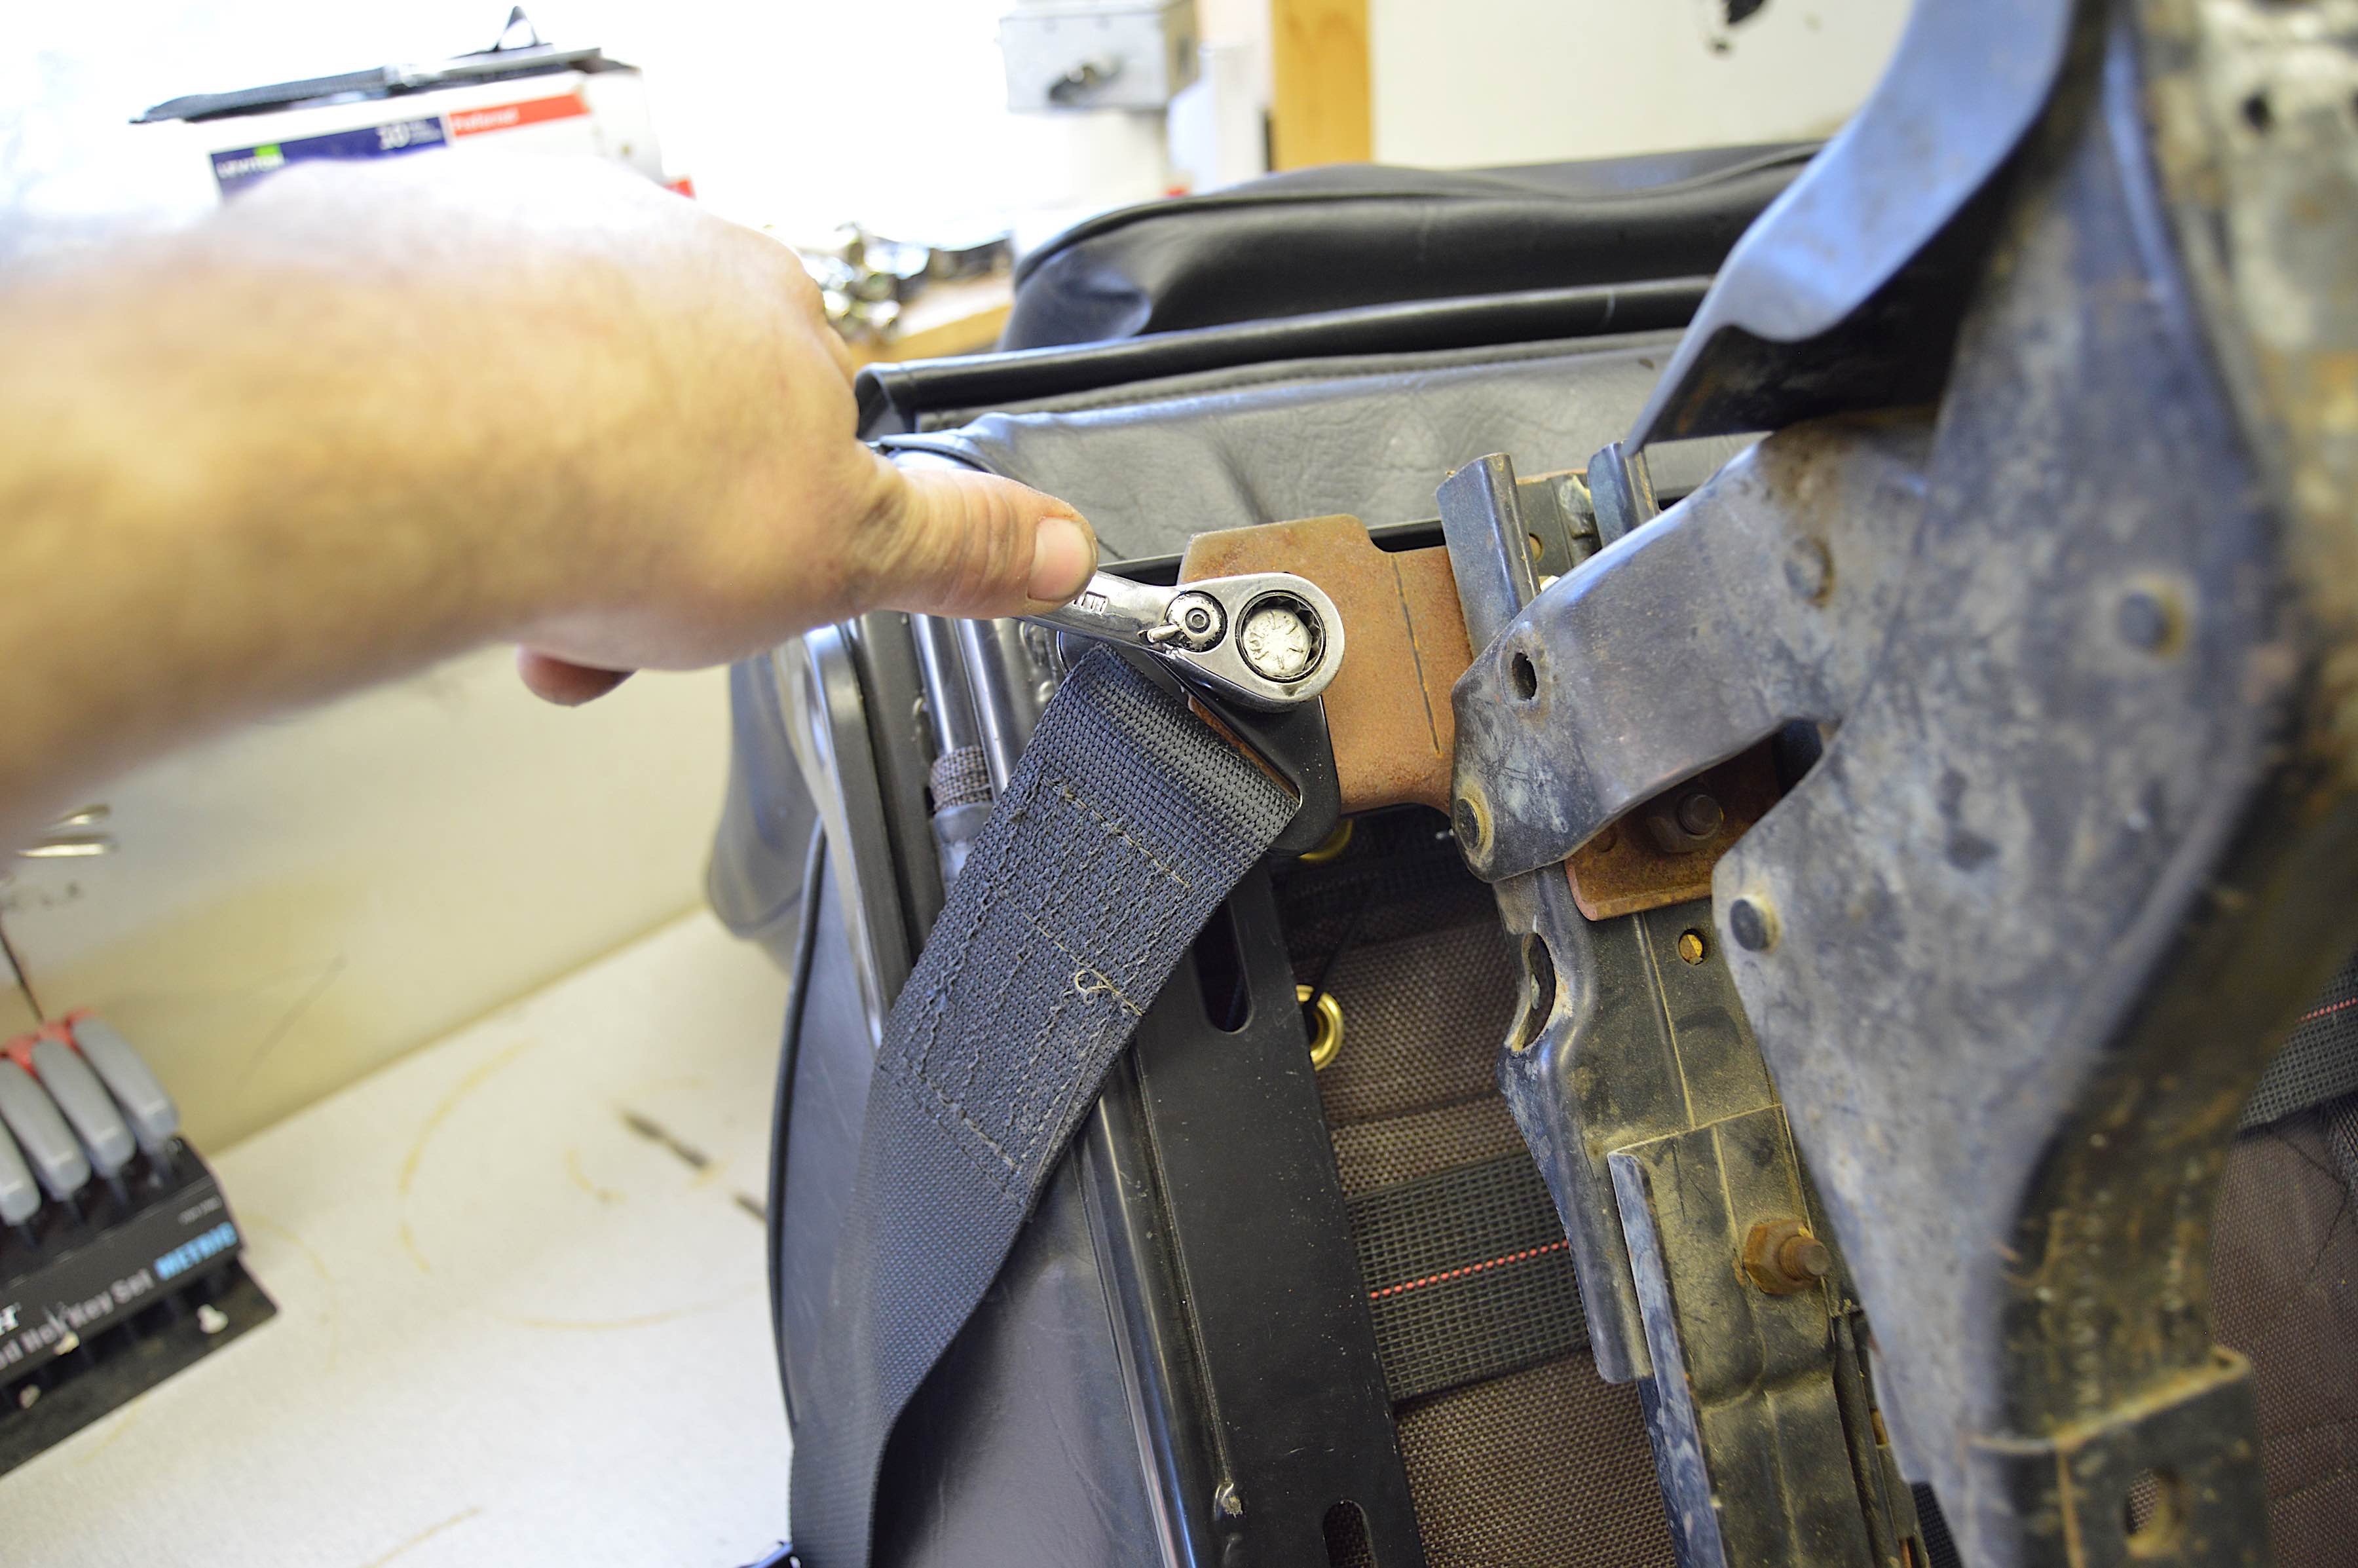
Starting on the passenger seat, we removed the four bolts that attached the slider to the seat. A cable attached to the slider was undone, and the slider was now free. A retainer bar on the front of the slider had to be removed, and we did so after undoing the lock washers that came from the factory.
The extender for the slider lever was bolted on after a hole was drilled.
Next, we attacked the studs that held in the factory seat. These required the bracket to hold steady as we tapped on the studs with a hammer. We then moved onto the slider lever, drilling a hole to mount the new extender. It went on with a nut, bolt, and washer.
The next step involved taking brackets and putting them on the slider. The labeling allowed us to determine which went where; the rear went toward the back, and the front went to the front, naturally. The retainer bar went back on, with the front bracket going over the top of it.
The brackets for the seat were installed on the front and back.
With the slider finished, we brought the passenger seat over and bolted them together. That finished the passenger seat, meaning we could move on to the driver seat. The steps were similar, if a little easier thanks to not having to deal with a tumbling mechanism.
One thing we had to keep track of with the sliding mechanisms for both seats was that they stayed exactly in line with each other. They could sometimes get out of sync, since they weren’t bolted down to the Jeep, so we made adjustments when necessary before installing the new seats.
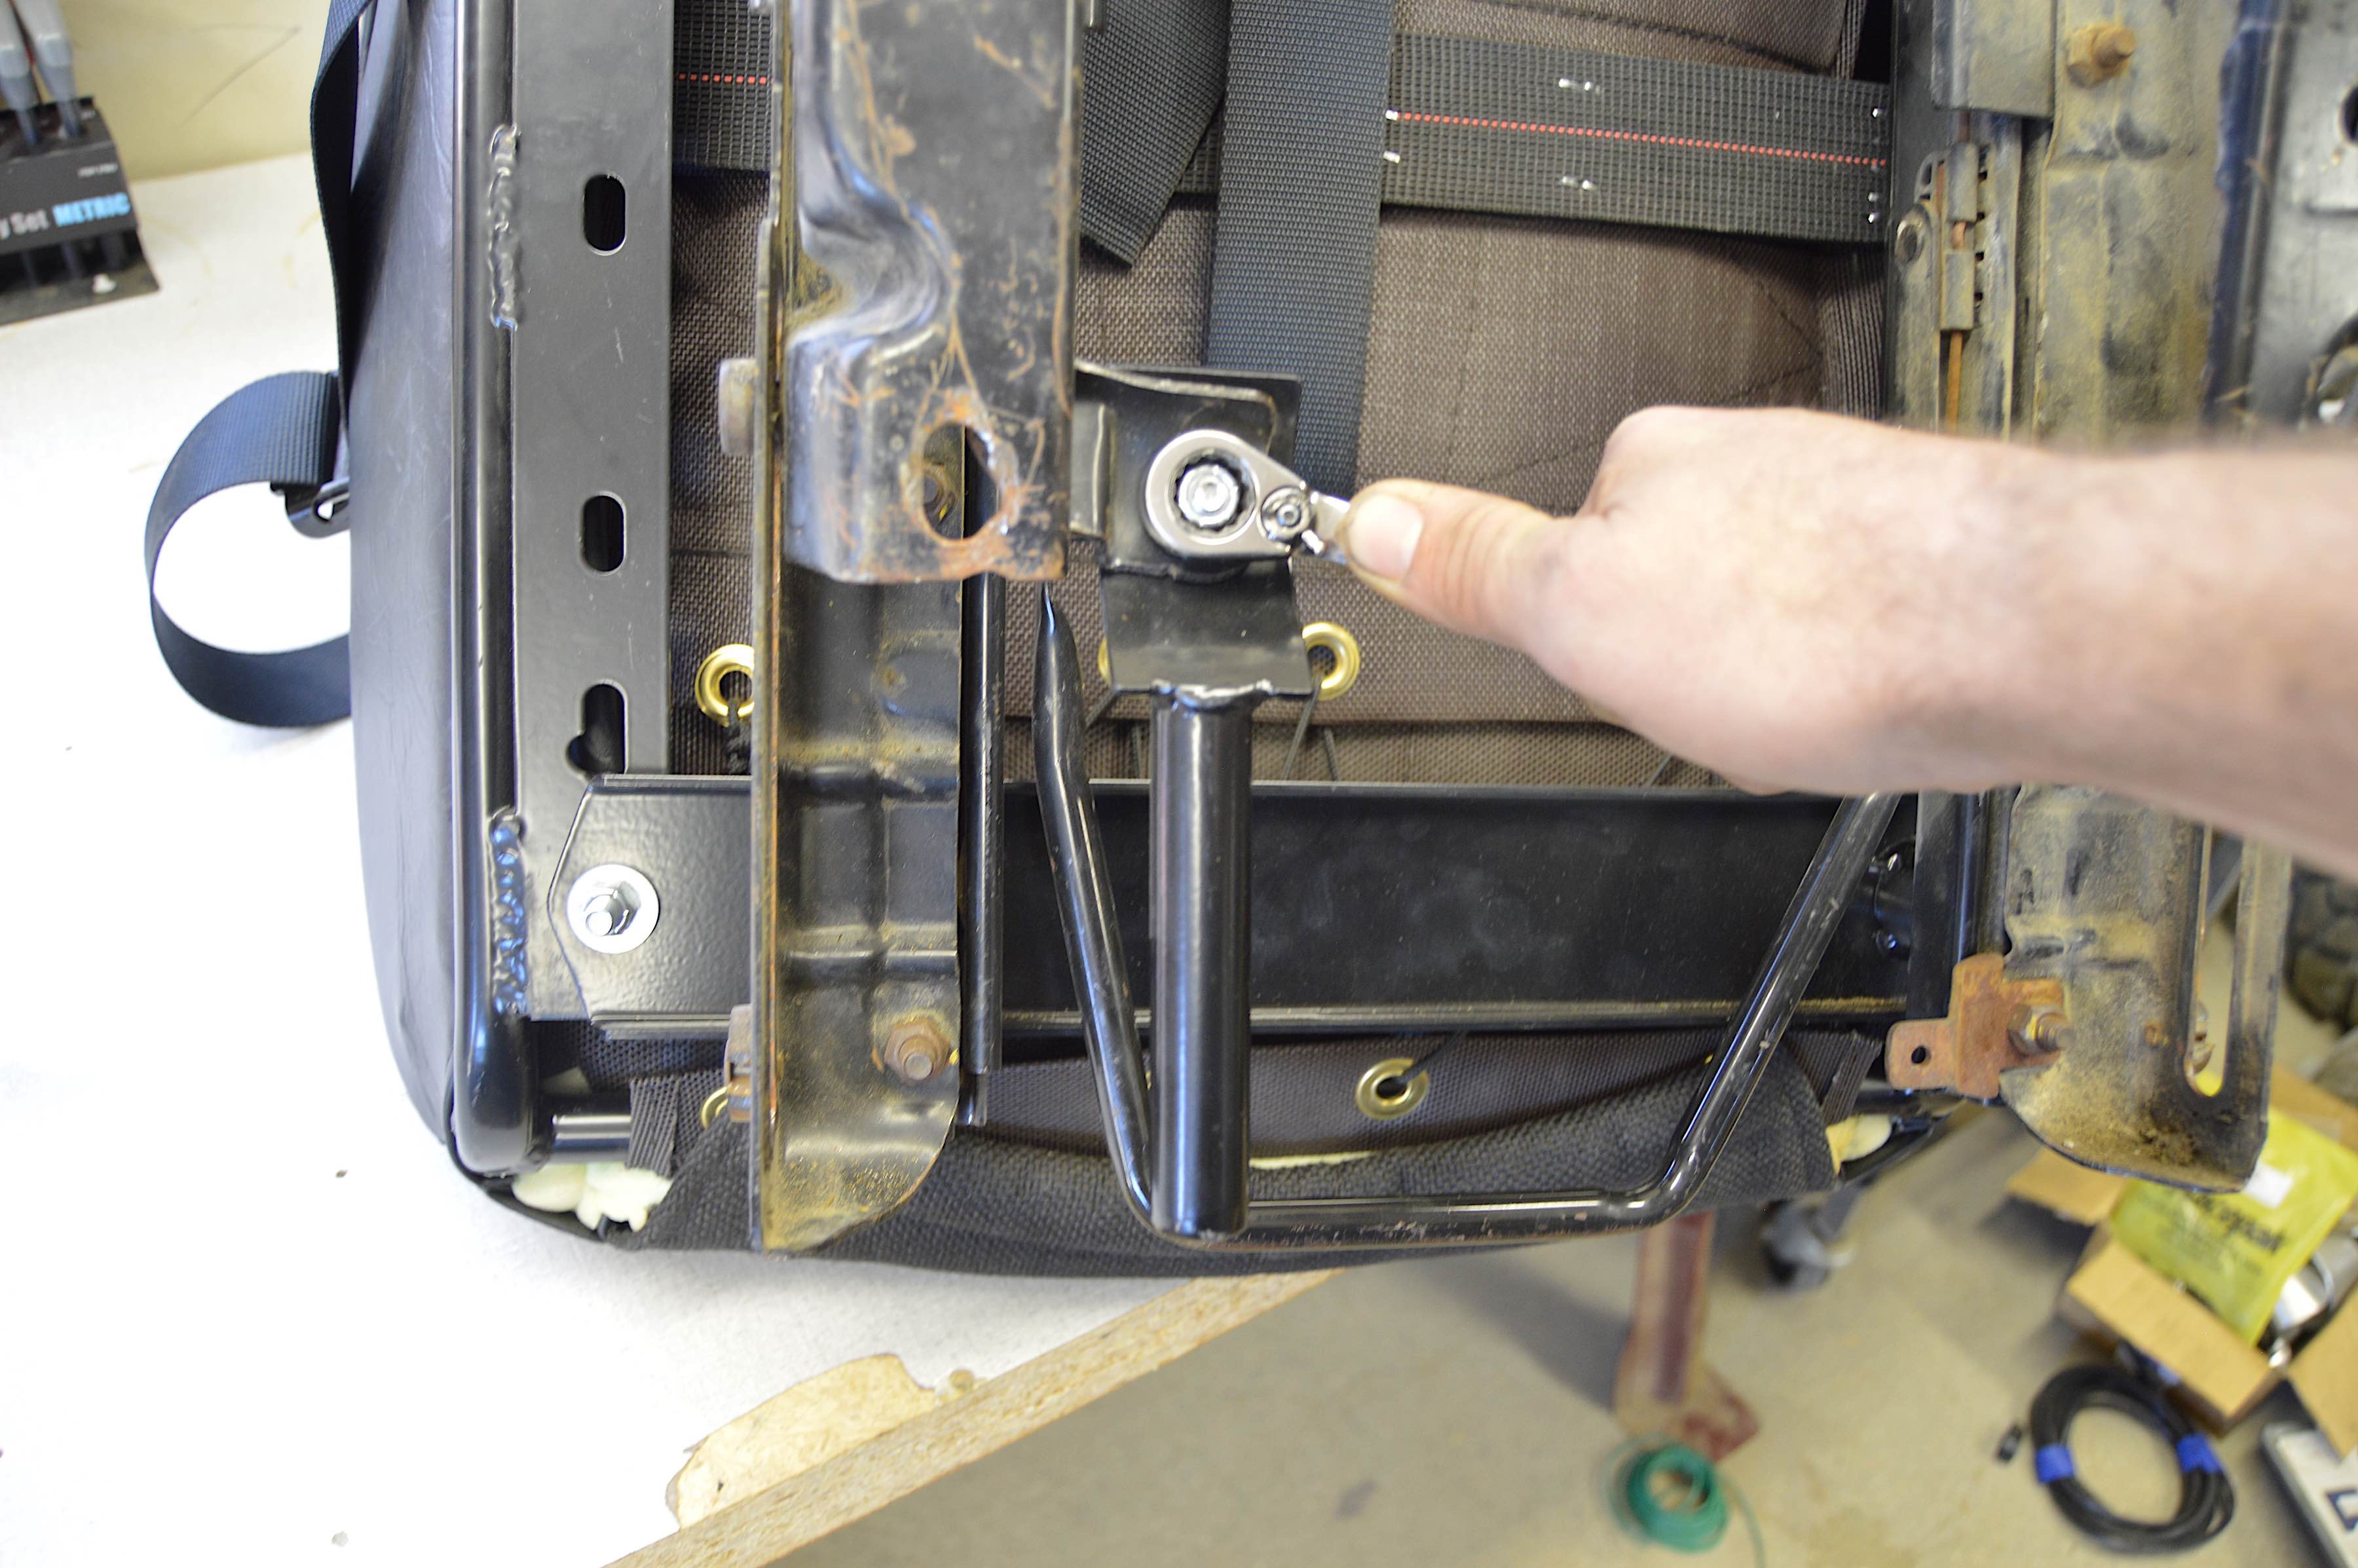
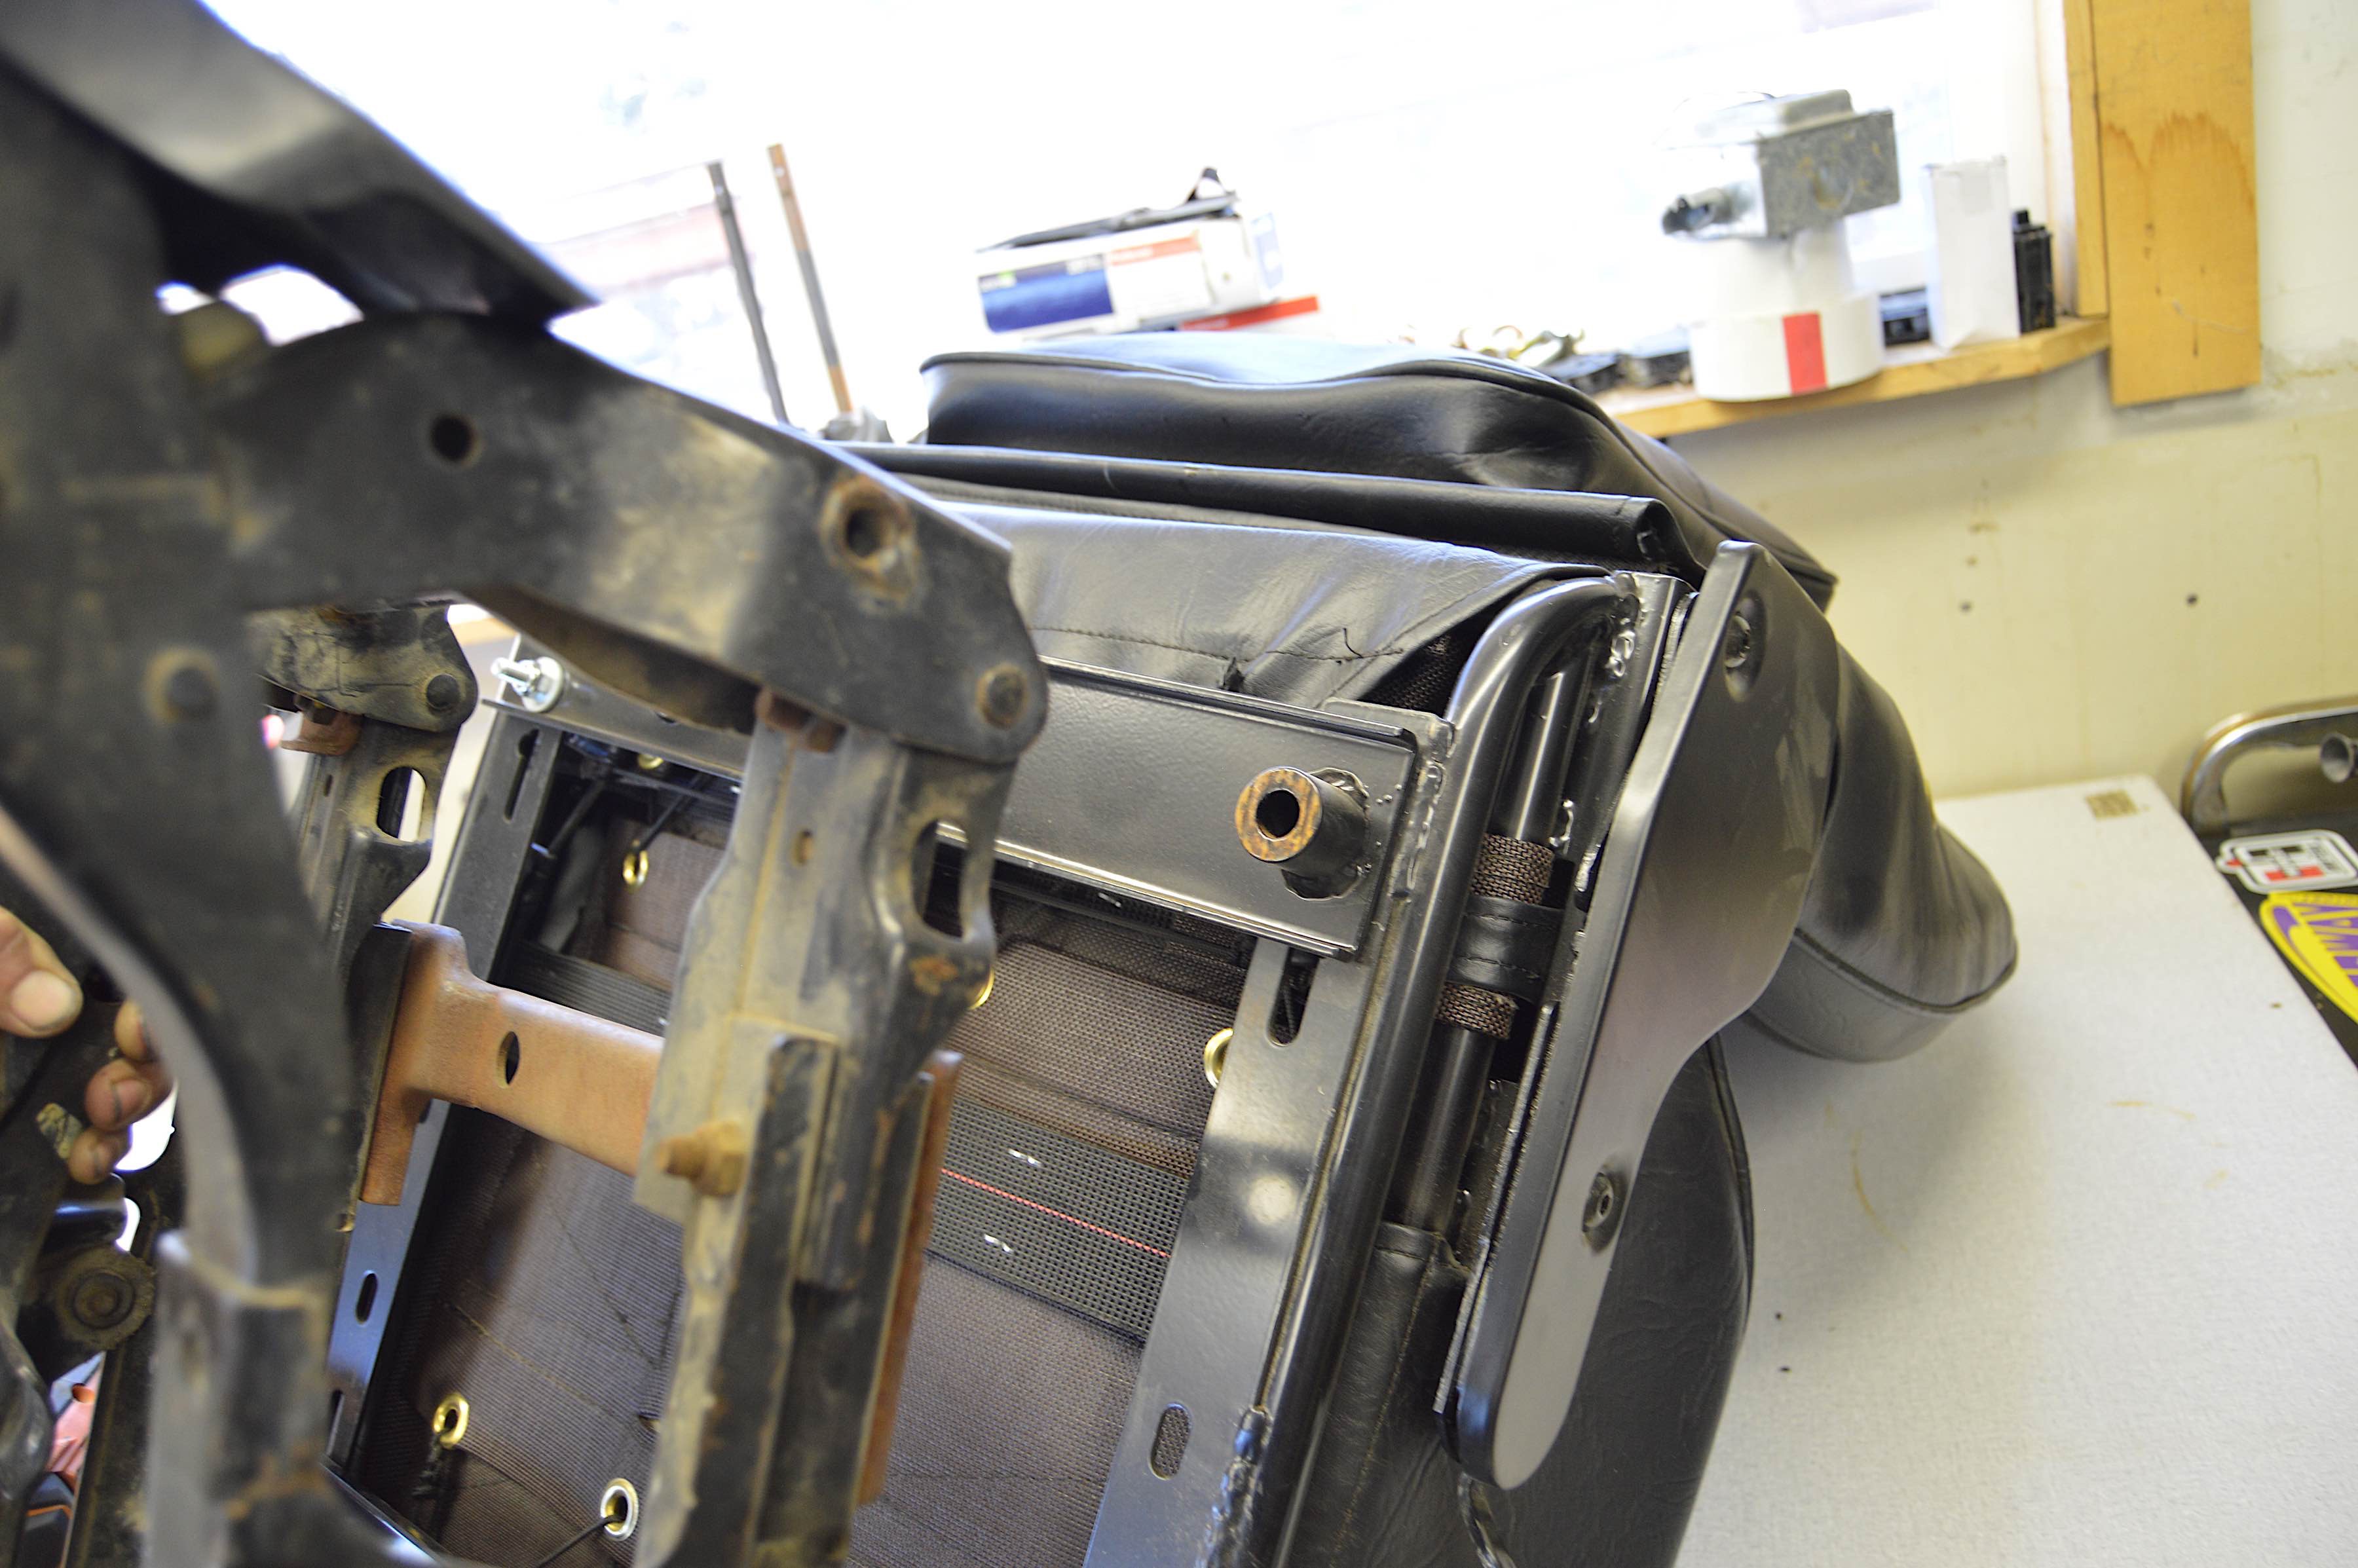
As for the harnesses, these also had to be done while the seats were out. The lap belts were installed onto the stock rear bracket between the slider mechanism and the seat. They fit into a hole and were bolted down.
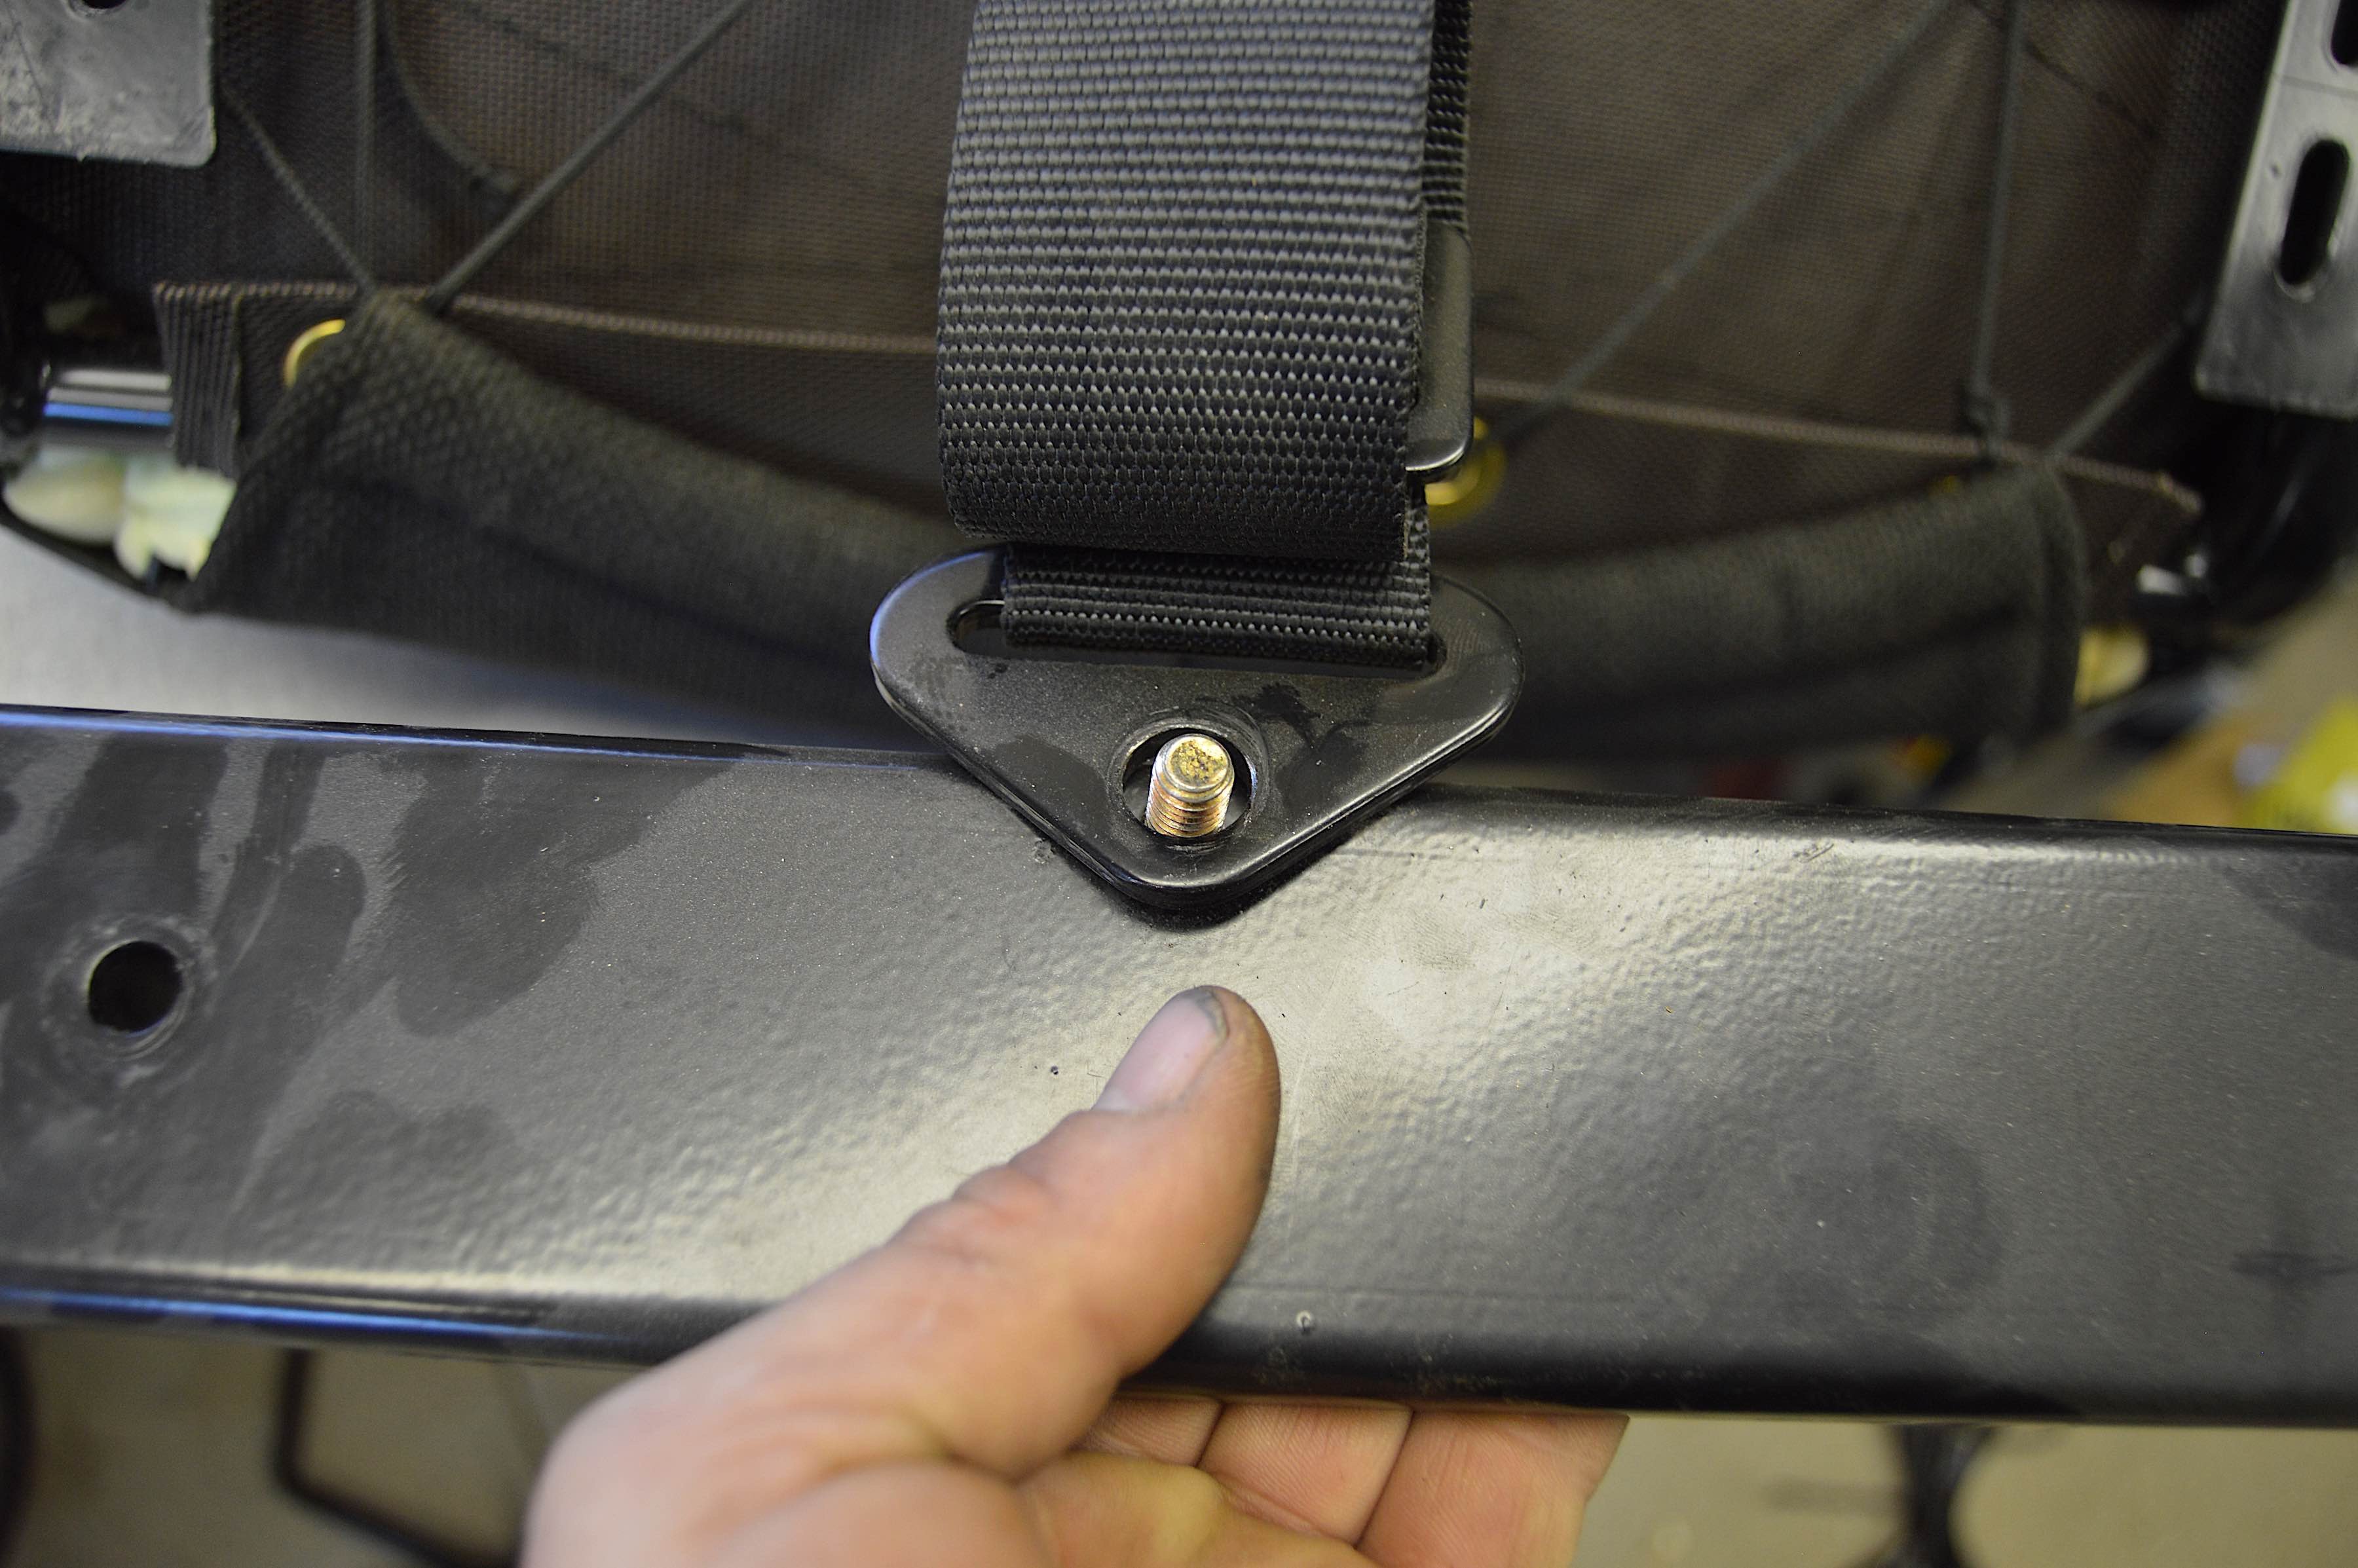
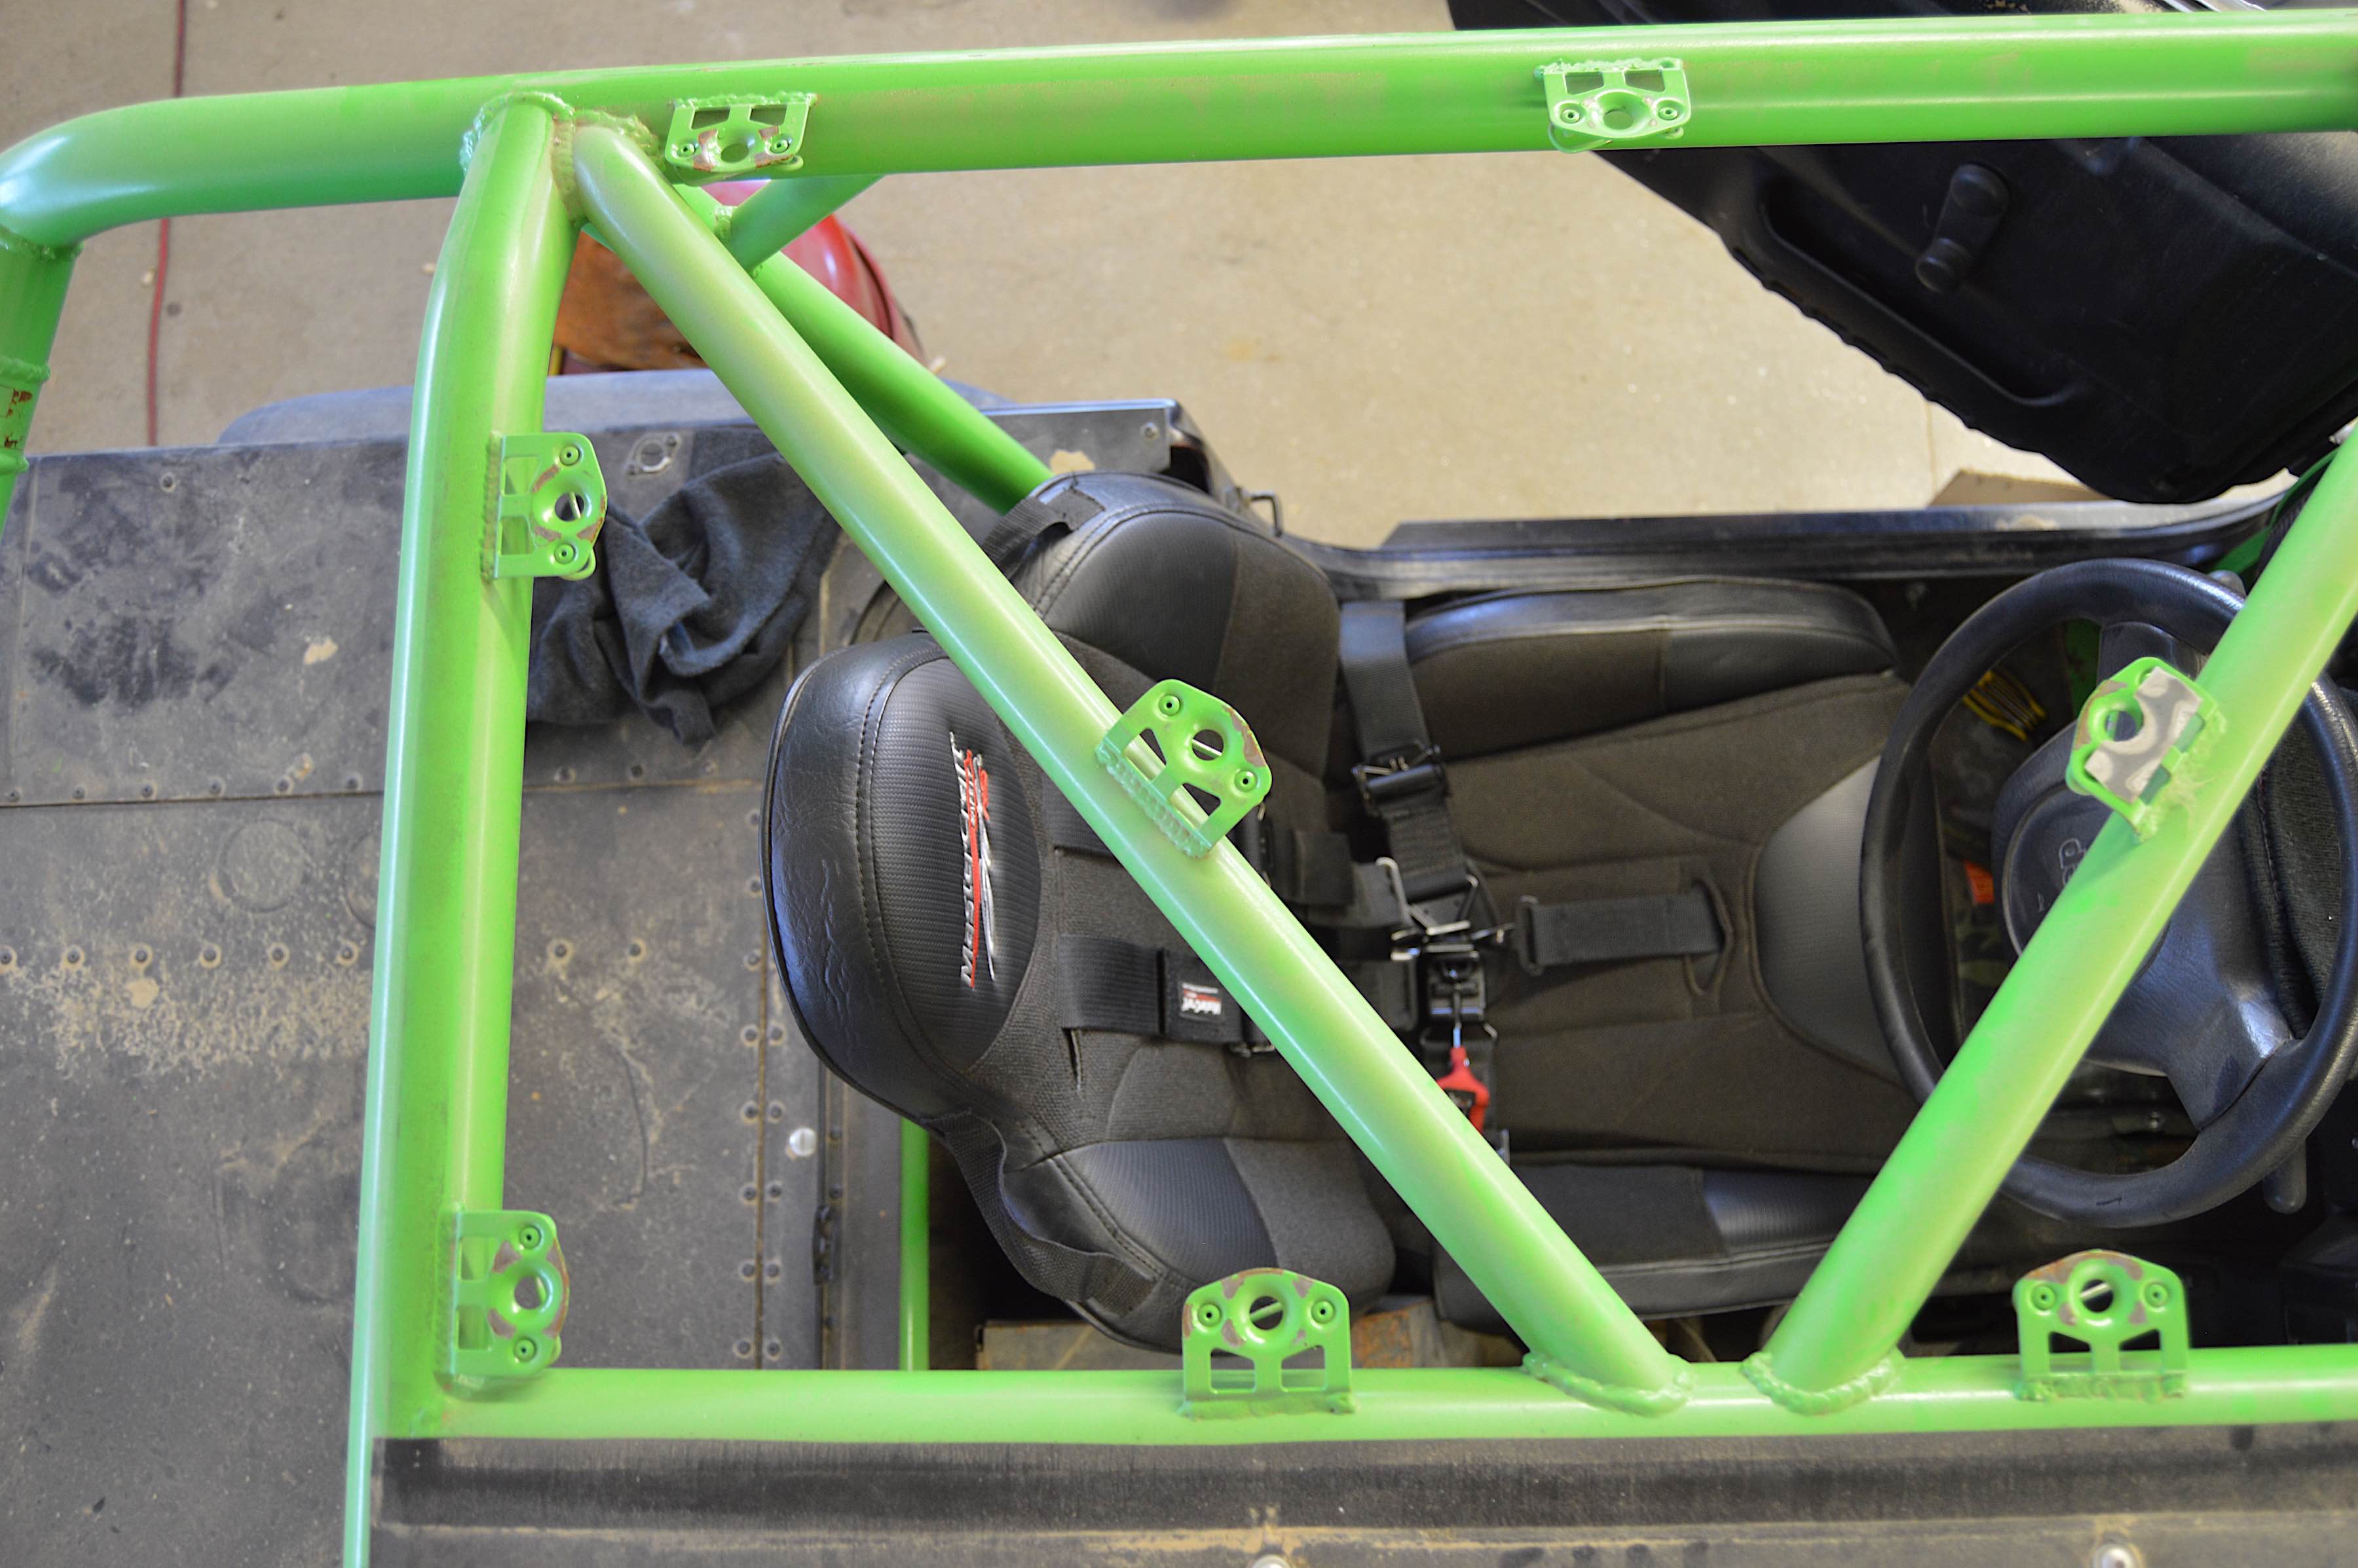
A hole was drilled into the front bracket. This was where we mounted the anti-submarine belt. Out back, the shoulder straps wrapped around the cage. The lap belts, having bolted to the rear bracket on the seat's underside, completed the five-point harness assembly.
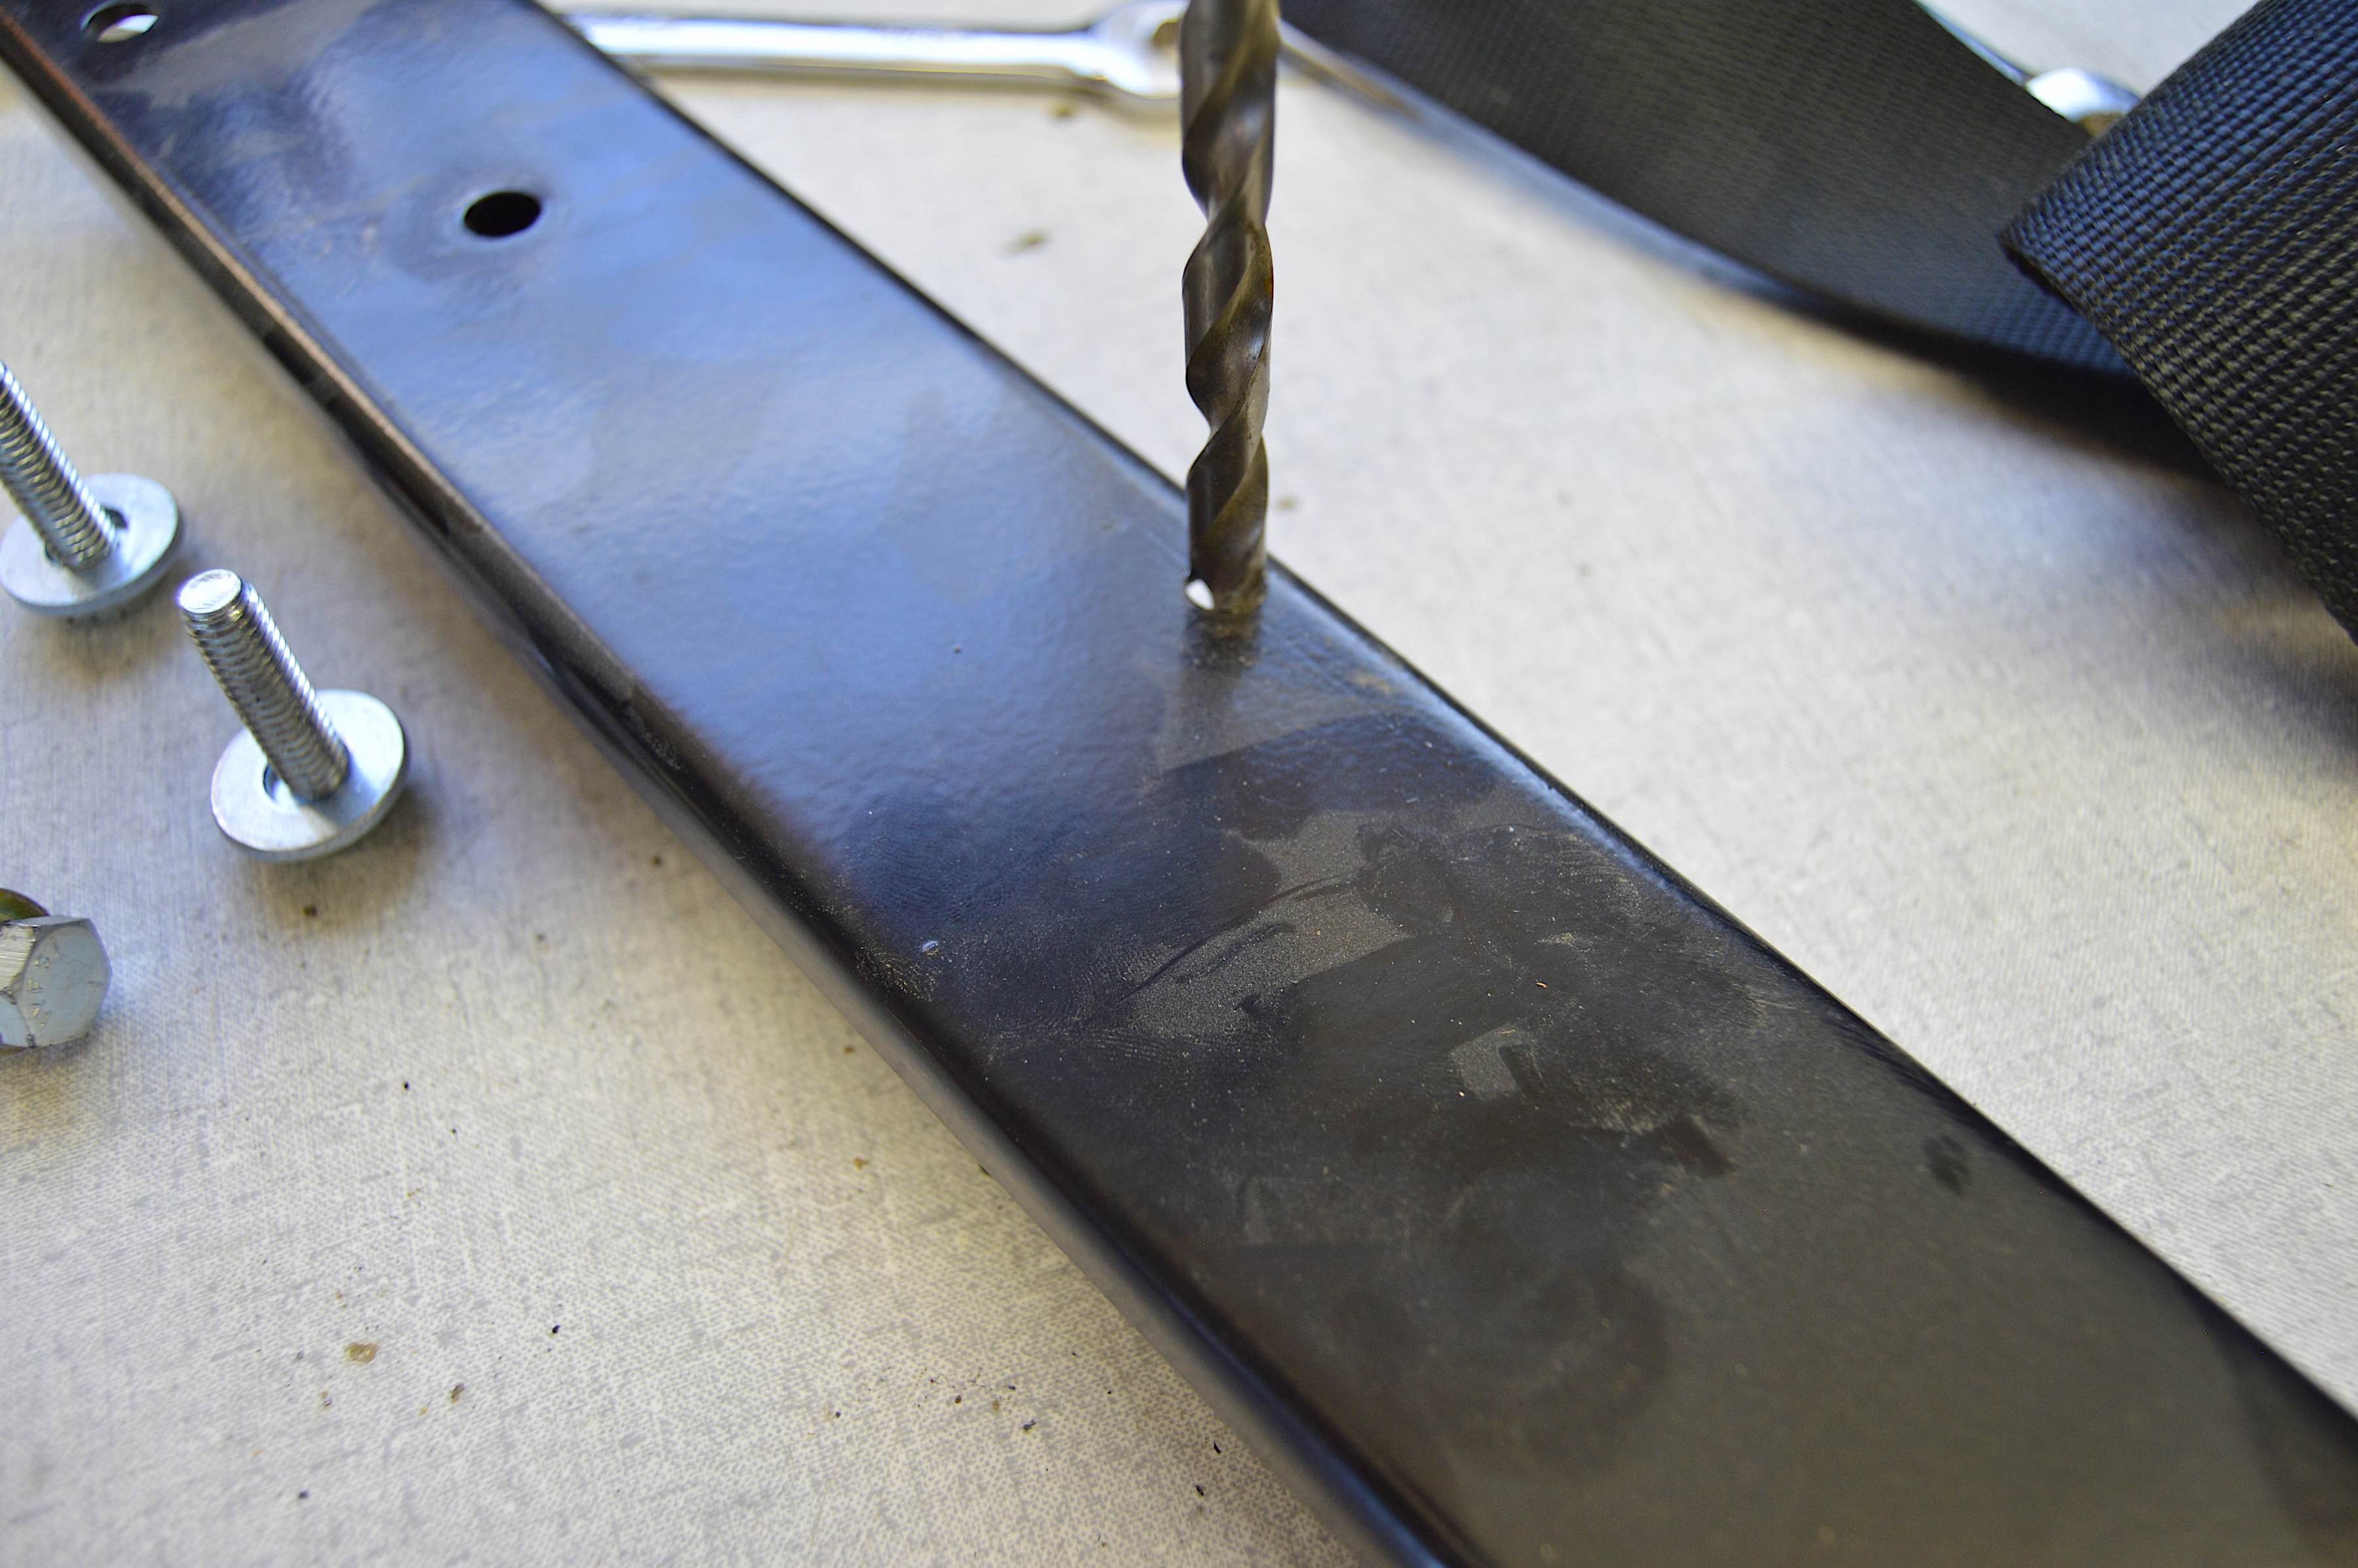
The anti-submarine belt, meanwhile, was installed onto the front bracket. We drilled a hole in a spot that made sense for the length we needed, and bolted the anti-submarine bolt onto it and fed the belt through the provided hole in the seat. The shoulder straps, meanwhile, were wrapped around a cage bar that ran behind the front seats. Since the cage was one whole continuous metal structure, we felt confident it would hold up when the time came.
This concluded our adventure in preparing Project Redneck’s interior for rough-and-tumble adventures. We might come back to do some more upgrades in the future, but for now, we are pleased with how MasterCraft’s seats and harnesses have worked out. They lend a nicer feel and more secure fitment to the already stout Jeep.

Now that we have the right interior setup to complement the cage, Project Redneck can do what it does best and hit the trails with gusto.
Owner Dean Jigamian had a lot to say about the upgrades. “My favorite aspects of the seats are the comfort, safety, and reclining,” he said. “I also like that the passenger seat retains the ability to tilt forward for back cab access.”
“I feel very safe in the seats, too,” he continued. “They hold you in tightly, especially when strapped in with the anti-submarine belt. For day to day driving, it allows easy in and out access, while still making me feel like I will stay secured in the event of a roll or hard impact. I also like that the belts will release freely if I need to leave in a hurry.”
We’re looking forward to seeing Project Redneck reach its conclusion in the near future. In the meantime, we encourage you to check out more from MasterCraft on its website and Facebook page.