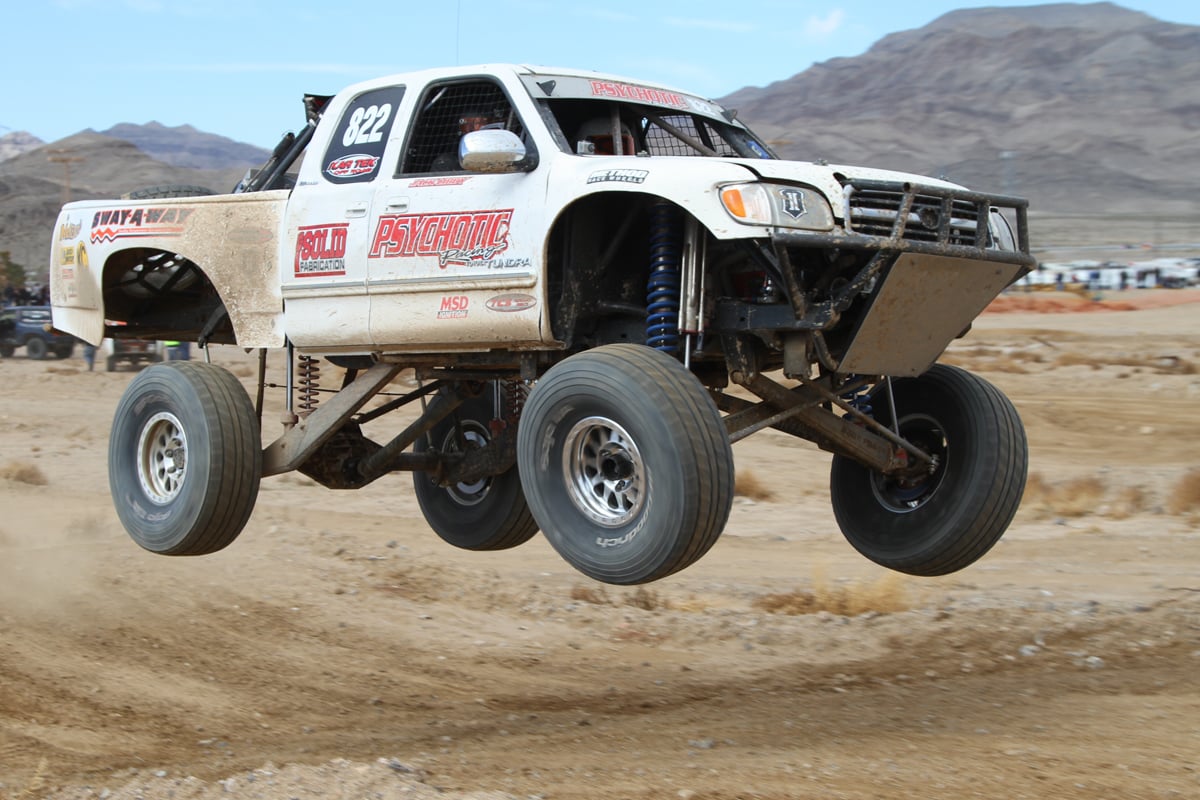
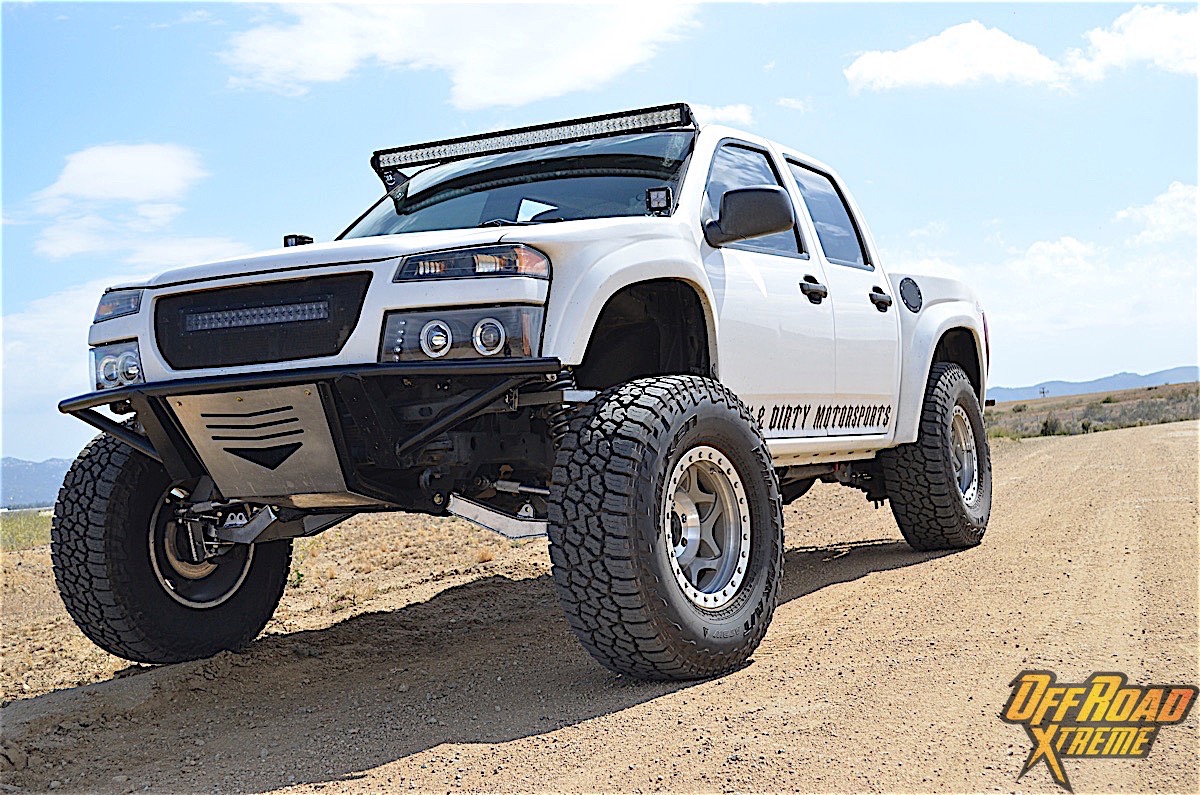
A good suspension system is key in any type of automobile, but especially in off-road applications. Whether taking a vehicle through a slow crawl over rocks where wheel travel and articulation is very important, or through the whoops which was our case with Project Storm Trooper. [1] This project is being built into a prerunner that will eventually be able to hit whoops at high speeds in the desert. Creating a suspension system that can handle off-road abuse needs to be at the forefront of everyone’s build.
We already let the cat out of the bag when we showed you our suspension being installed on the truck [2], but how did we do it? We will explain what went through our heads in designing the kit and ultimately installing it on the truck.
 [3]
[3]
Where To Begin
Having a solid plan is just as valuable as the materials being used. Ours centered on making a prerunner, a vehicle that is supposed to replicate an off-road race vehicle and allow teams to pre-run the course with creature comforts. While a race truck does not have A/C, stereo, or power windows, a prerunner does.
 [4]
[4] [5]
[5]
Prerunners are meant to replicate race vehicles. They can have either I-beams (left) or A-arms (right).
Prerunners use A-arms or I-beams to be able to create the type of suspension travel needed to handle the desert. The setup leads to a stance that is undoubtedly recognizable – a wide front end. The wider track width allows for improved dynamic stability.
We see it all the time, the guys that only widen the front and leave the rear stock. To truly improve stability, both the front and rear of the vehicle needs to be widened, which will happen for Storm Trooper when we install our Currie Enterprises [6] F9 housing.
 [7]
[7]
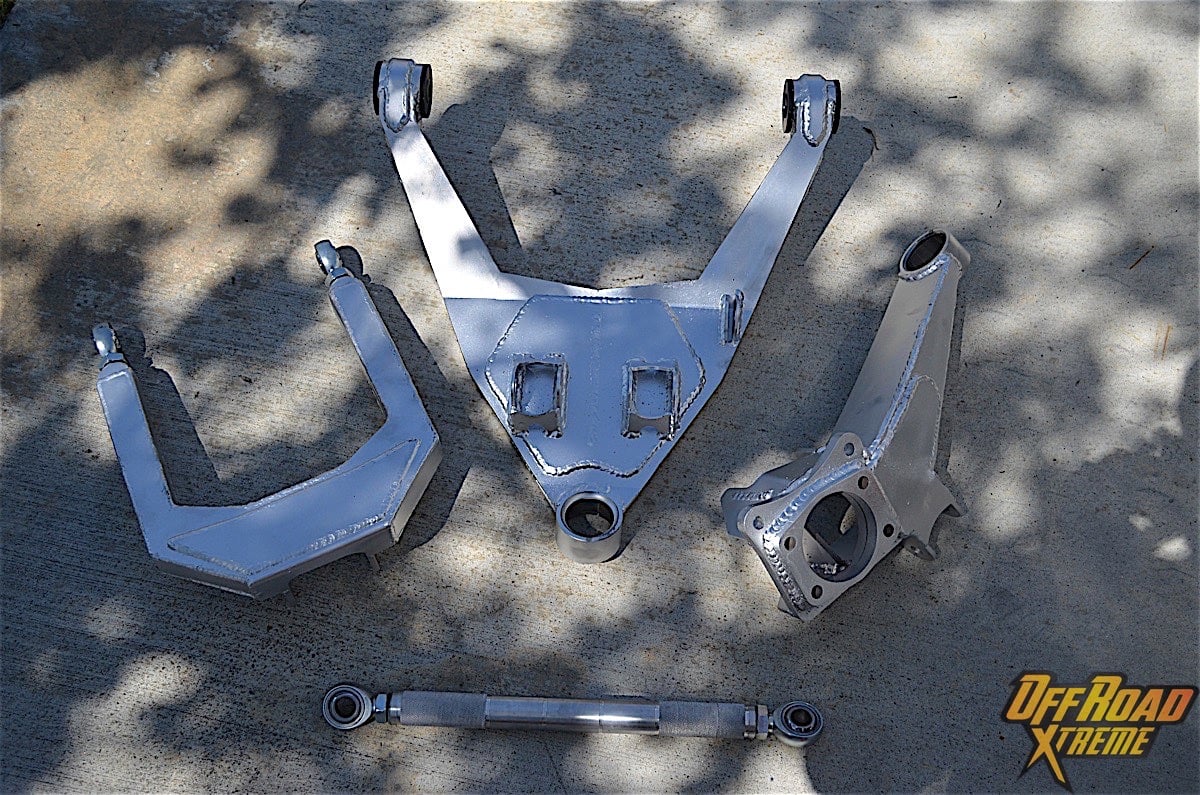
For our project, we decided to increase the track width 4.5 inches per side, which ended up giving us a track width of 75 inches from the center of the tires. The longer control arms allowed for increased wheel travel as well. We were aiming to get around 17 to 20 inches of wheel travel. The kit that was on the truck cycled 10 inches of travel, which got the job done, but was not where we wanted to be.
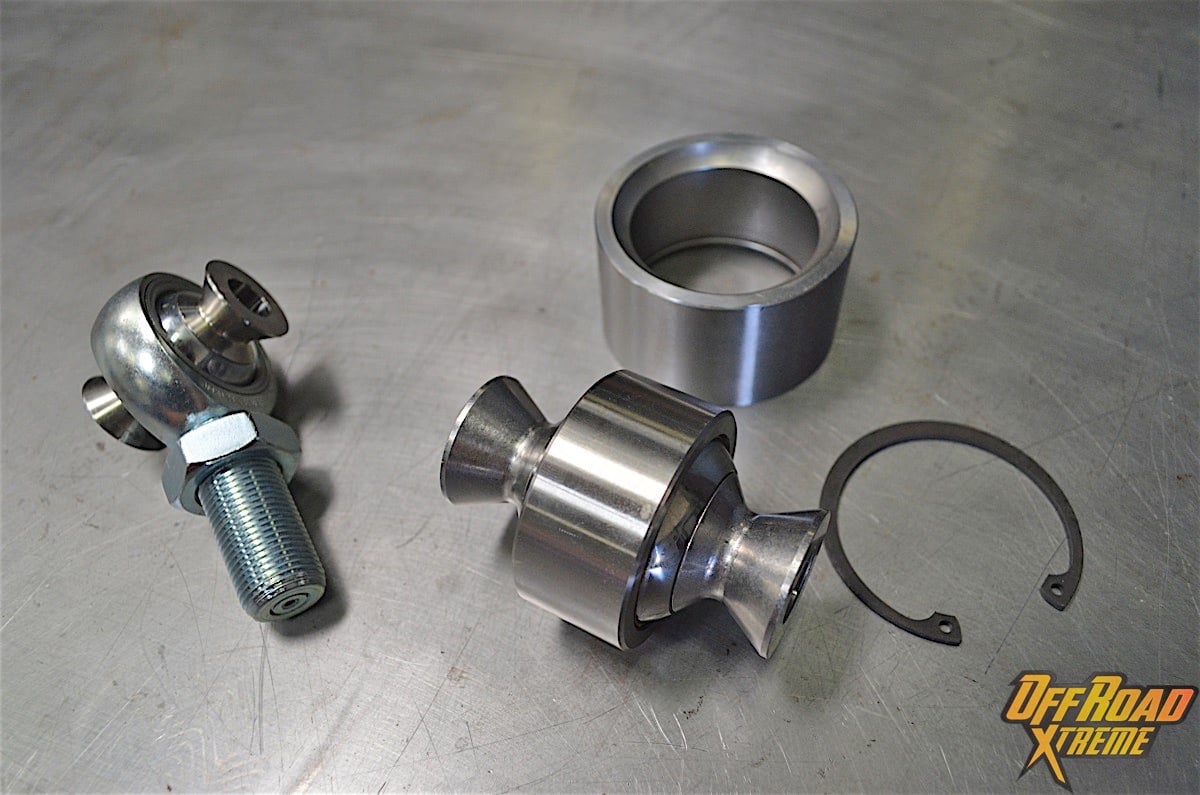
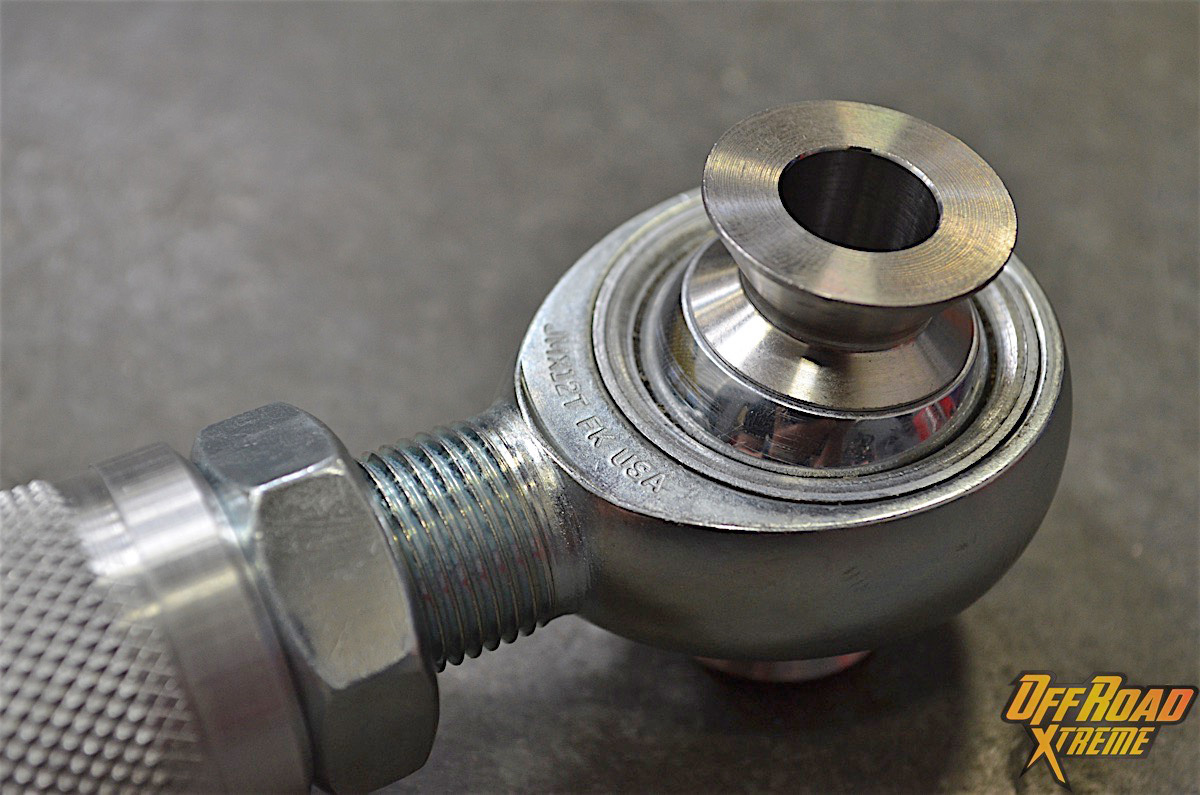
We also knew that we wanted to run both rod ends and uniballs to increase strength and durability. We would use Delrin bushings for the lower control arm, while we went with FK Rod Ends [8] for all our spherical bearings and rod ends.
 [9]
[9]
We had a chance to speak with Brian McAllister at FK Rod Ends to talk about the rod ends and uniballs we used in the kit. “The rod ends you selected were the JMX12T, which use a three-piece design along with a 3/4-16 thread, they have a 3/4-inch bore, and have the PTFE liner.” He continued, “The ball is made out of 52100 steel with a hard chrome plate. The body and race are steel alloy, that has been heat treated, zinc plated, and chromate treated.”
The uniballs we went with are made up of similar materials. “The spherical bearing you went with was the WSSX16T. It is a wide, stainless, heat treated spherical bearing,” McAllister explained. “The bearing has a 1-inch bore and 2.125-inch outside diameter with the PTFE liner. the ball is 440 stainless steel and is heat treated, while the race is 17-4 PH stainless steel, which is also heat treated.”
 [10]
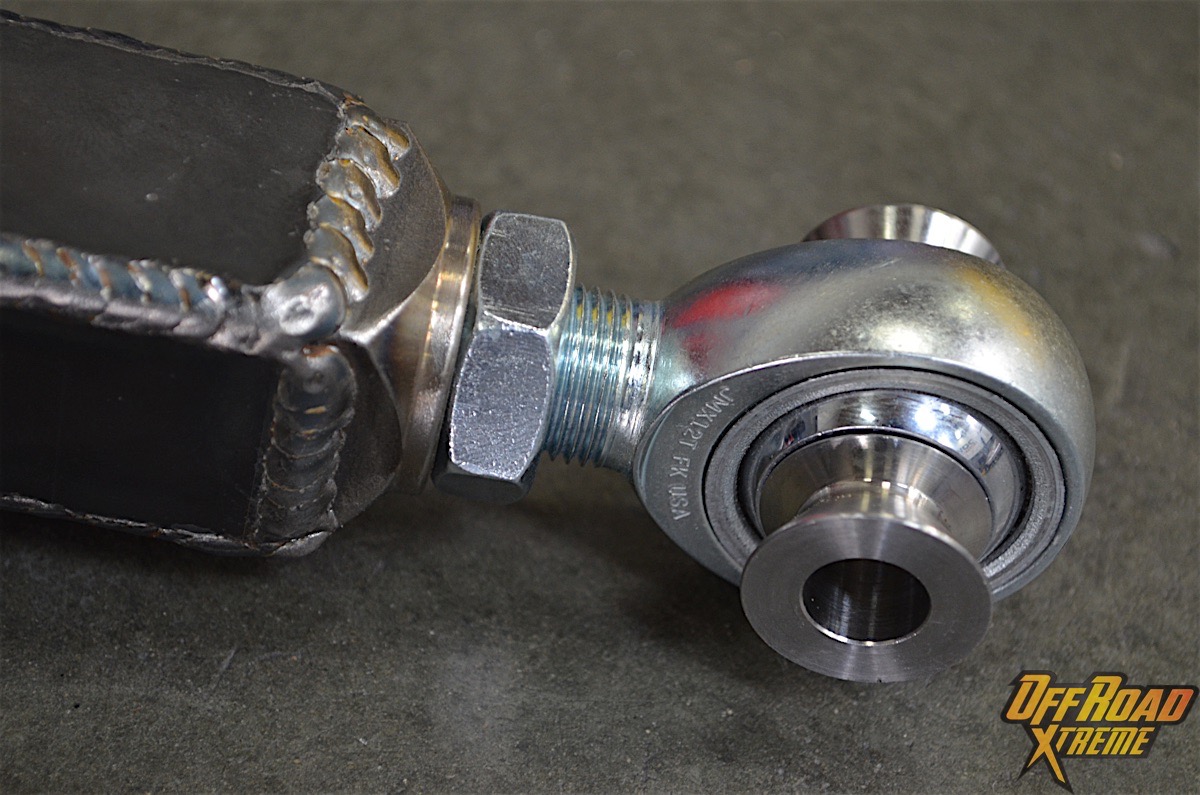
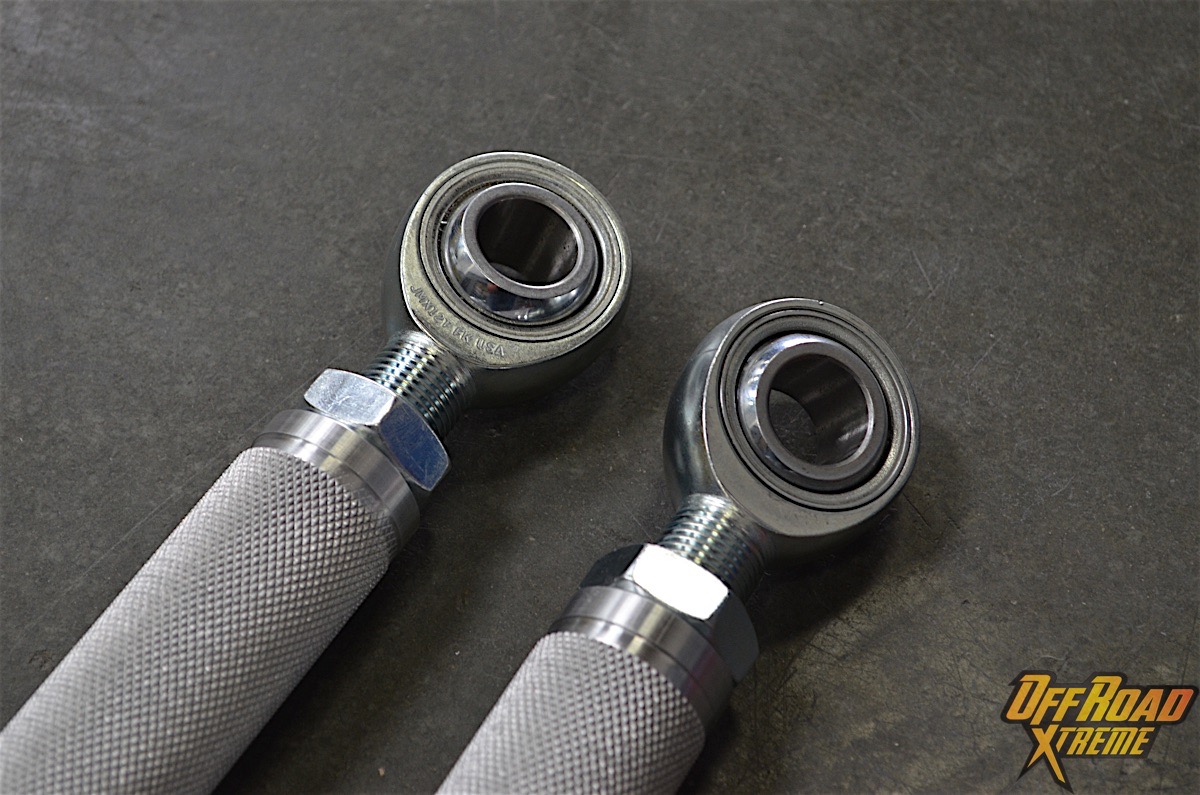
[10]We used the PTFE-lined rod ends on both our upper control arms and our steering. Pictured above are our machined 6061 T6 aircraft grade aluminum tie rods.
“The PTFE liner in the bearings keeps the ball clean from debris,” McAllister said. “The liner works as a lubricator and a wiper for the ball when it moves.” From first-hand experience, we know that using cheap, knock-off rod ends can come back to haunt you at the worst possible time.
The quality of the products we would be mating with our fabrication would give us one less thing to worry about while flying through the whoops in the desert. All we had left to do was drag out the metal and get to work.
 [11]
[11]
Metallurgy & Welding
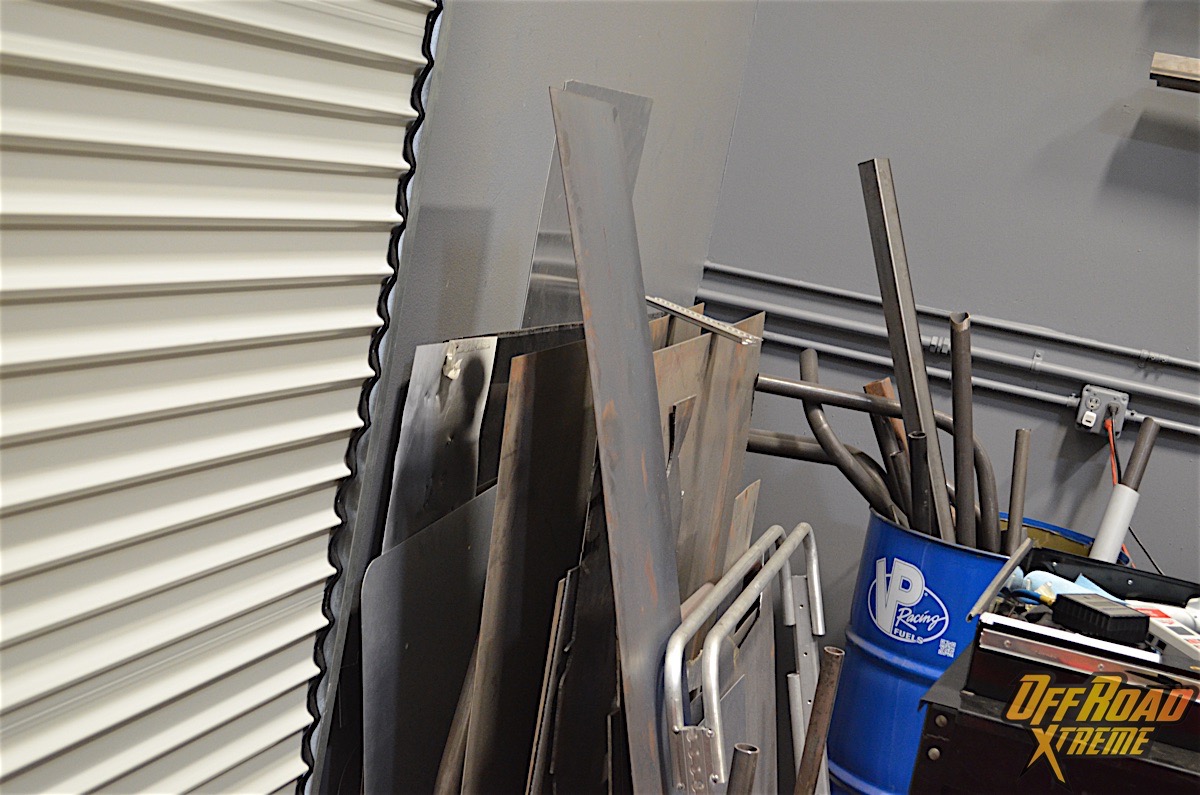
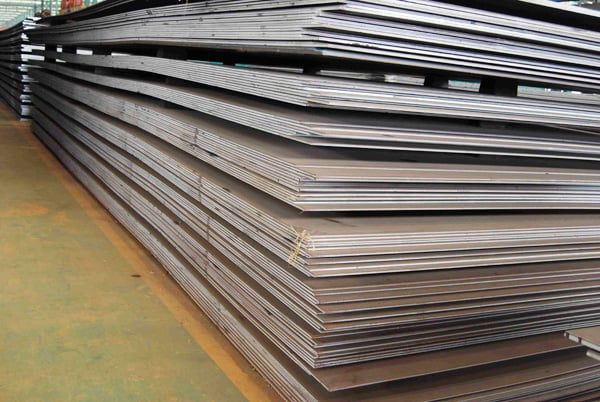
A vehicle is only as strong as the materials used in creating it, and even more important with creating components that will see extreme abuse off-road. With all the terms that float around online, we will break down the basics of what you need to know before heading down to the local metal supply yard.
The two biggest names tossed around are mild steel and chromoly. Each has their advantages and a price tag to go along with it. Chromoly is going to be the most expensive of the two, but also offers the most strength at a lighter weight. The increased benefits do come at a higher price which can be double the cost of mild steel.
 [12]
[12]Knowing the proper way to use the selected materials will make sure that you do not break anything in the dunes.
Mild steel is used more to keep costs down, but also because of its wide range of uses. It can be easily found at all local metal supply yards and in a wide range of thicknesses. Mild steel can be TIG or MIG welded, while chomoly needs to be TIG welded. When chromoly is MIG welded it compromises the metal properties and will not pass an inspection under most sanctioning bodies.
When it comes down to it you need to select a material that will fit the end goal for the vehicle as well as what will fit in the budget. For more detailed information on the properties of different types of metal, check out our full Metallurgy 101 article [13].
 [14]
[14]
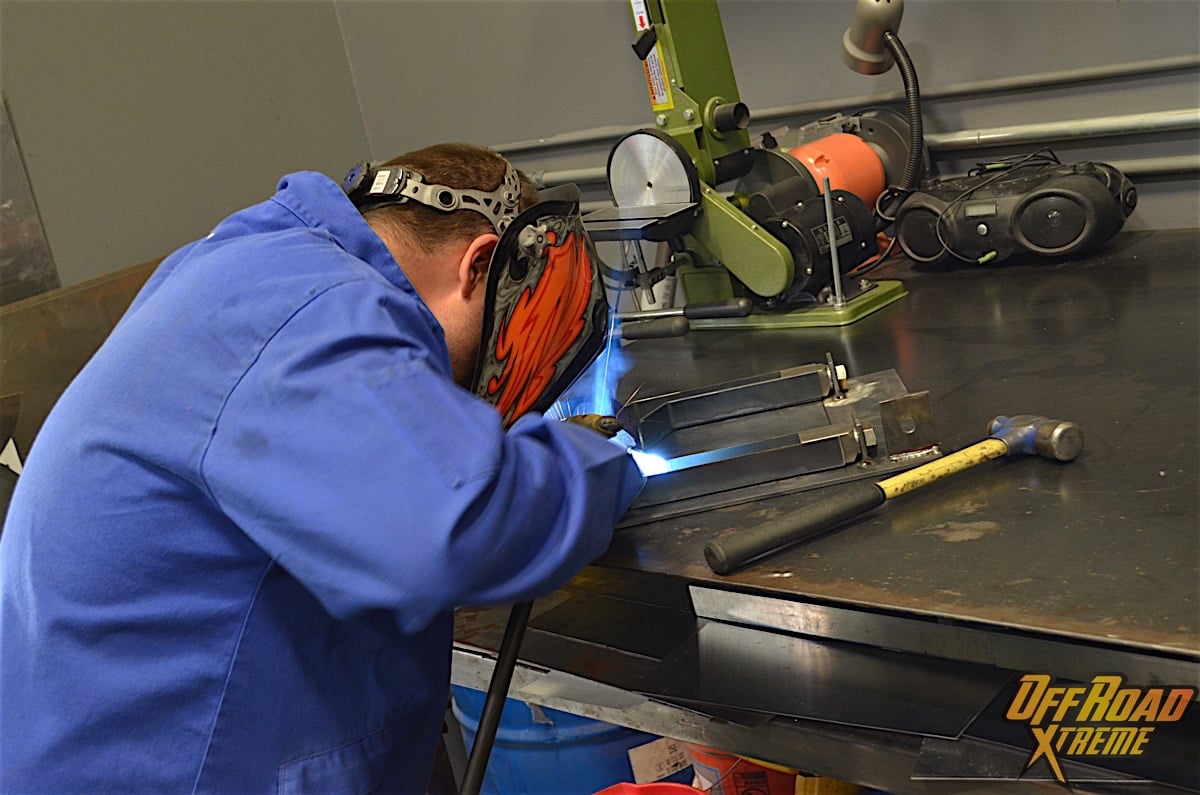
Using the highest quality materials may mean a stronger product, but that also depends on the weld. There is a huge difference between MIG and TIG welding. Time, preparation, and cost factor into each as well as the time of material being used.
TIG welding is the preferred welding style of off-road race teams. It has a low deposition rate which refers to the amount of filler metal melted into the weld joint. TIG welding is stronger and the user can control the amount of heat going into the weld.
 [15]
[15]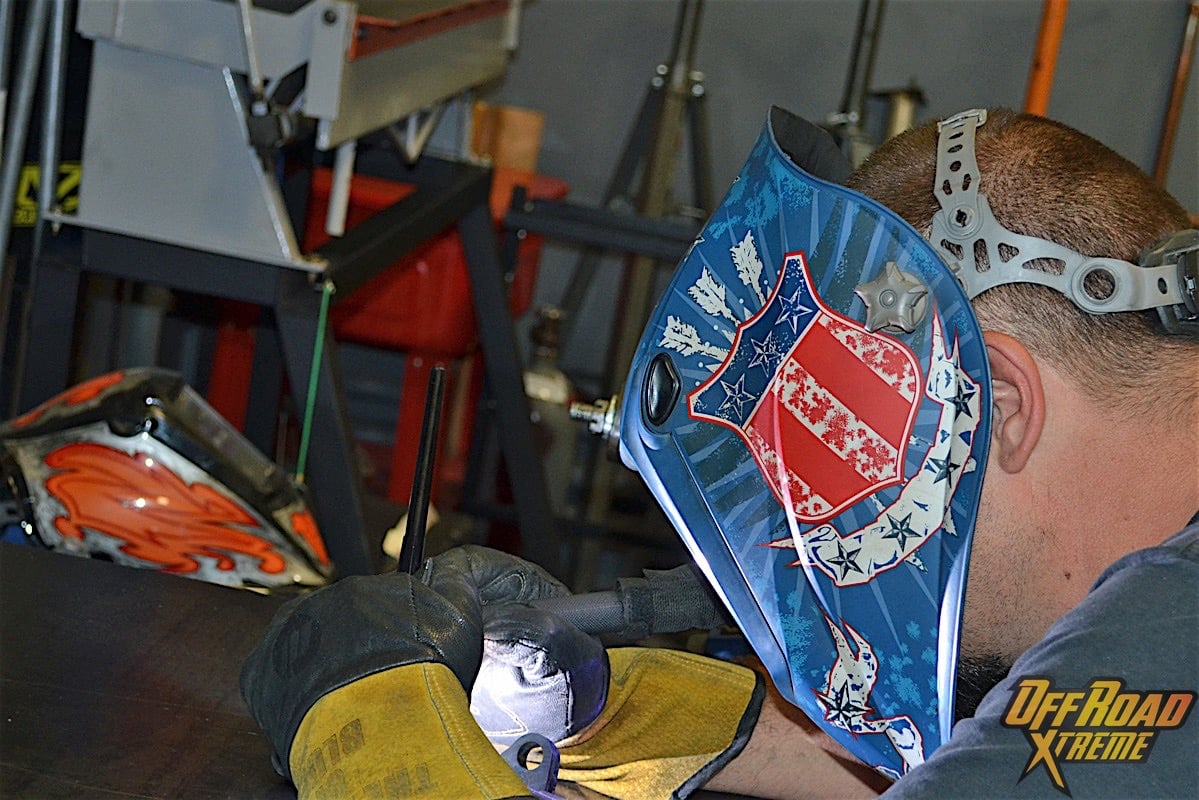 [16]
[16]
The type of welding used on a project depends on certain factors and the difference between MIG (left) and TIG (right) should be known before starting.
MIG welding is widely used in the off-road community and is usually the form of welding most people get started with. It is can be welded faster than TIG, but has a high deposition rate. MIG welding also has the option of being welded gasless with the use of a flux-cored wire.
The end goal needs to be established before starting a project like this. Knowing the budget for the build and the type of materials being used will justify the type of welding needing to be done. Once the materials and the type of welding have been figured out the design of the suspension can begin.
 [17]
[17]
Creating A Work Of Art
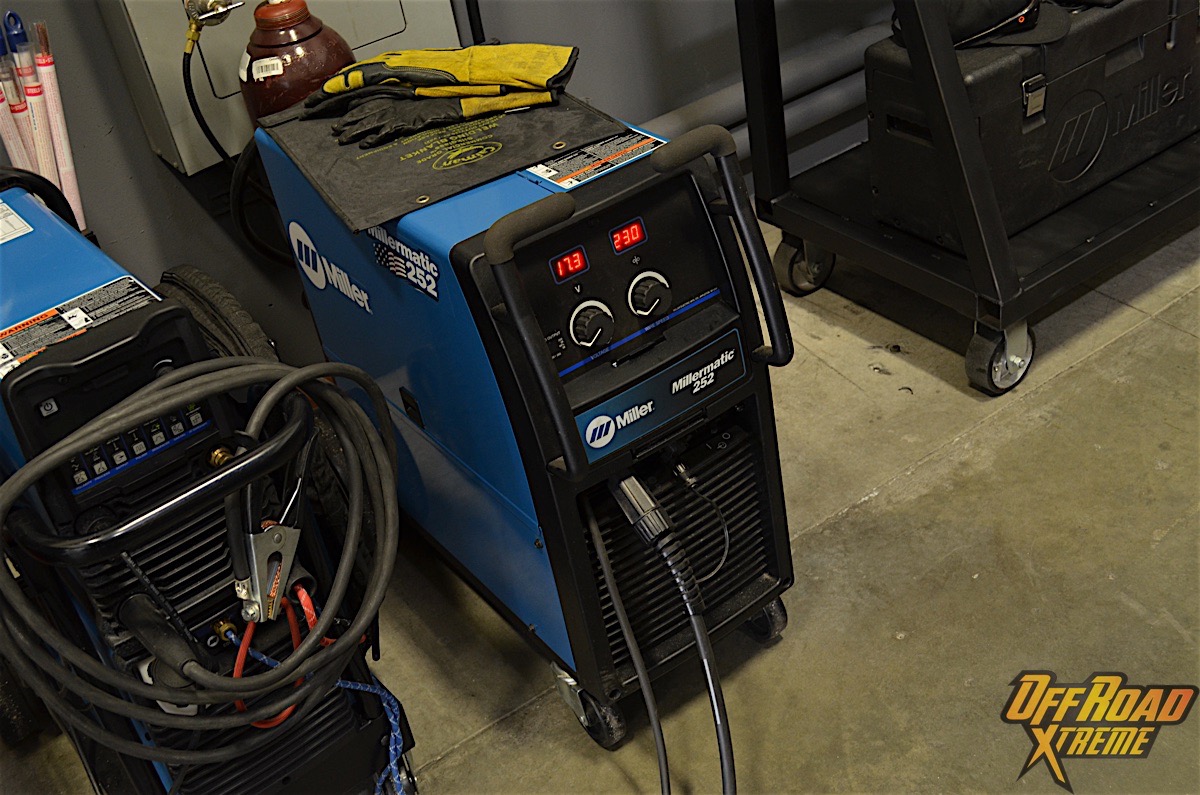
Now that we had a plan and knew the direction we were going, it was time to fire up our Miller [18] Millermatic 252 [19] welder and get to work. There is a good amount of investment in the tools needed to do this correctly: grinder, plasma torch, finger brake, welder, drill press, and every consumable to go along with them.
 [20]
[20] [21]
[21]
 [22]
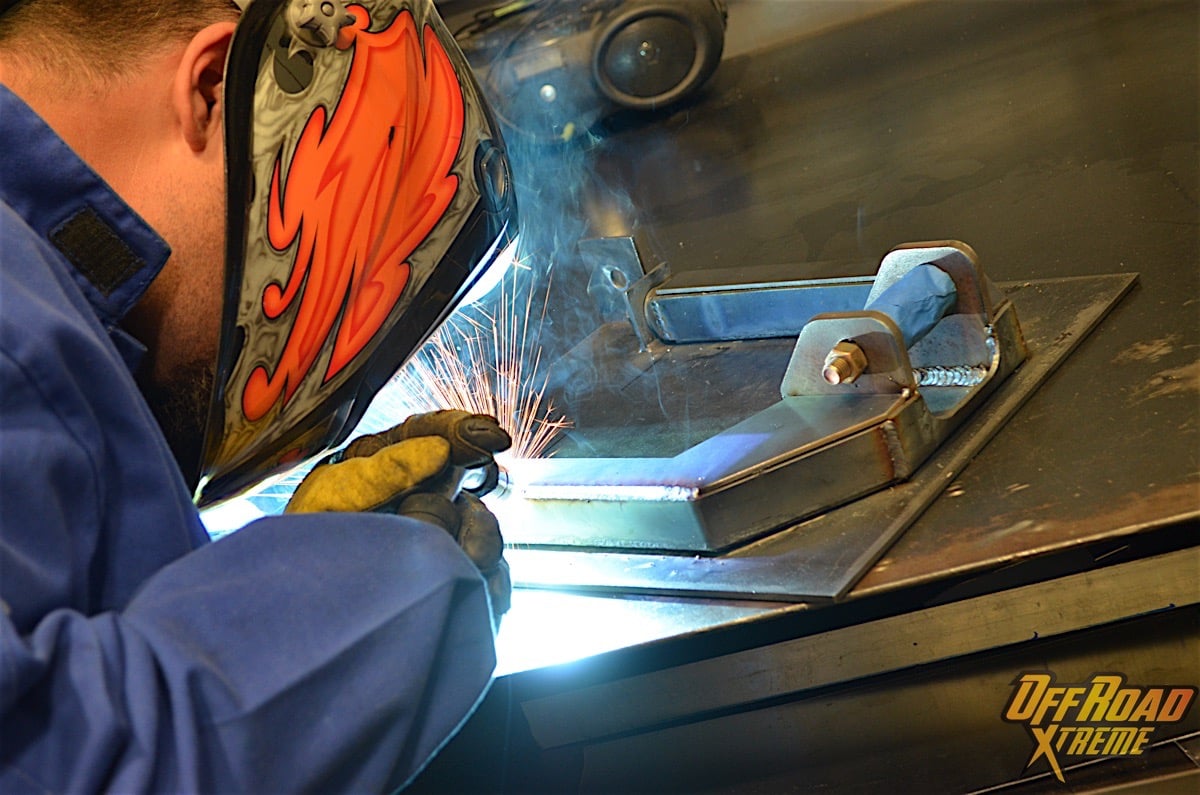
[22]With the help from our Millermatic 252, we were able to get through welding our suspension without issue.
Having access to a plasma table made our job a lot easier. We did have to spend hours in front of a computer in CAD drawing out every plate, rib, and tab, but in the end, it would save us countless hours not having to cut everything by hand.
 [23]
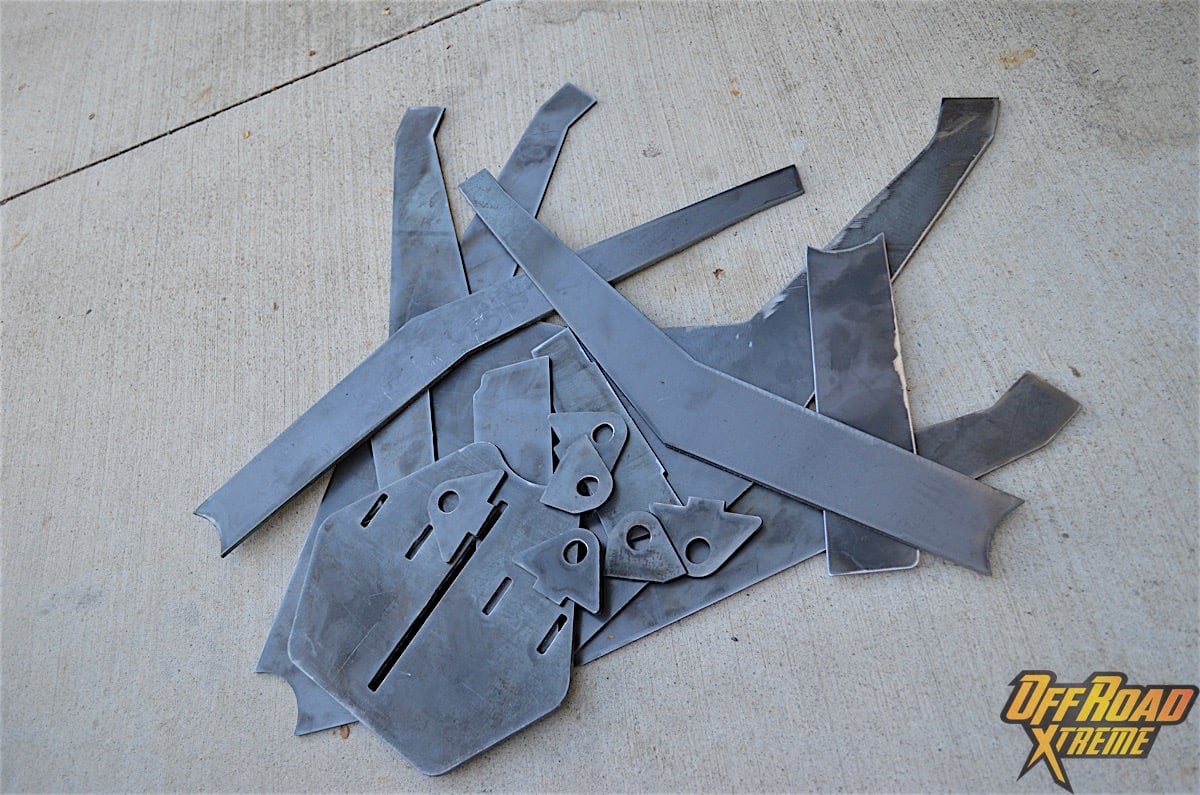
[23]Everything looks like big puzzle pieces early on. This is what one of our lower control arm set of plates look like.
Every off-road rig will have a different set of measurements. Every piece of our kit was made specifically for the truck; we won’t bore you with exact measurements, degrees of bend, or angles because it only applies to this vehicle.
Materials Needed
- Steel plate of different thicknesses
- Tubing, if not creating boxed arms
- Rod ends
- Weld-in bungs
- Uniballs and cups
- Misalignments
- Nuts and bolts
Creating a jig is a must. It shouldn’t even be questioned. It is something that will allow the parts to stay straight and be able to be reproduced. The jig kept everything in place while the parts were being made. For us, we had to create three jigs – one for the spindle, one for the upper control arm, and one for the lower control arm. All of these were based on the original geometry to make sure that we would have no issues when cycling.
 [24]
[24]Creating a jig ensures that we could replicate the parts. For some of our parts, they were the same on both the driver and passenger side. The jig would make sure that they would be the same.
Armed with a template for the pieces, we were able to mock it up on a portion of the front frame we got from a local junkyard. We now knew everything would work without having to take our truck apart. Once everything was finalized, it was time to cut the parts and weld them all together.
Everything – inside, outside, ribs – had to be welded to make sure the parts could withstand the abuse we would be giving them. We averaged an hour of welding per component, which amounted to approximately six hours of welding.
 [25]
[25]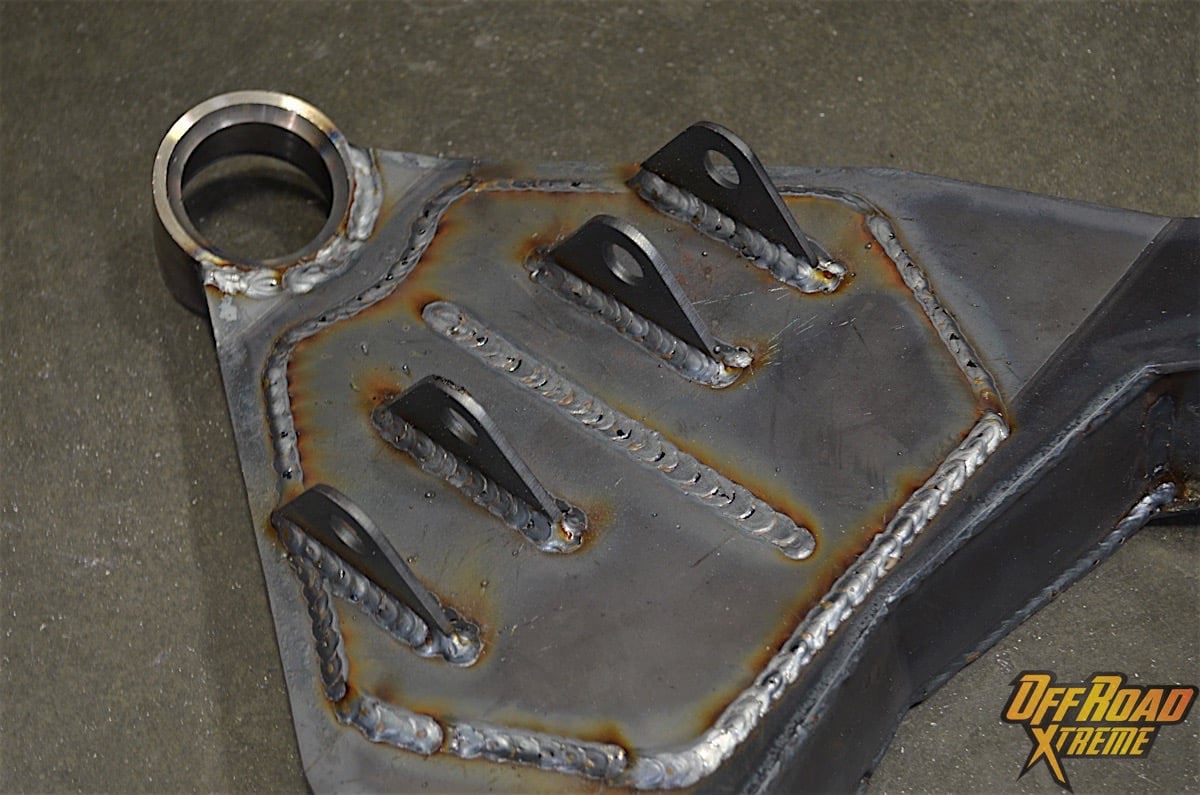 [26]
[26]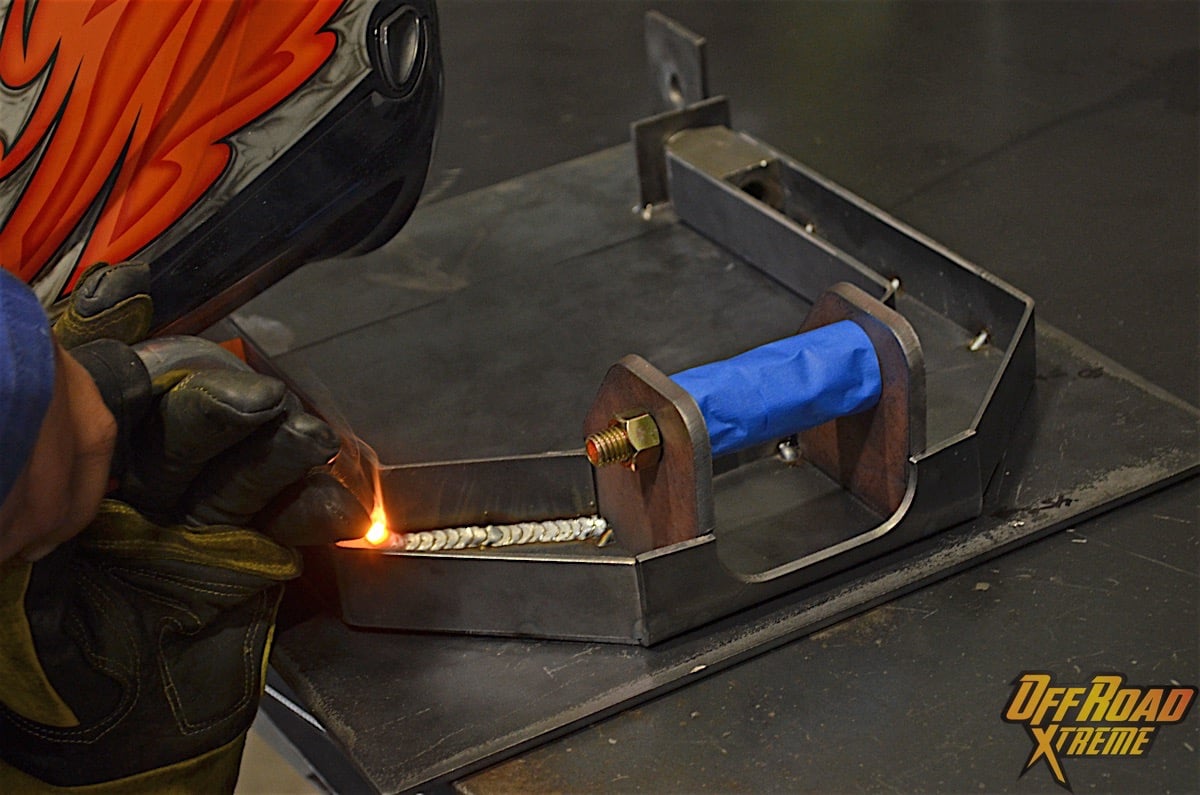 [27]
[27]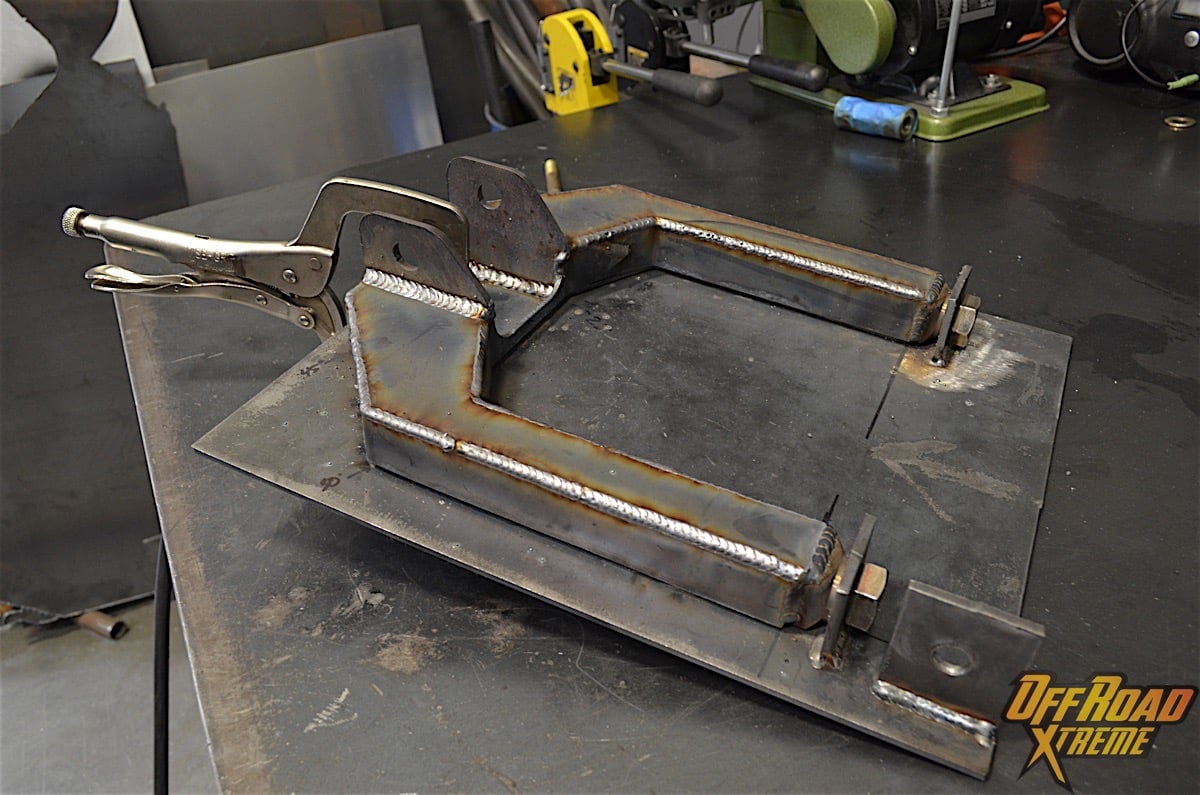 [28]
[28]
Every part of our control arms had to be welded – Inside, outside, ribs, and tabs. They all needed a bead.
Piece by piece, we were slowly creating our own suspension kit. The feeling of satisfaction, once the kit was complete, was something we cannot describe. Realizing that we built the kit and could own the fact that we did it, was something in itself.
 [29]
[29]
Installation
Once all the dirty work was done, and the metal shavings were dusted off it was time to install the masterpiece. We covered this thoroughly in a previous article [2], but this is really a time to sit back and marvel at your masterpiece.
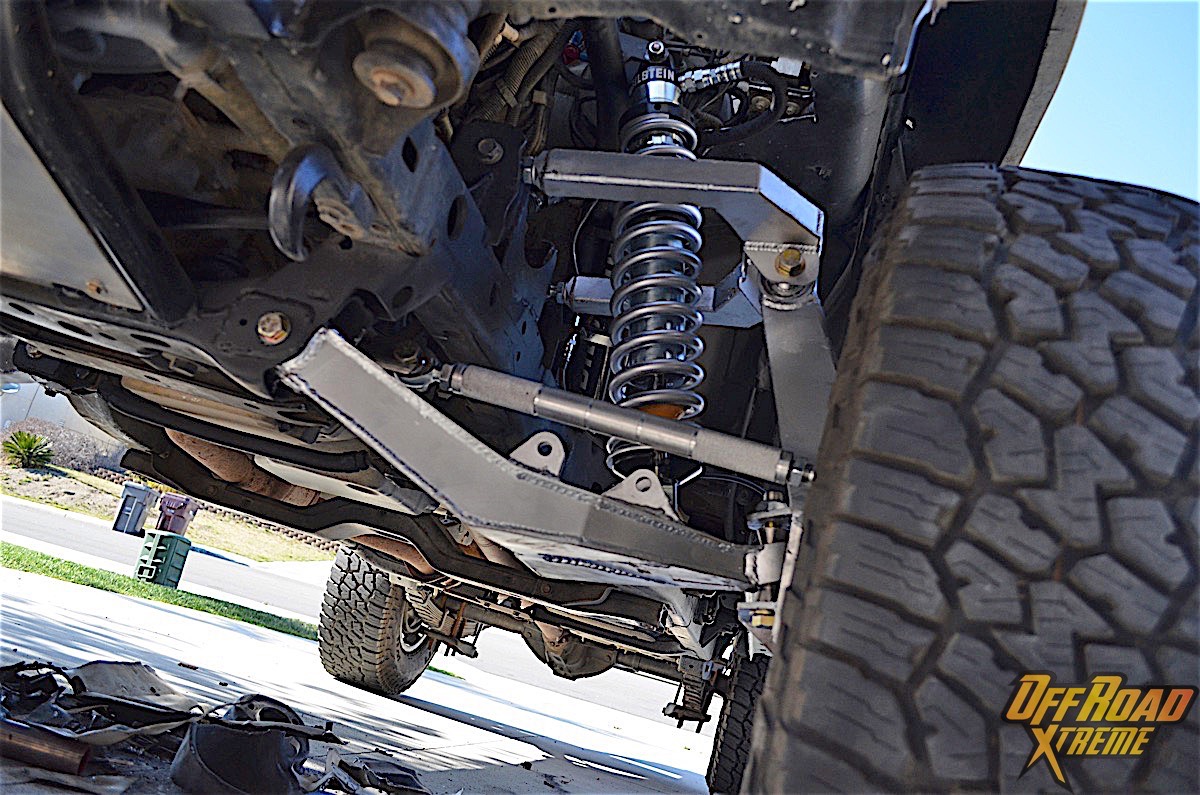 [30]
[30]At the end of a long weekend, we were able to get the kit installed. Check out the full article [2] on how the install went, and everything that we had to do to get the rest of the kit installed.
This is definitely a project that should be left to the professionals, or someone who knows what they are doing. Doing it poorly can result in serious injury or death.
Make sure the best materials are used, welds are on point, and the suspension is built for the type of off-roading the vehicle will see. The higher priced kits on the market utilize chromoly plate and are TIG welded. For people that are budget-minded, there are plenty of kits that can be purchased that are strong and MIG welded, if the task of creating your own is to daunting.
What type of projects have you taken on or left to the professionals recently? Let us know in the comments below!
 [31]
[31]Don’t worry, we know the rear is not as wide, but that will change when we install our Currie Enterprise housing [32].